I have build katana60 - a custom mechanical keyboard - a few months ago and I use it on a daily basis. But there are so many interesting keyboard designs out there. It just too tempting not to build another one.
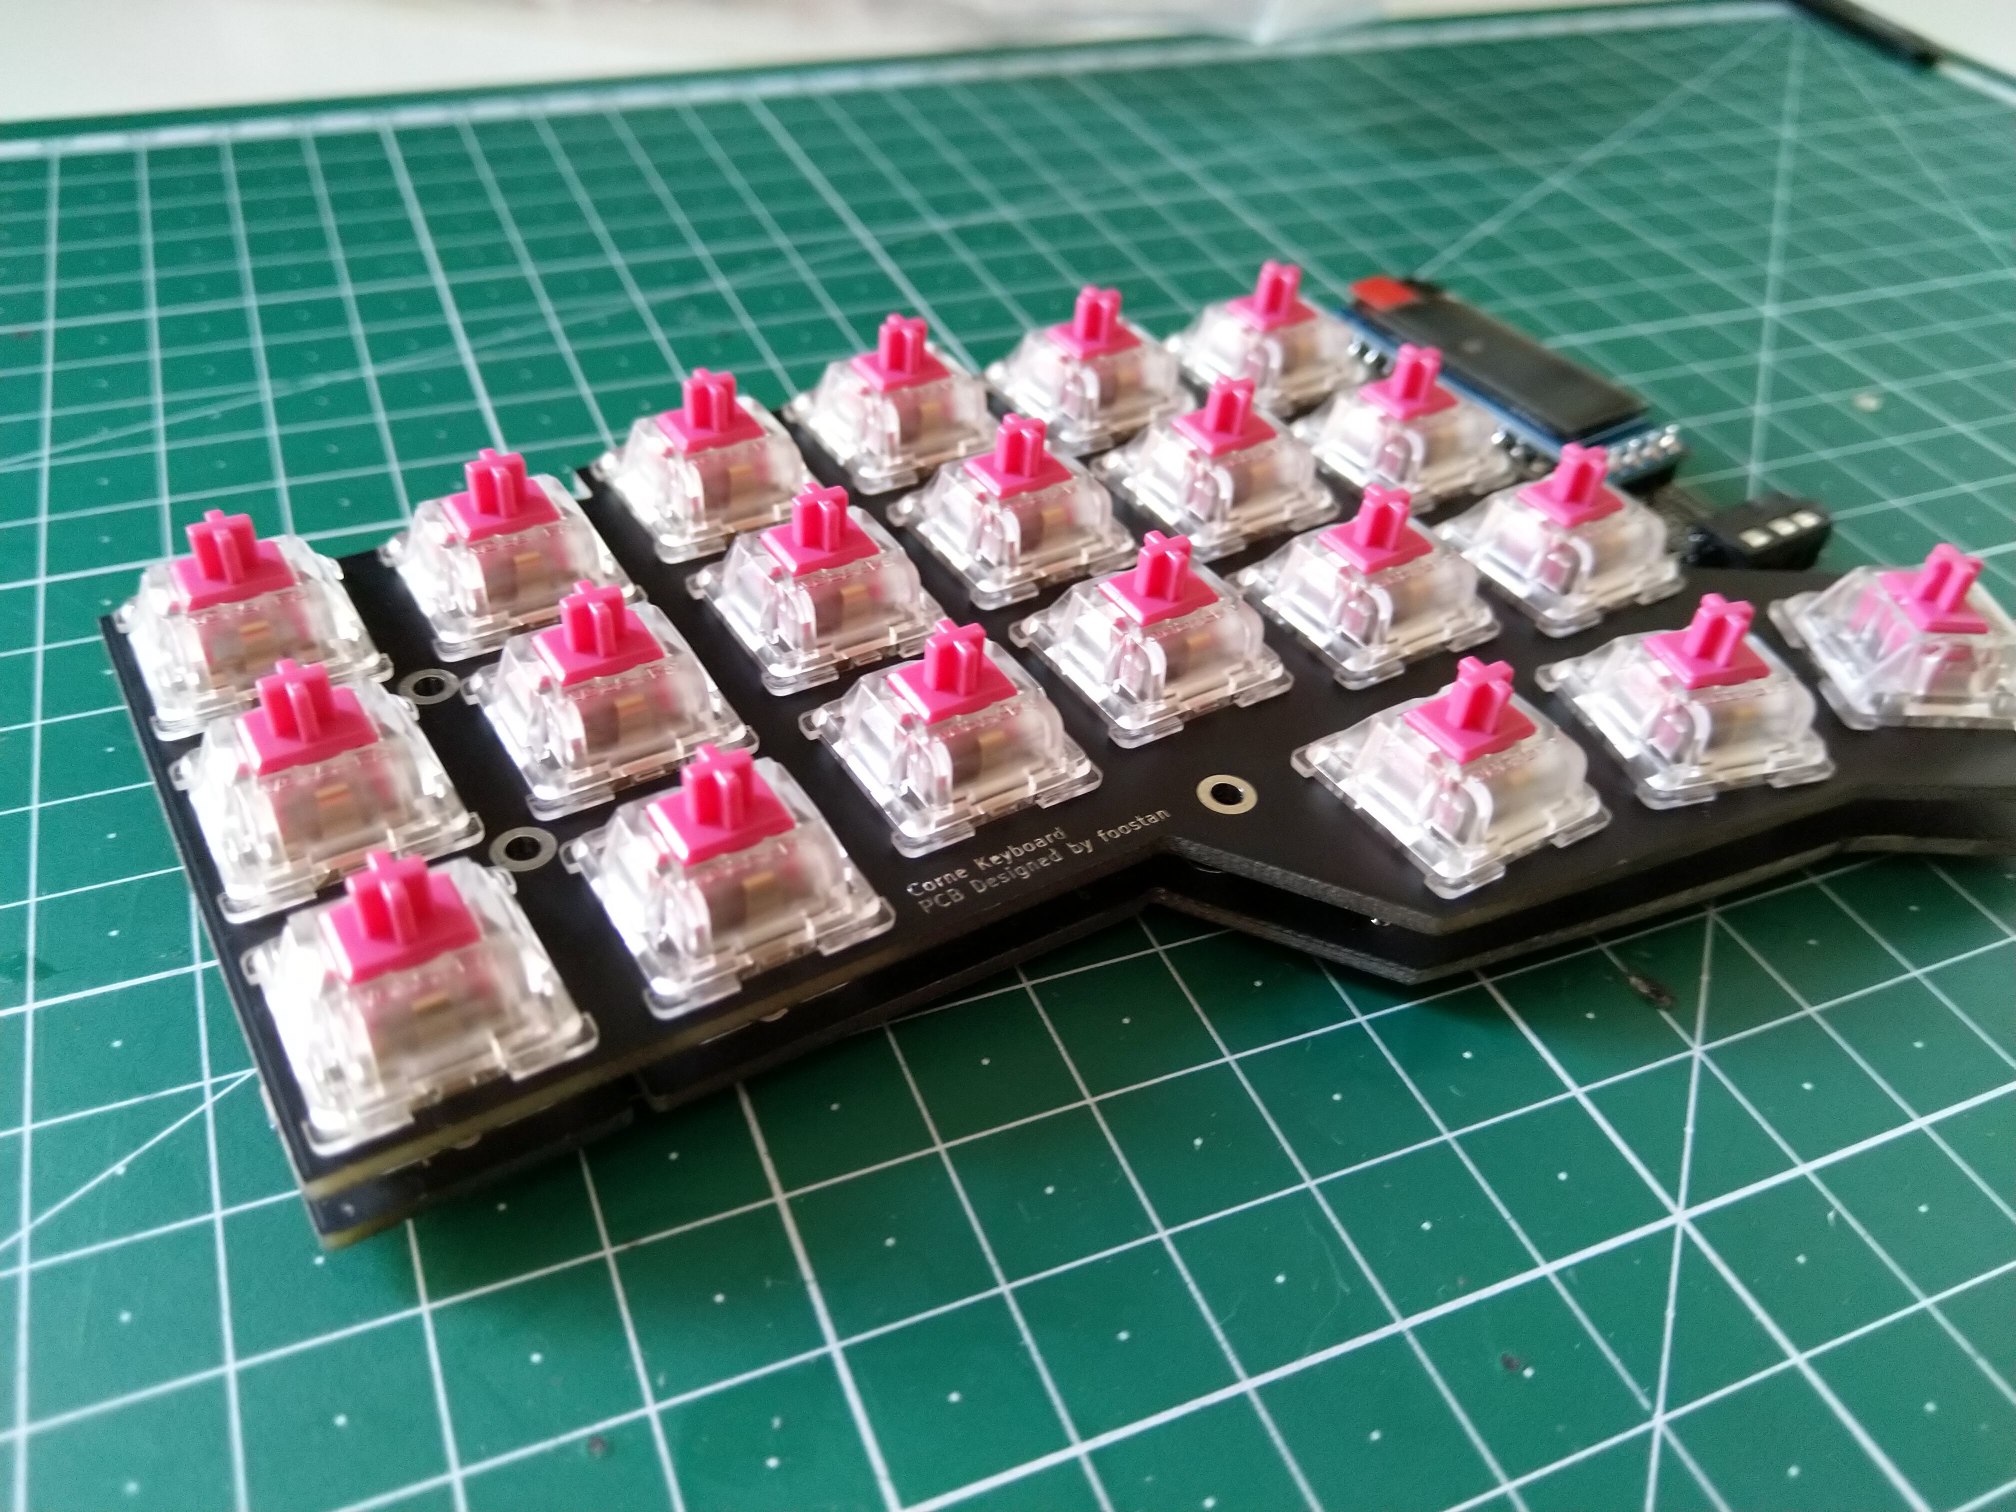
This time I chose the Corne Keyboard - or ckrbd if you want. This one is designed by a guy from Japan who calls himself foostan.
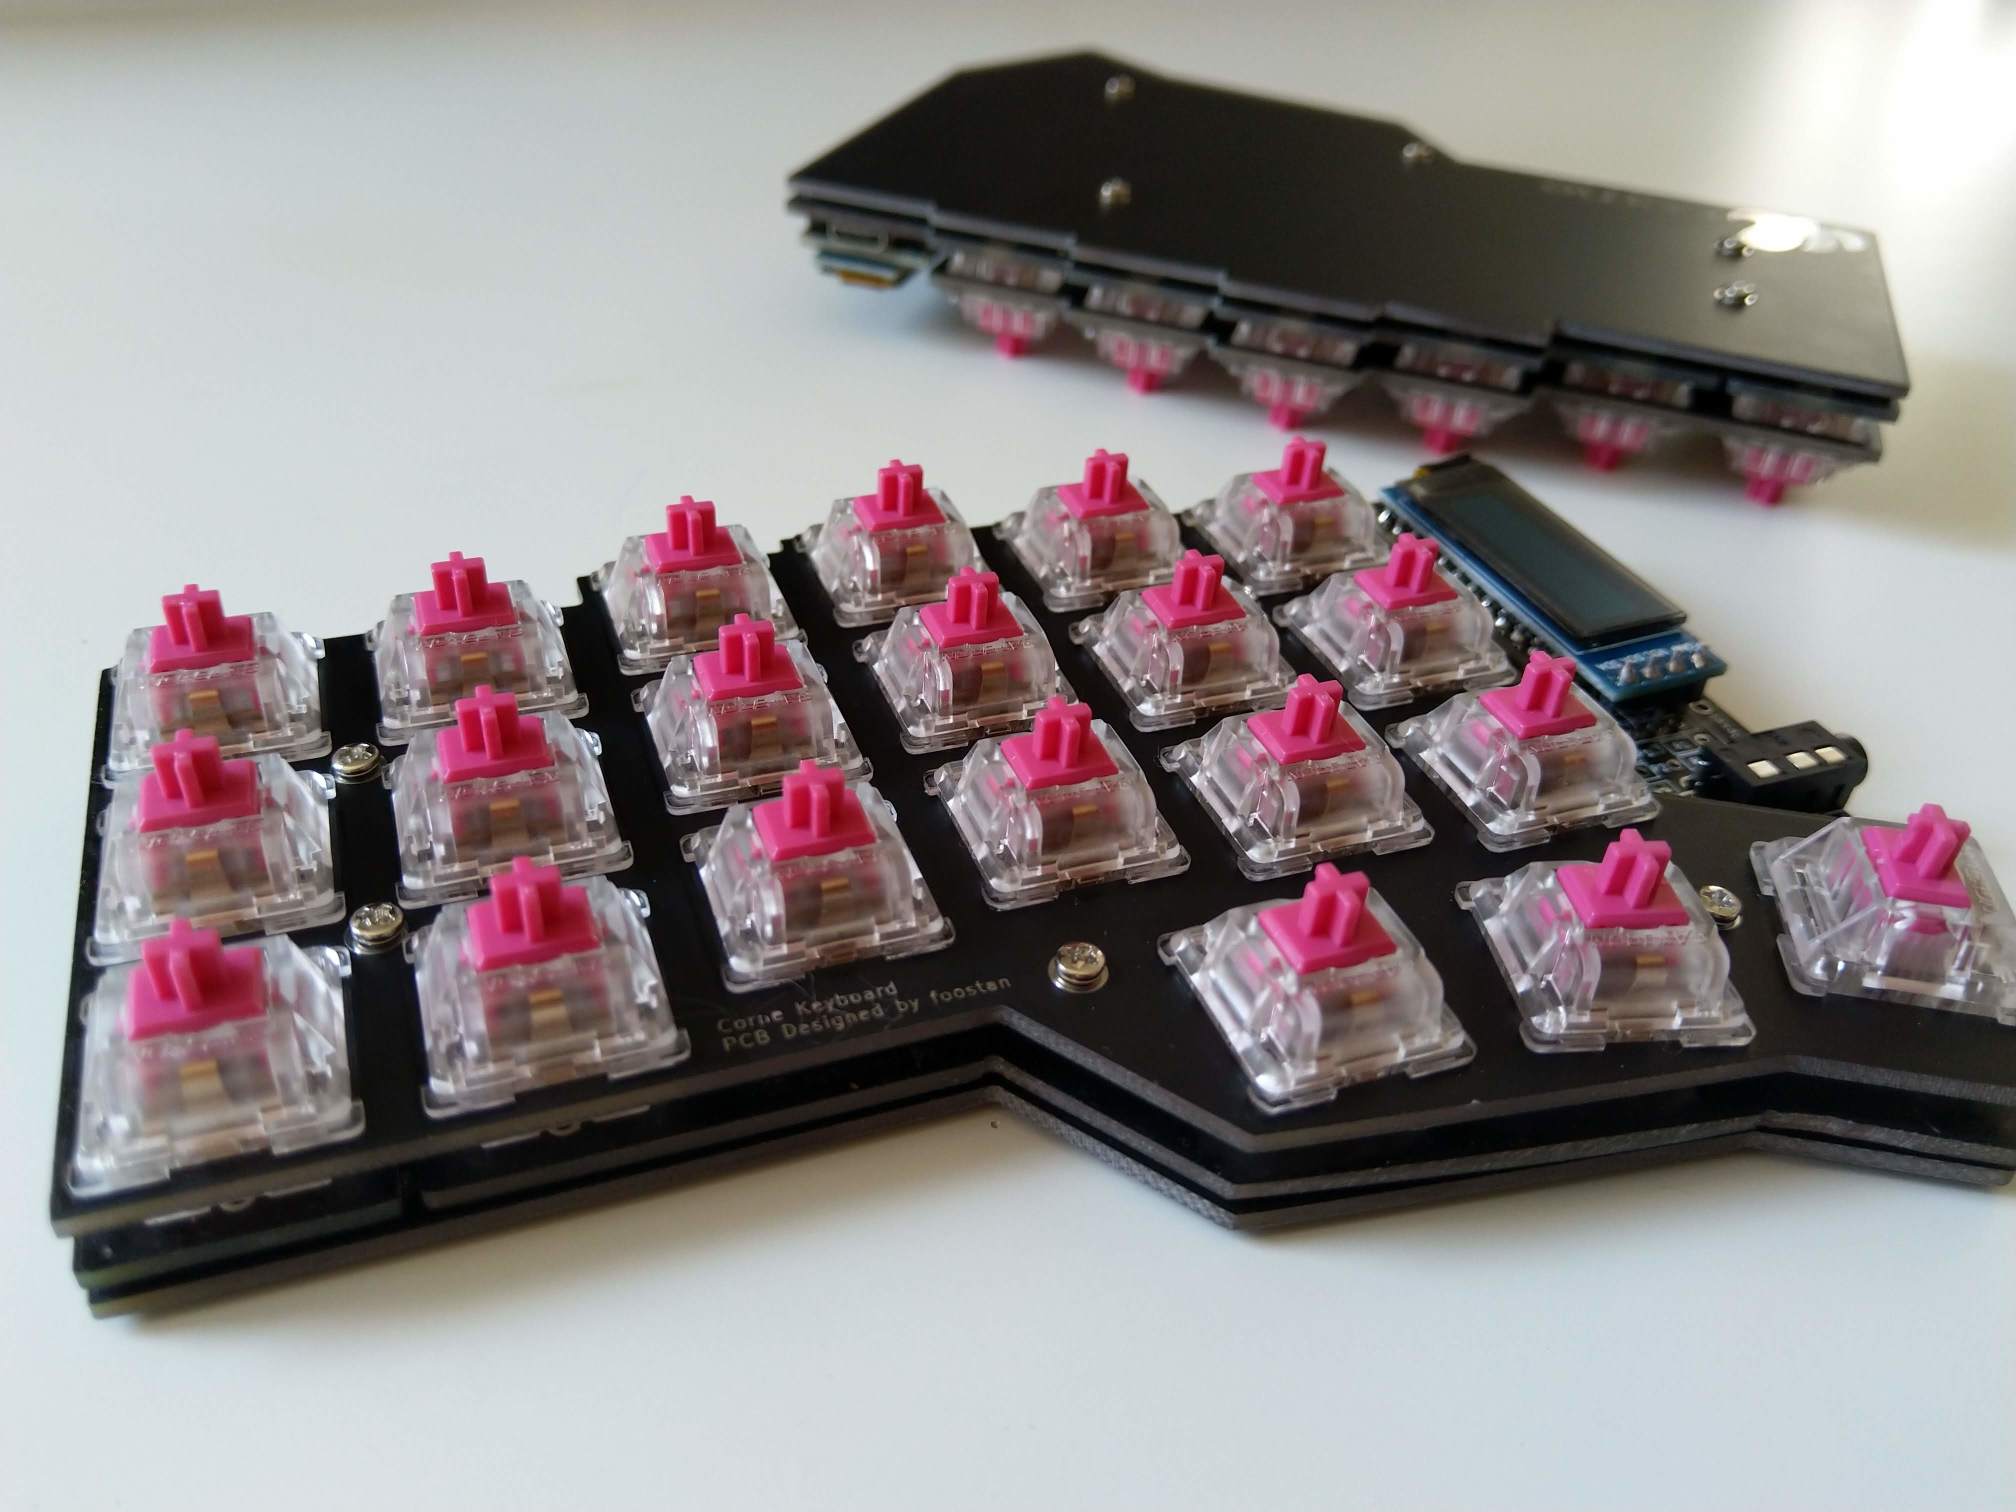
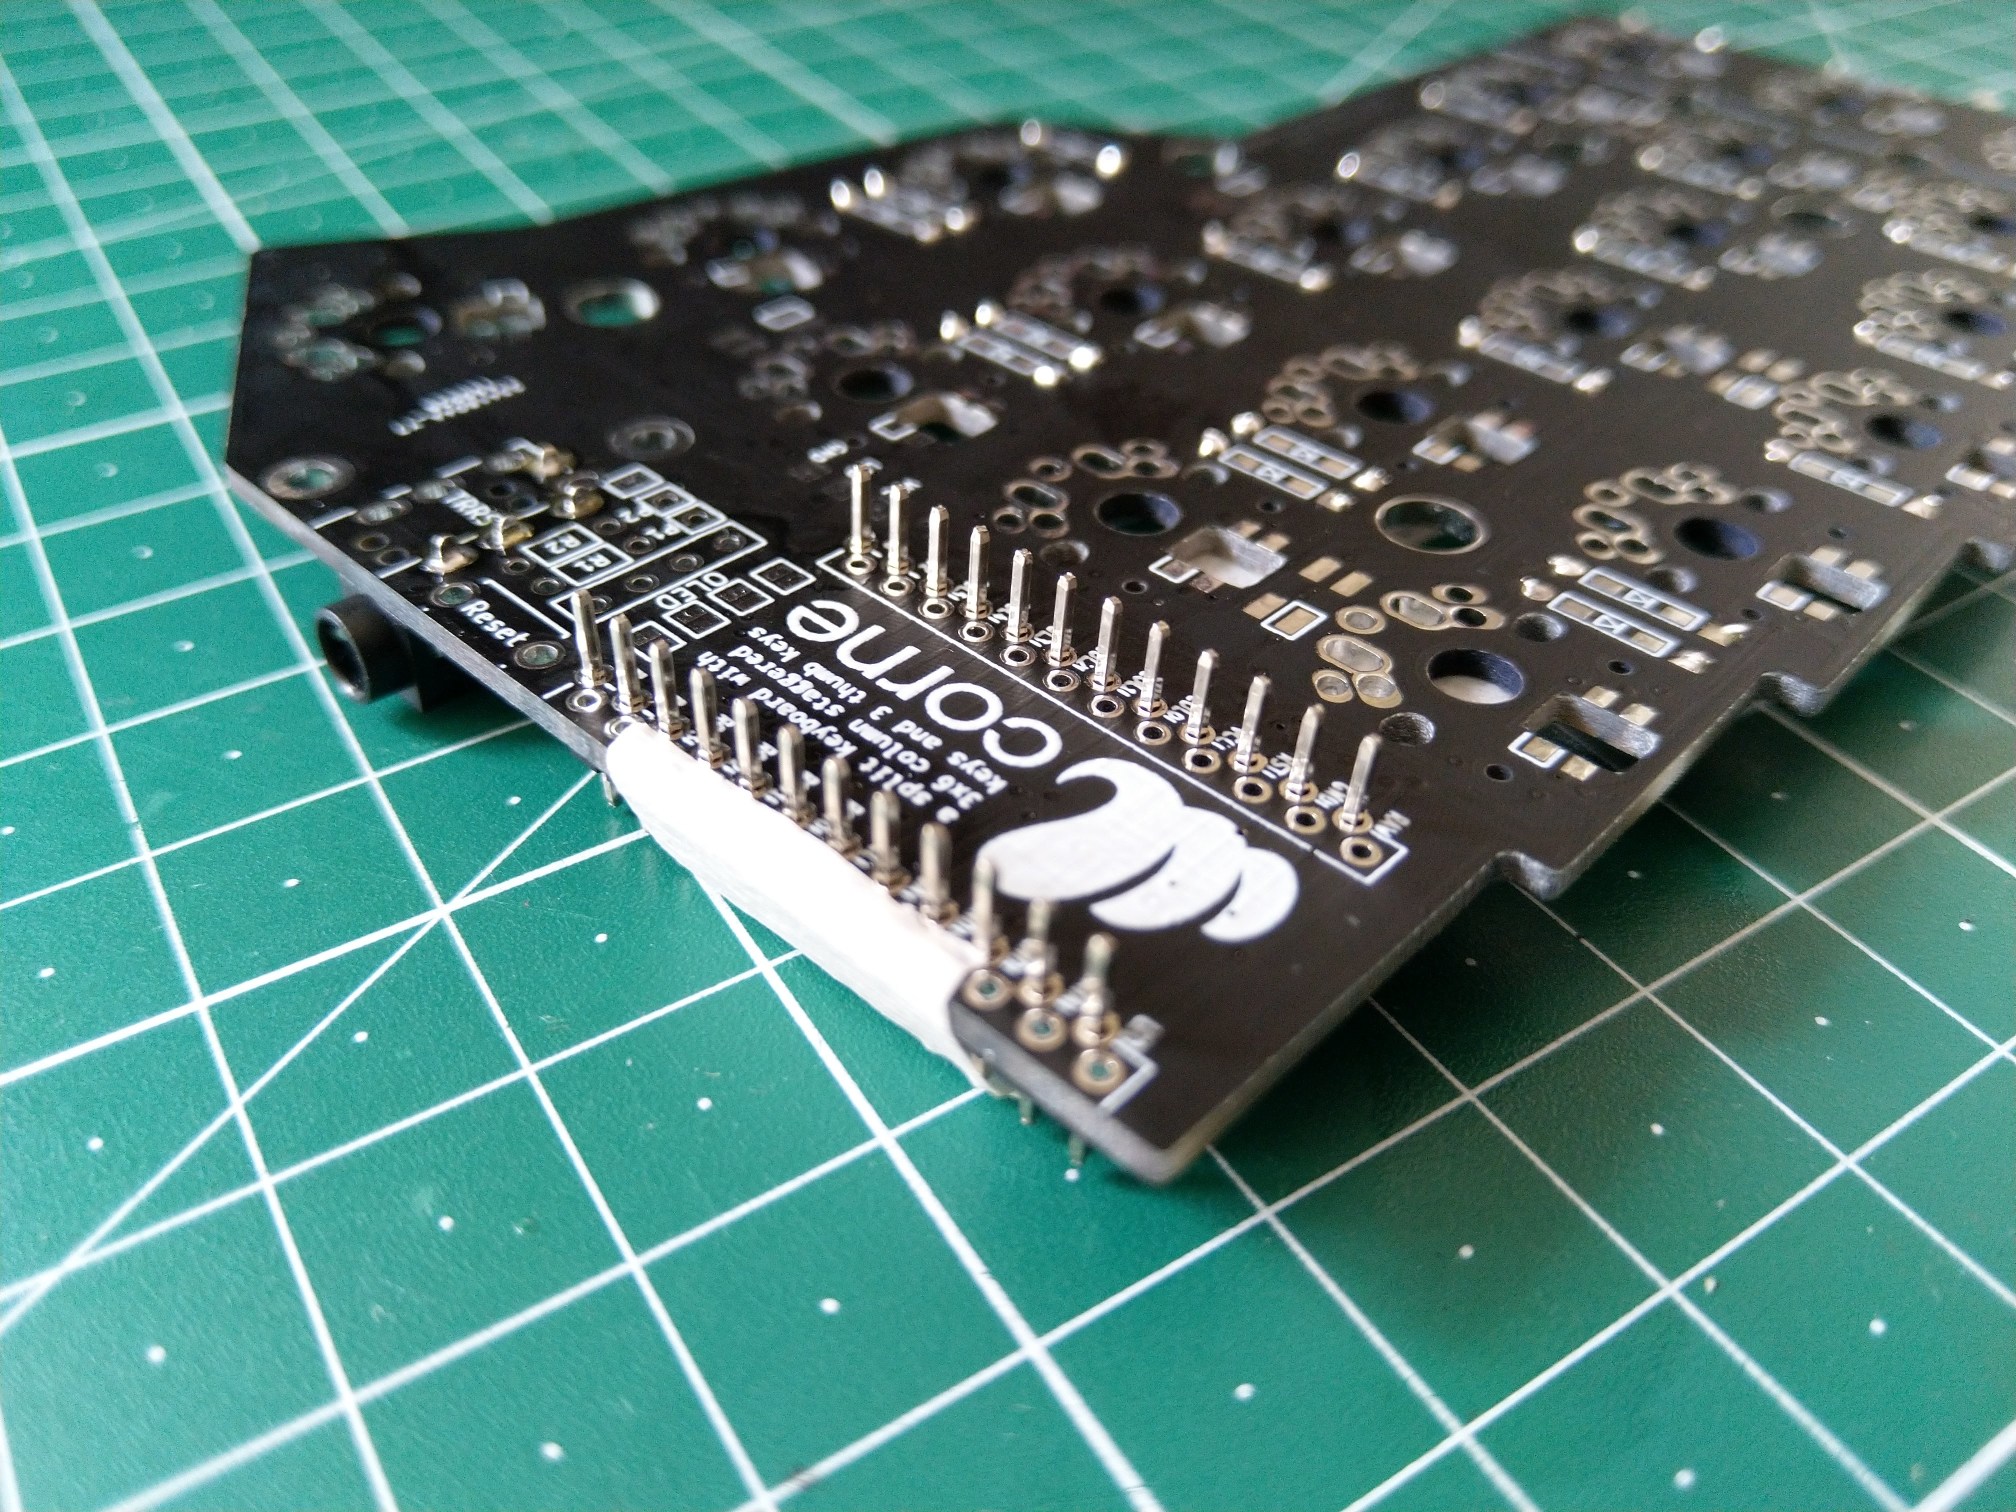
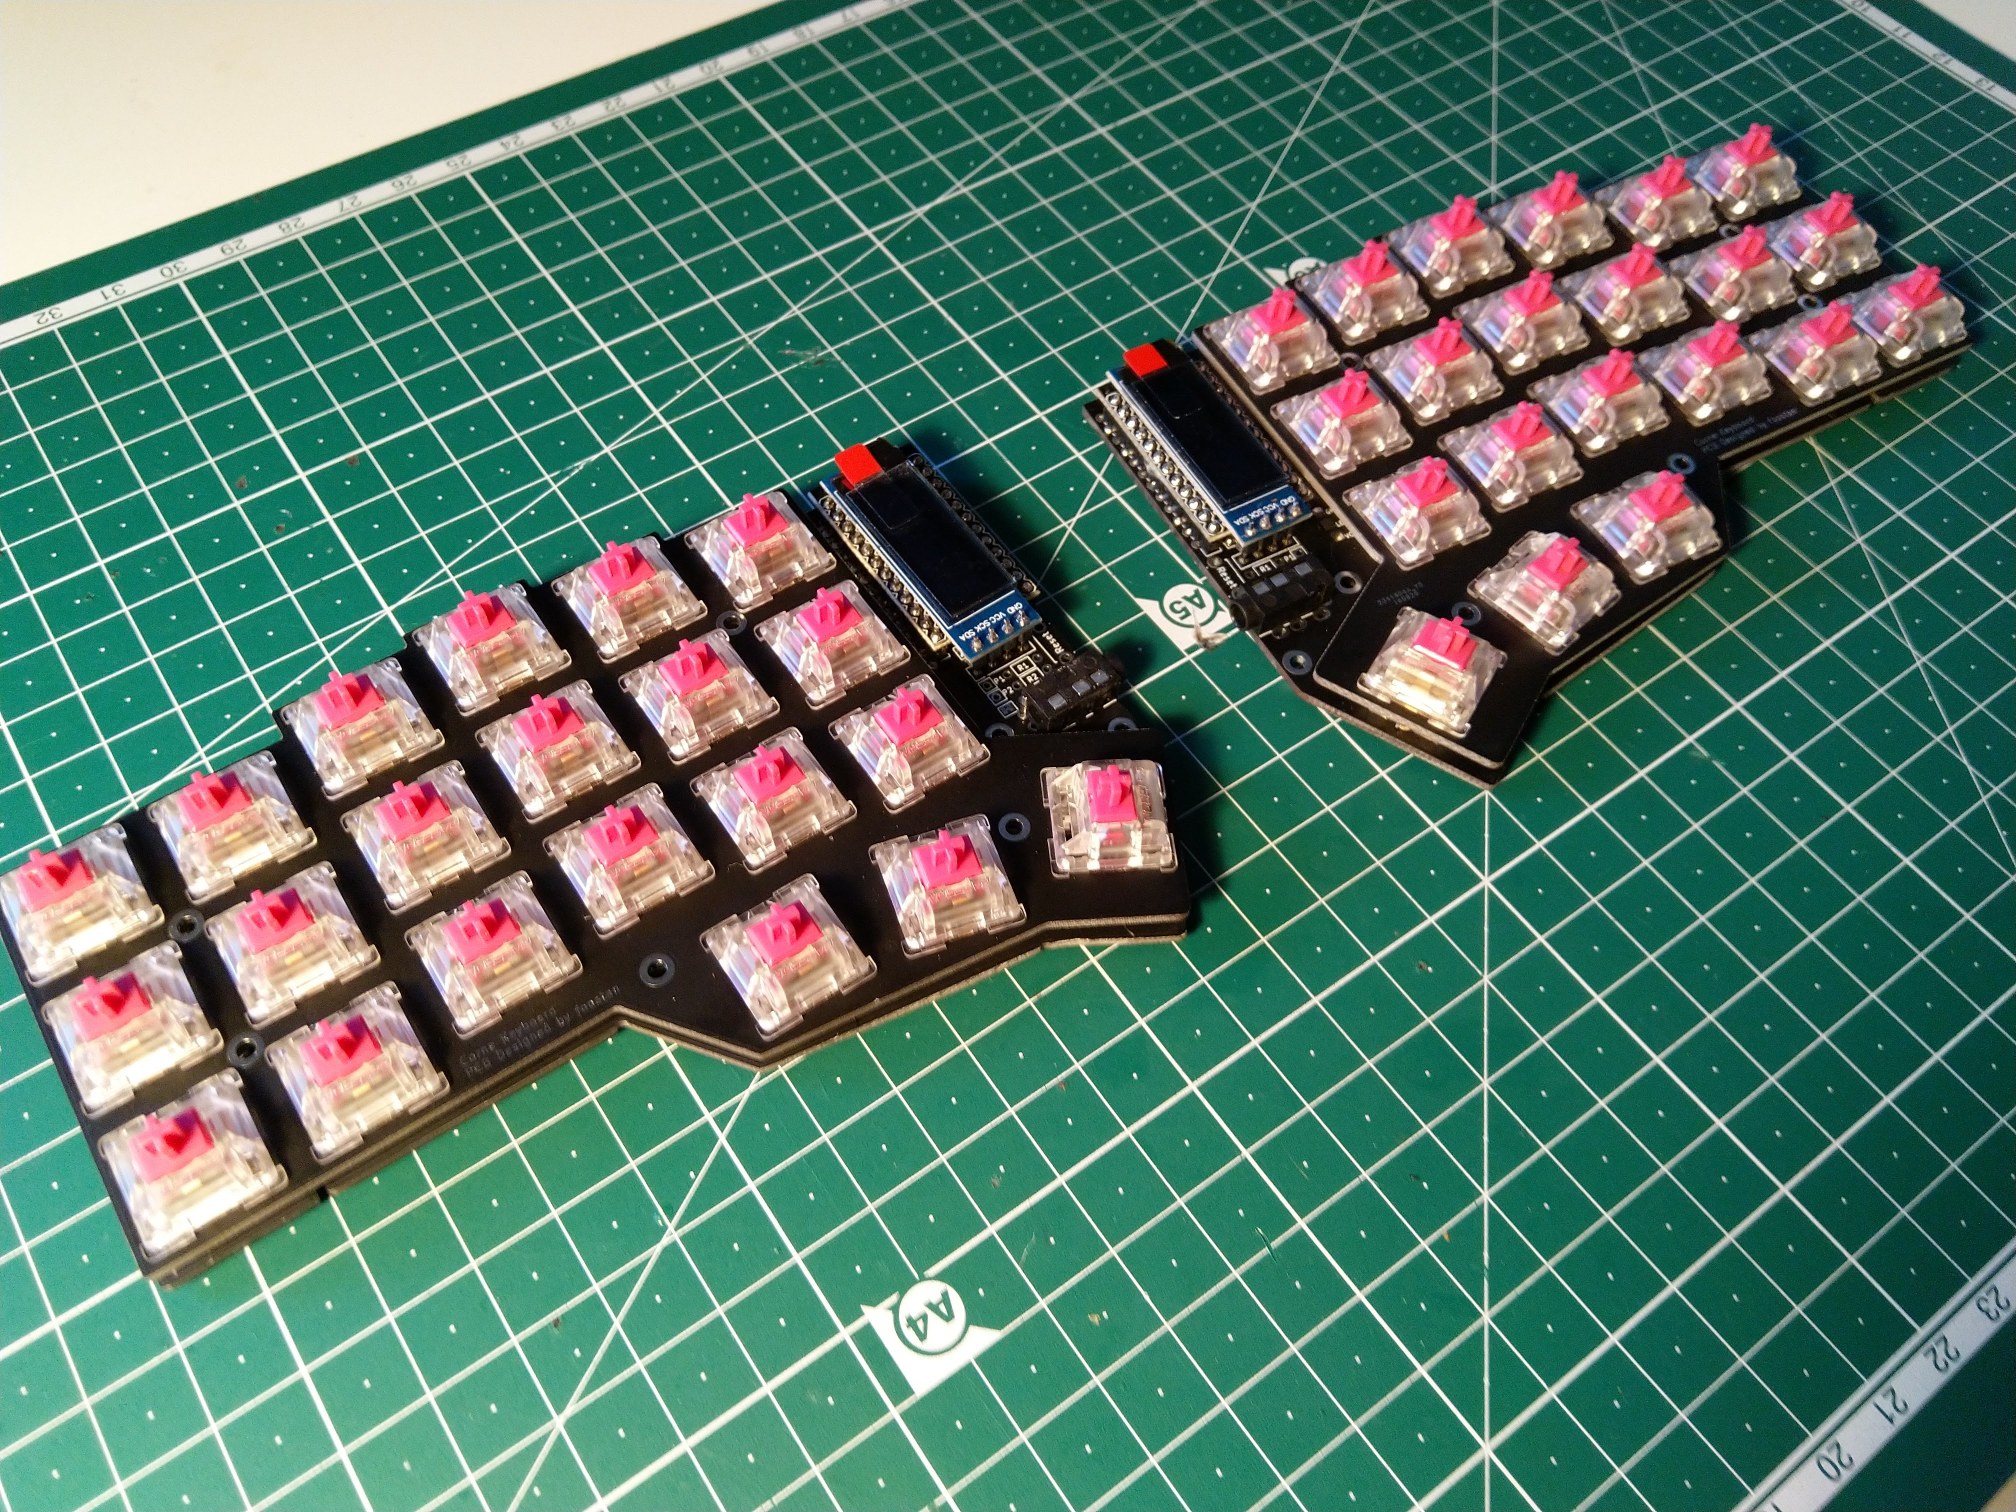
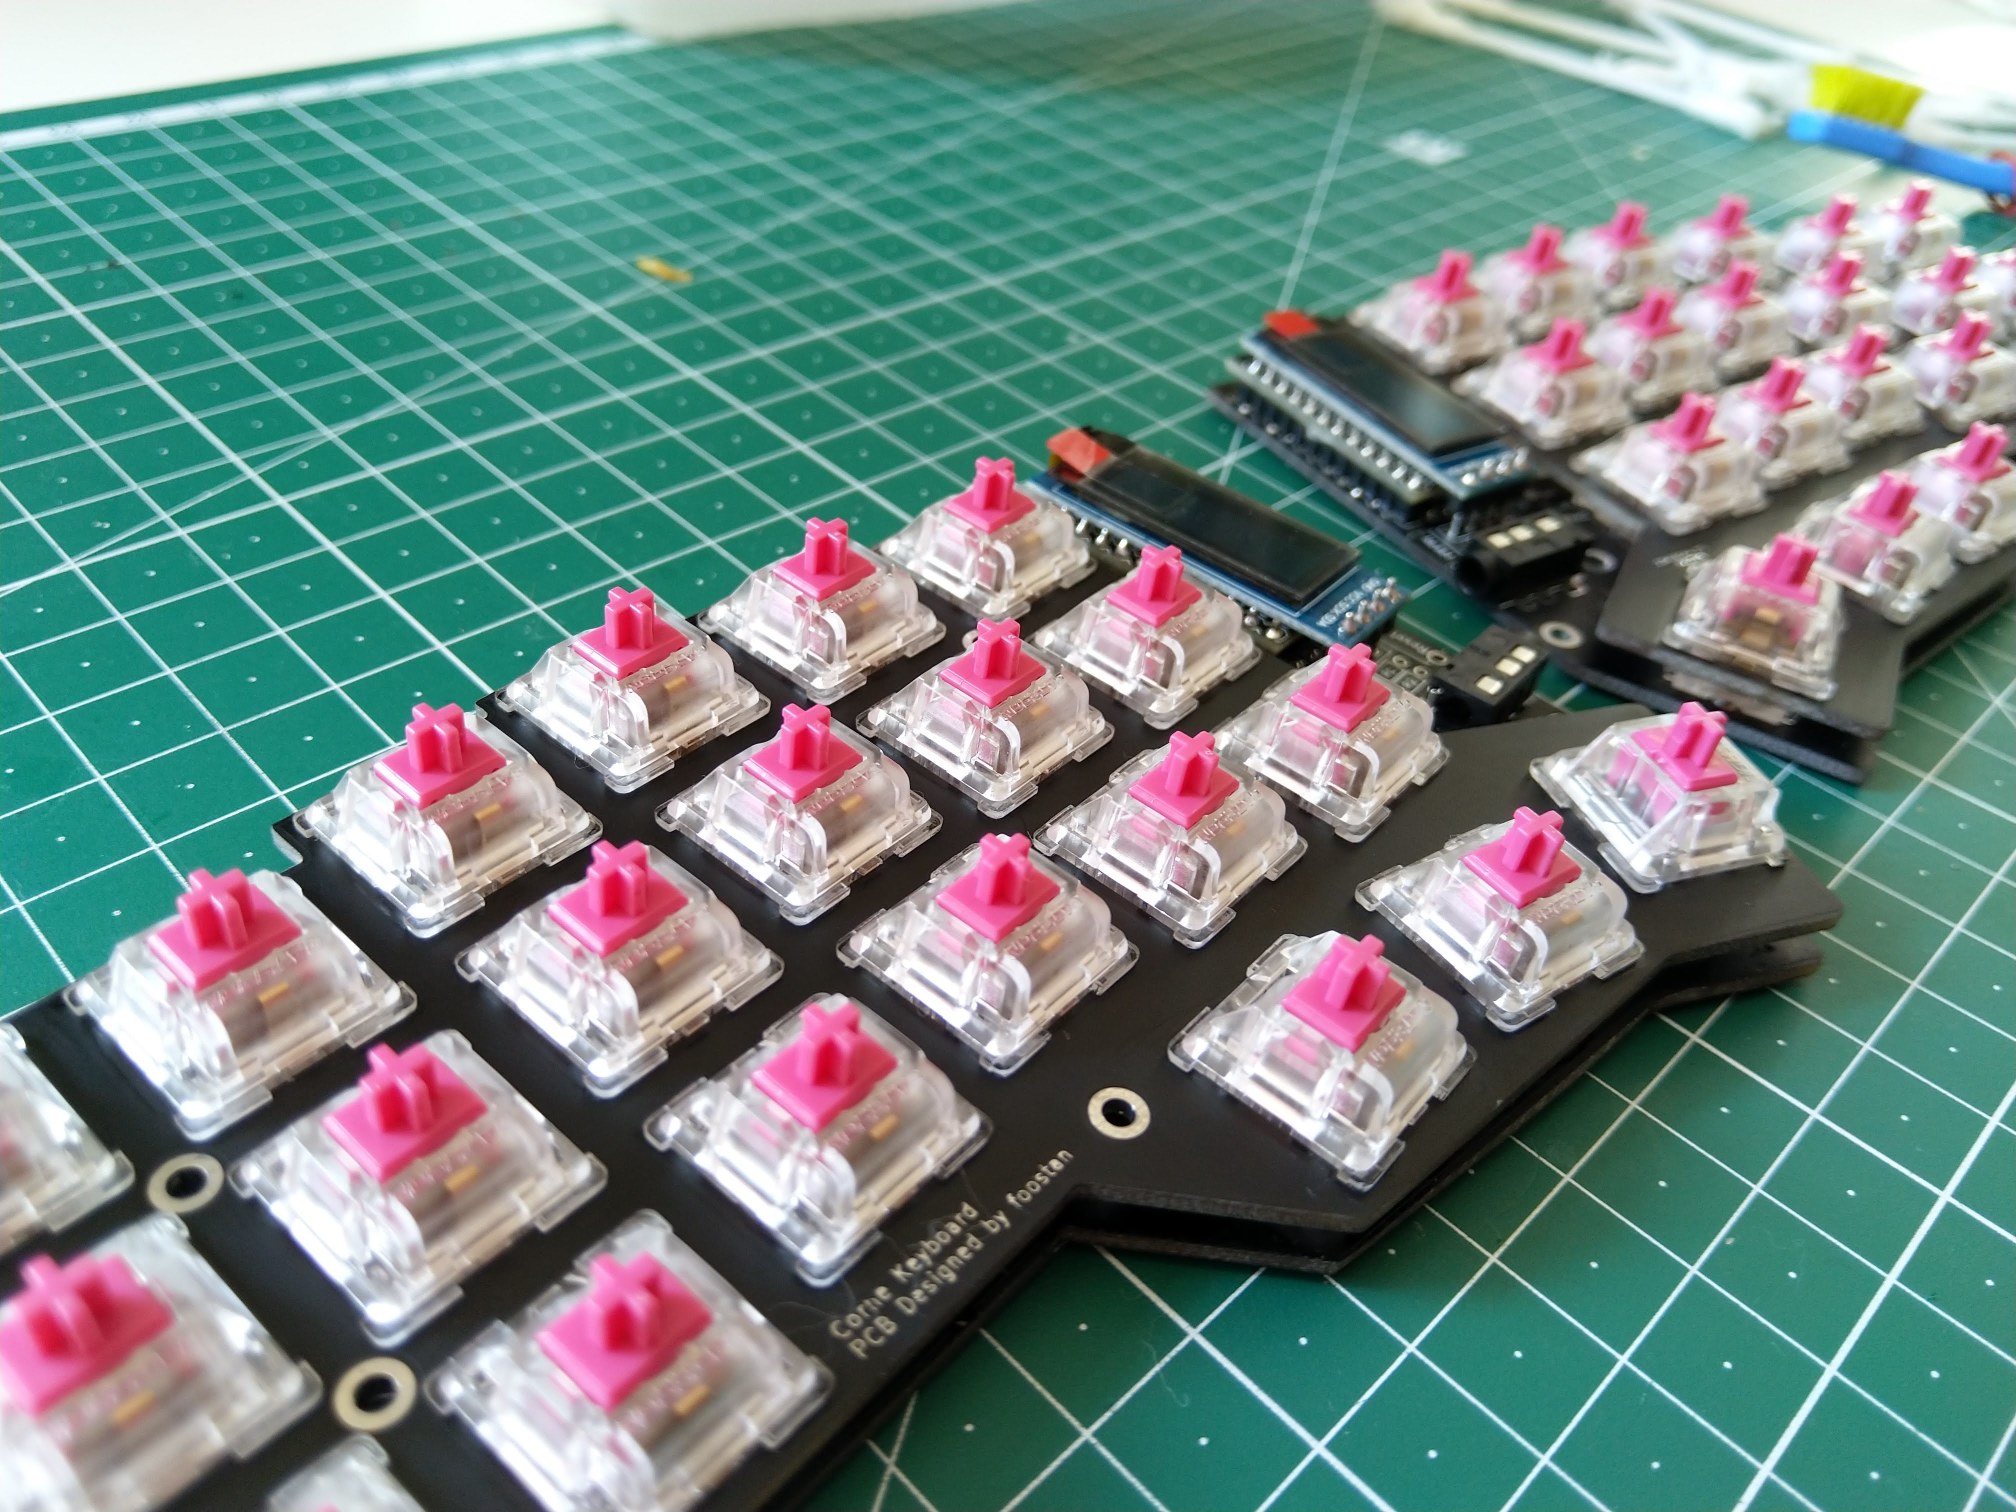
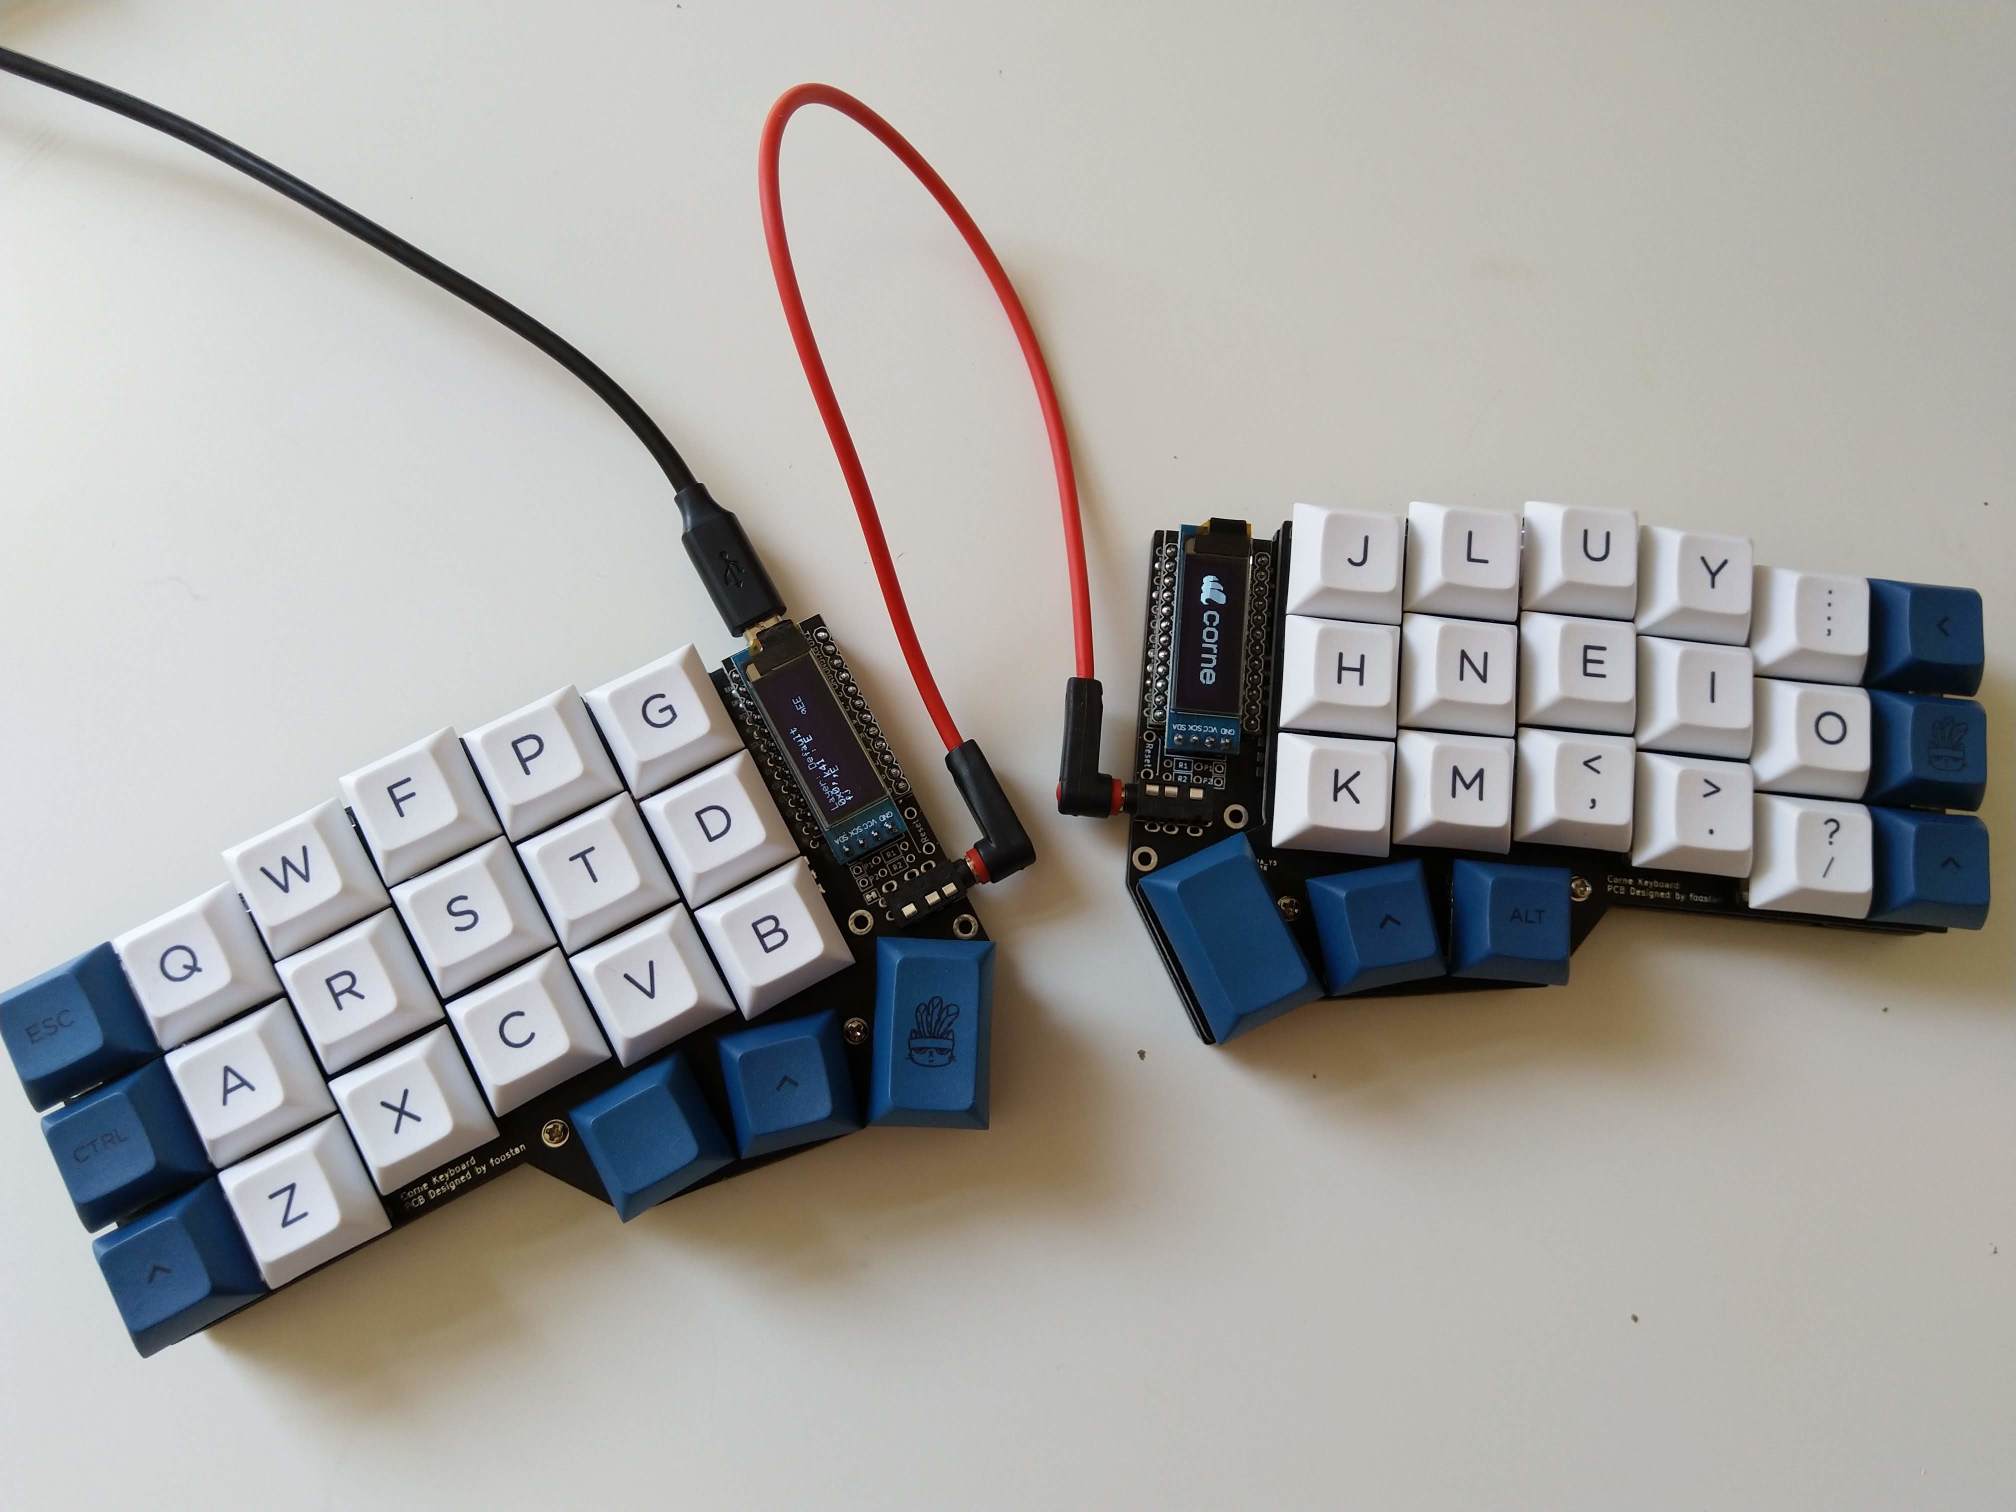
It’s a split keyboard, with a staggered layout and 3 rows and 6 columns only. It uses Arduino Pro Micros, has OLED displays and even RGB LED back-light and under-glow. I am not really into backlit keyboards, but the support is there.
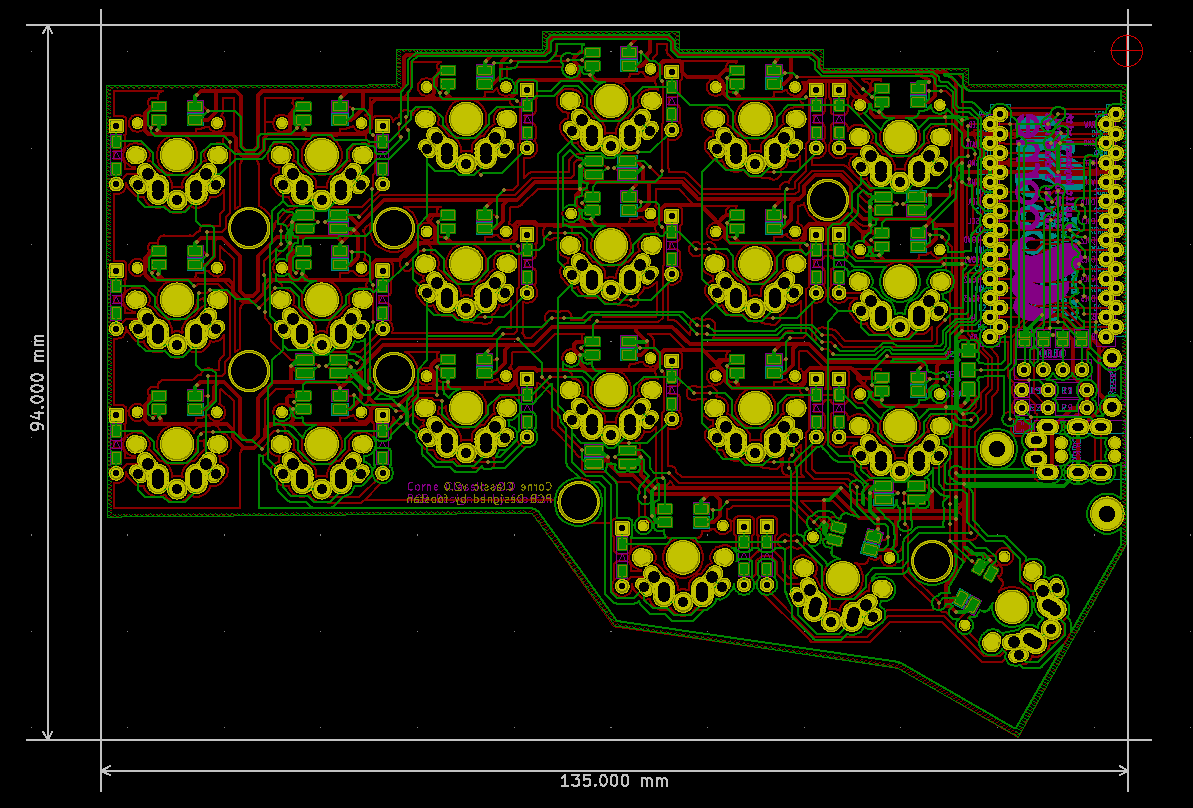
It’s possible to buy PCBs or kits on the internet and there are also some very fancy cases for the keyboard. But I was not happy to pay the crazy postage fees I have seen on some websites and I was also interested in getting some experience with manufacturing of PCBs and so on. The keyboard is open-source and there are KiCad files available for PCB (there are even several variants). There are also some source files for a laser-cut acrylic case.
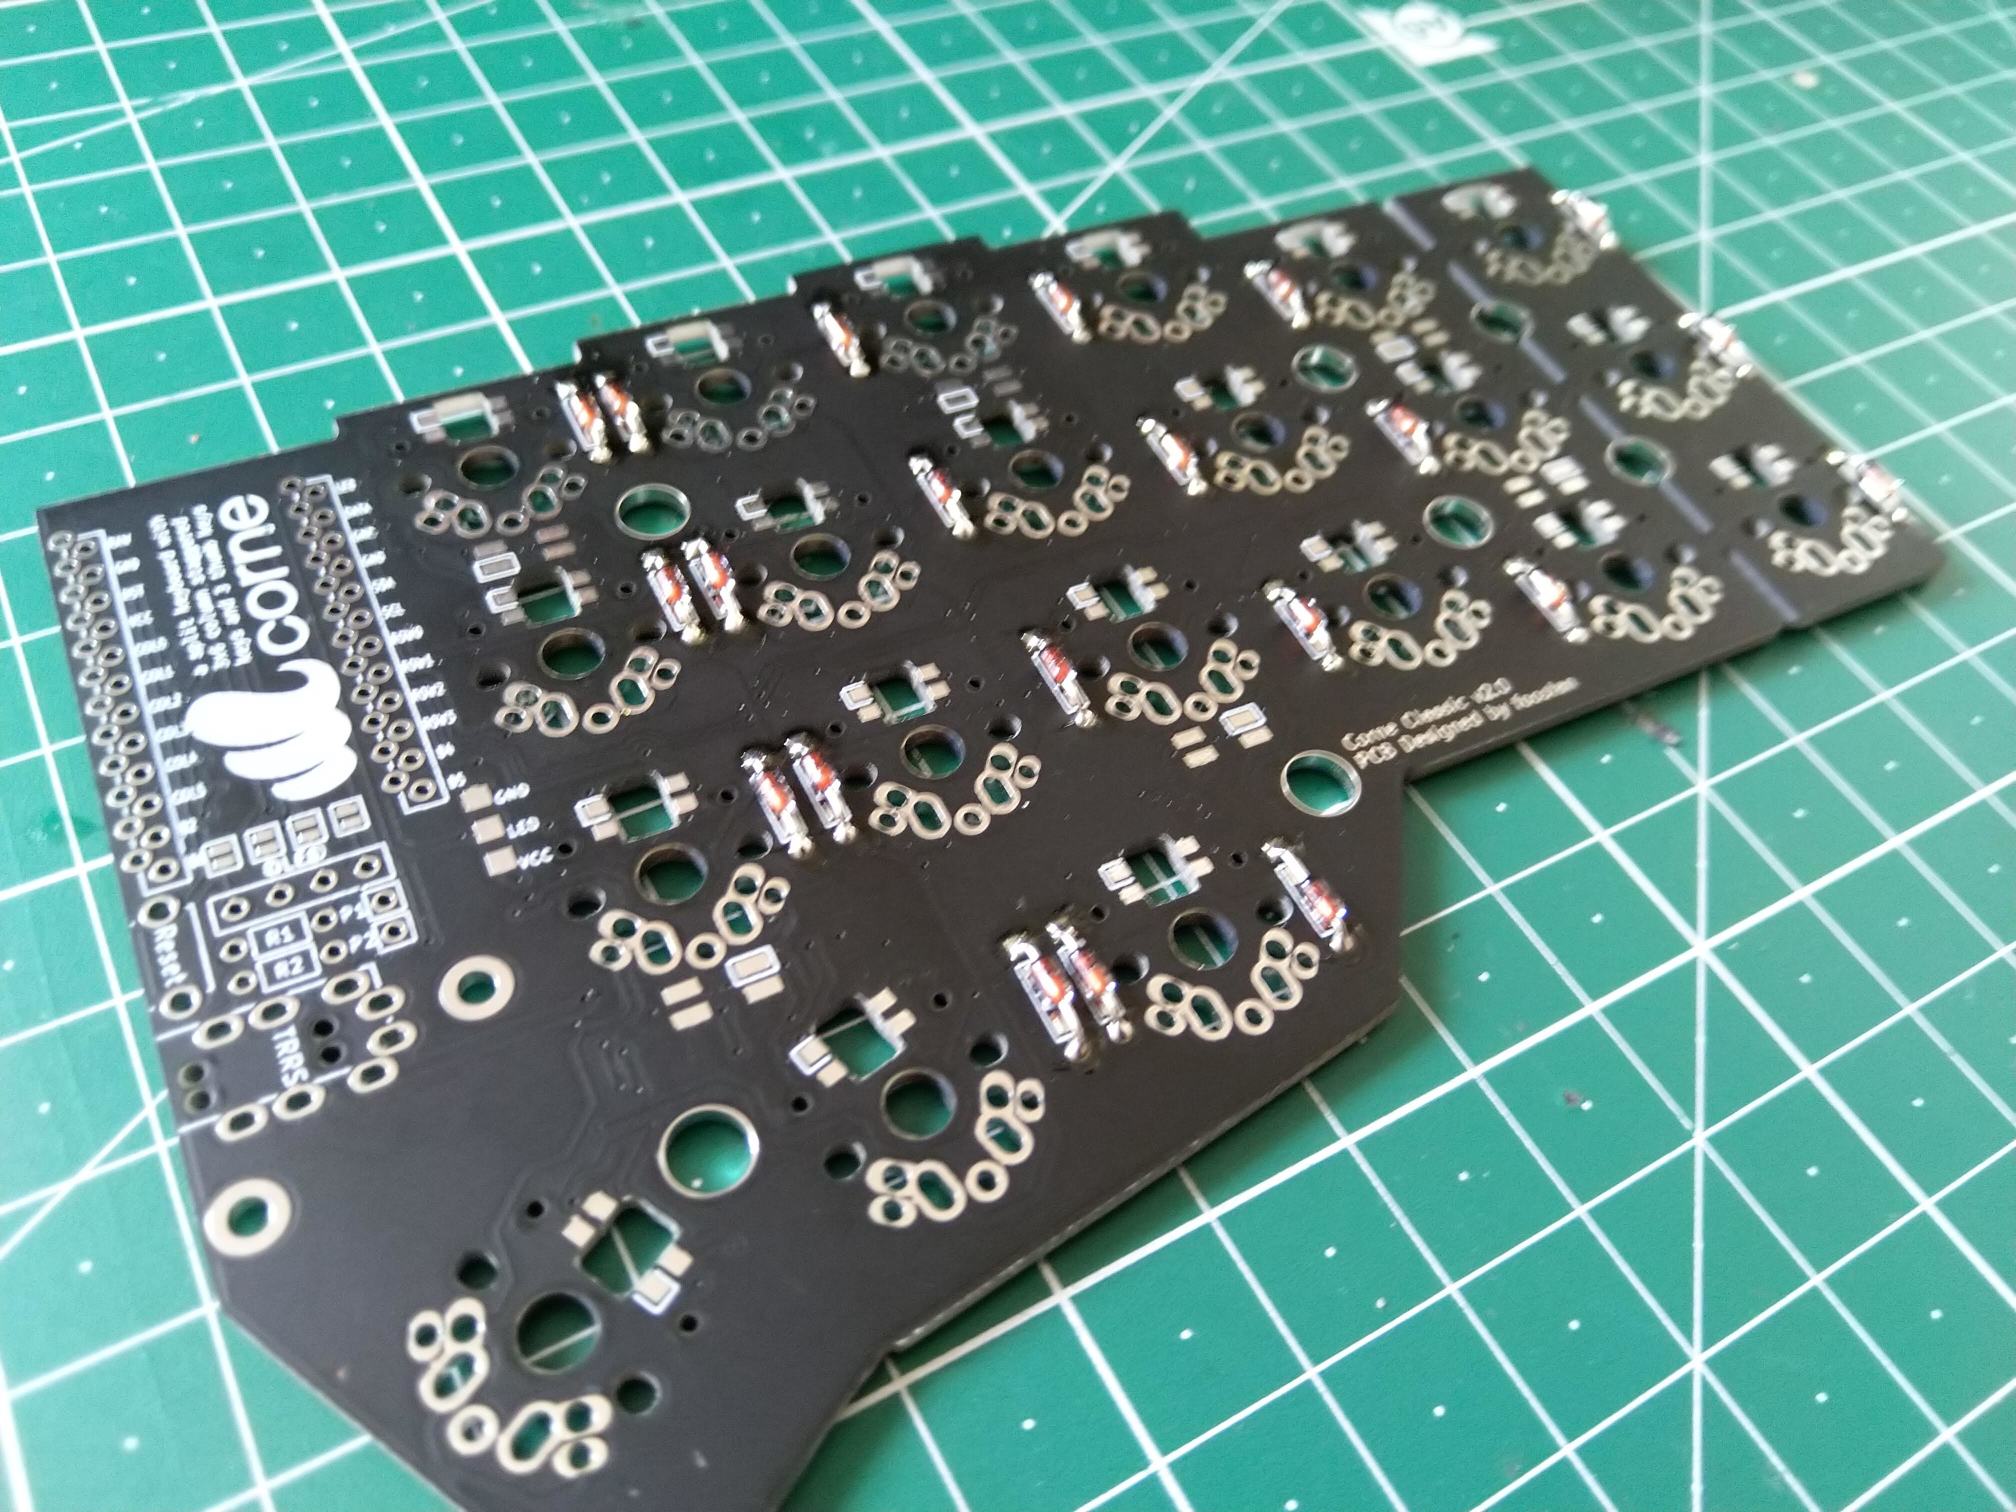
PCBs
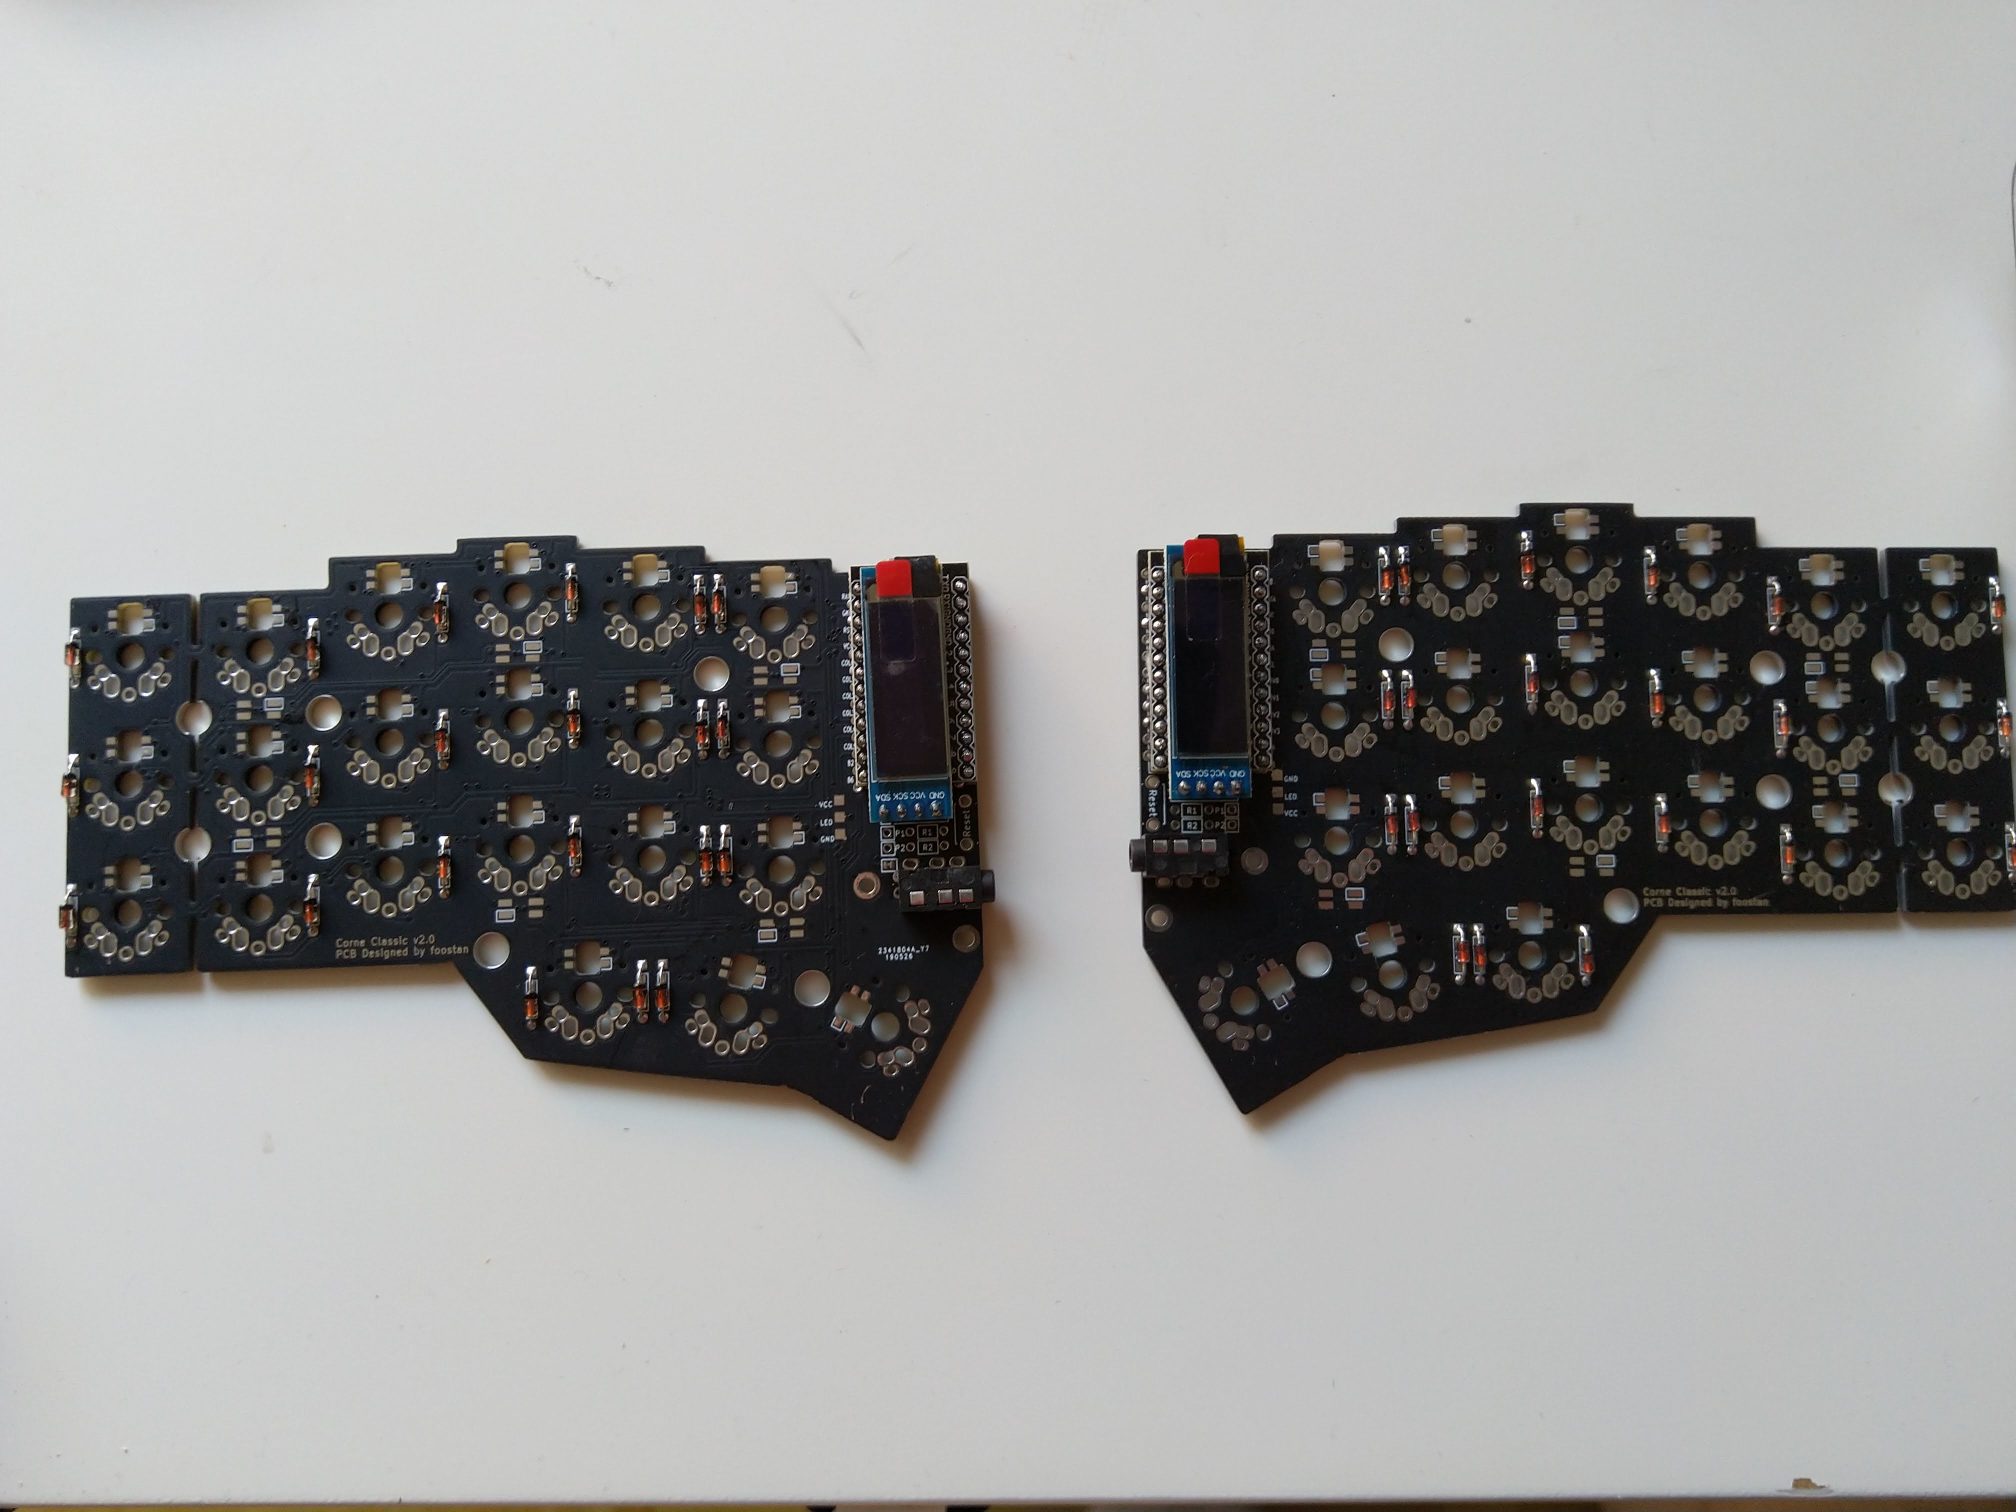
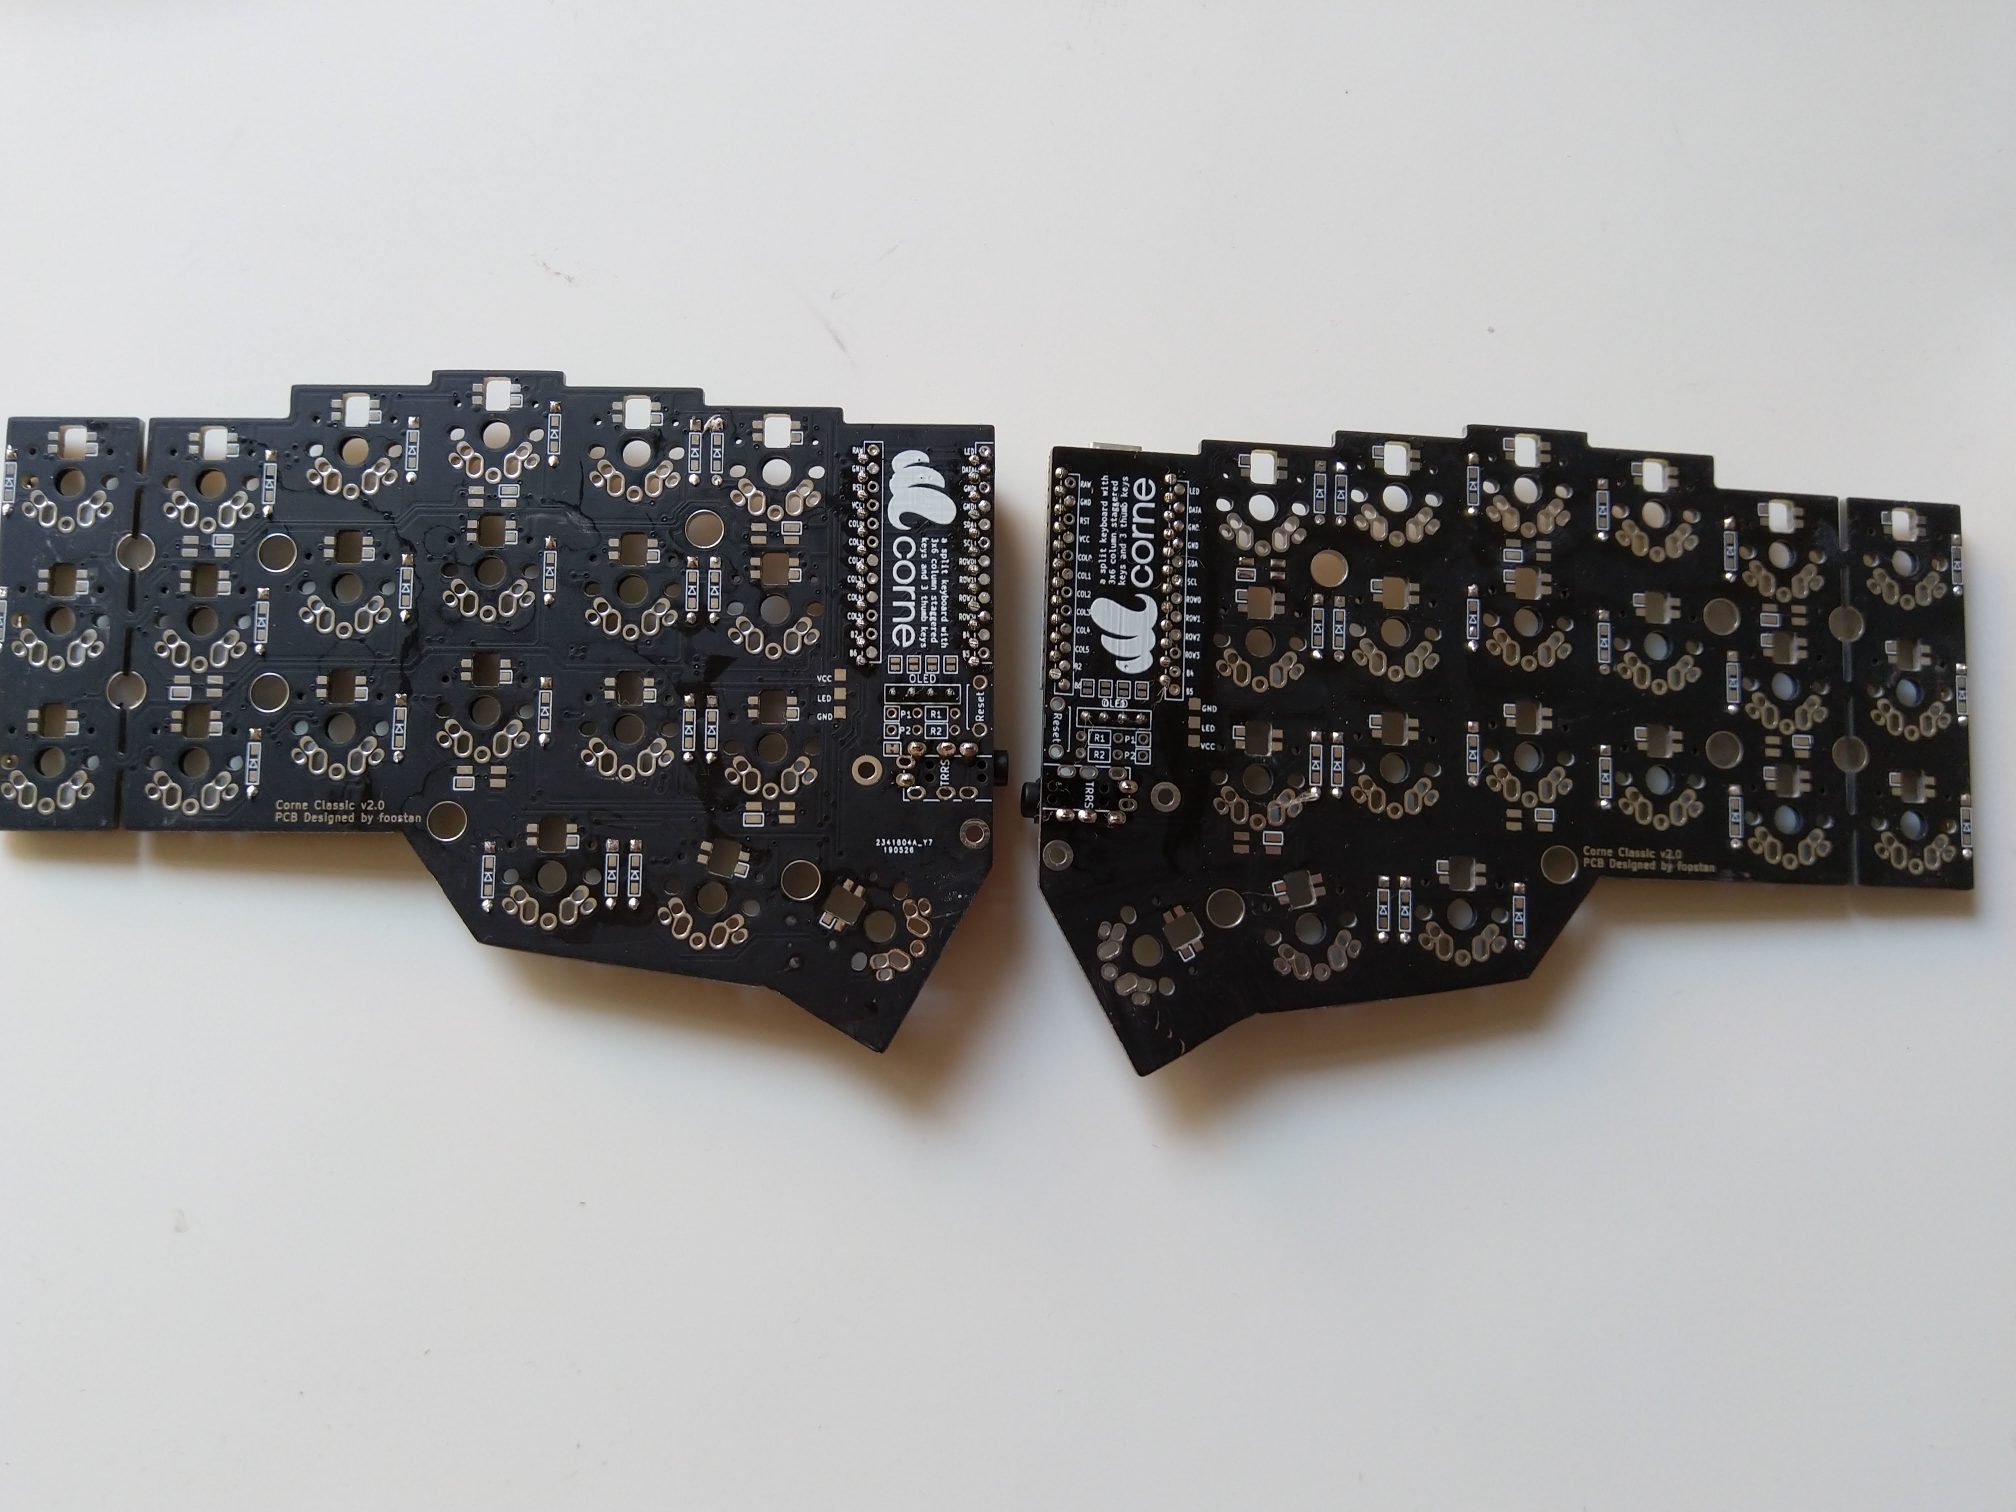
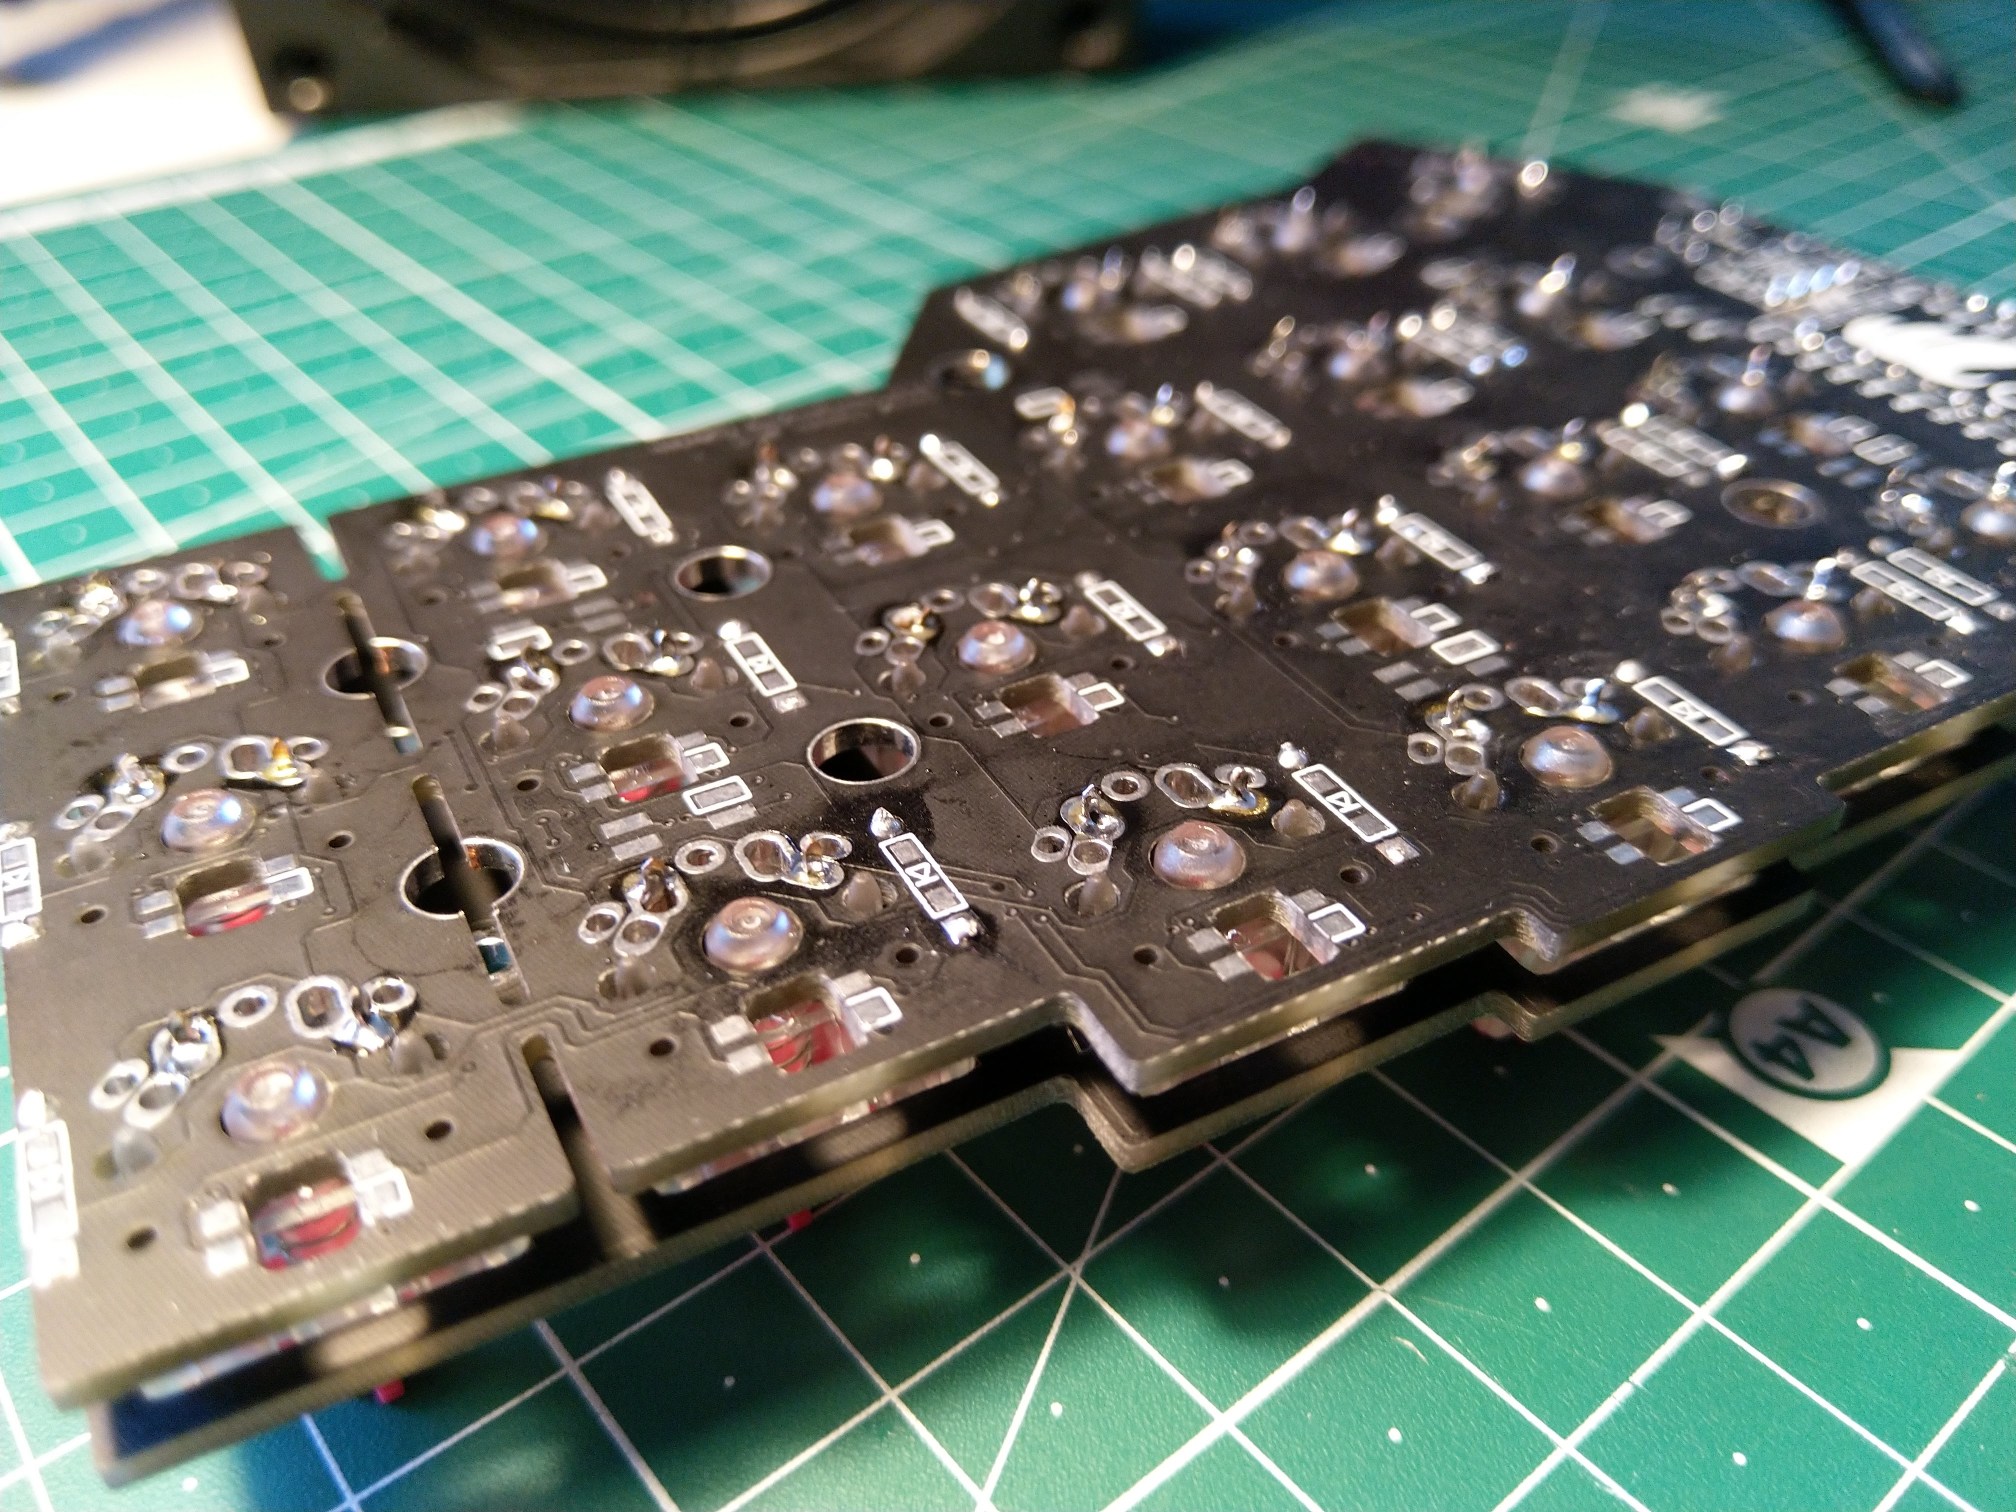
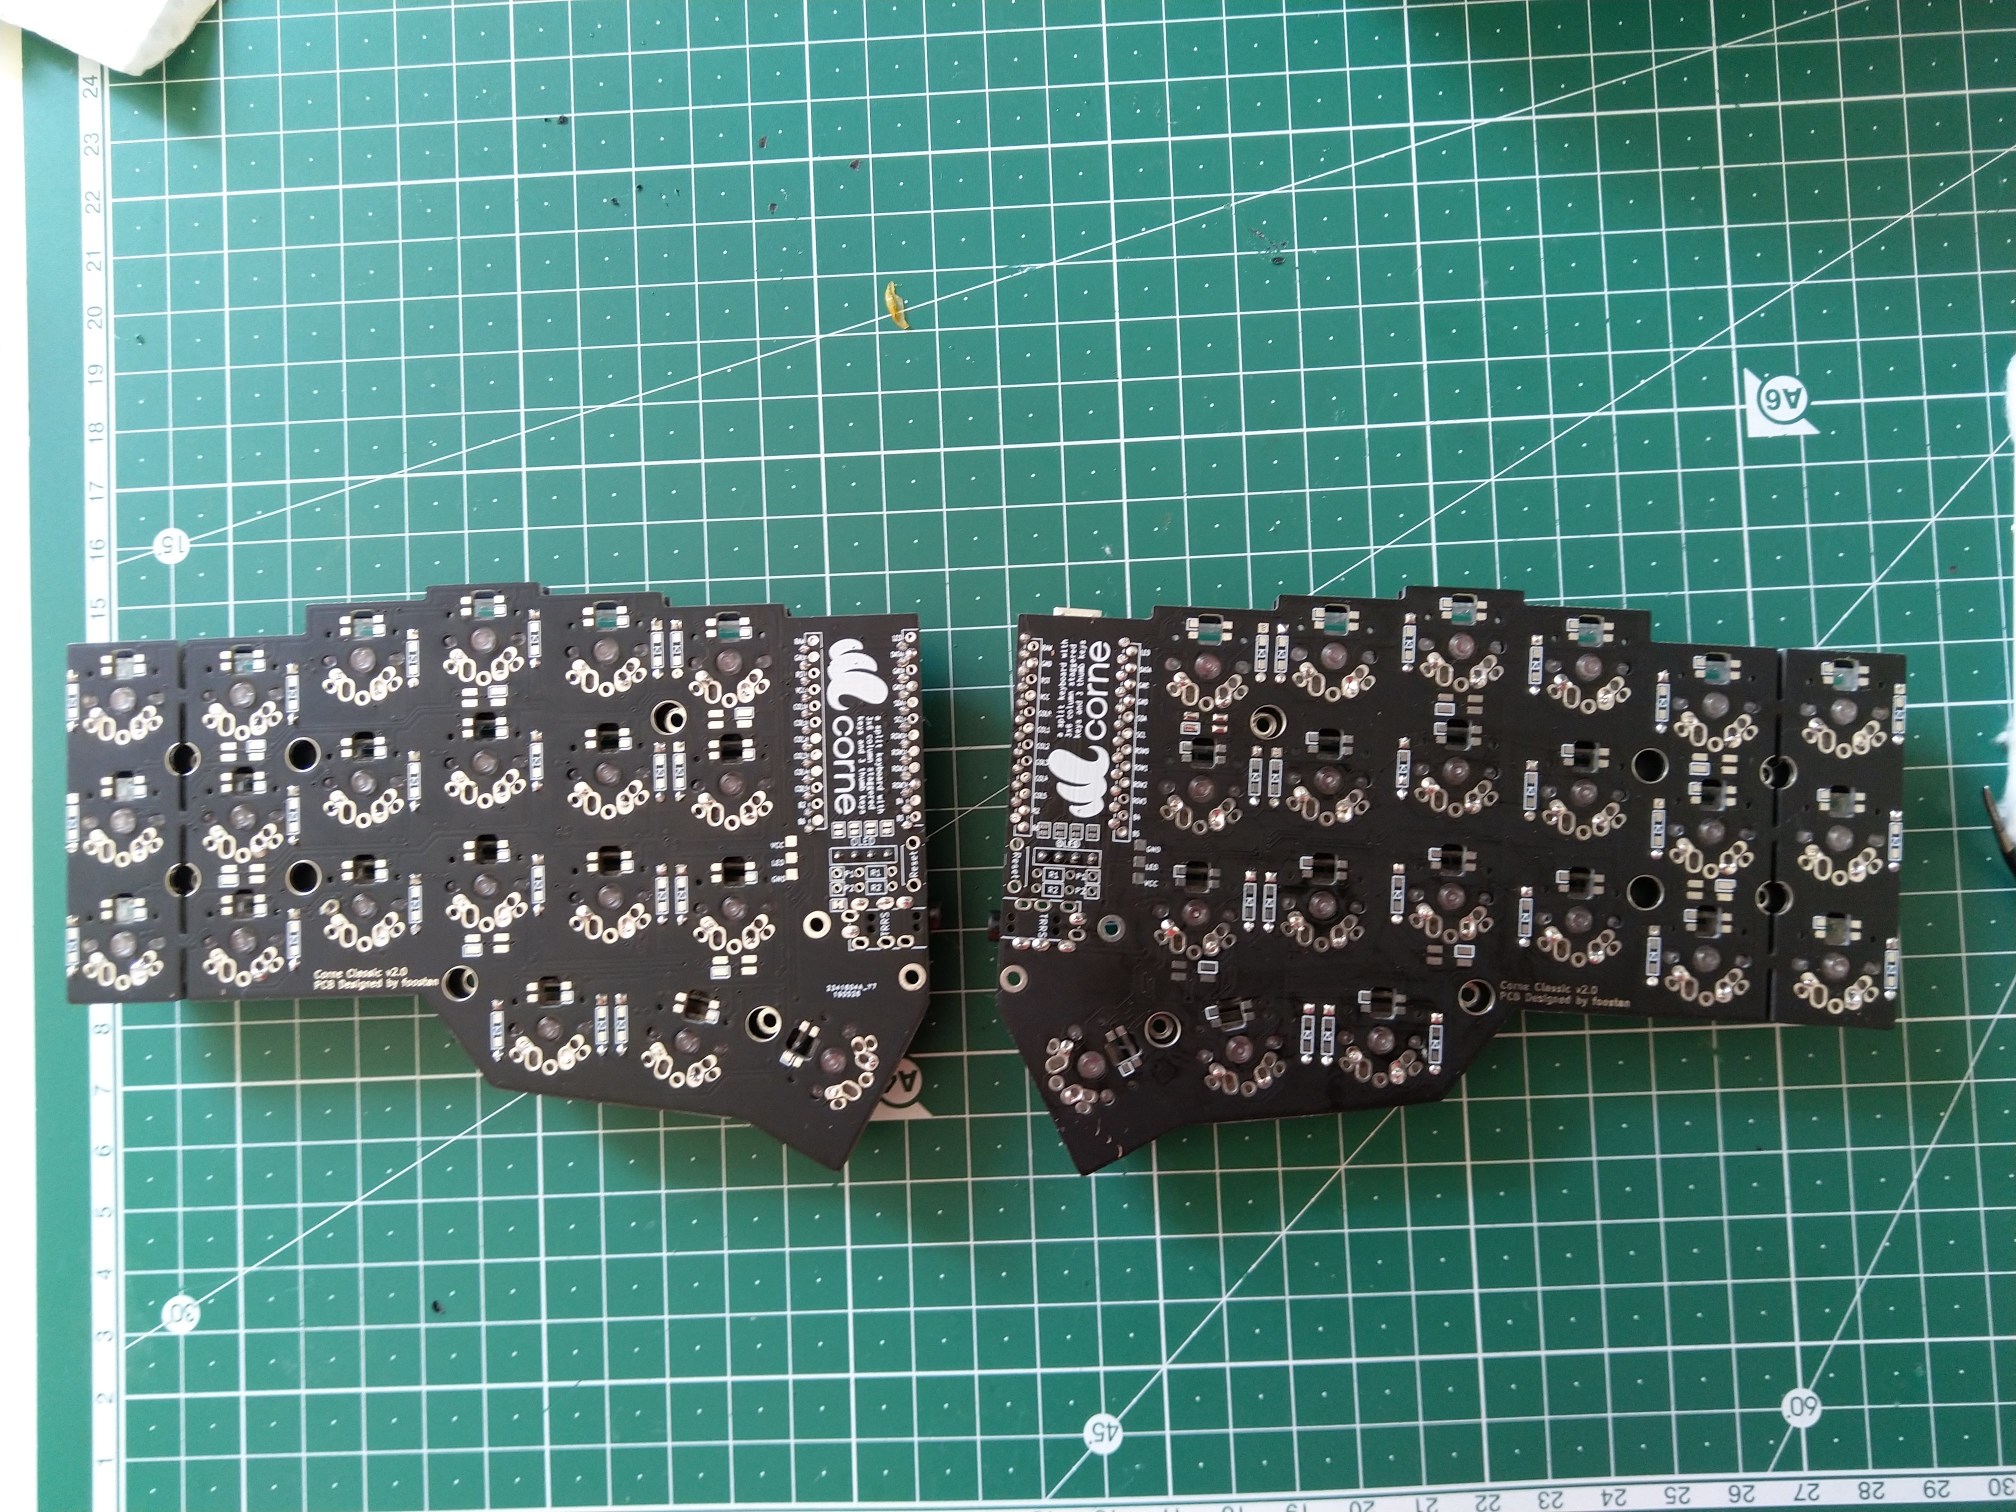
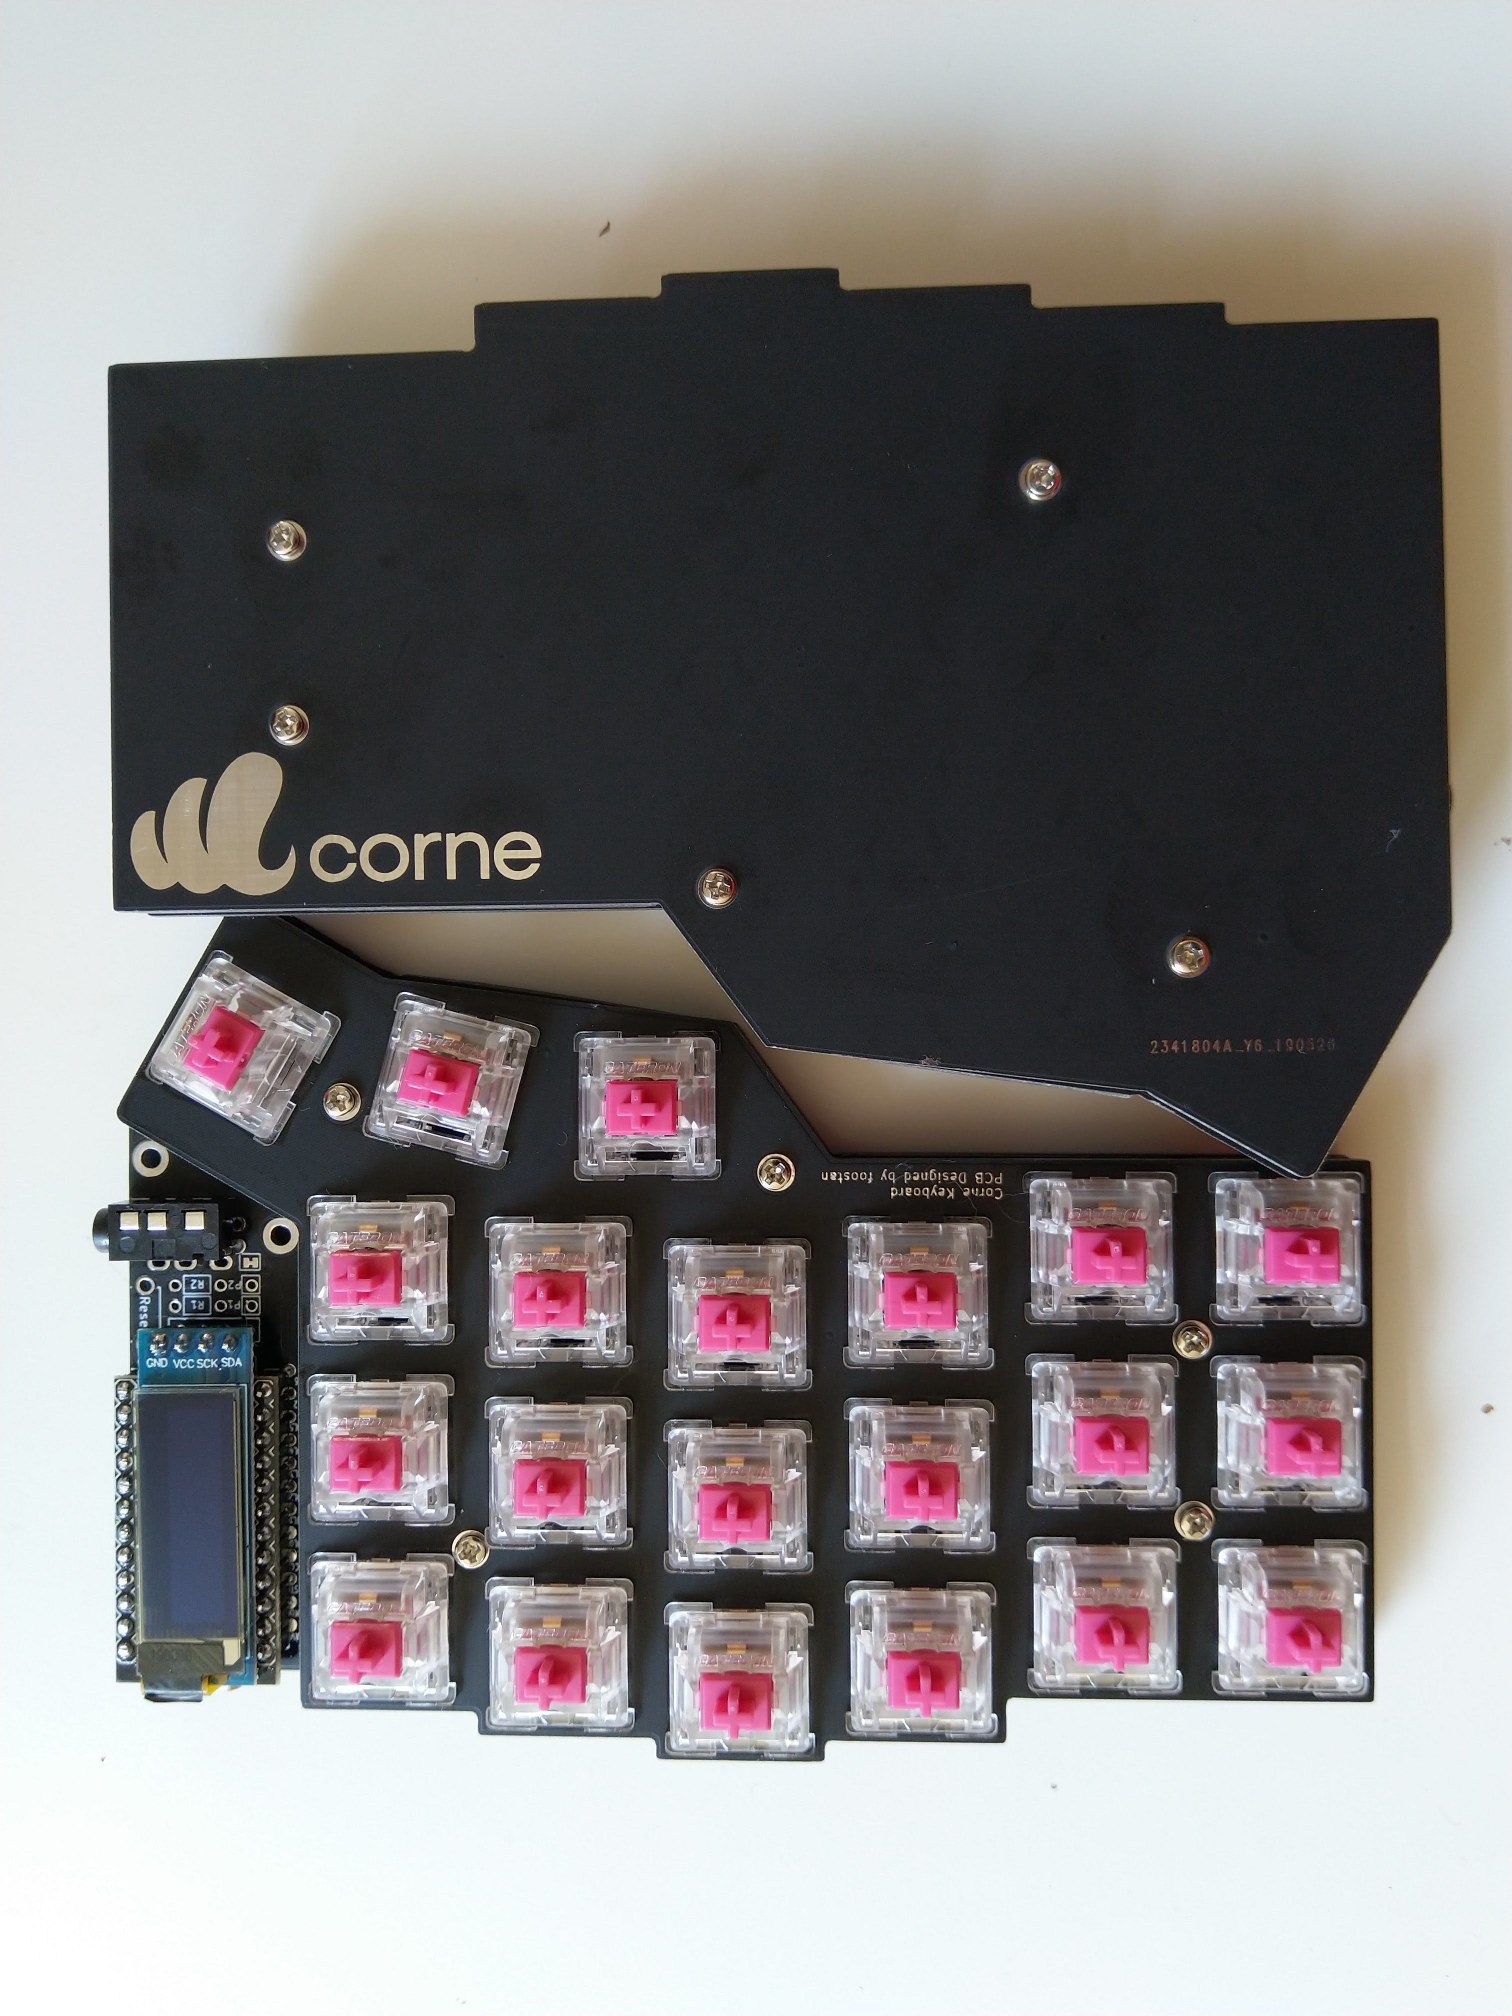
The PCB design is very clever - there’s only one PCB which can act as the left side or the right side. You just flip it and solder components properly.
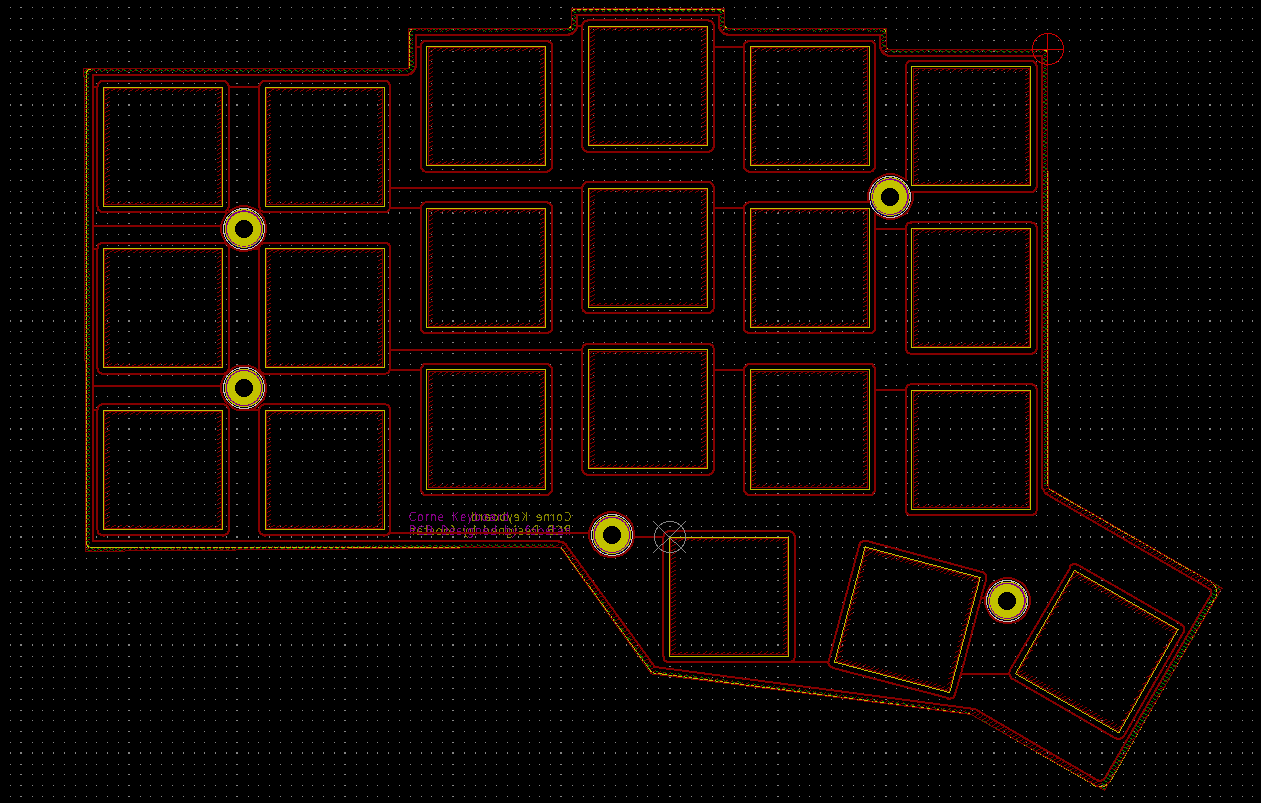
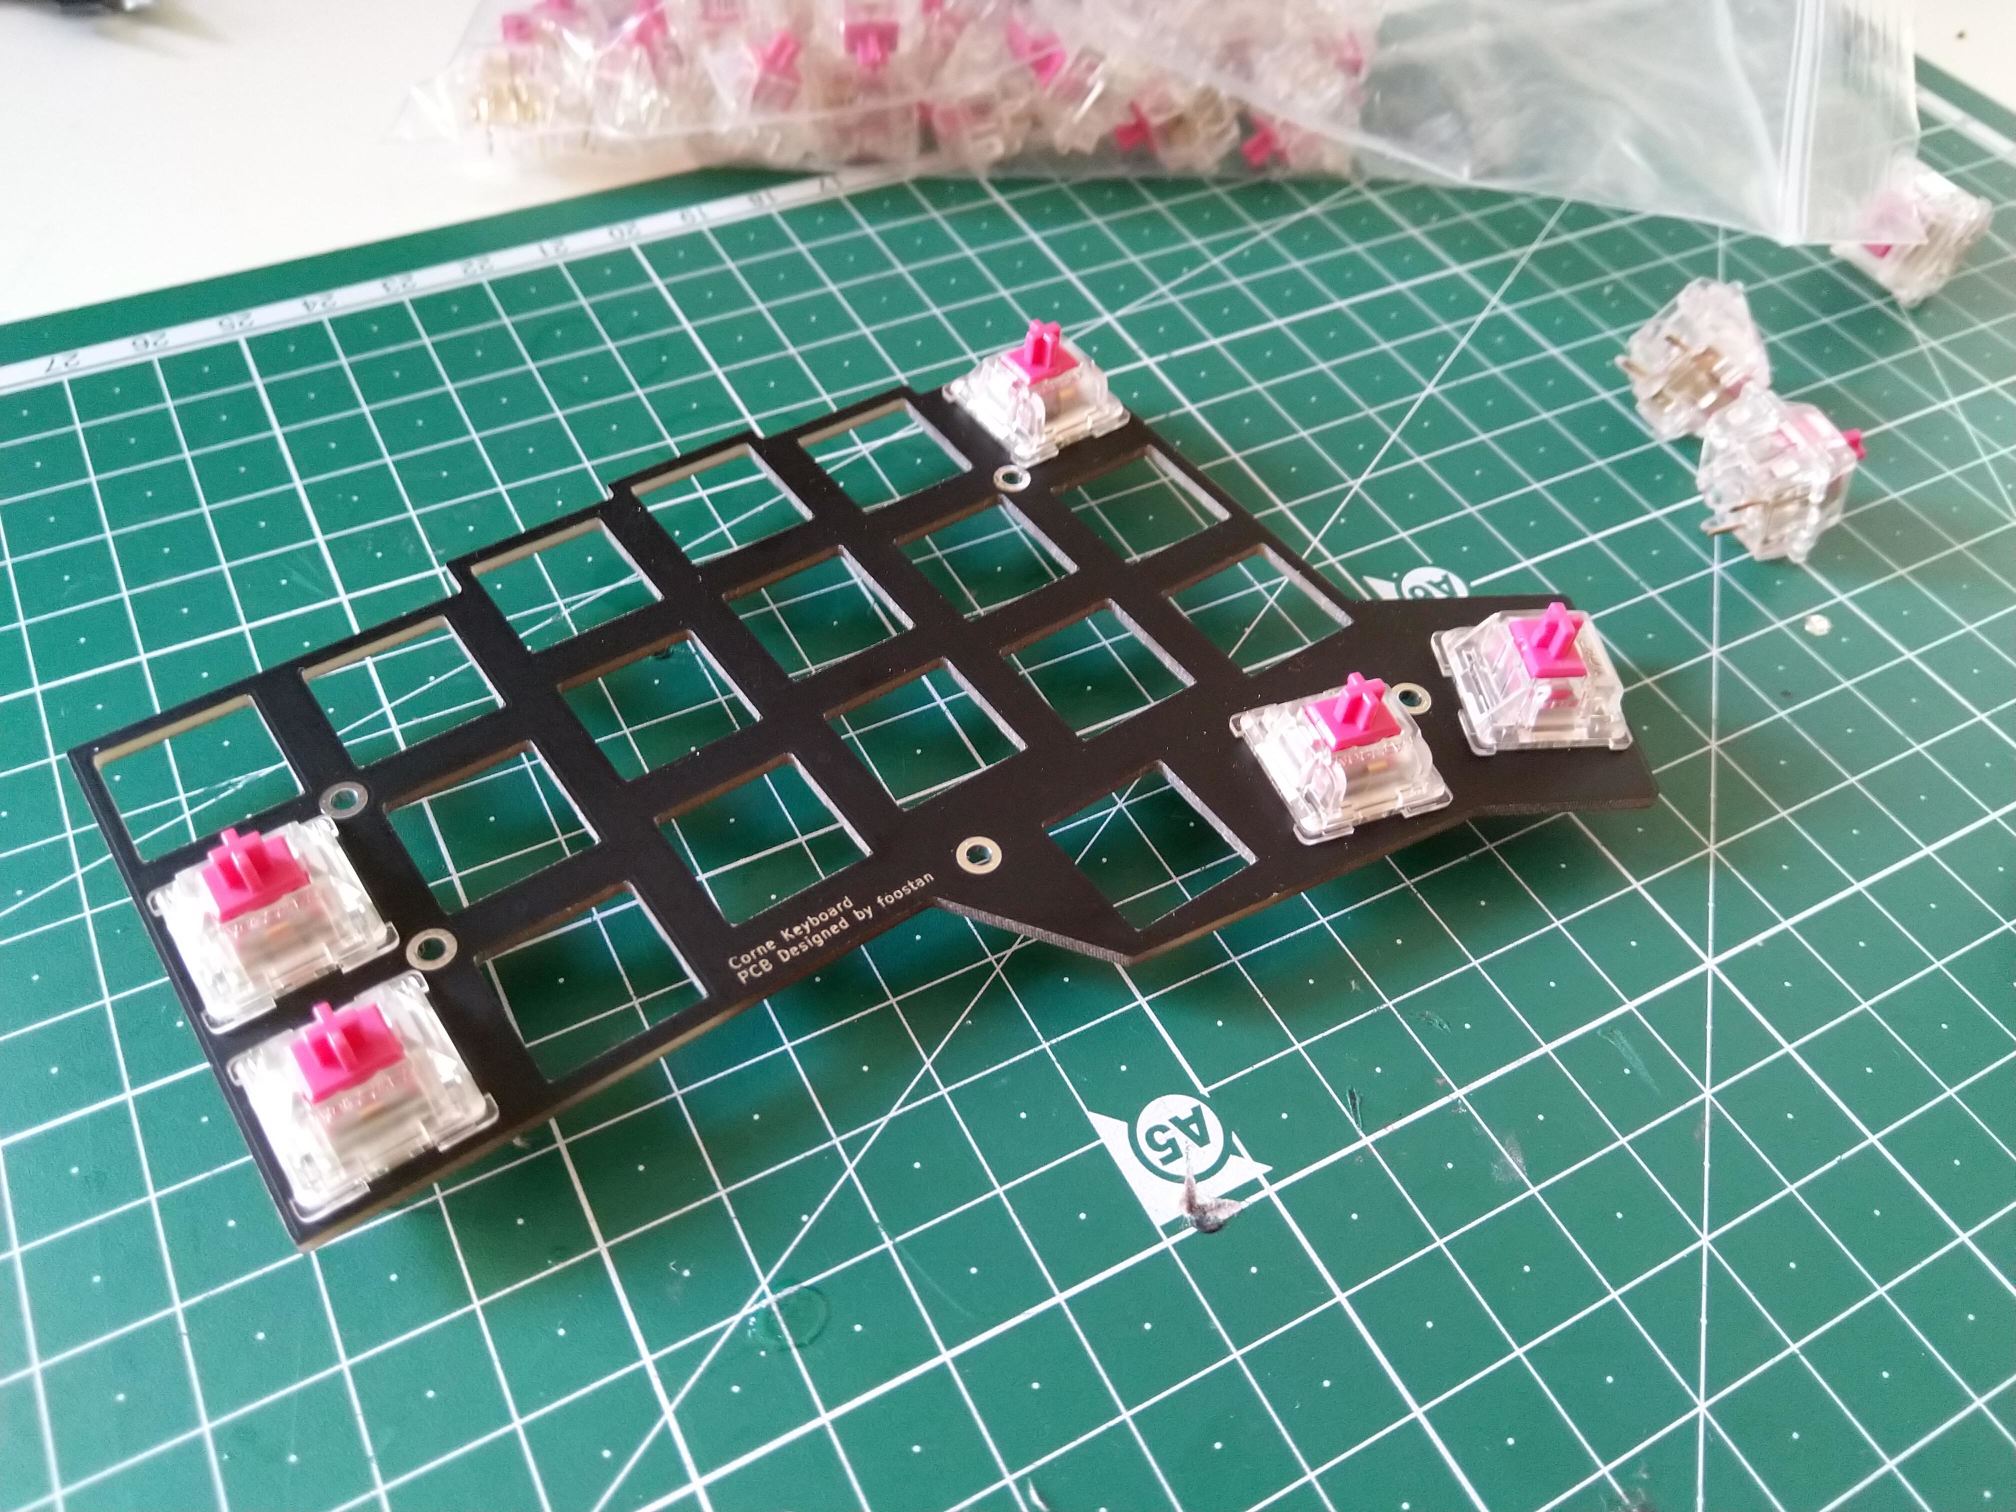
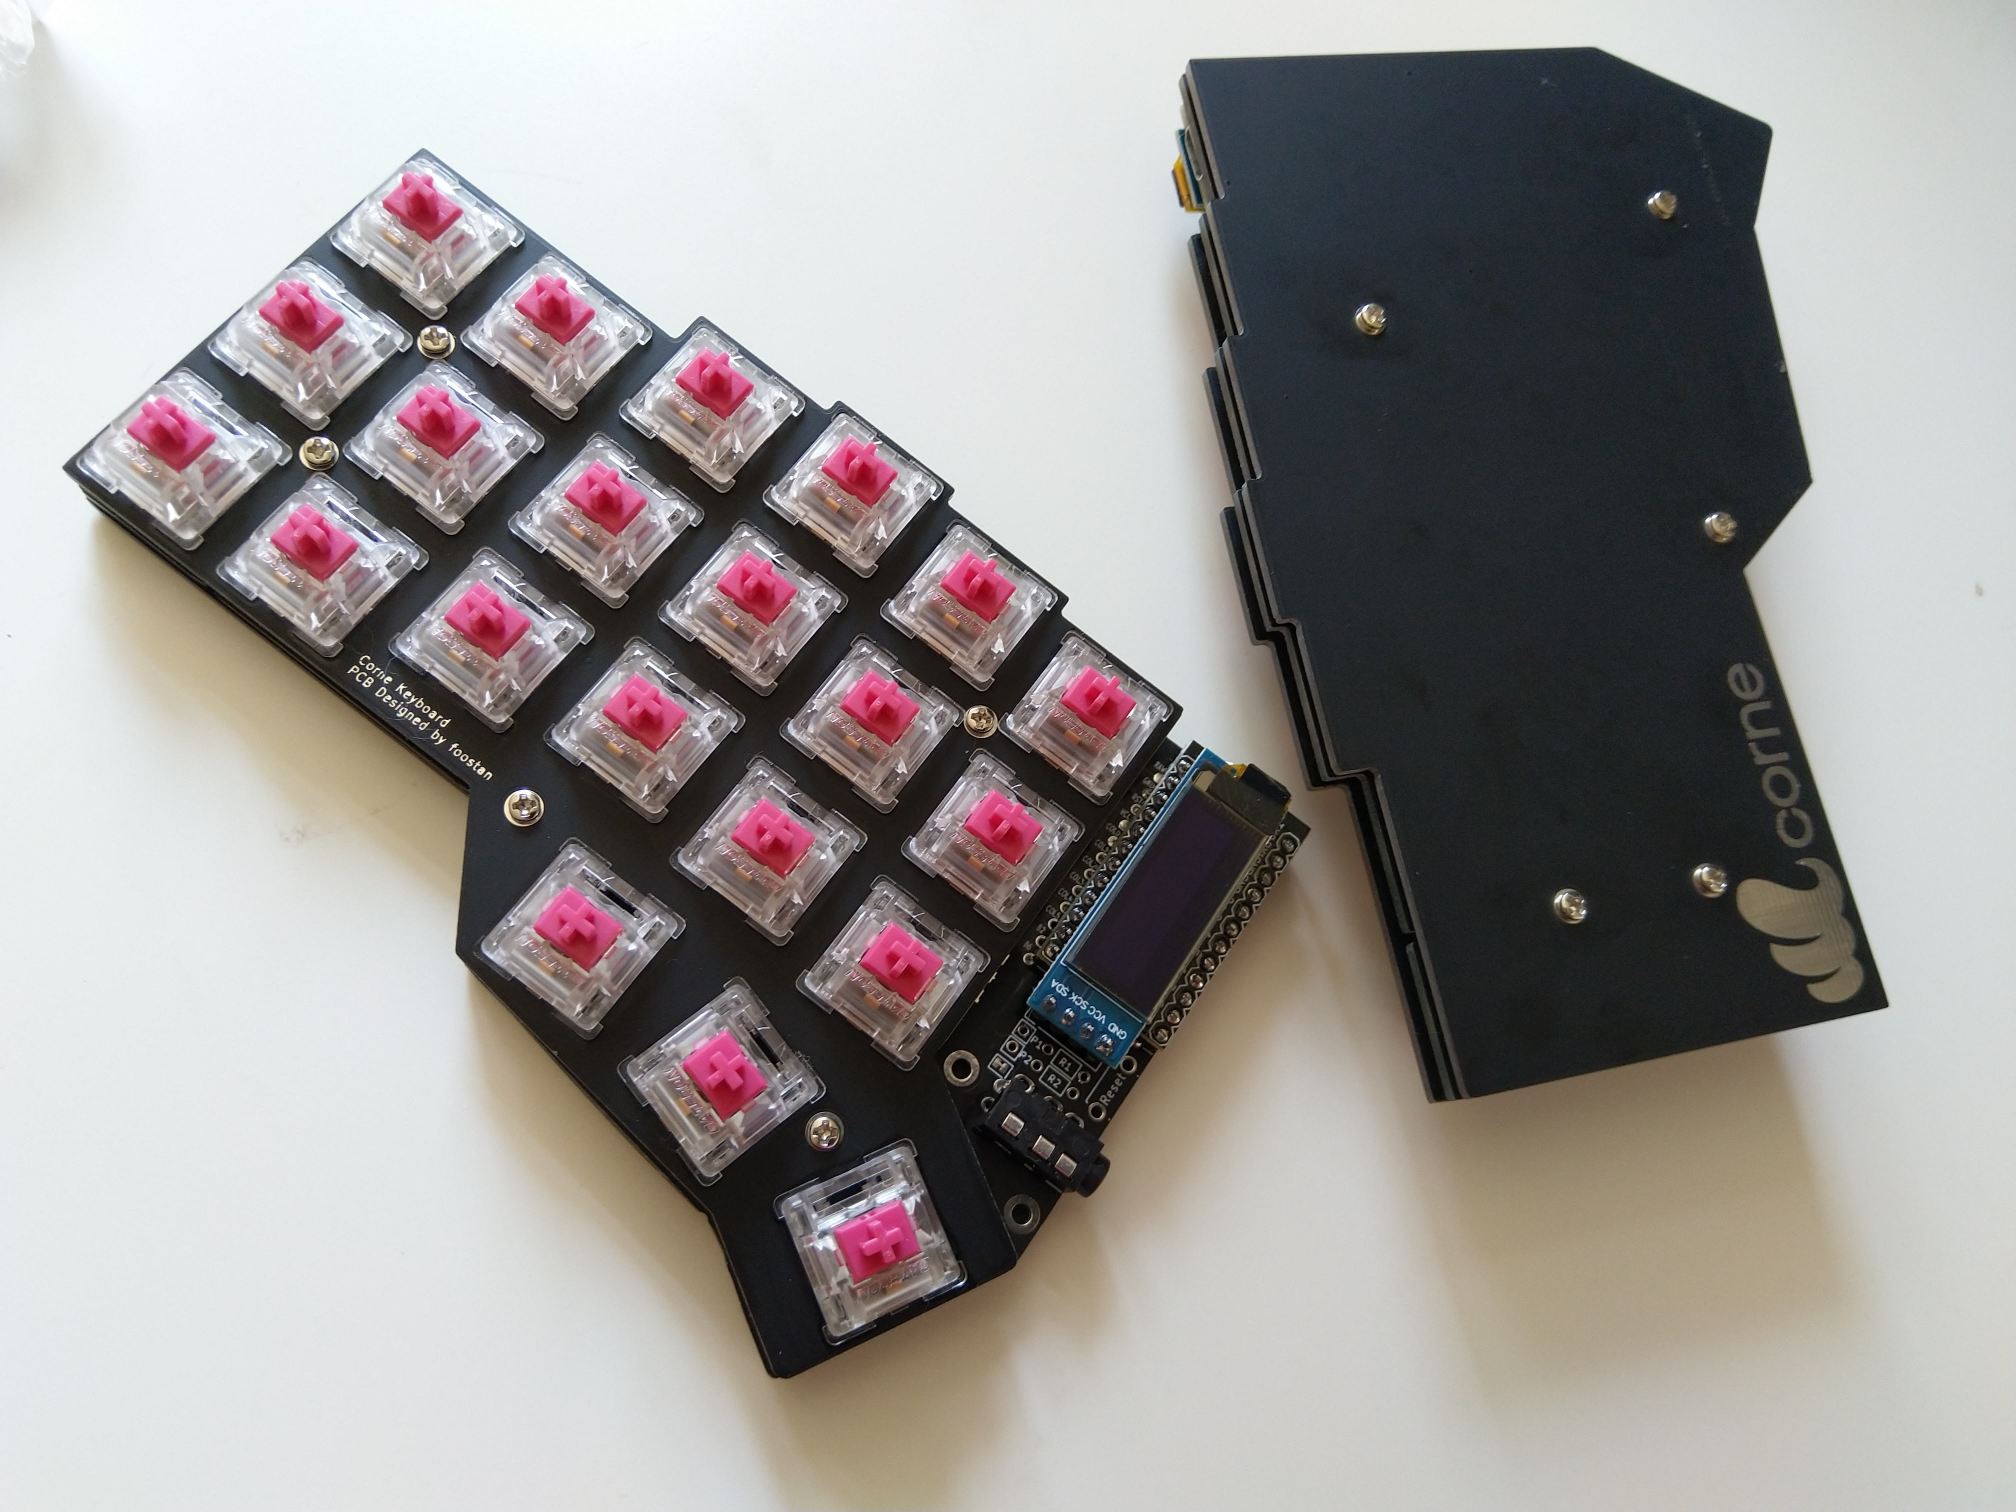
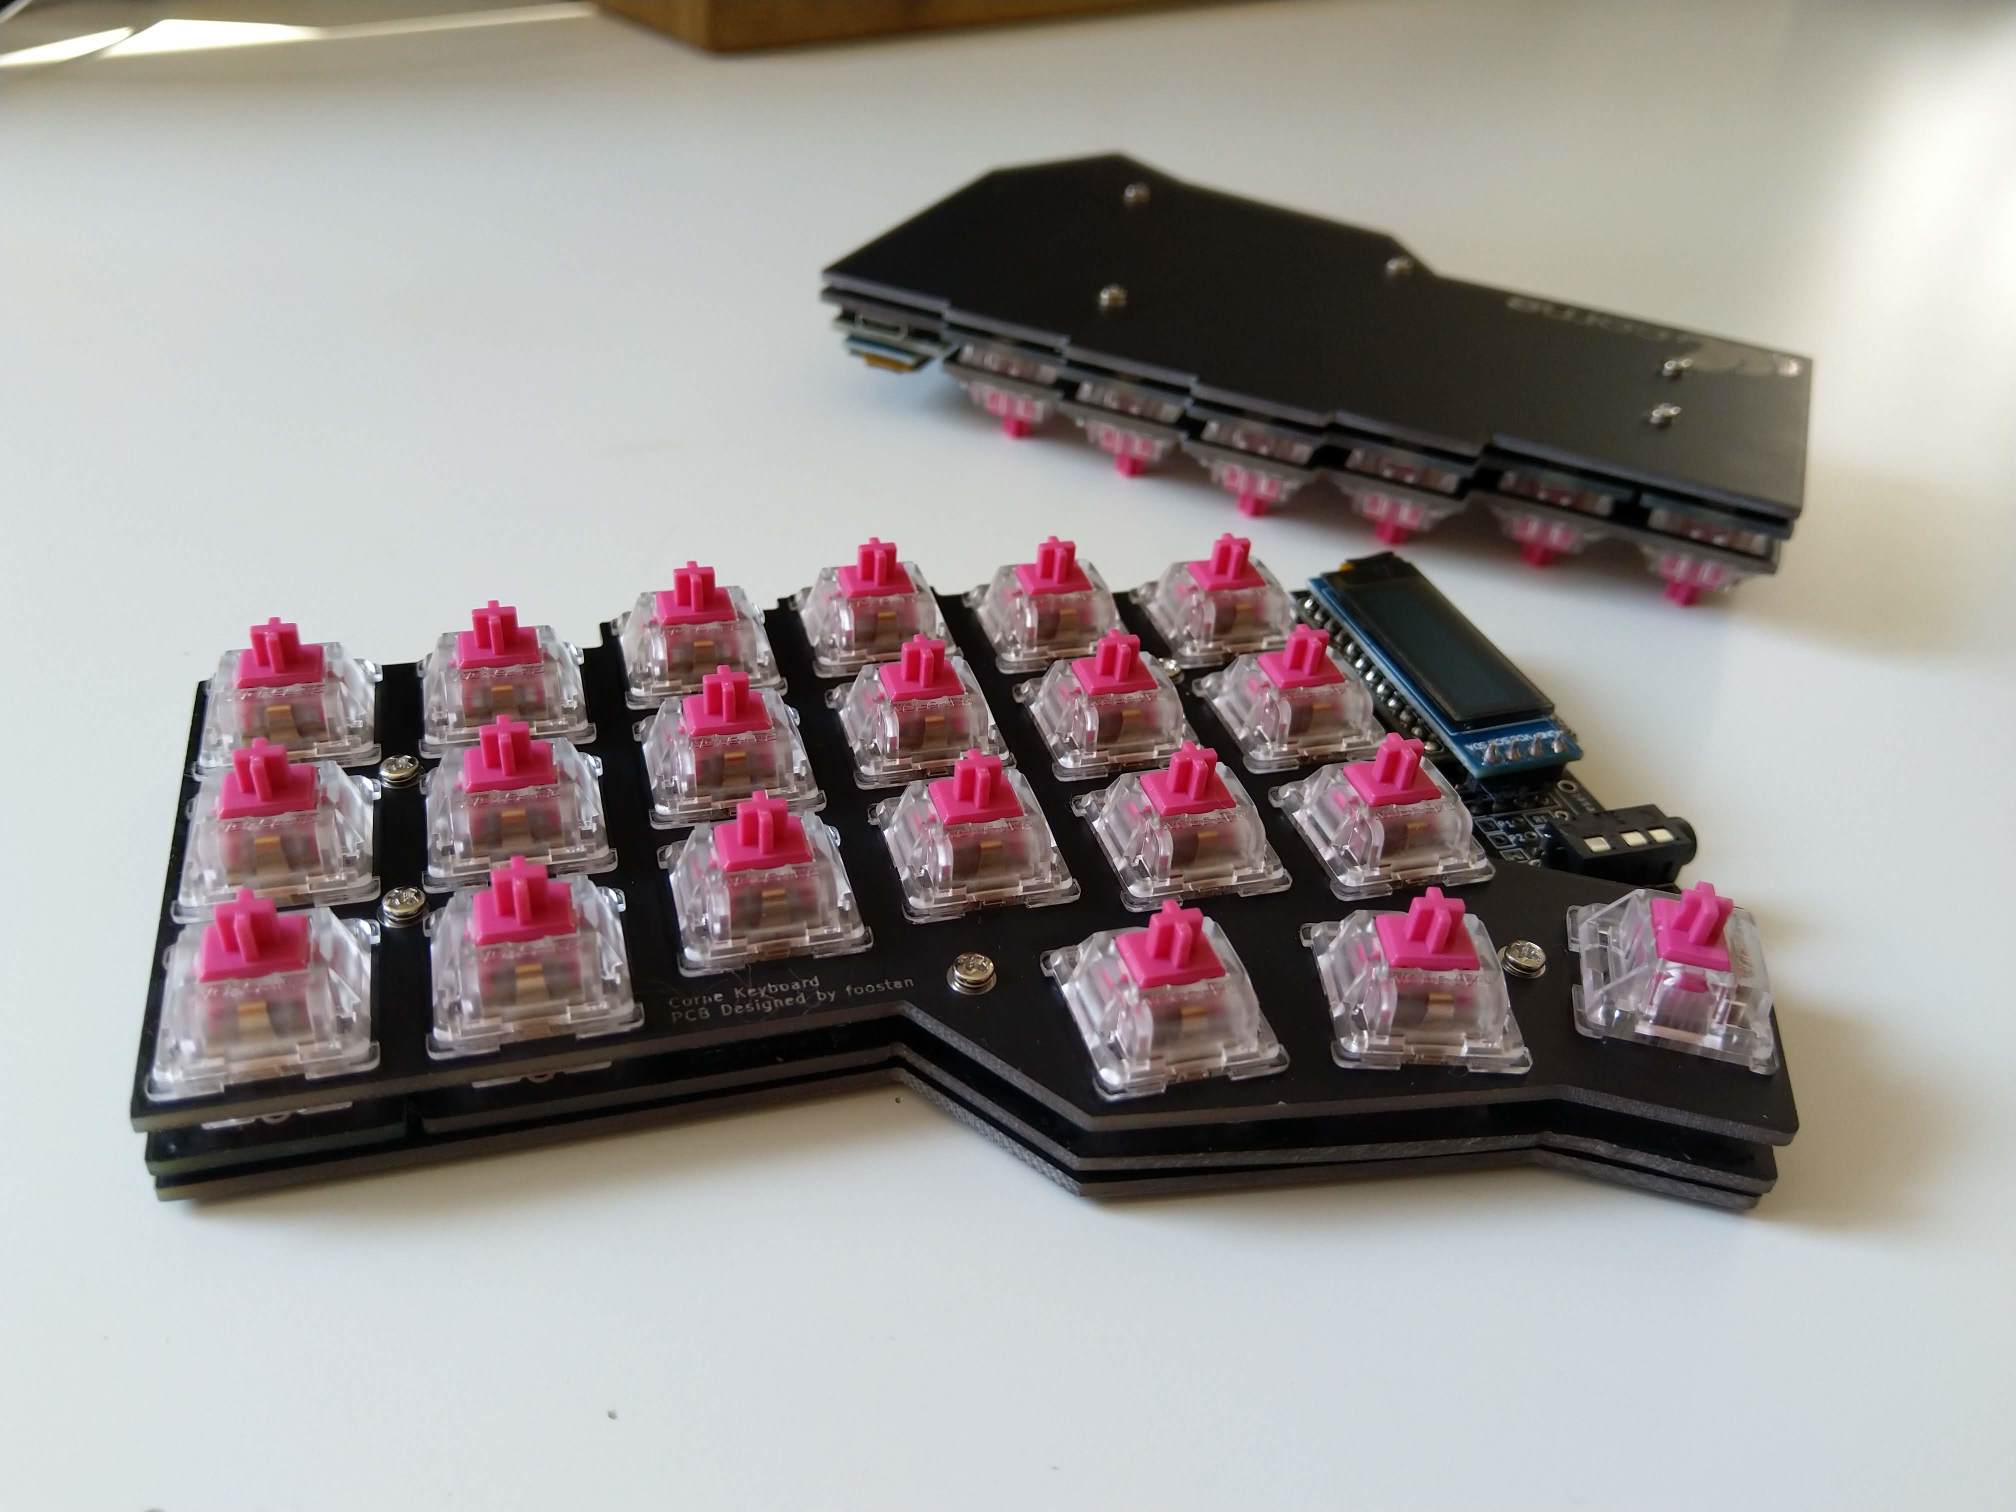
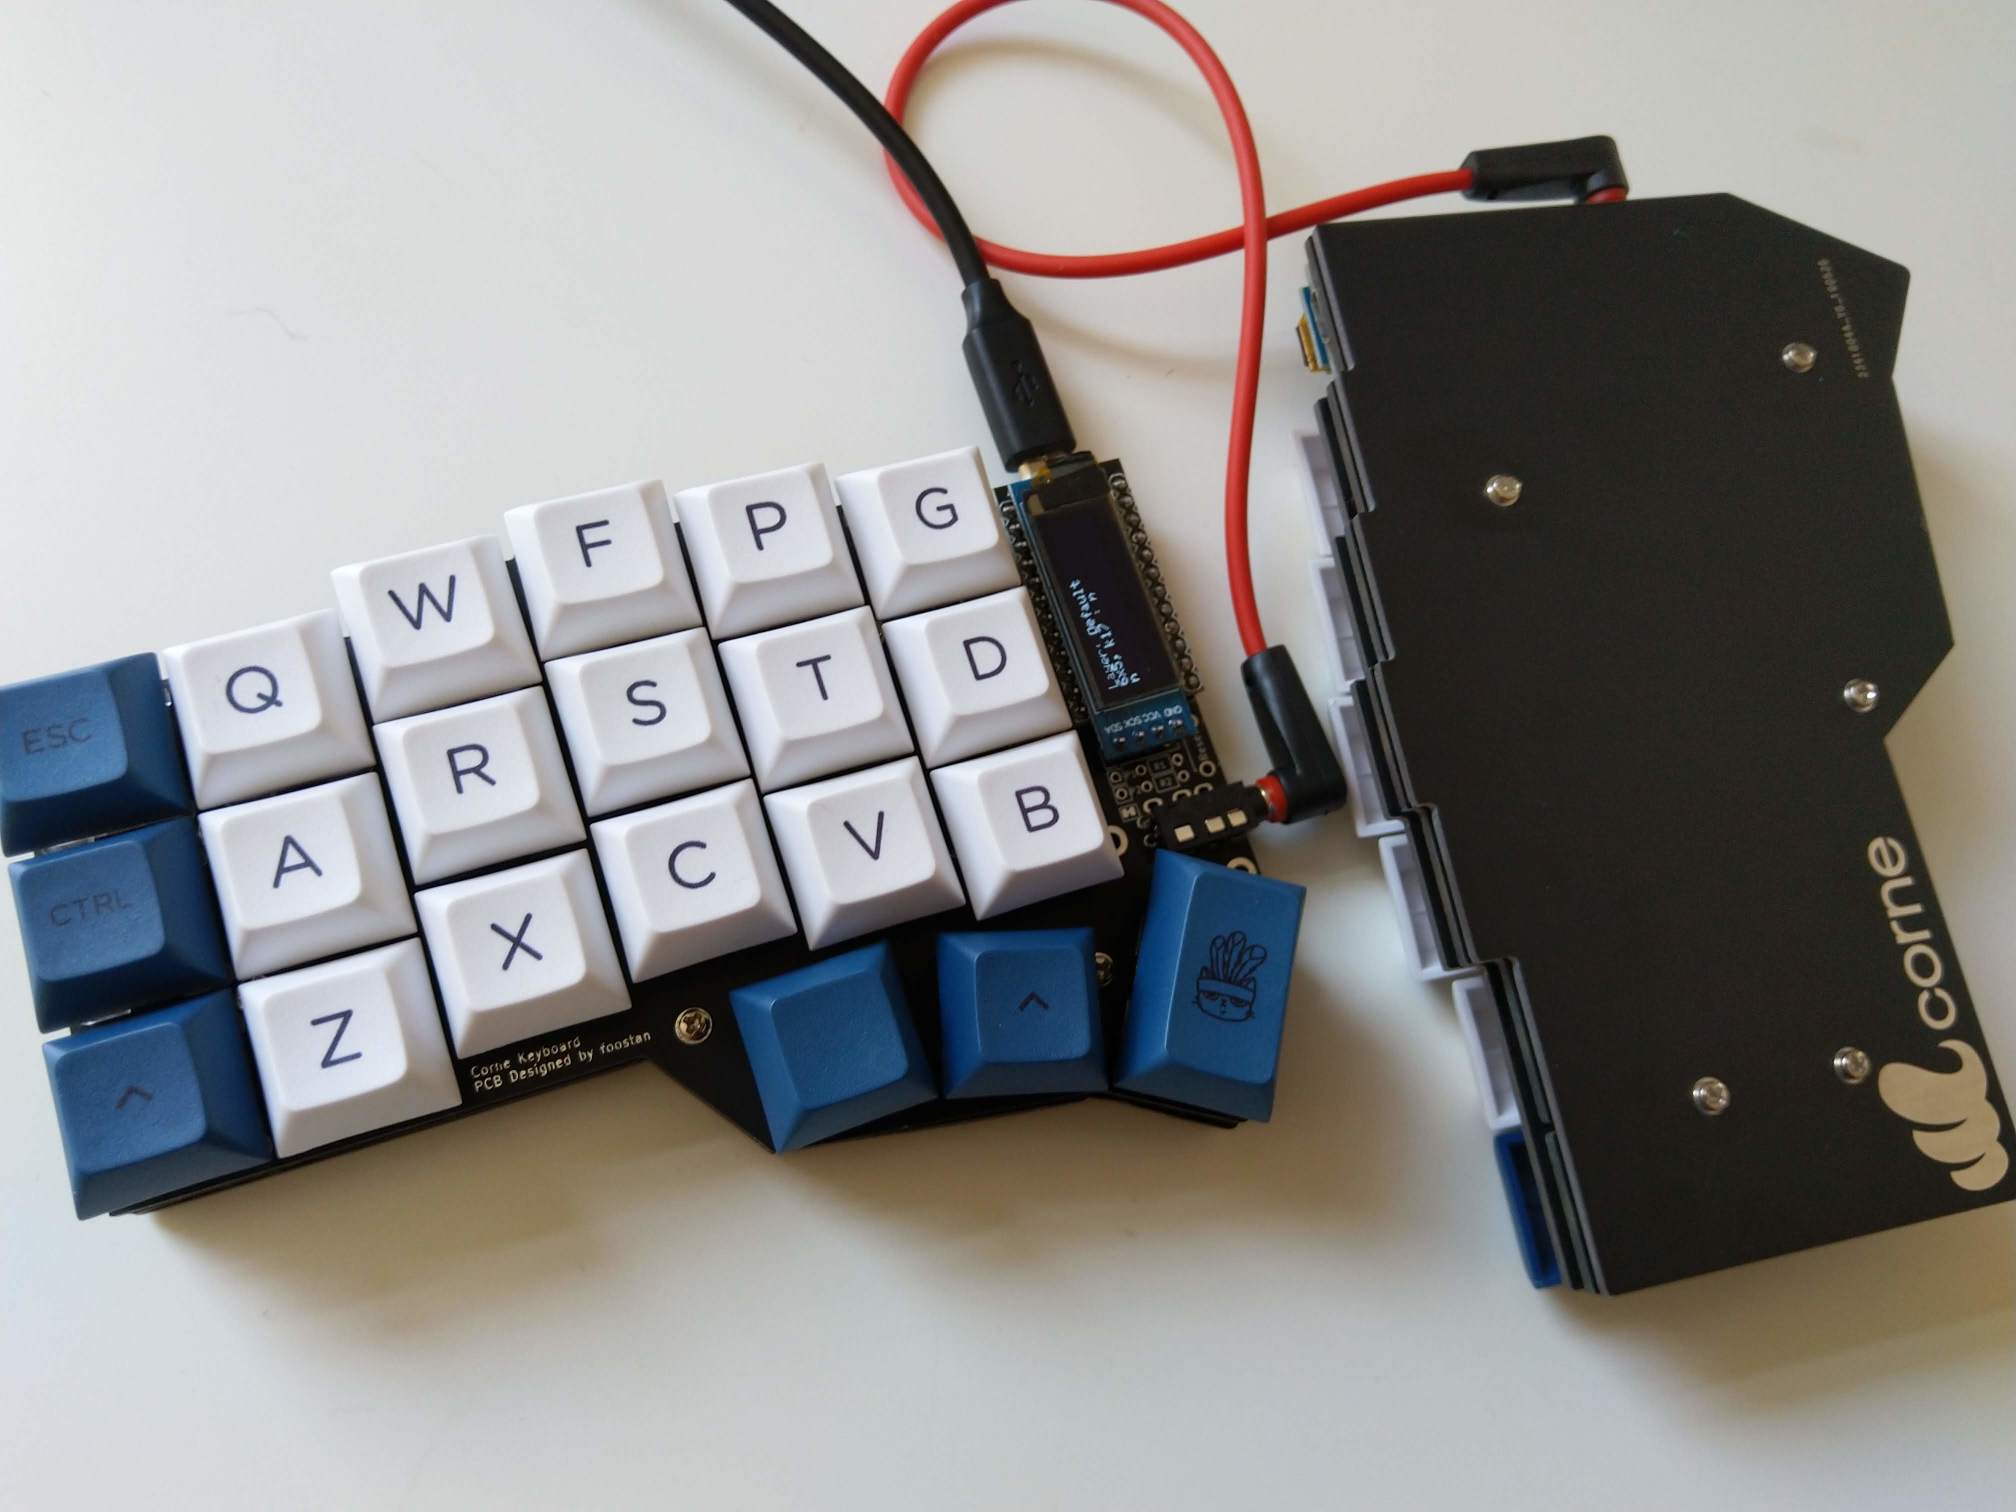
There’s also a minimalistic case build from PCB - a top plate and bottom plate.
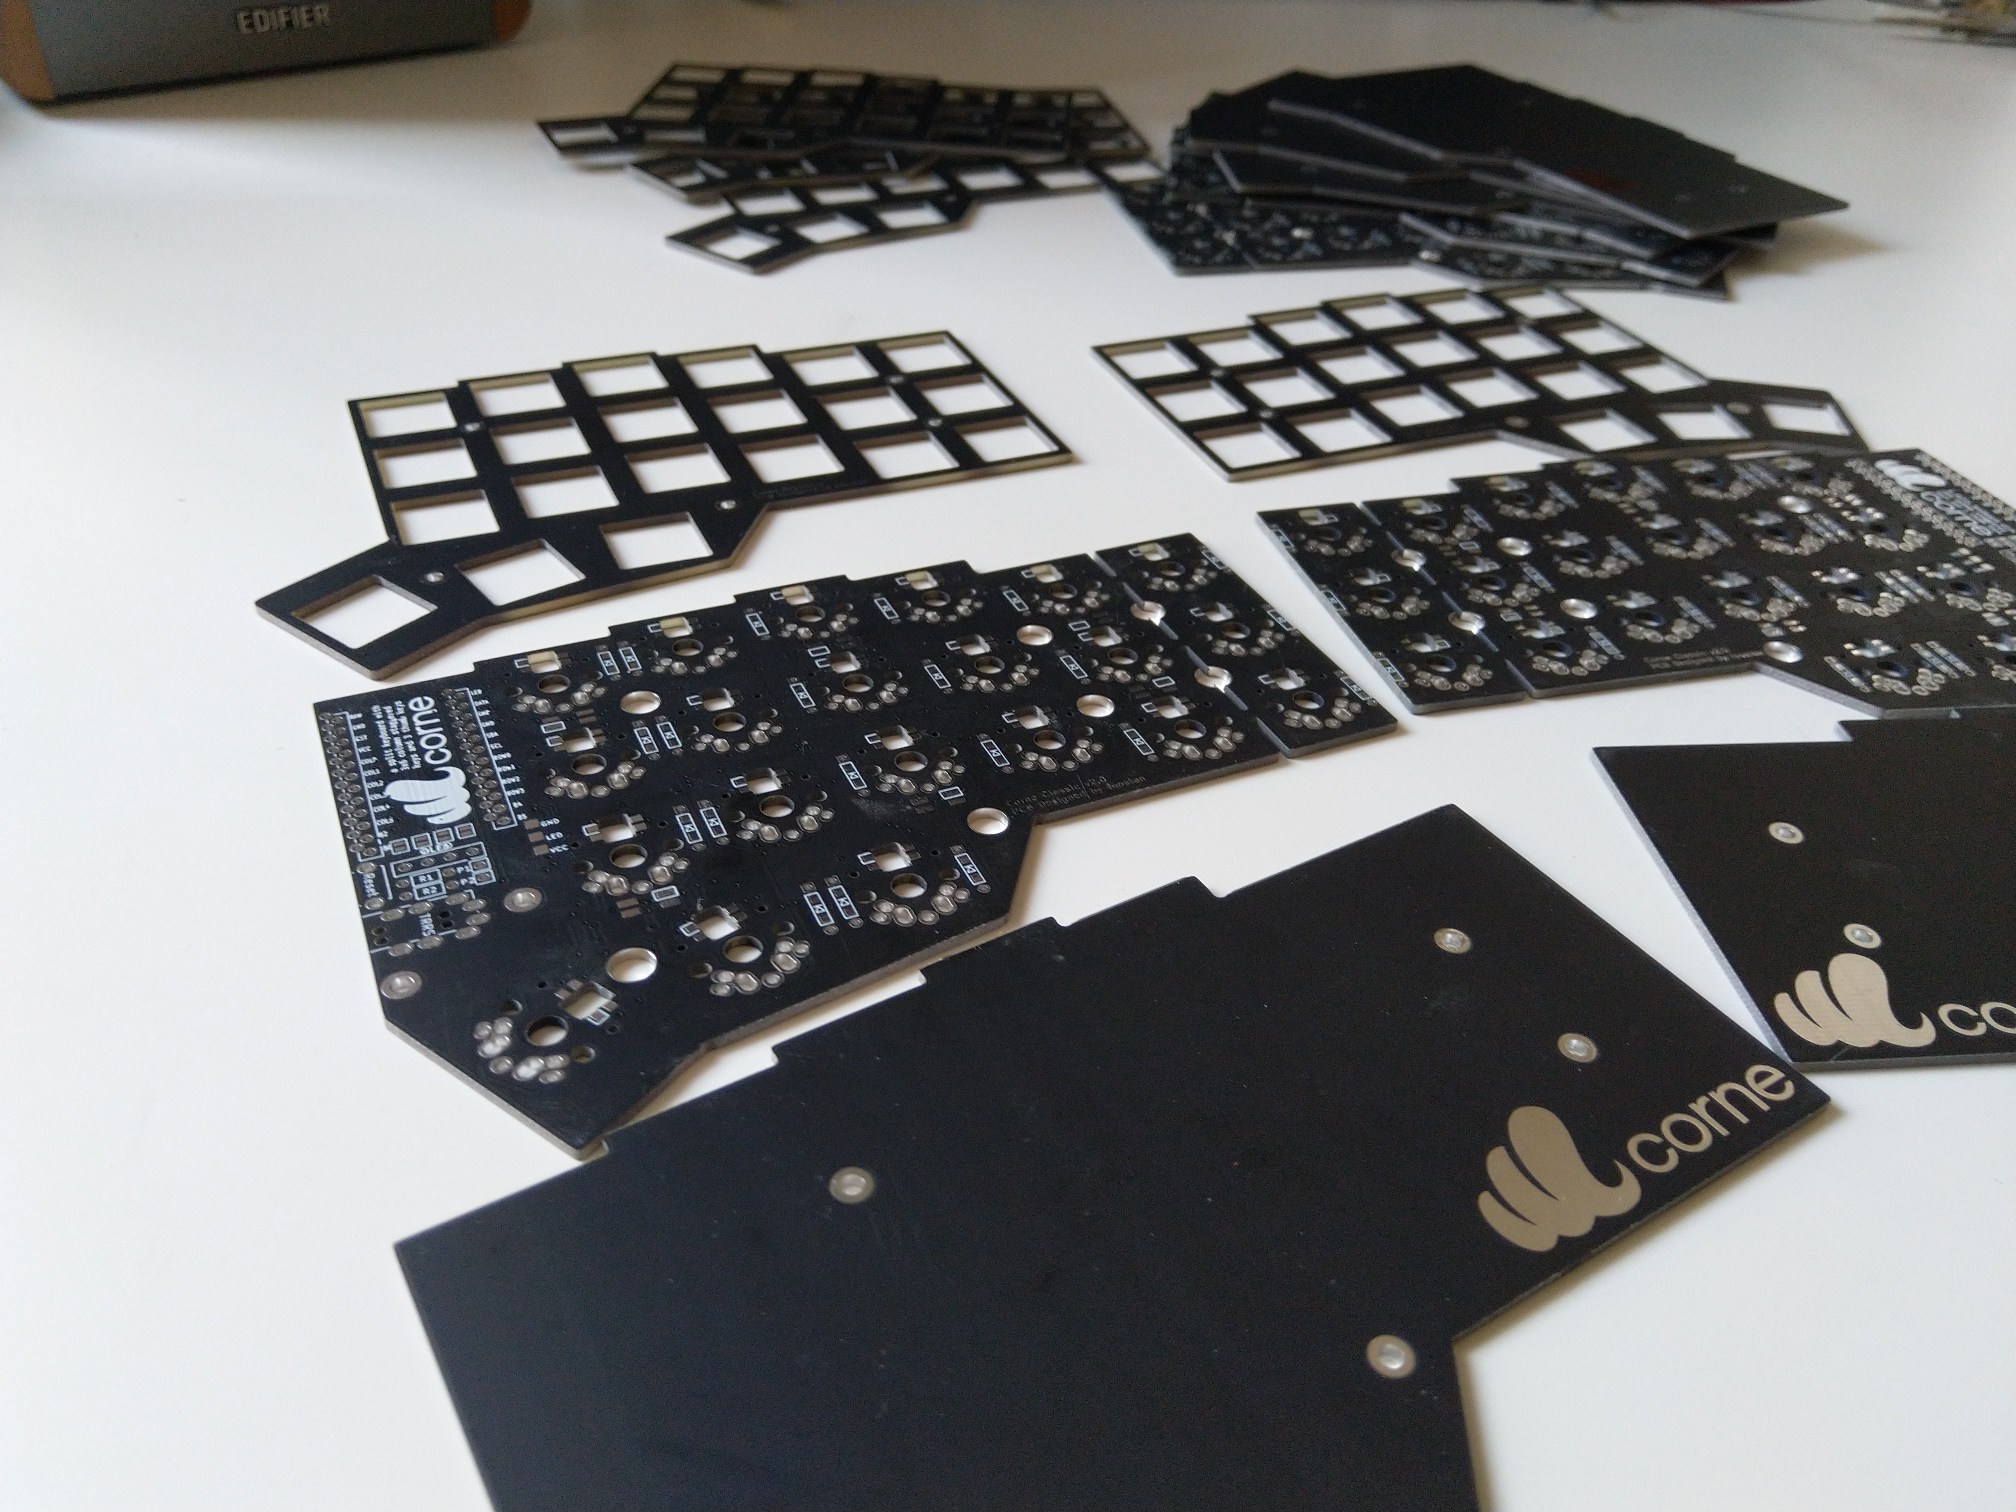
This helps a lot with manufacturing. There are many vendors which offer cheap PCB prototypes starting at 5 pieces. For example, JLCPCB (Please, read the update below regarding changes JLCPCB made recently) offers 5 PCBs up to 10x10 cm for 2$ plus shipping. Crkbd is a bit bigger than 10 cm but the PCBs cost still less than 8€. The whole order - 5 PCBs, 5 top plates and 5 bottom plates - was 31€ including slow shipping to Germany. Manufacturing was very quick and the shipping took 2 weeks. This is insanely cheap and I have enough parts for 2.5 keyboards.
Manufacturing at JLCPCB - update 27.11.2019
Apparently JLCPCB recently changed their design acceptance rules and they no longer accept may reject PCB designs having less than 3 mm between a cut-out and the edge.
Unfortunately, this is a problem for the top plate for corne because cutouts for switches are 2 mm from edge of the board at many places. There’s a little bit more information about the issue on reddit and also a report by another user who had no problems with the default design (It got accepted and manufactured). I assume it depends on the person who does the review and you might be lucky and get through.
The main PCB and the bottom plate should be still accepted. Se keep this in mind. You could either try another manufacturer or go for a top plate from laser-cut acrylic (which has its own problems, but I don’t have any personal experience so I am not going to elaborate).
Other components
The complete list of components is available in the build guide.
But to sum it up:
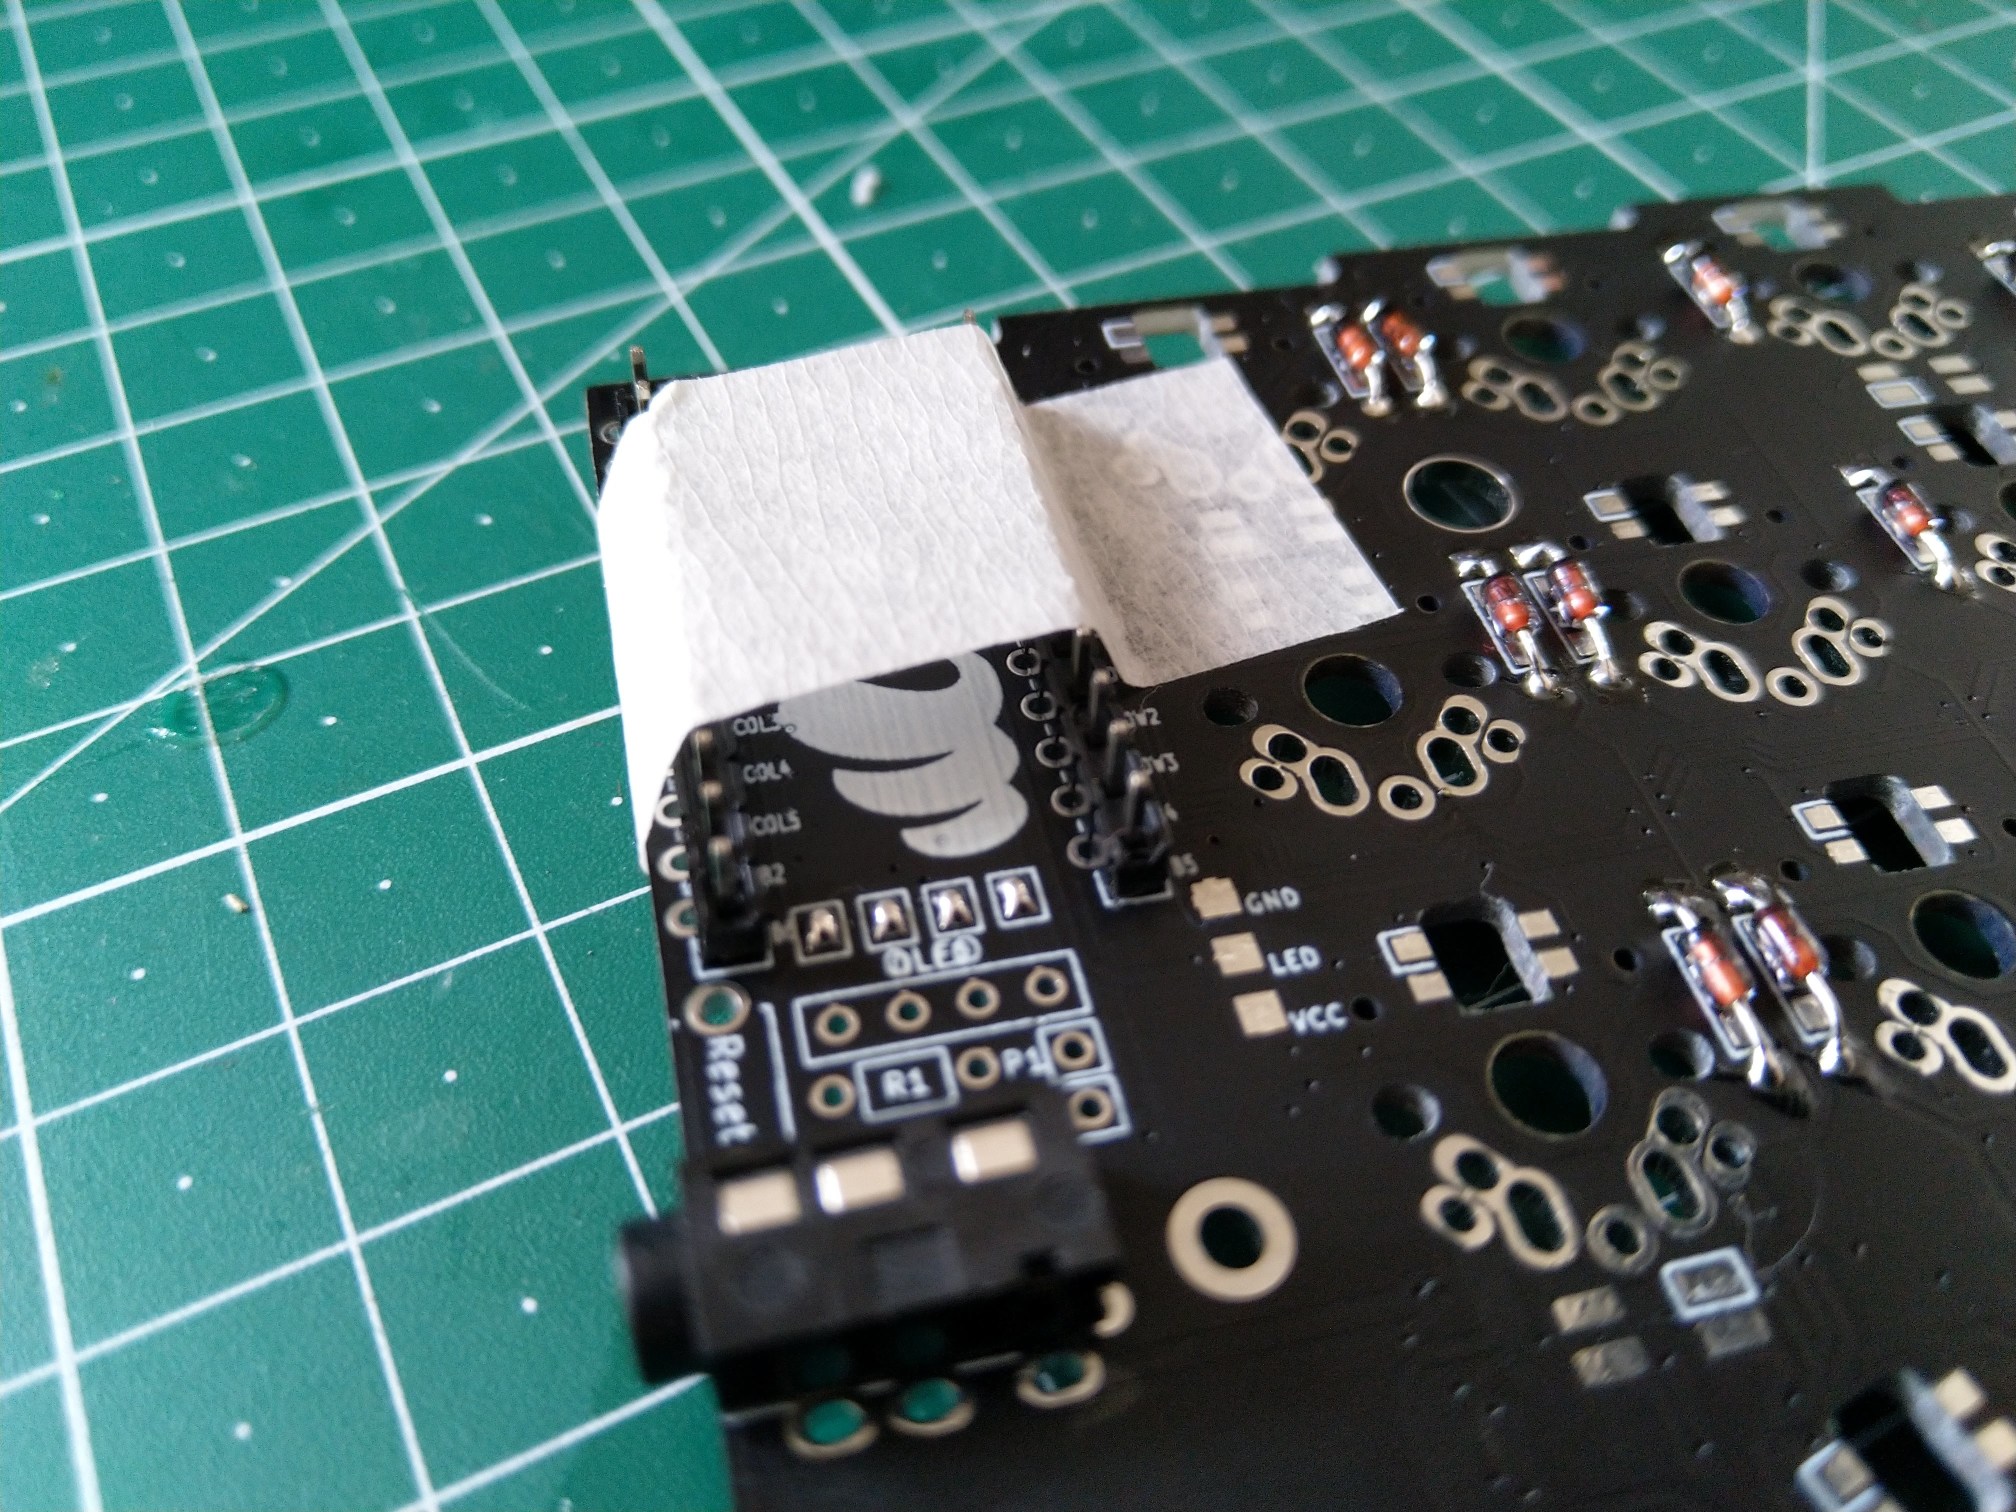
- A bunch of diodes, one for every switch. The PCB supports both through-hole and SMD. I have used IN4148 through hole diodes.
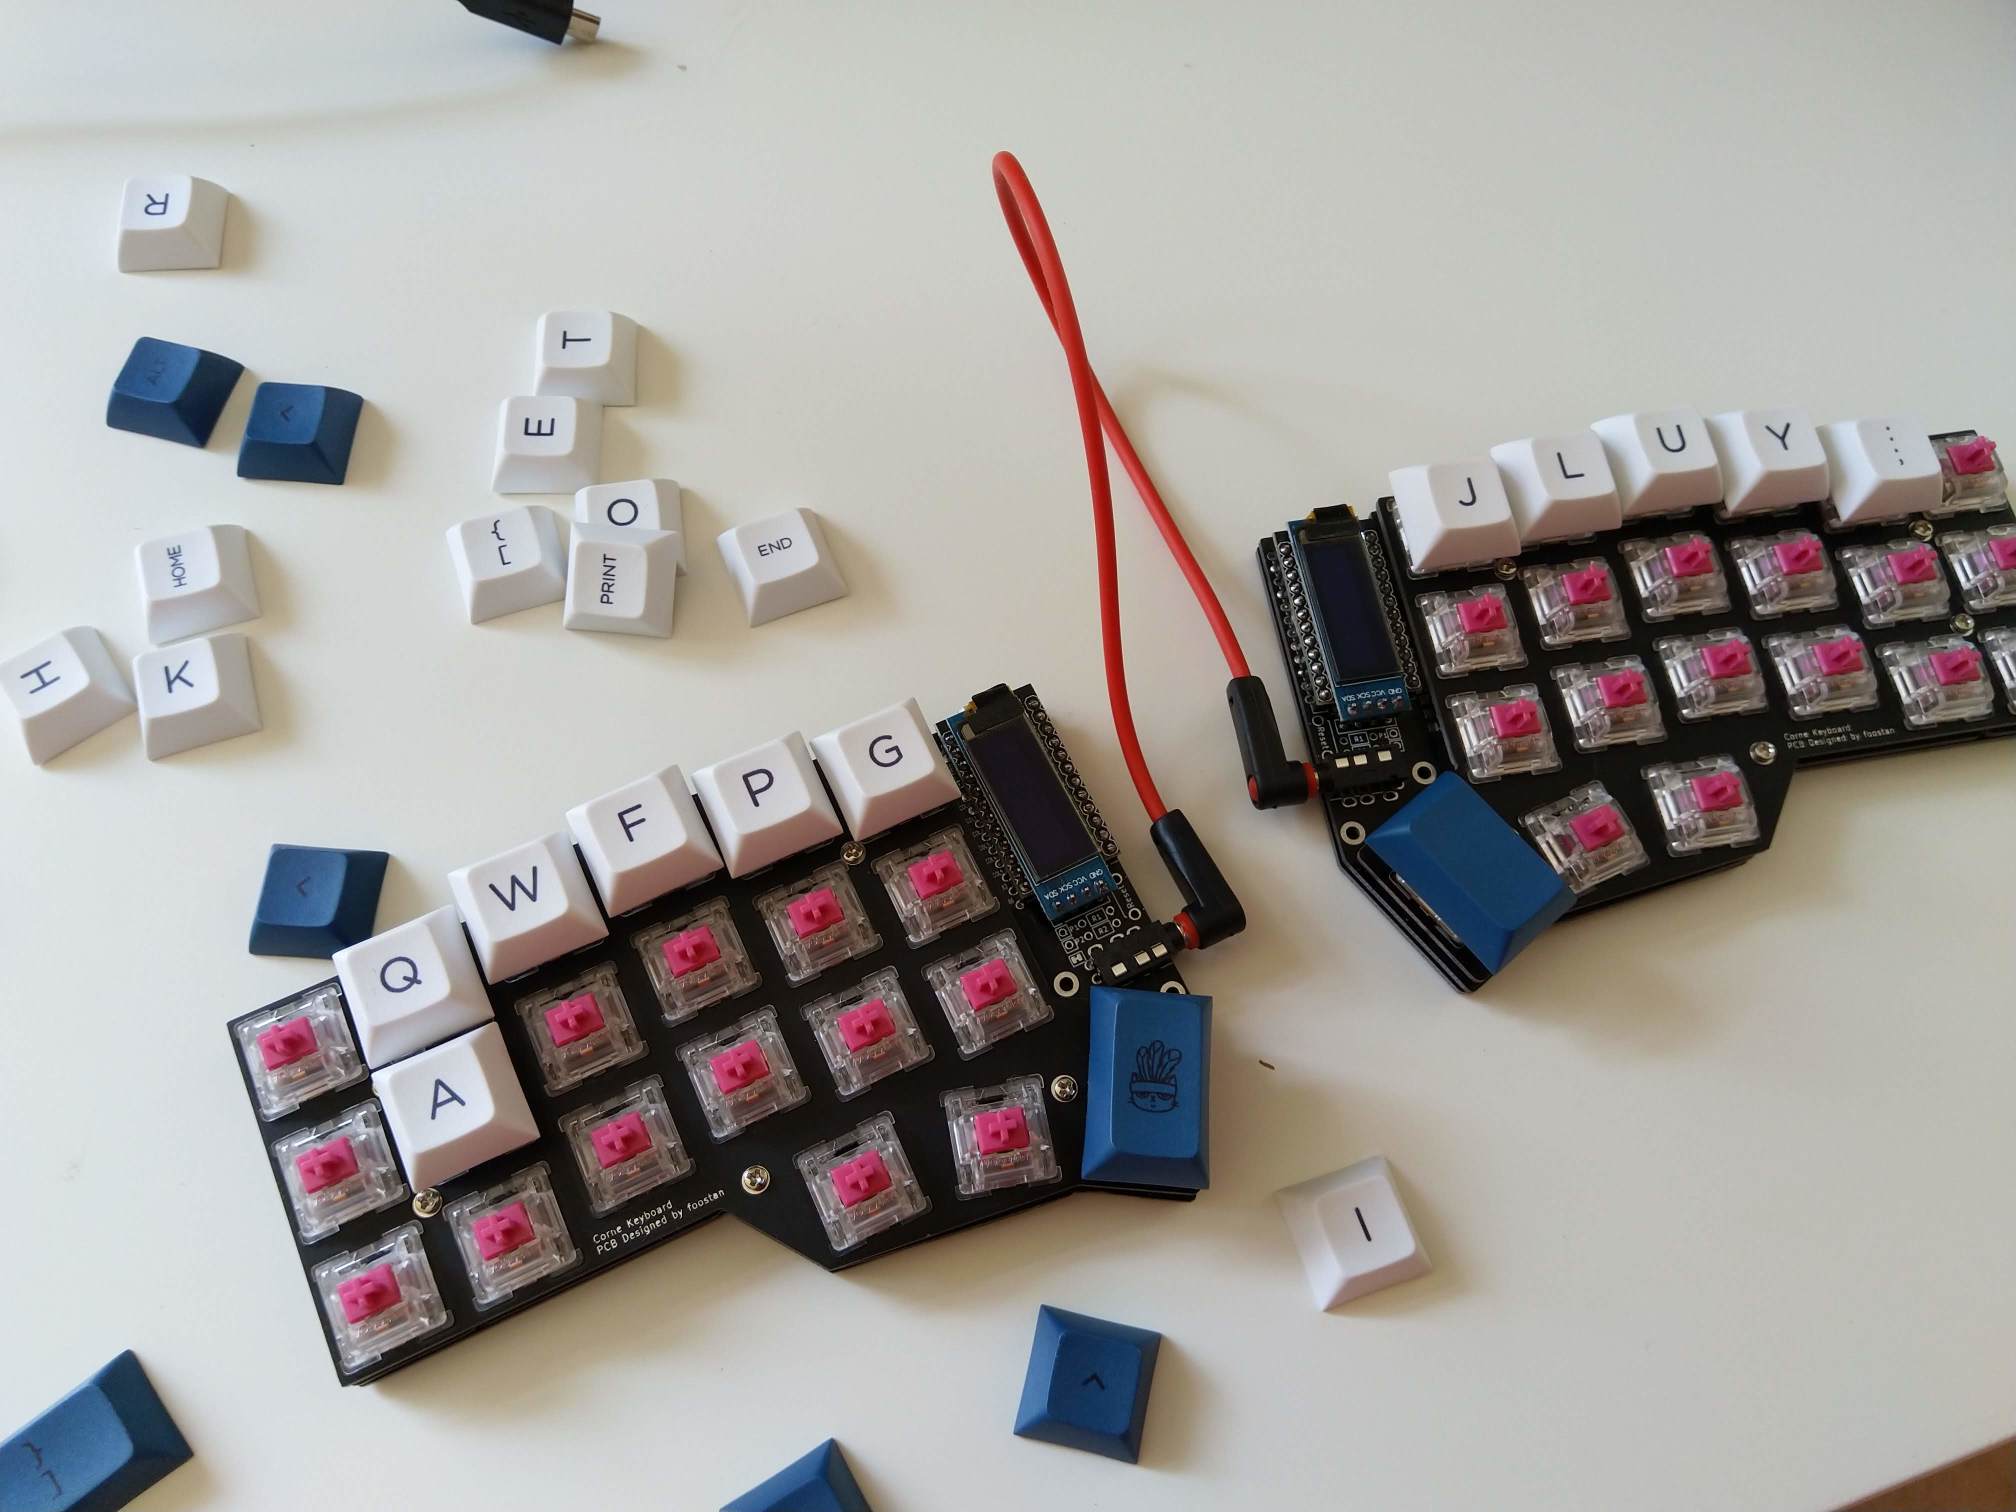
- Switches, of course. Either traditional cherry-like or there’s also an option to use low profile switches from Kailh. I have used Aliaz silent tactile switches this time. I think I like their tactility much more than the boring linearity of Gateron Silent Blacks which I have on my Katana60.
- RGB LEDs if you want some lighting. See below for my failure regarding those.
- 2x Arduino Pro Micro or a clone. I think such Arduino (really made by Arduino) doesn’t exist and the original board is actually made by Sparkfun and is called just Pro Micro. Make sure you have 5V variant and if you shop for clones, make sure you are not buying something different. You need ATmega32U4 and a build in USB connector. I bought those on AliExpress.
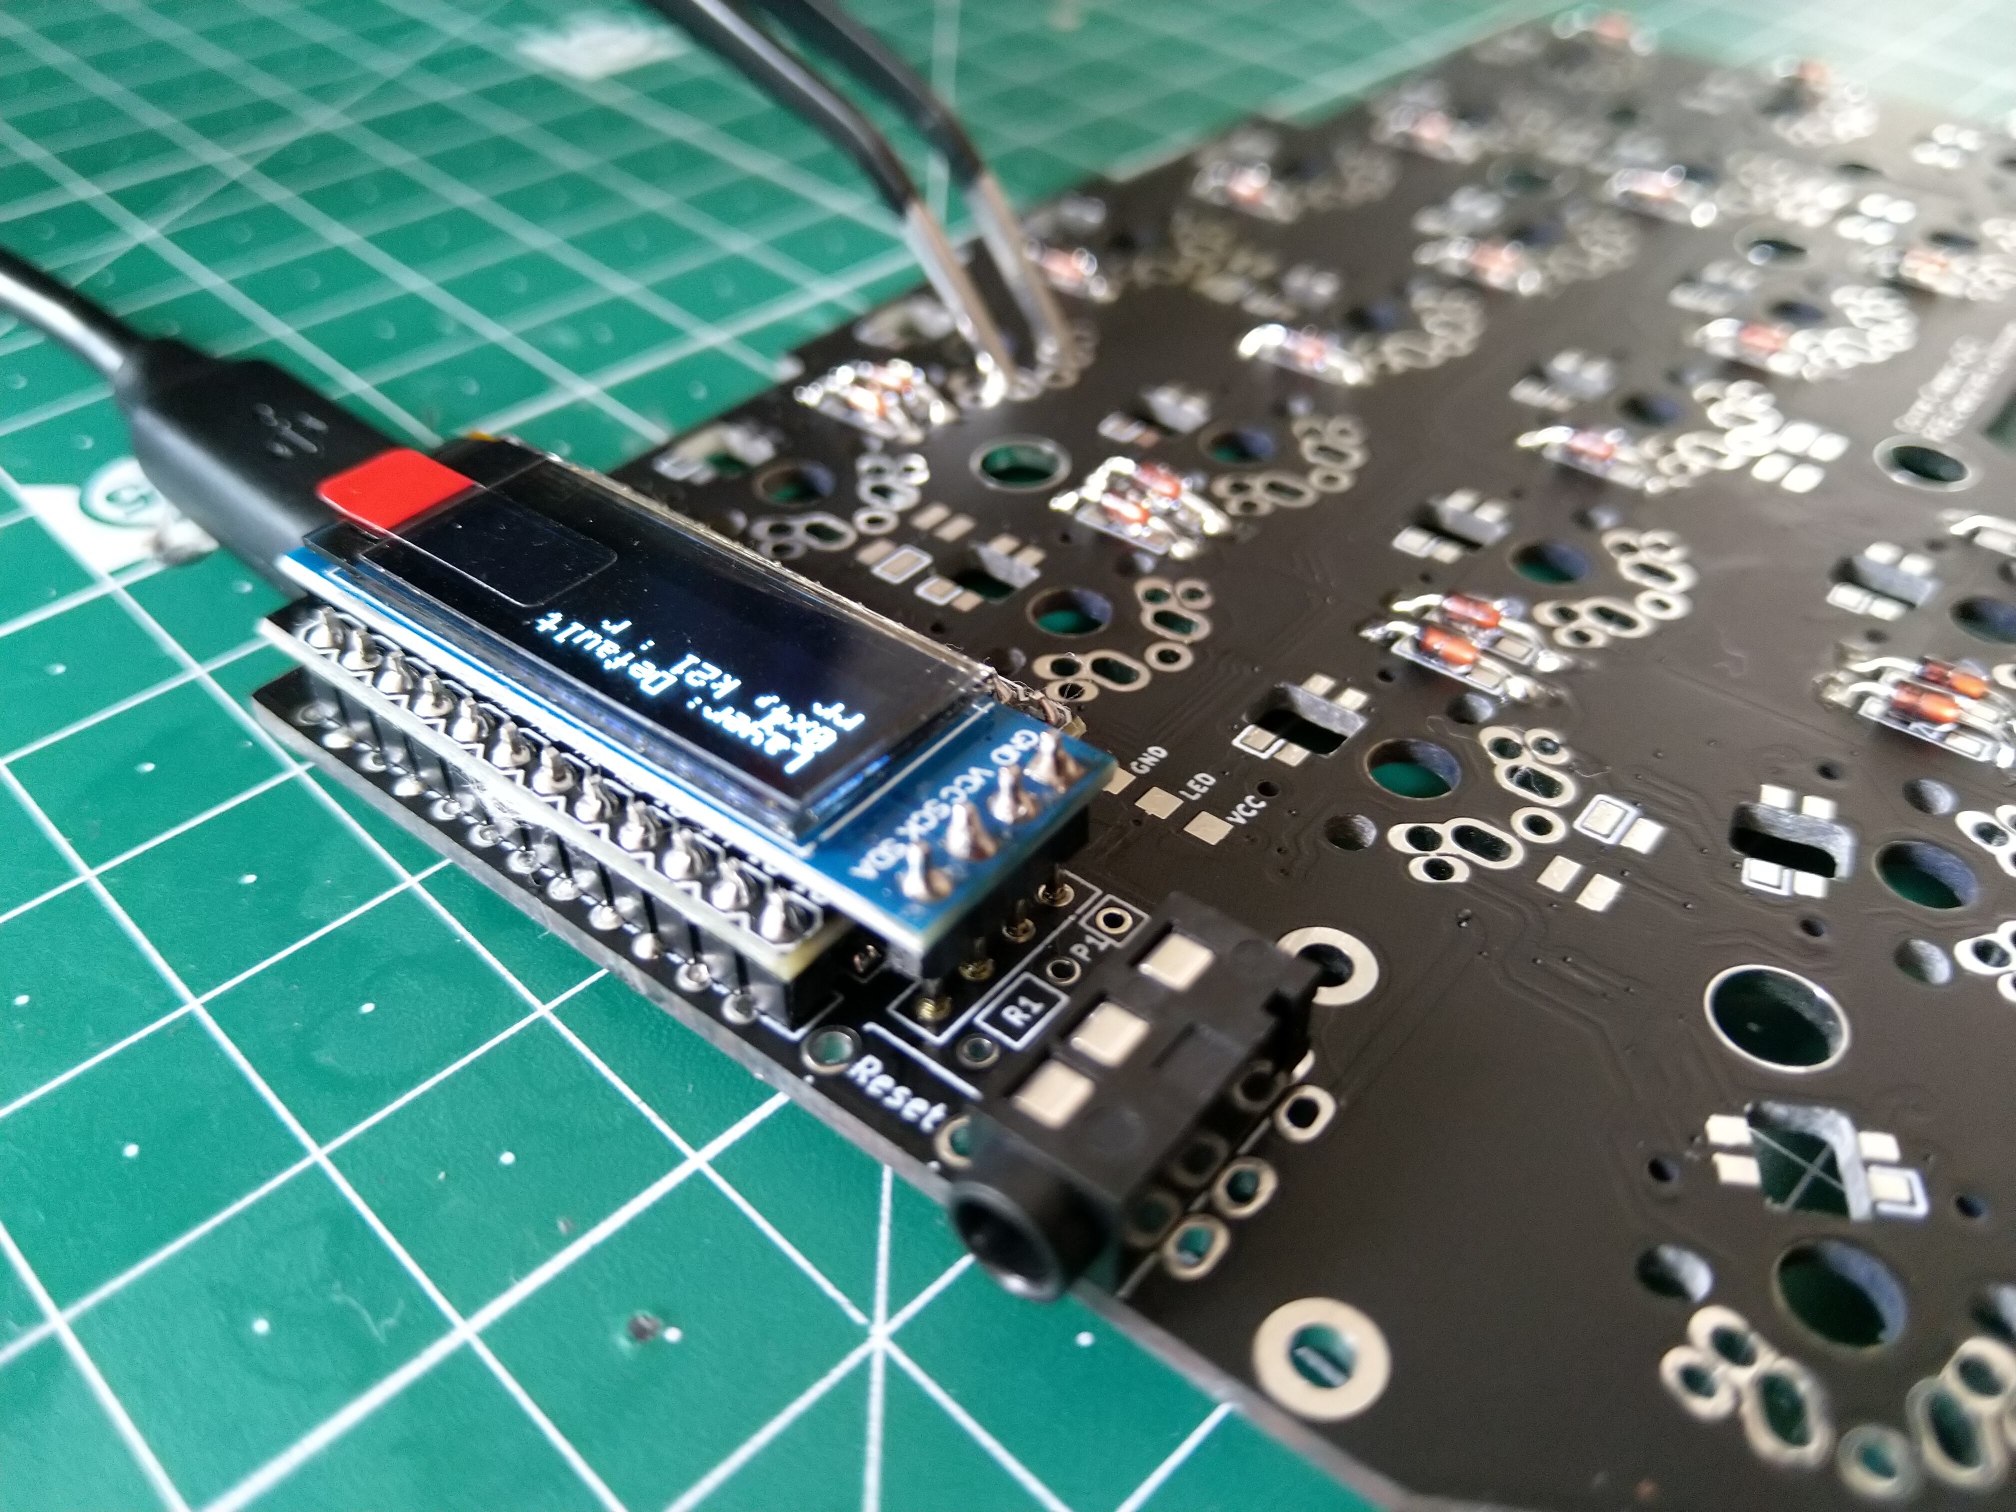
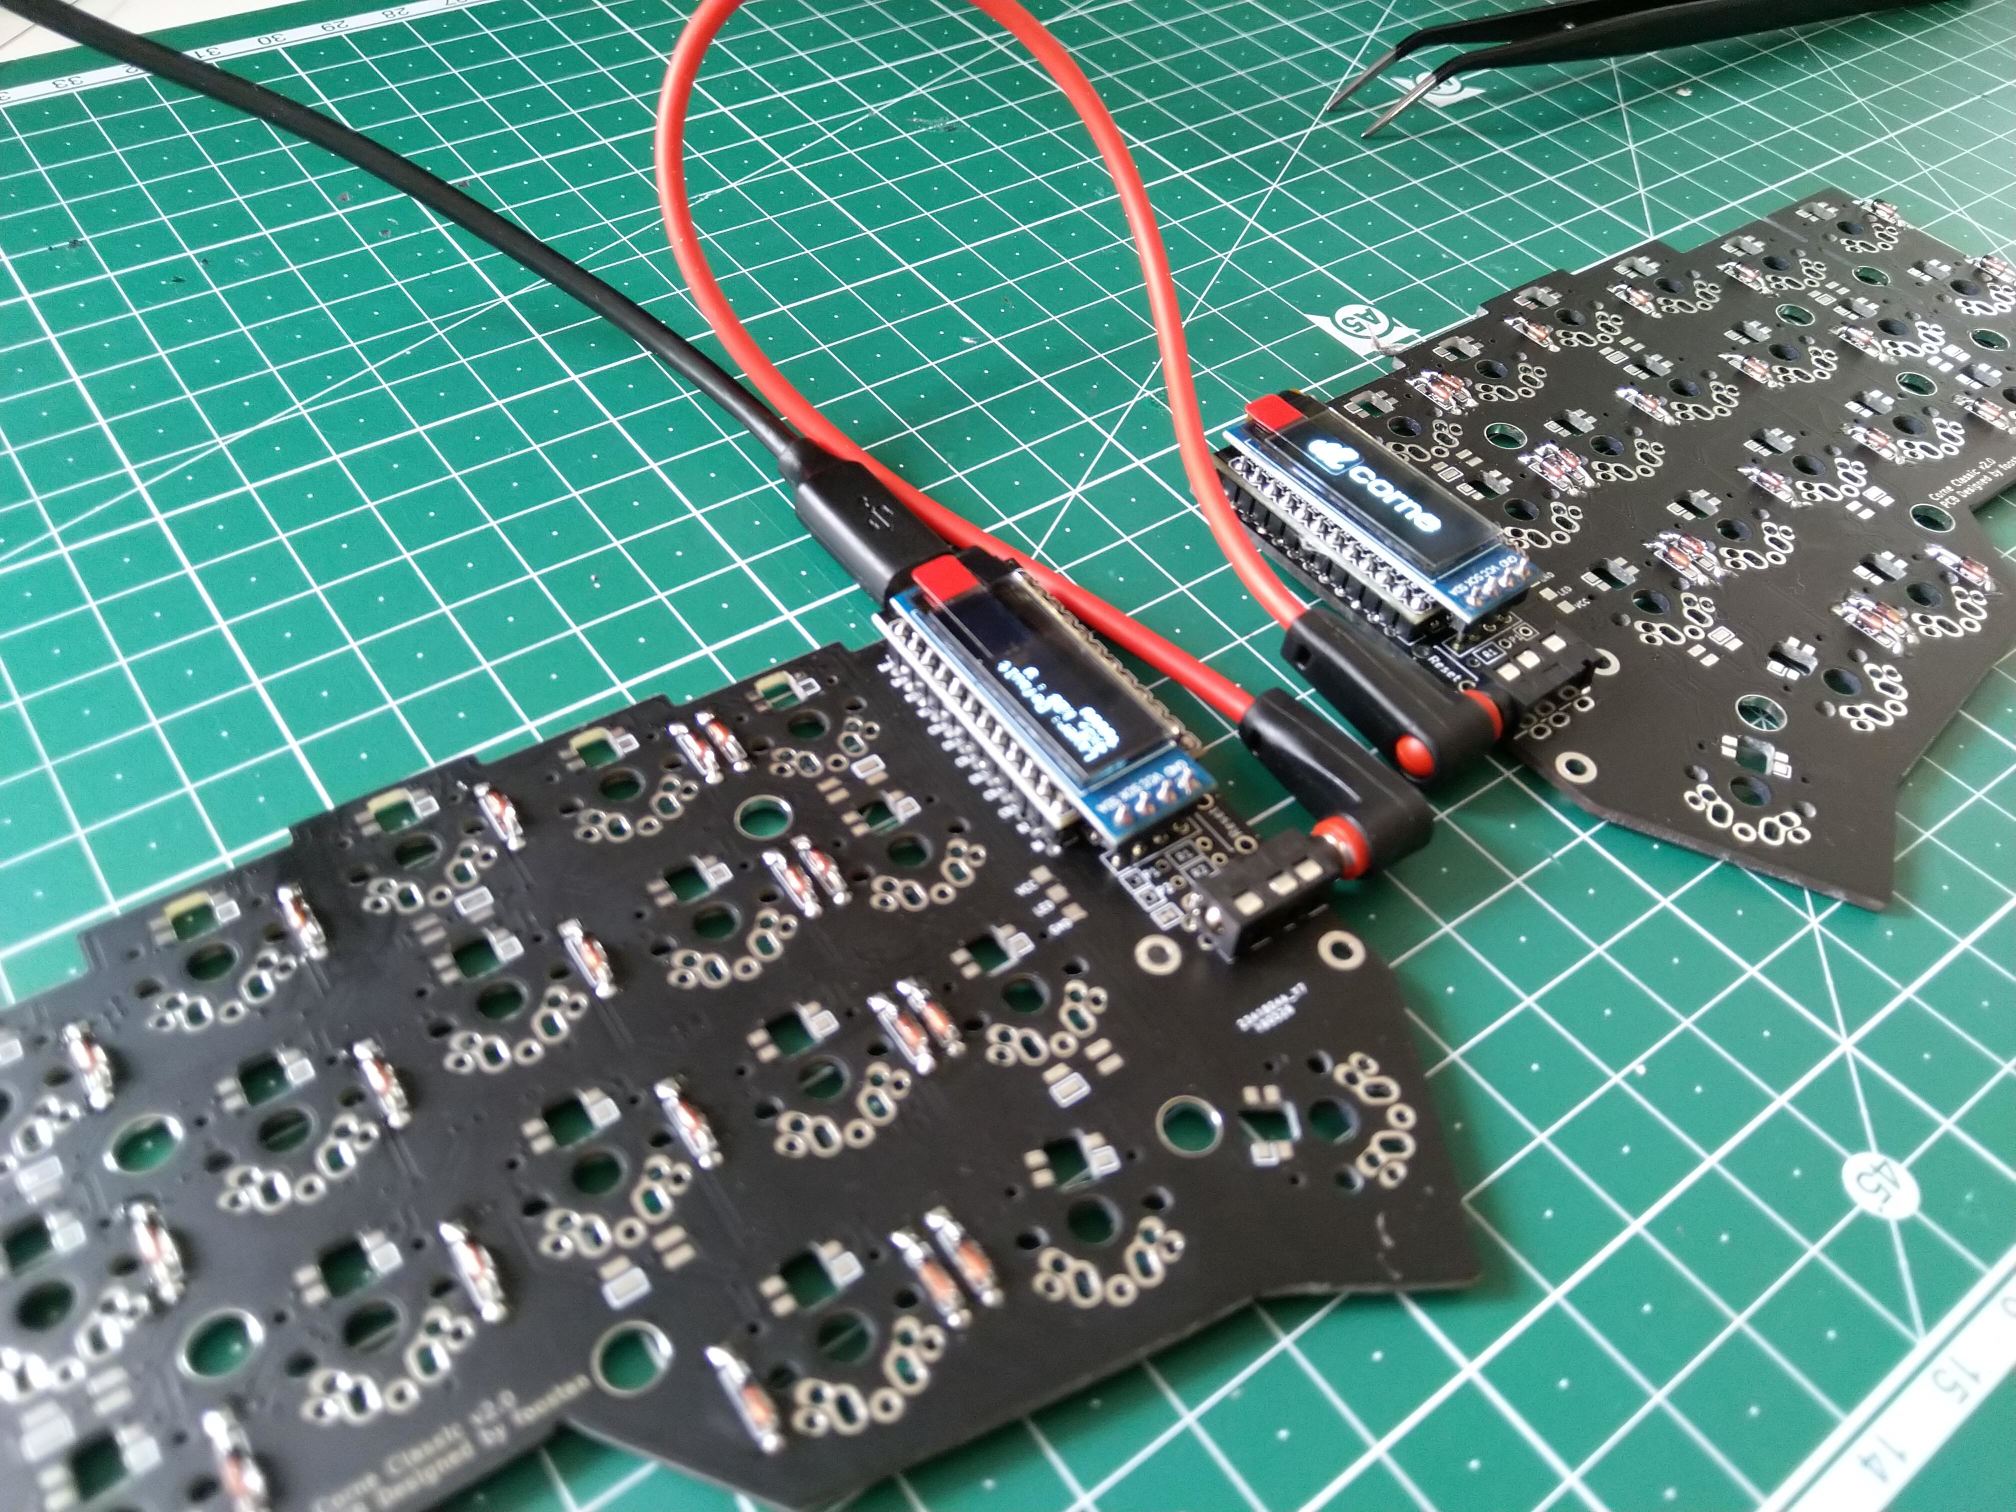
- 2x ssd1306 128x32 OLED display module, i2c variant. Check the pictures, but this is the most common you’ll find (AliExpress).
- Some M2 spacers and screws (brass spacers on AliExpress). Check the lengths in the official build guide.
- Rubber feet. Those are very important, I am still waiting for mine and the keyboard is hard to use without them. I use a piece of cloth under the keyboard in order to hot-fix tilting on the screw-heads in the bottom when I press a key in the top row. (AliExpress)
- 2xTRRS audio connector (connectors on AliExpress)
- TRRS audio cable to connect both halves. Try to buy TRRS (has 4 wires) but you should be OK with TRS (3 wires). Corne can use either serial communication (needs 3 wires) or I2C (needs 4) to communicate between halves. The default variant is serial and there was no information how to make I2C work in the documentation for Corne so you are most likely not going to go there.
- Some pin headers, some pin sockets if you want to. It’s actually quite difficult to get nice sockets which would work for Corne. I ended up using normal pin headers and soldered Pro Micros and displays to the PCB without pin sockets.
- 2x tactile button (on AliExpress)
- keycaps
- If you want to have a complete build you would need 2 laser-cut acrylic covers for OLED displays. I build mine without them.
RGB LEDs
Even though, I am not really into RGB backlit keyboards I decided to give it a try.
The documentation says you need SK6812MINI RGB LEDs. Those are very similar to the famous WS2812 LEDs but they are in a smaller package (3535) and use a different IC. But the way how one use them is the same.
But as I was trying to find them on Aliexpress I stumbled upon LEDs which were presented as “SK6812 WS2812B IC Bulit in 5050 3535 RGB SMD Addressable Digital RGB Full Color LED Chip Pixels Bead DC5V”. I assumed that the 3535 variant is the SK6812MINI I was looking for and ordered them.
I was wrong. What I’ve got is WS2812B-mini or some clone. Unfortunately, the pinout is different and therefore they cannot be used with Corne. Therefore my build is without any lighting.
Another thing to note is that many people report that those are hard to solder and are easily damaged by heat. WS2812B-mini are supposed to be actually better in this regard. So maybe I’ll try to change Corne’s PCB design to utilize WS2812B-mini.
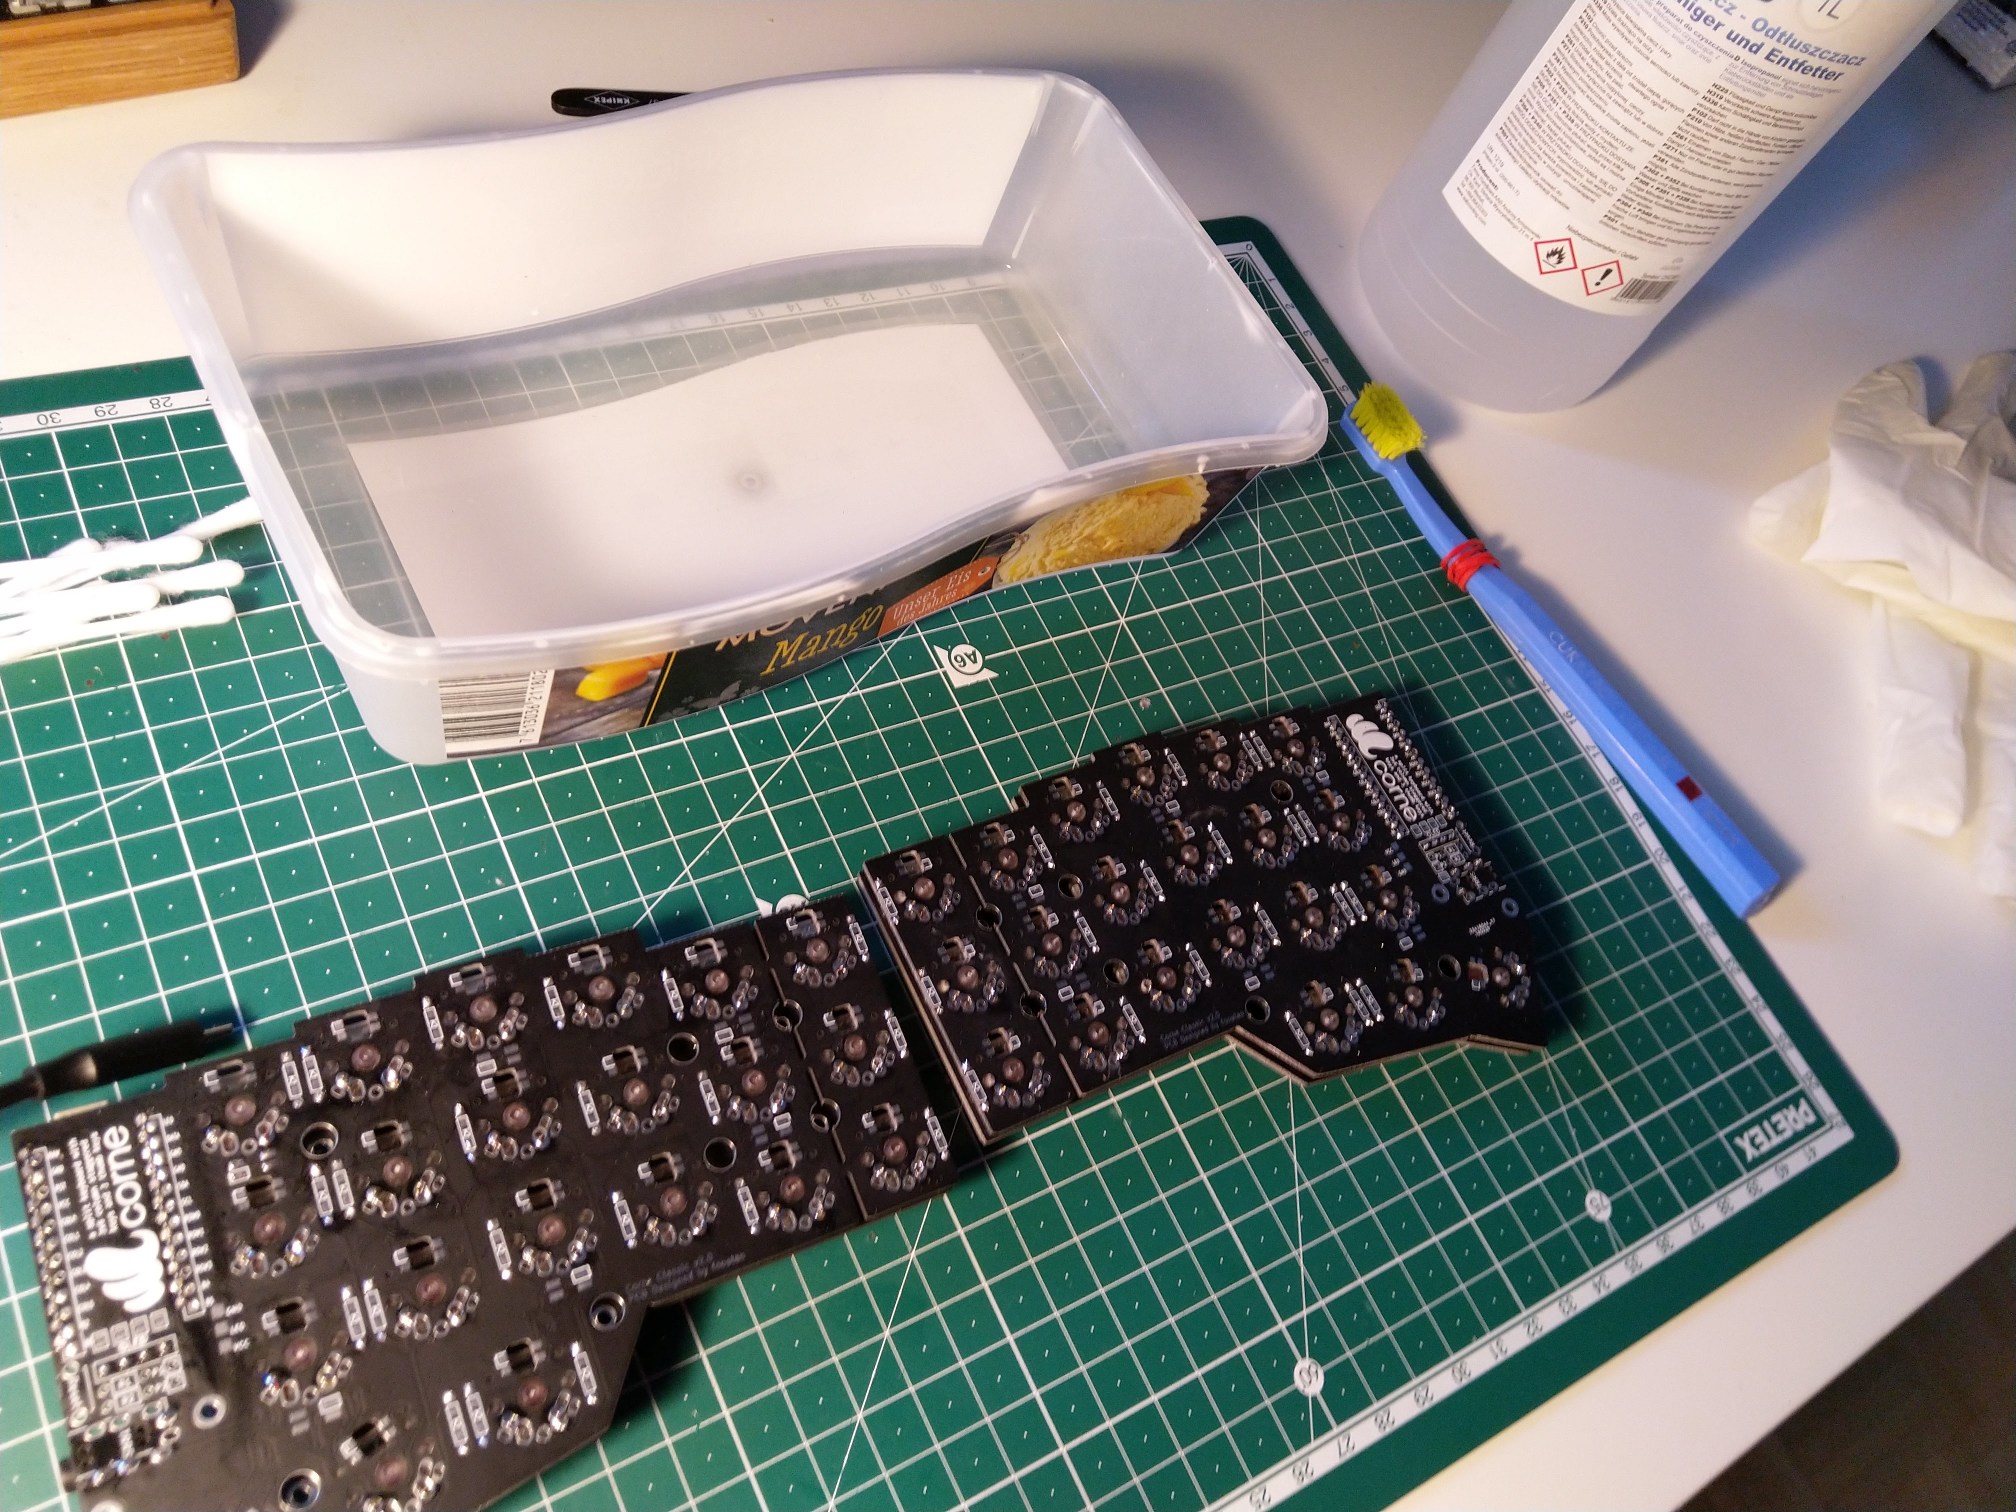
Build log
Future plans
I need to figure out and learn the new layout. I will most likely write another post about that soon.
If the keyboard becomes my daily driver and I really like it, I am going to build a second one. I’ll (most likely) go for an acrylic case with tilting support. I think it’ll bee a good opportunity to gather some experience with laser cutting services.