I learned recently that there’s a huge community around making of custom mechanical keyboards. Even though building such keyboard is actually quite expensive I failed to resist the temptation and decided to build my first one.
And here I am, captured by a new and quite expensive hobby which seems to stick with people. I think it began when I somehow found a subreddit about mechanical keyboards and noticed that there is a big community of people who are designing and building custom (mostly) mechanical keyboards. You just order components you and put them together.
Build from what?
The main ingredient you need in order to to build a mechanical keyboard is a bunch of switches. There are many vendors of those1. There are also various types of switches - clicky with a sound effect, tactile with a nice bump you can feel when you press them or so-called linear which are… just linear without any bumps or clicks. You can choose many other parameters and there’s also a lot of people who are modifying switches in various ways in order to create their desired perfect switch.
Apart from switches, you’ll need to connect them together. You may choose to go full DIY and use just wires and diodes or you can order a PCB (or even design your own PCB).
Next important part is micro-controller which will drive your board2. There are open-source firmwares for such keyboards (for example QMK firmware) with a huge community and many interesting functions. Your keyboard will be fully programmable, that’s amazing, isn’t it?
Of course, you may need or want more. Some kind of case, cables and so on. You can order an assembly-ready kit or source parts yourself.
As you can see there are so many things you could do with those. Experiment with layouts, layers, switches. There are orthogonal keyboards, split keyboards, minimalistic keyboards. So big is, this keyboard universe!
My first keyboard
After I lurked at the r/mechanicalkeyboards for some time a strong urge to build keyboard grew in me. In the end, I chose a design called Katana60 for several reasons:
- It has a non-traditional layout which aims to be a bit more ergonomic. It is more appealing to me to build a keyboard with a layout one cannot buy on a mass produced keboard.
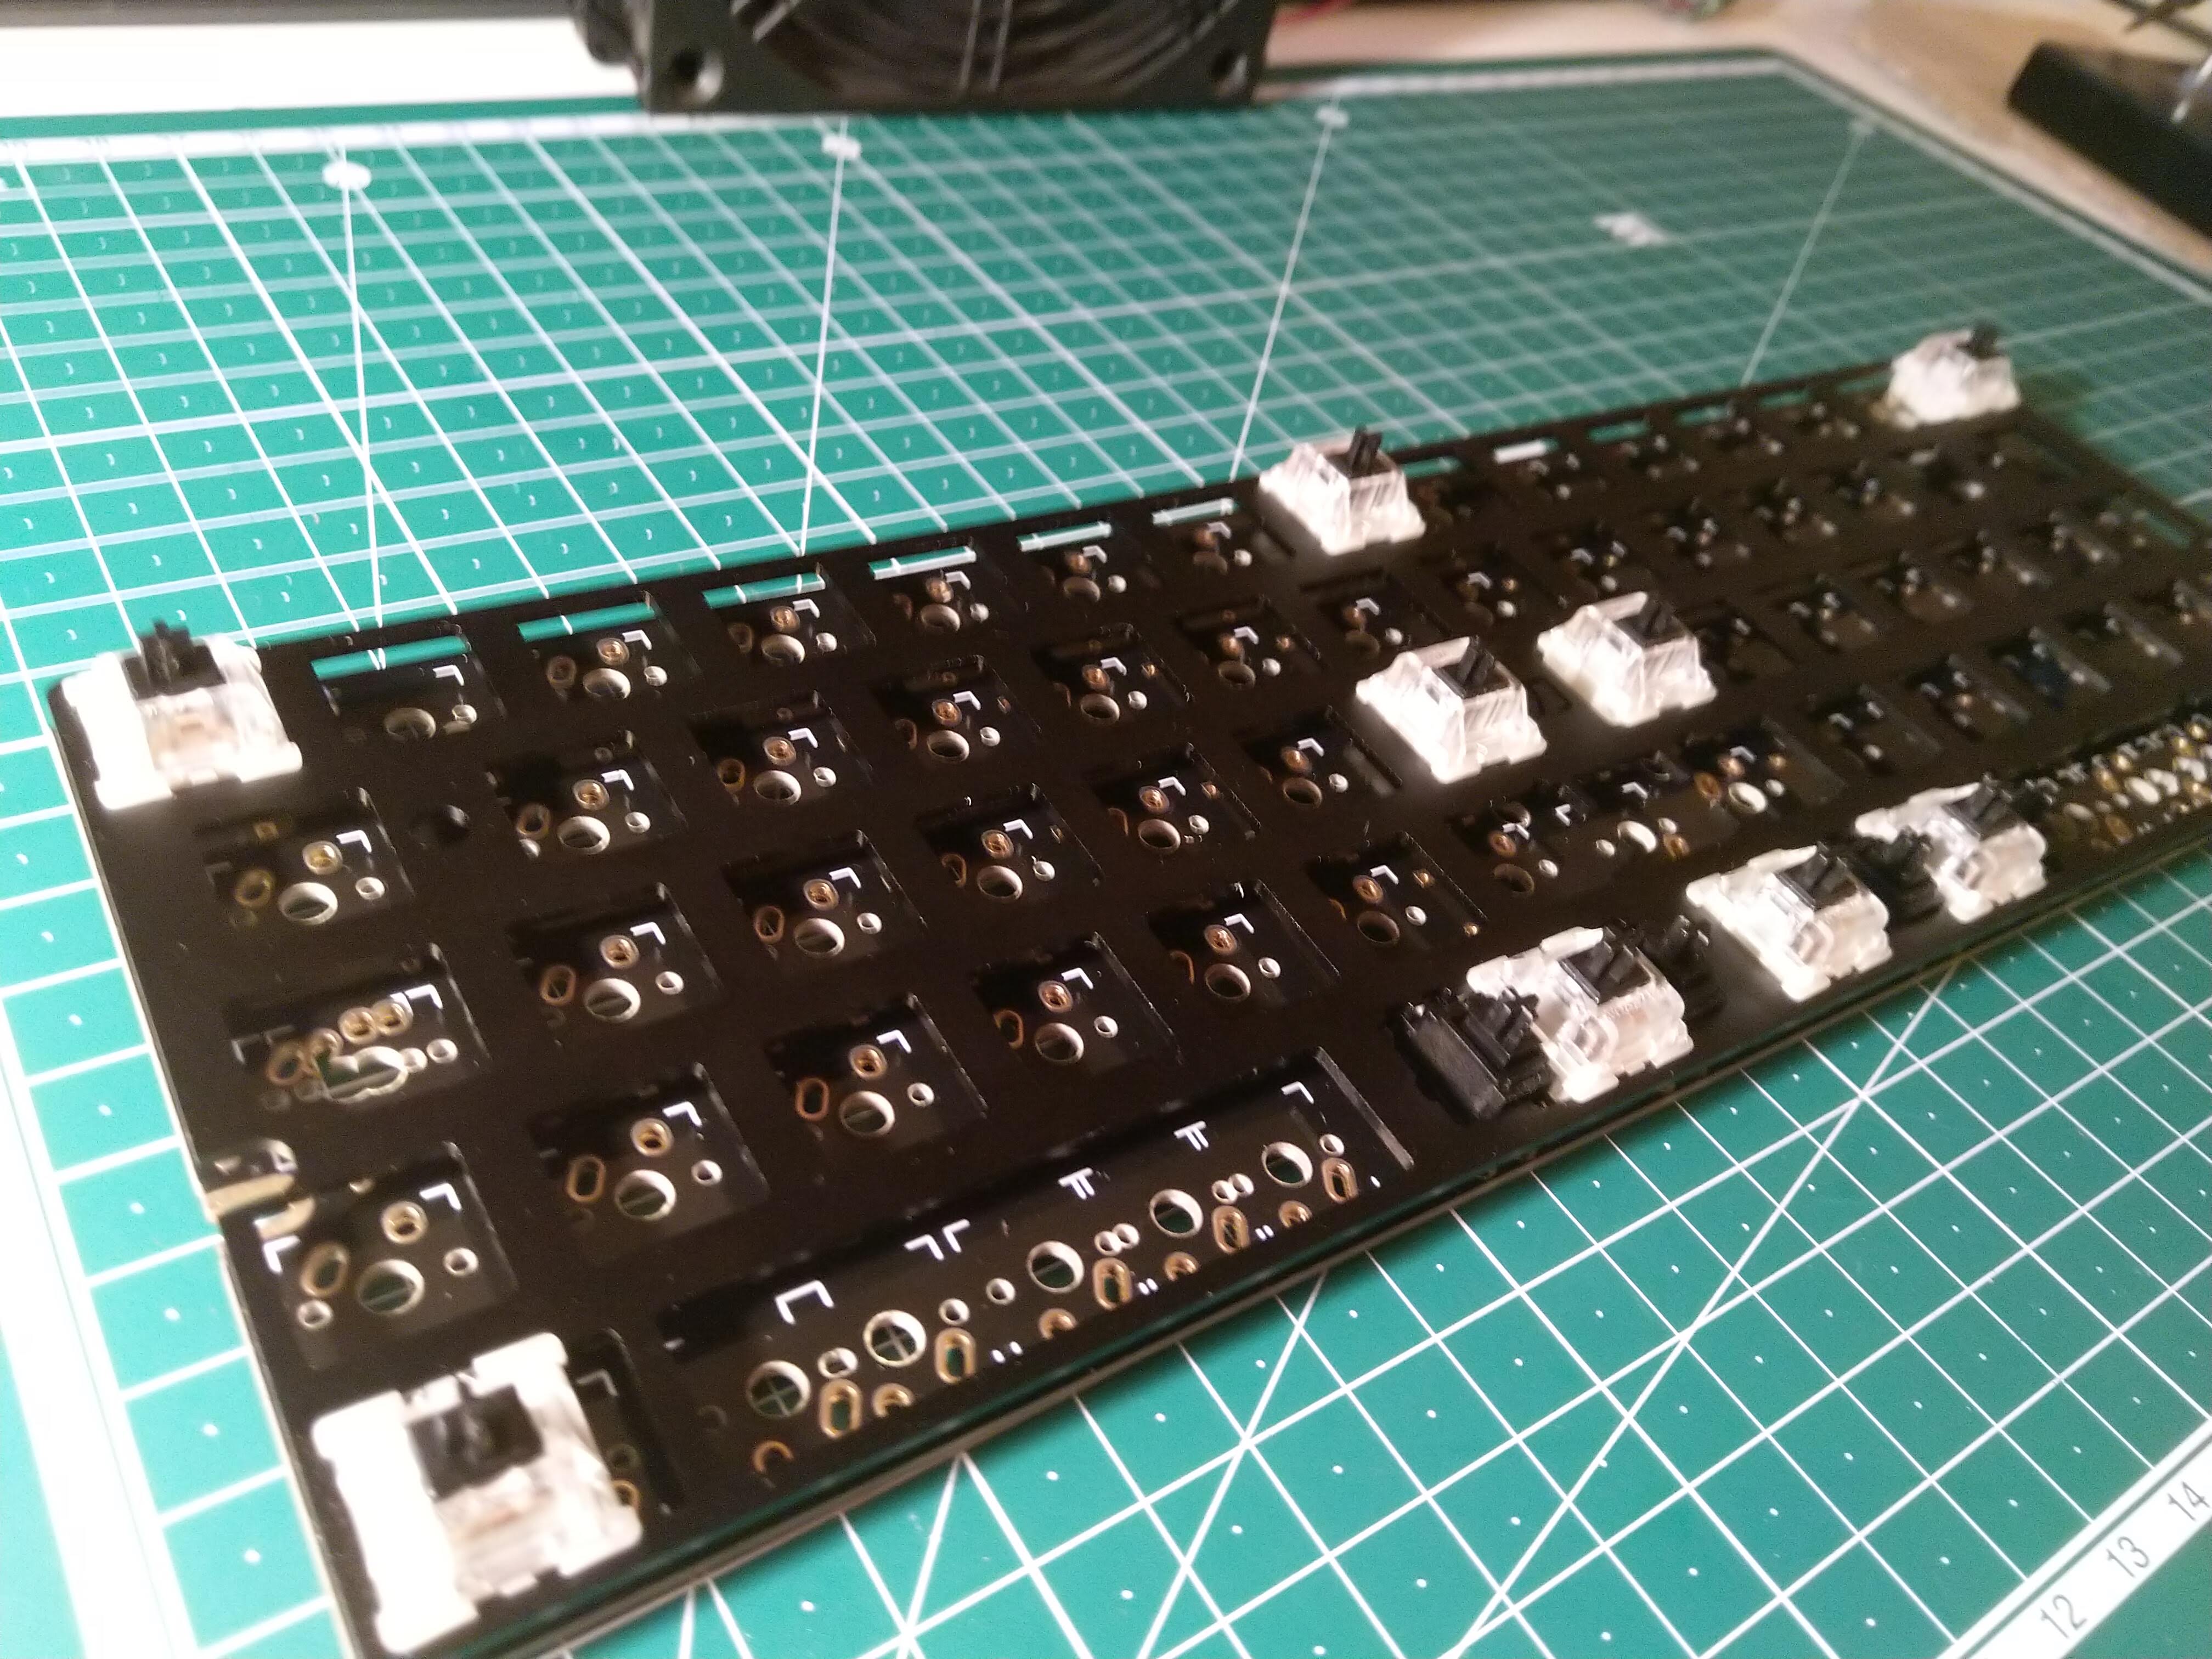
- There are PCB and plate available to order from European eshop (Candykeys). The PCB has all components pre-soldered so it’s a little bit less work. Not that much DIY, though, you need to solder on only the switches.
- It’s compatible with the most common cases for 60% keyboards, therefore you can find really cheap ones.
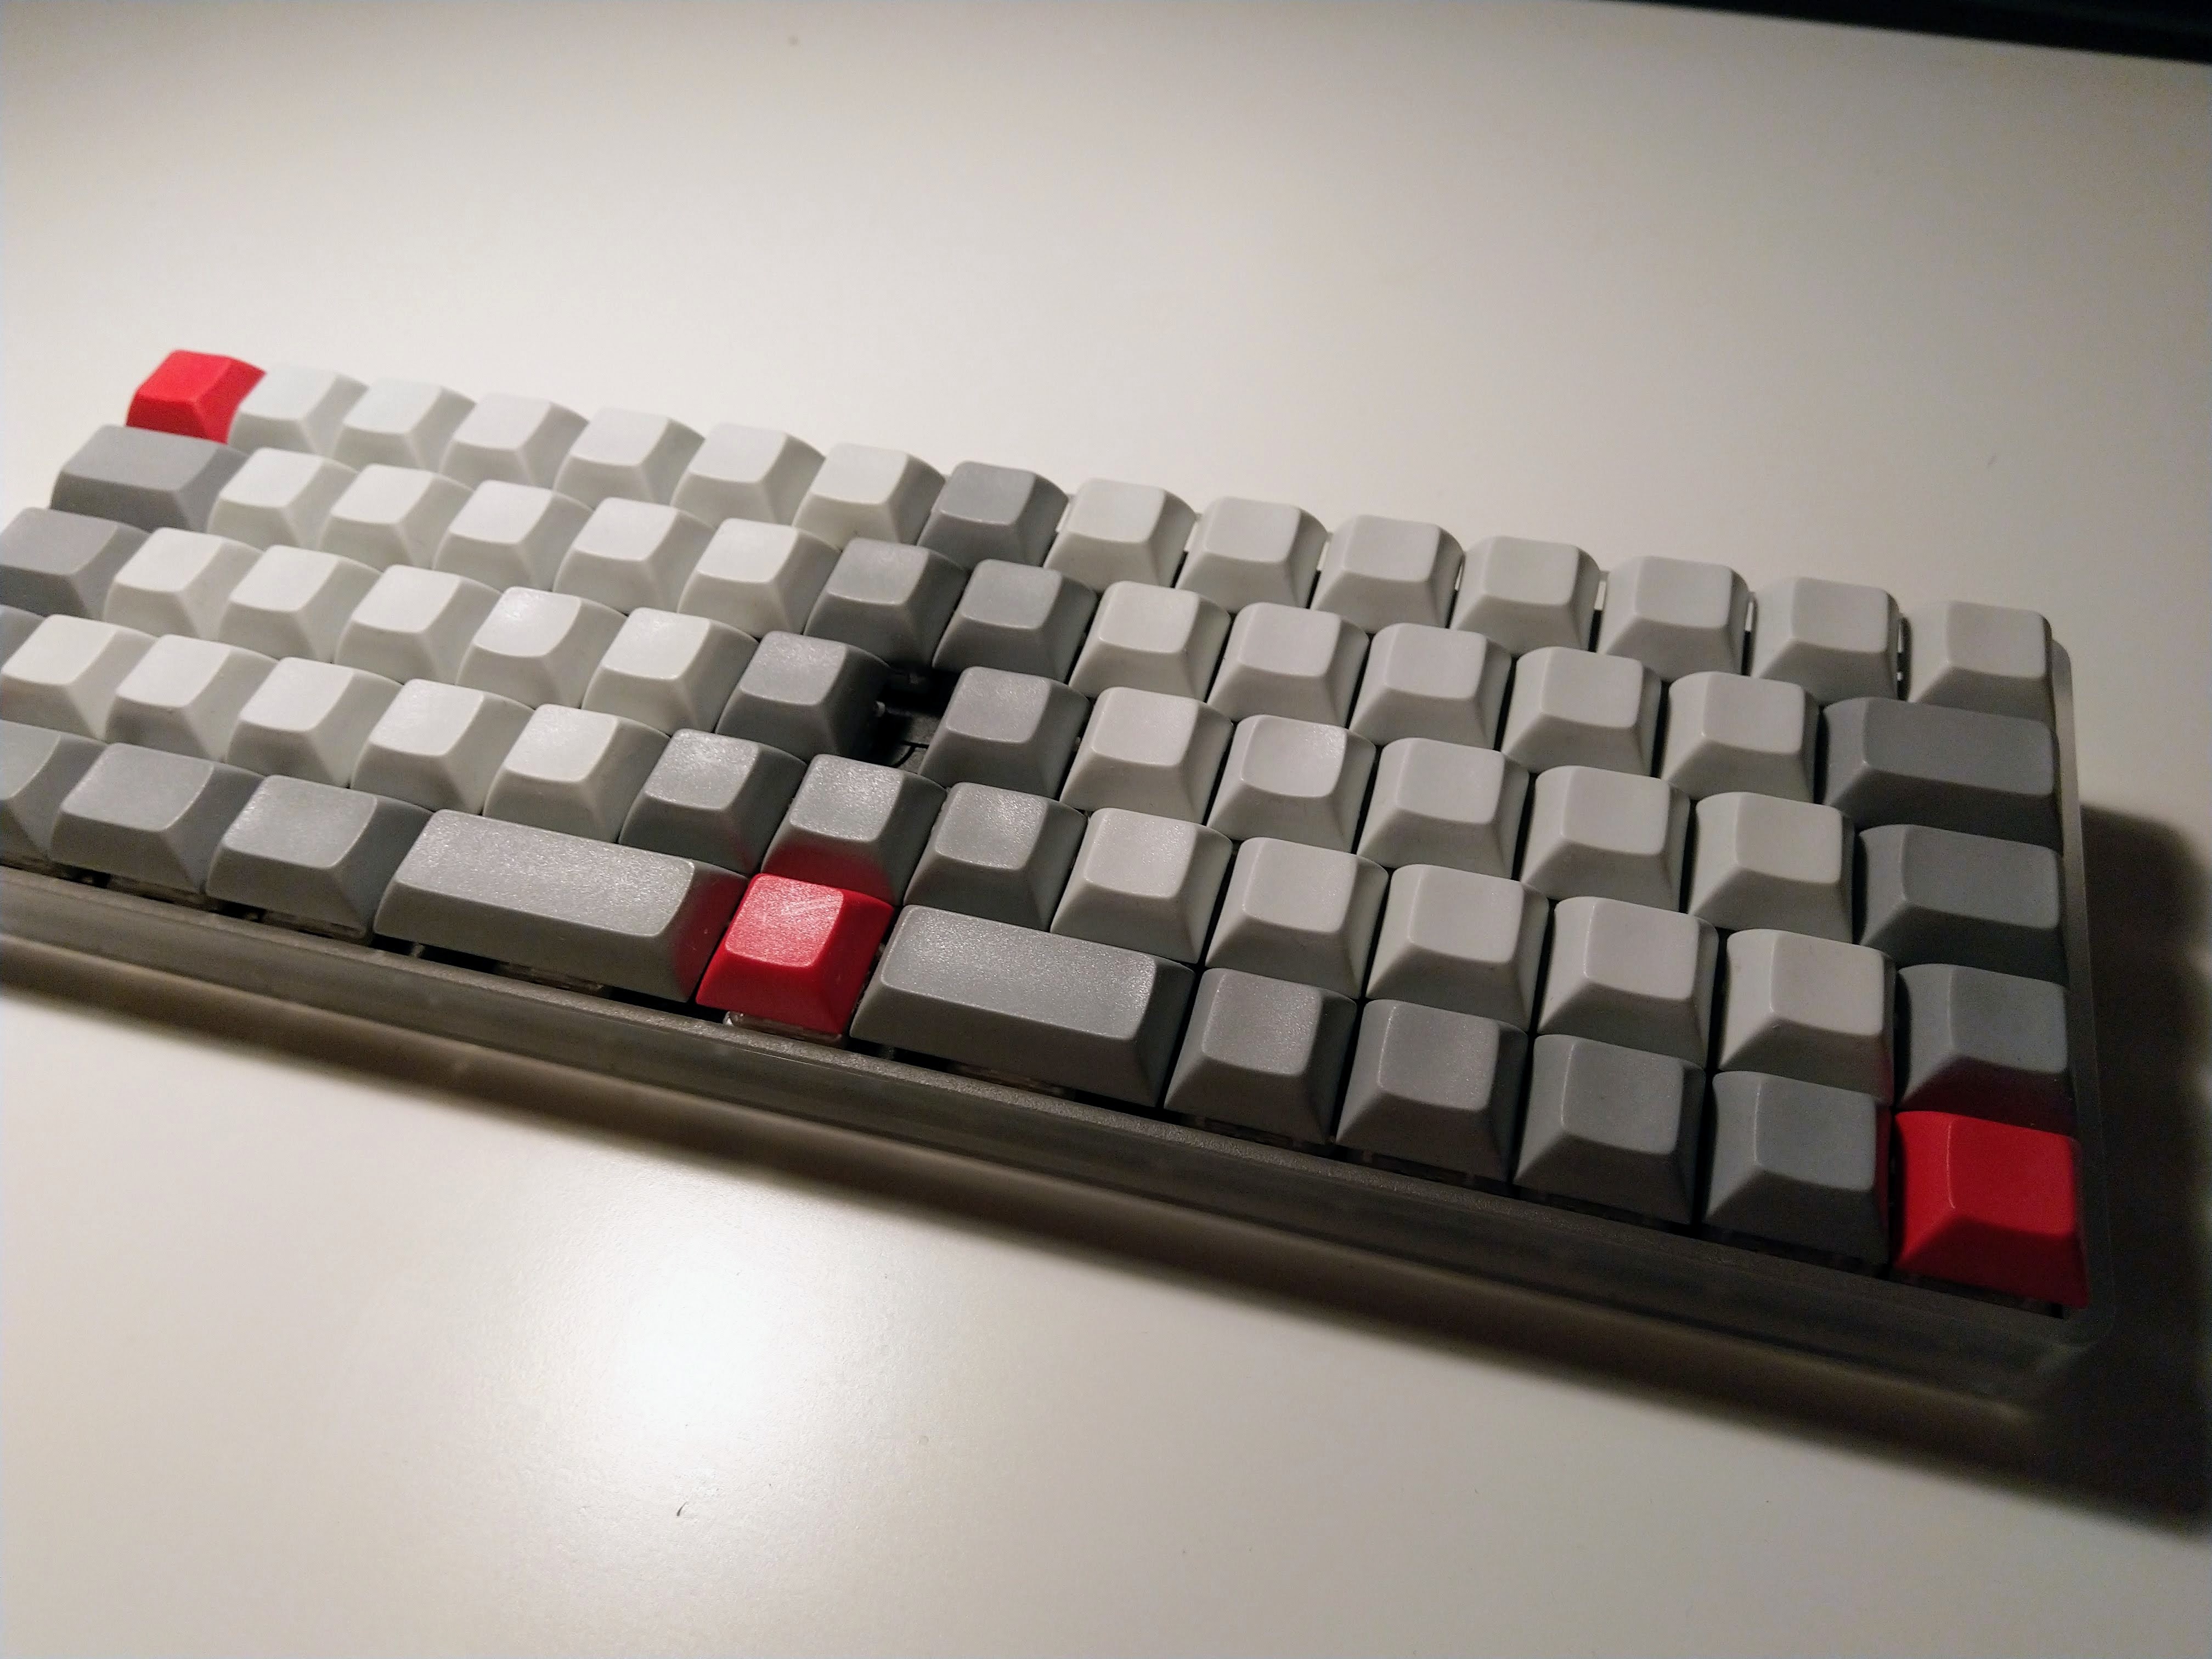
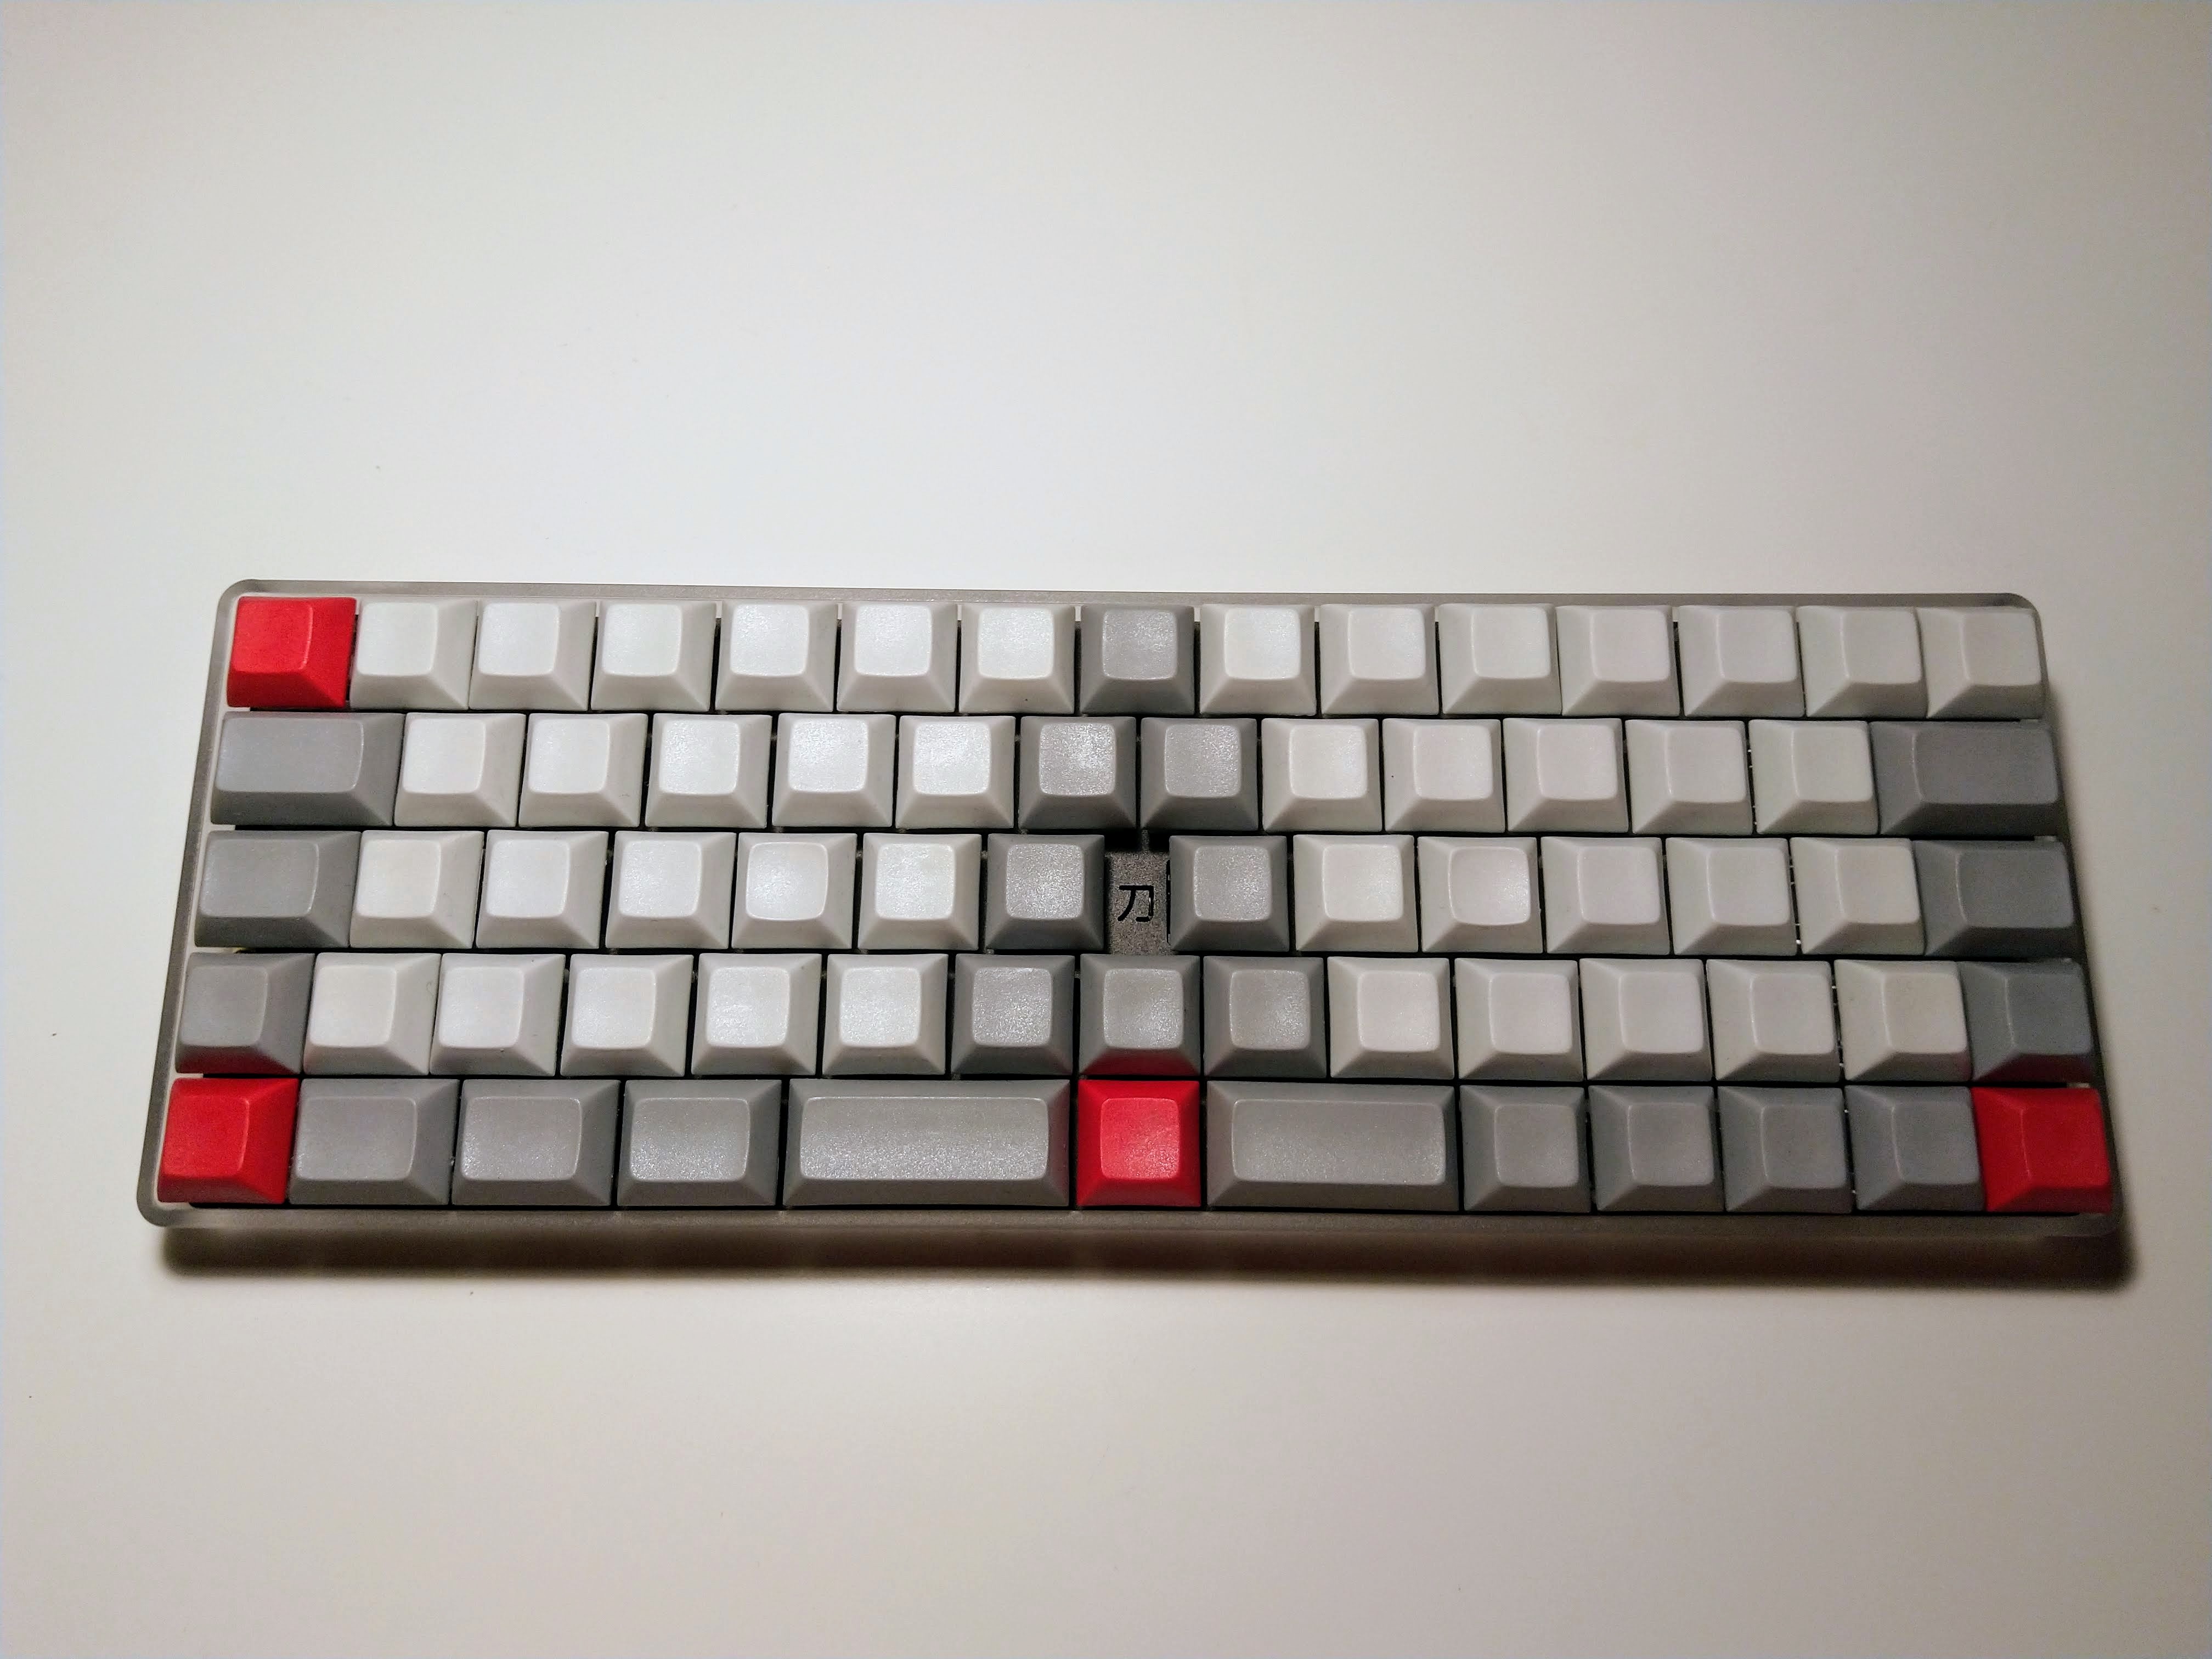
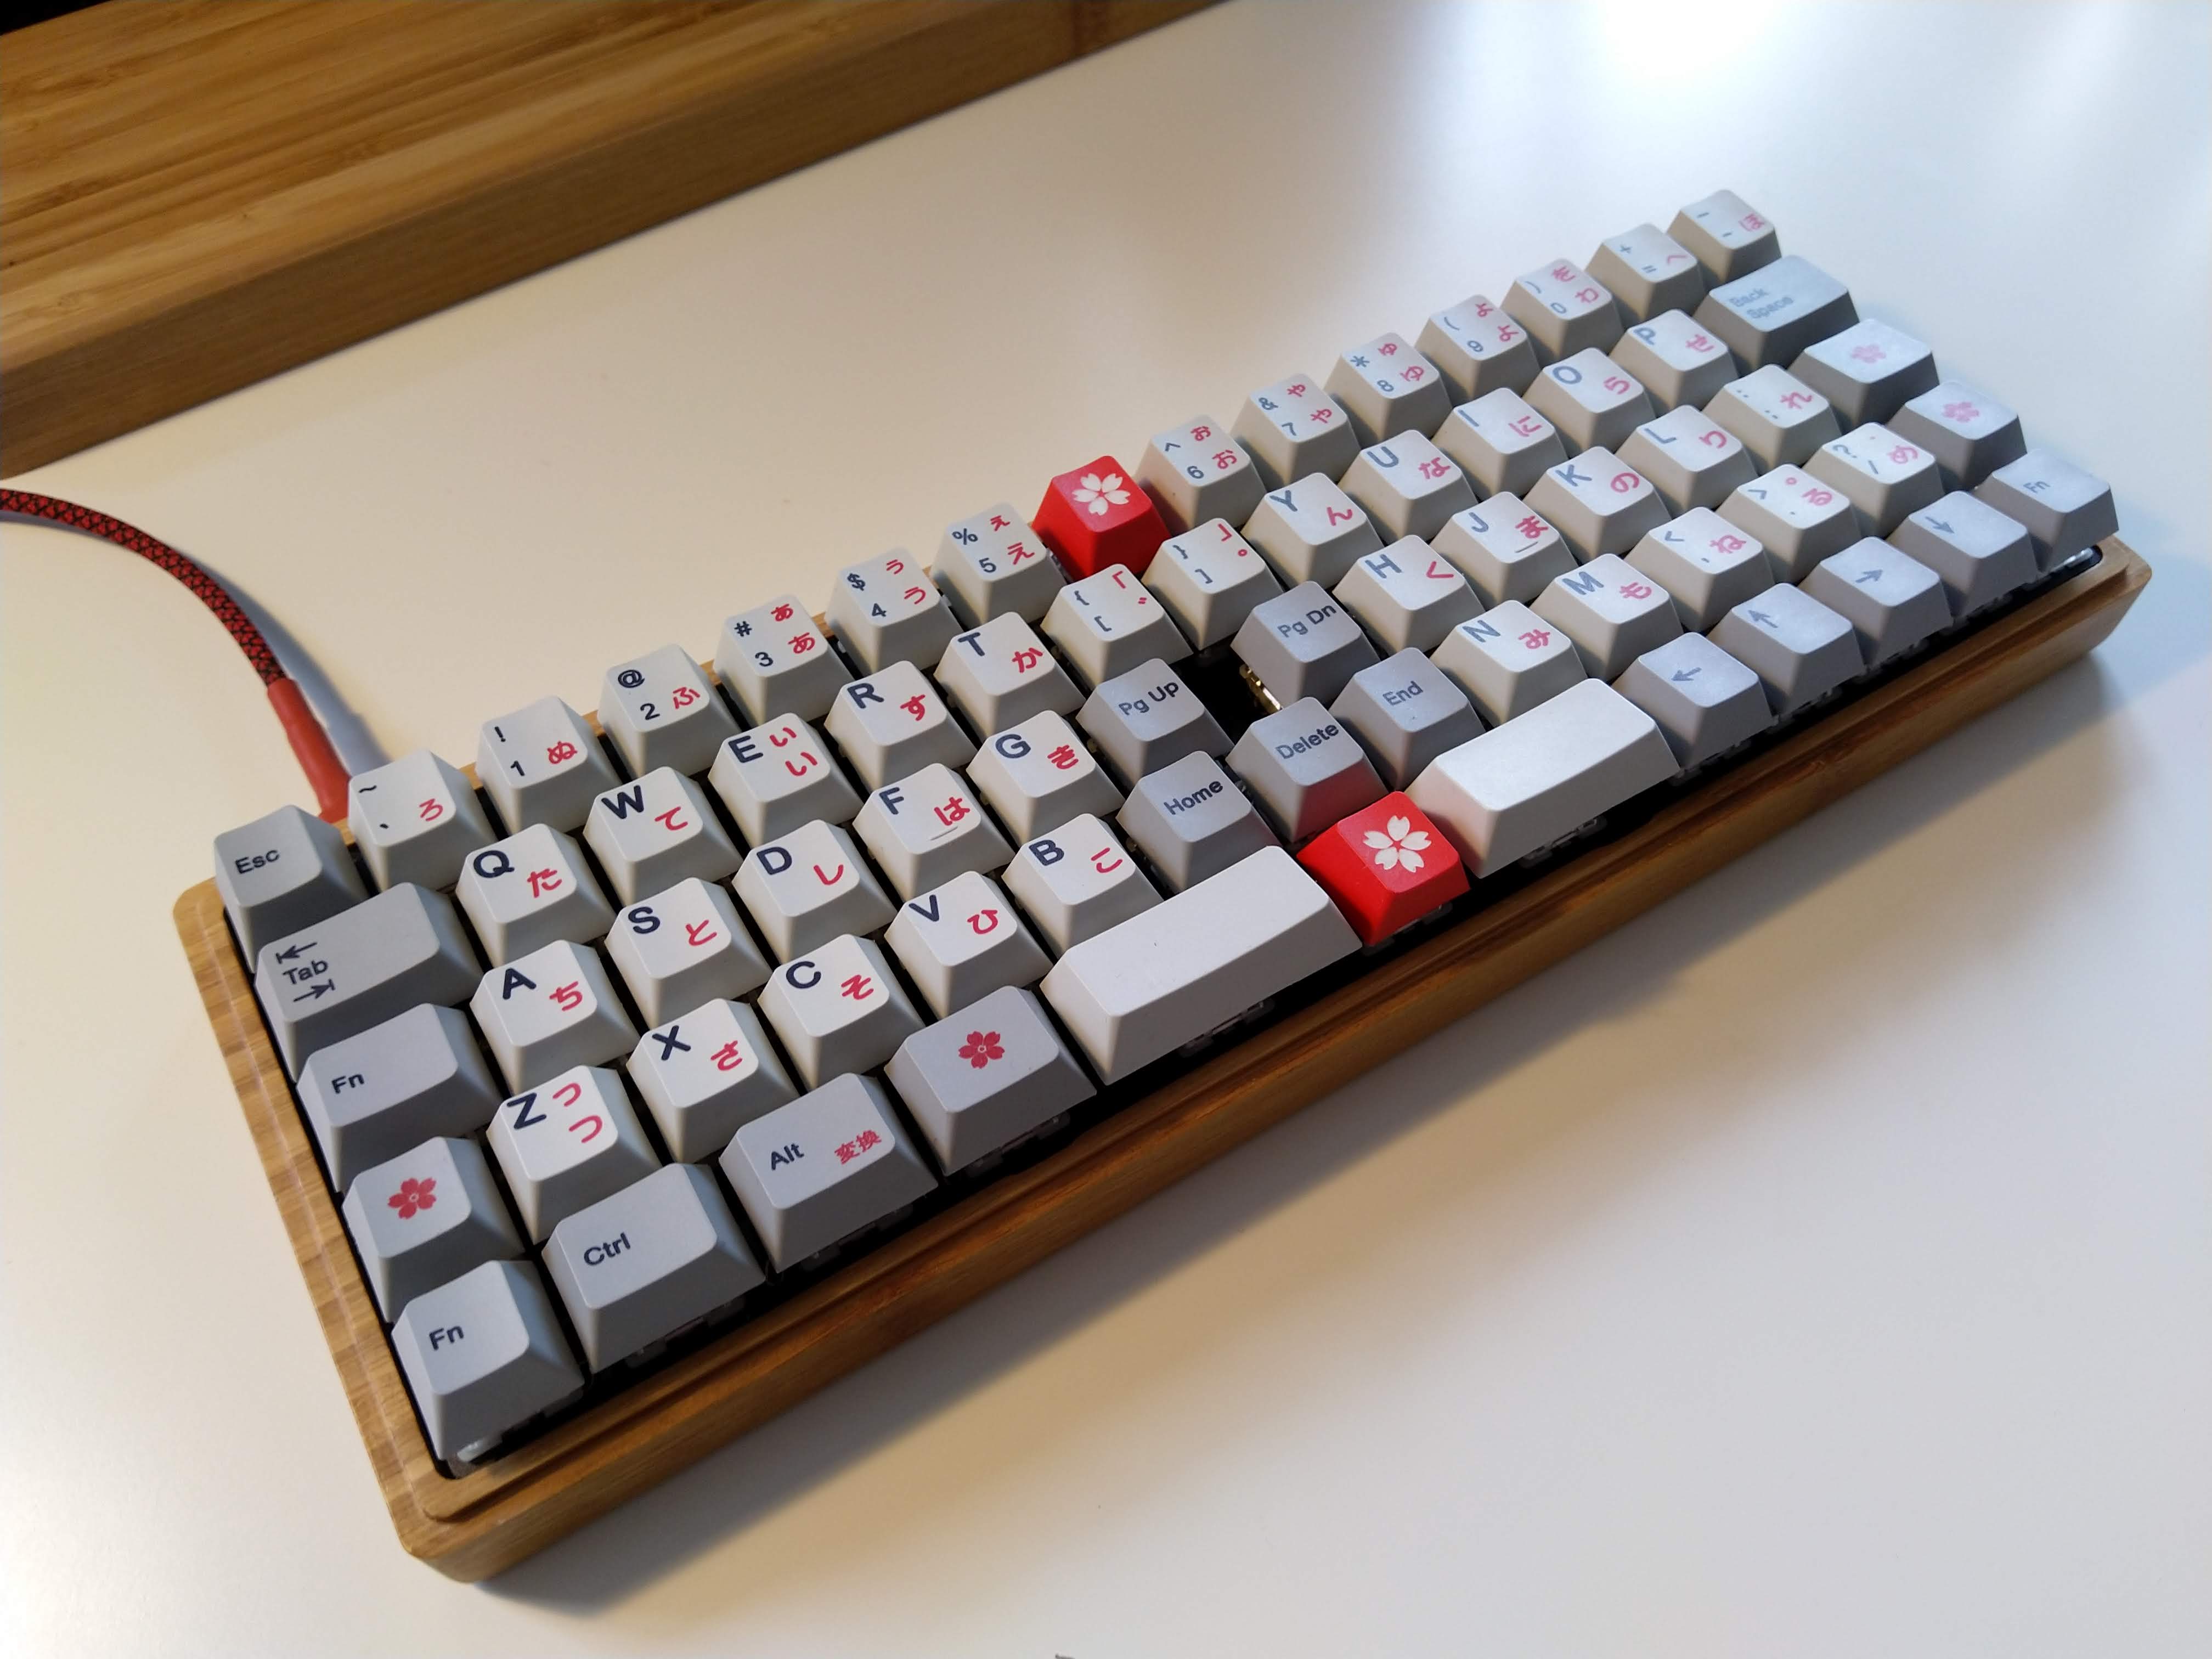
- It has a small gap in the middle where you can see a Japanese symbol for katana. That’s cool.
This keyboard is designed by RominRonin3, here is a thread on Geekhack.
I gathered the following parts:
- PCB and Plates
- 2 stabilizers - they are used to hold longer keys level when you press them, therefore you don’t have to press them exactly in the middle. Katana60 has only two longer keys, so only two stabilizers are needed.
- A super cheap semi-transparent plastic case from Aliexpress
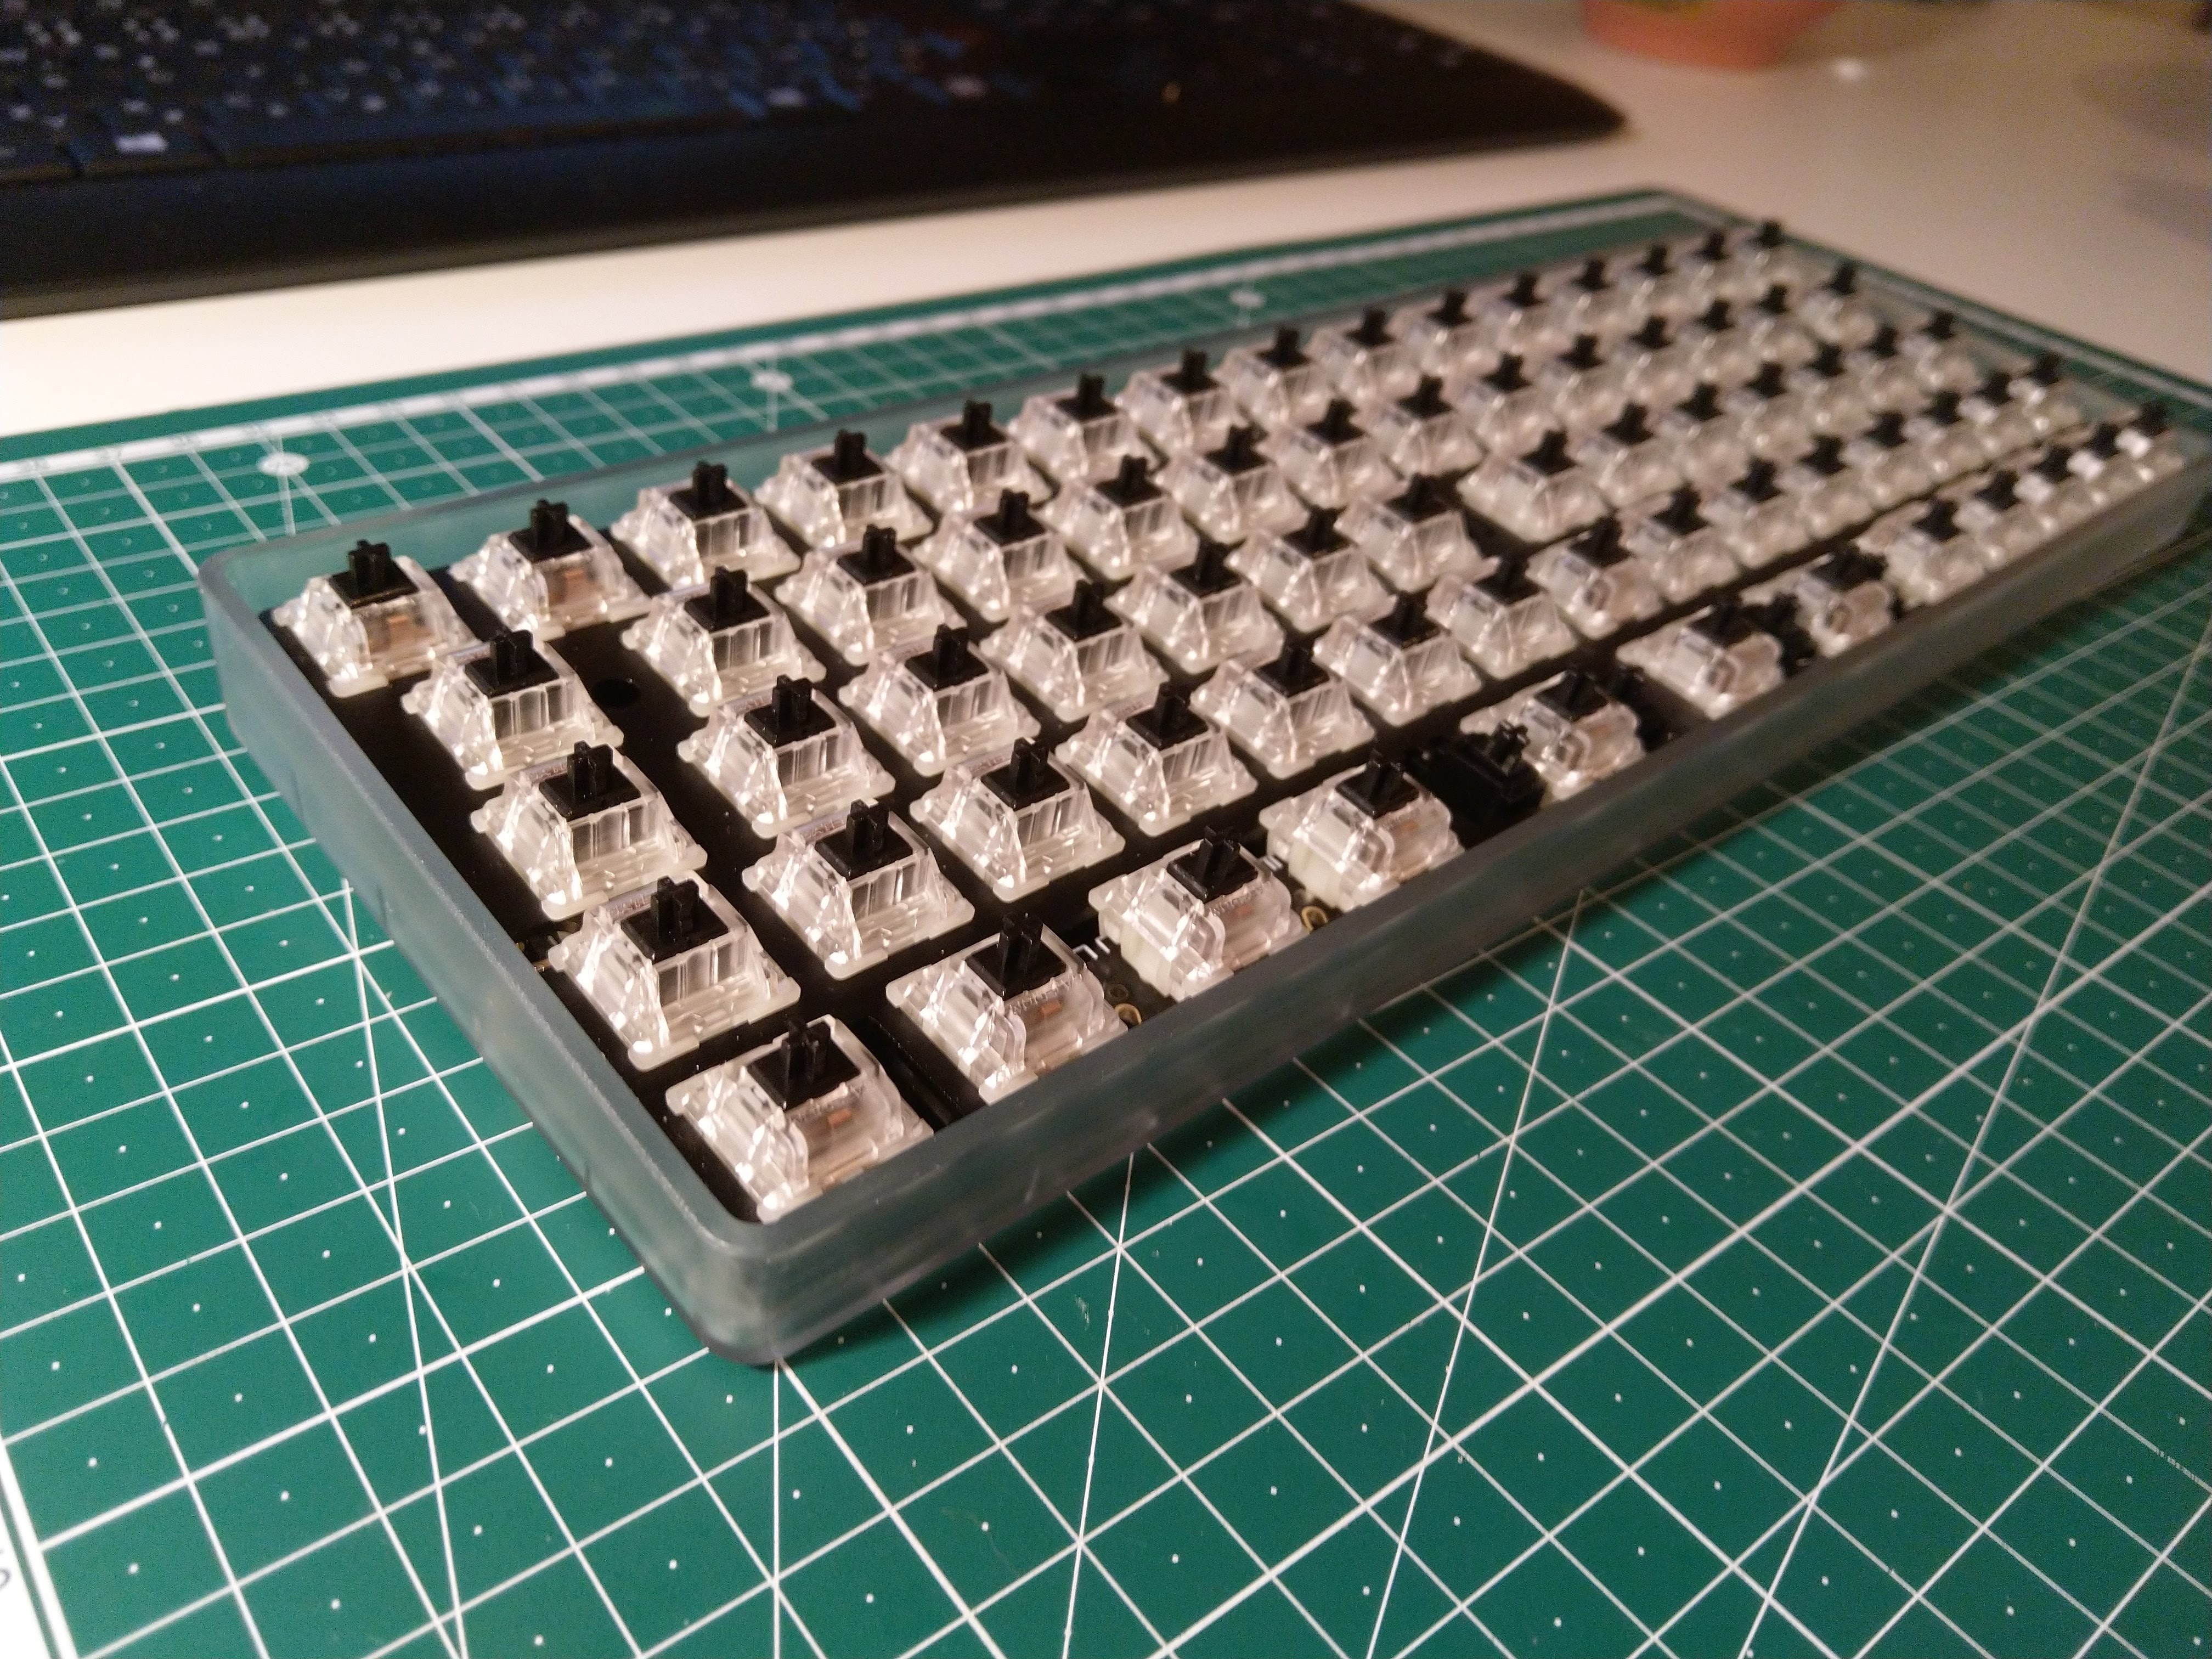
- Gateron Silent Black switches again from Aliexpress. Those are linear, so no bumps or clicks.
- Keycaps, super cheap from Aliexpress too.
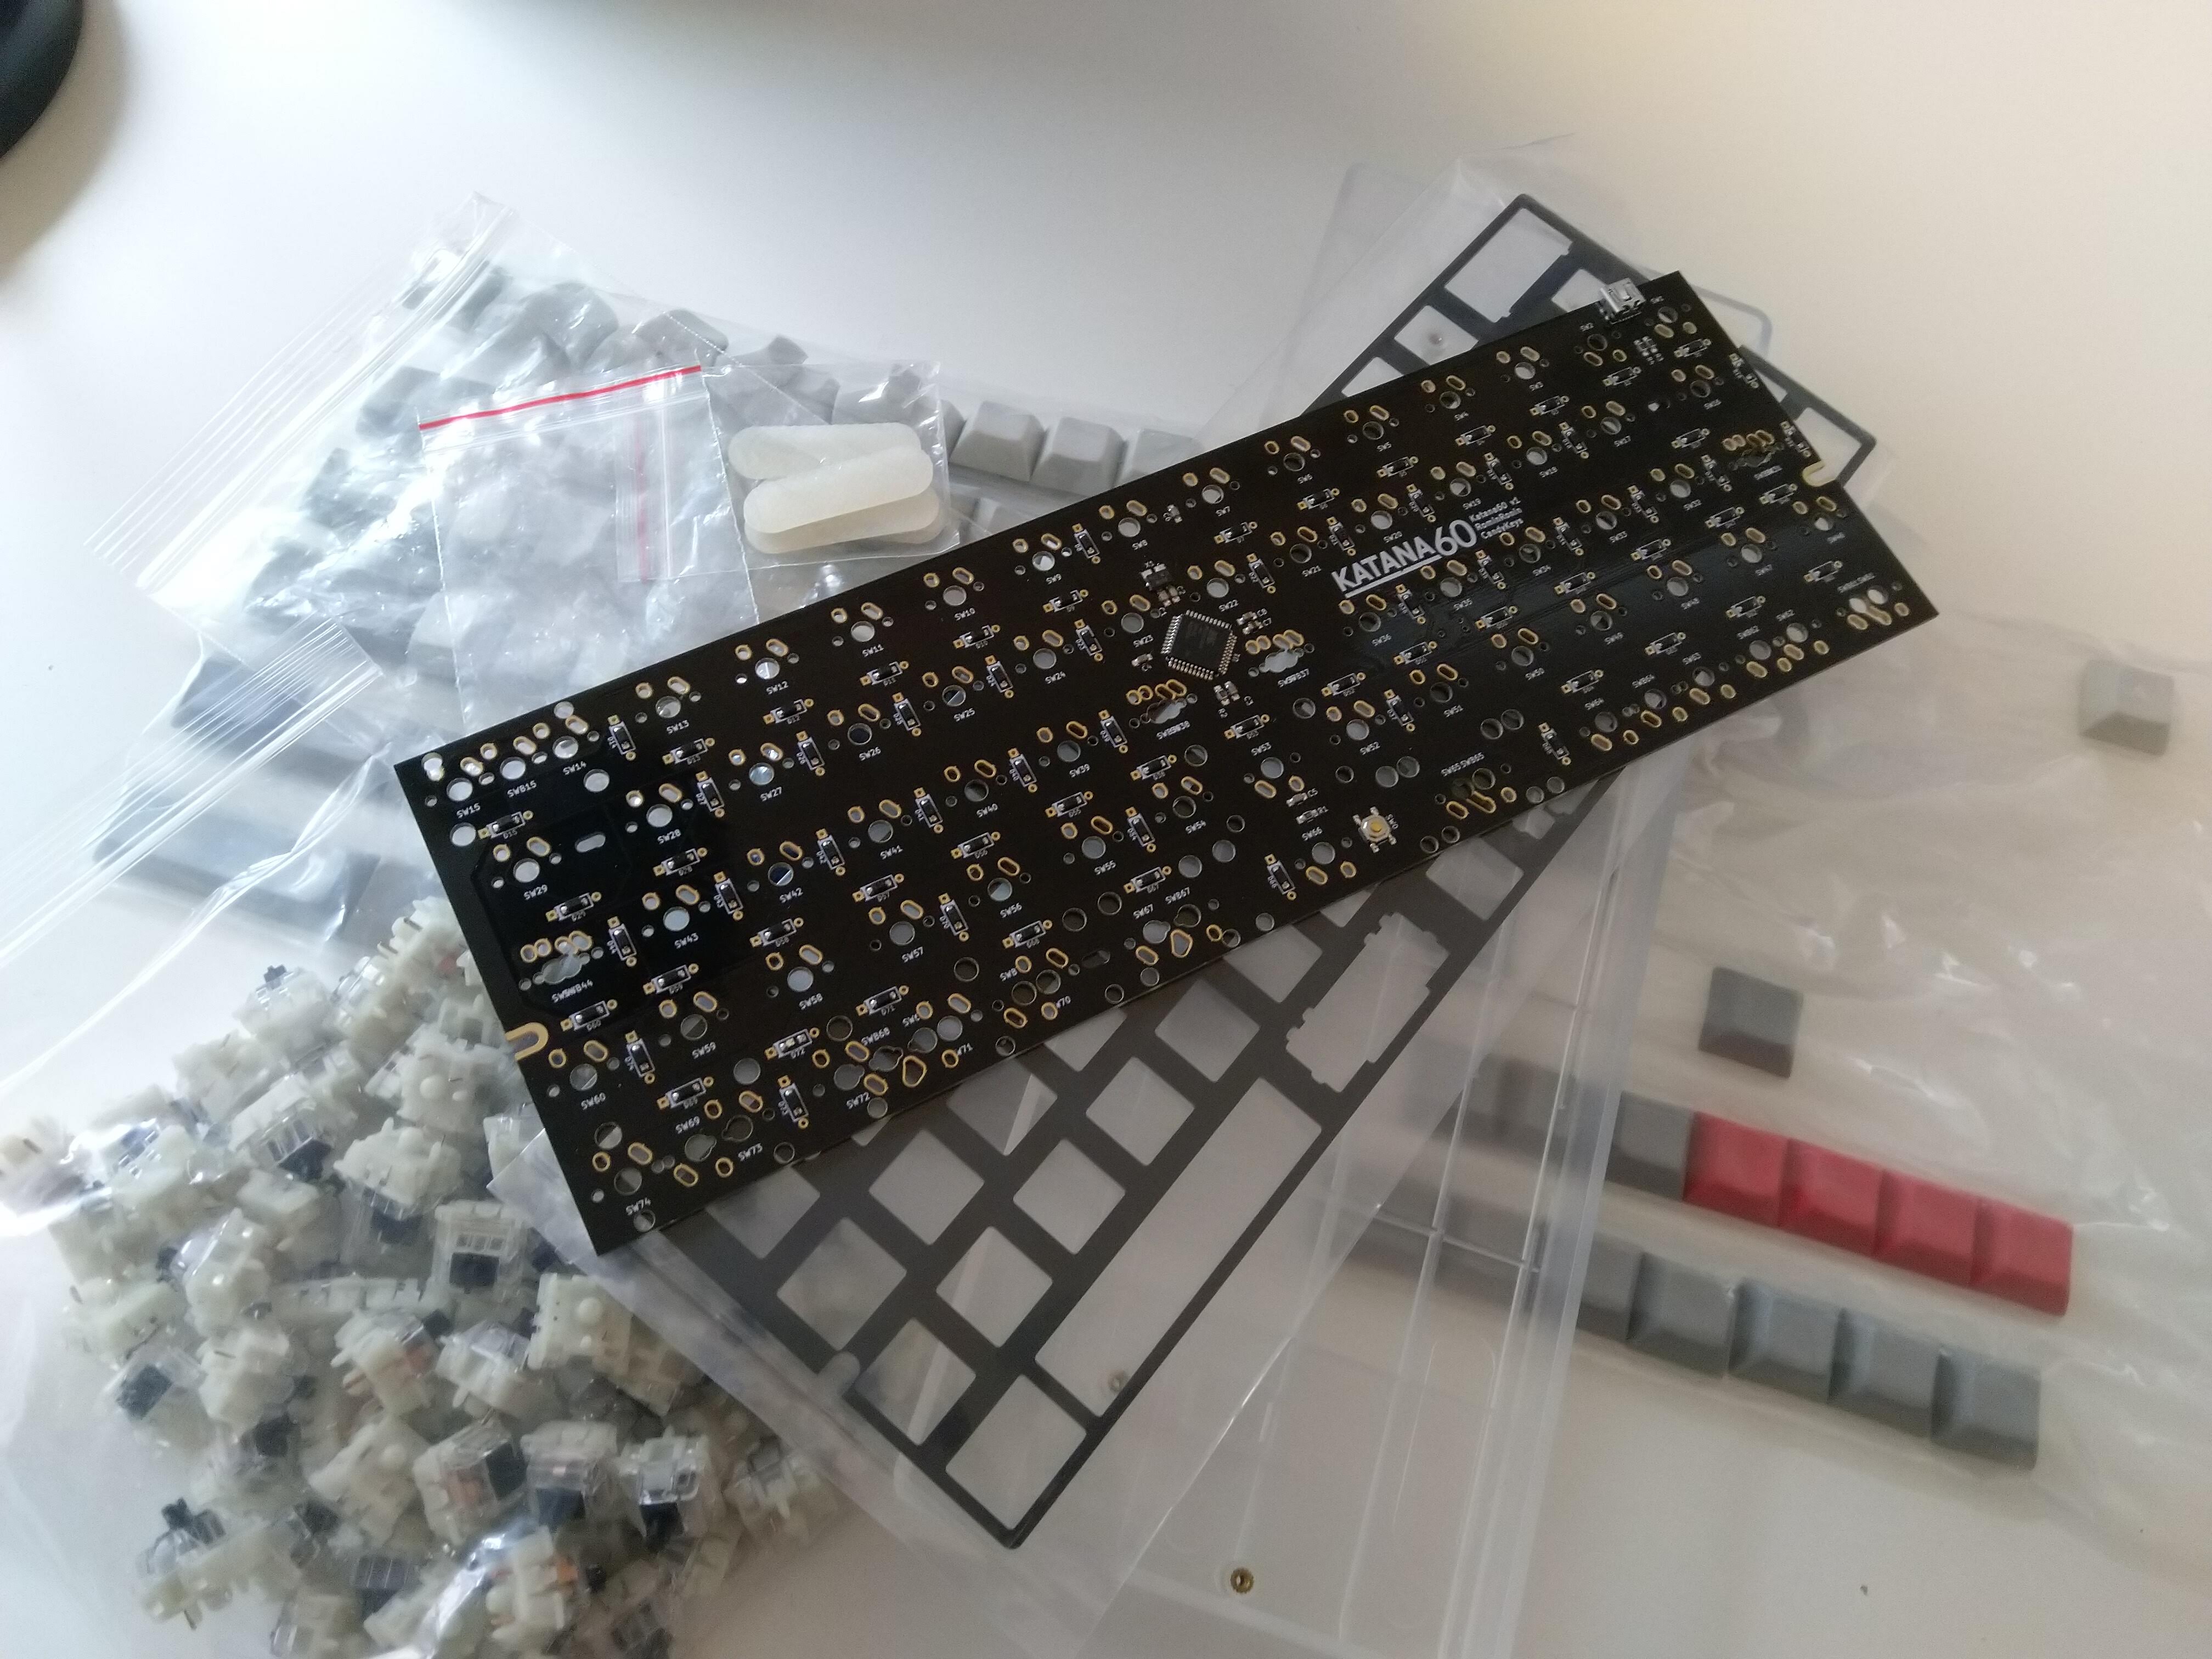
And that was it. Wait for parts to arrive, one evening of soldering and it’s done. Behold.
Layout
There is an official layout for Katana60 included in the QMK Firmware repository. There are actually three variants. You can also check the latest version in RominRonin’s fork. I played with the layout a lot and ended up with my variant which you can find in the QMK project’s repository.
The interesting part is that there are additional layers. You can press FN to activate layer gives access to function keys and better access to numbers an symbols. There’s also another layer, activated by pressing the key that is usually caps-lock, which contains keys for better movement in text and selection. More about those later.
But since it’s easy to customize the layout I took the original only as a base and played with it a bit.
What do I actually want from my layout?
- I use Mac for work and Ubuntu at home. So I would like to stay compatible with both systems. The main problem are modifiers. Firstly, they tend to be ordered differently on Mac keyboards. Secondly, the main modifier on mac is CMD (equivalent to win or super on other keyboards). The same role is played by CTRL on Windows and Linux. Most of IDE’s or editors (Android Studio, VS Code, SublimeText) follow this habit in their OS-specfic keymaps.
- I am an user of the Colemak layout. But I would like to have the ability to switch to qwerty. That would allow my girlfriend (or other people in general) to use my keyboard to e.g. find music on Spotify or similar.
- I am a heavy user of keyboard shortcuts. So I need the layout to support my needs. Some keyboard layout has modifiers only on one side of the keyboard or they hide some of them (CMD) under a key combination. I tend to press the modifiers for a key shortcut with the opposite hand to the one which presses the letter.
Base layer and modifiers
There are arrows mapped to the right side of the bottom row on Katana6O. I kept this mapping but modified it a bit - when you press and hold any of the first three arrow keys it acts as a modifier (CMD, OPT, CTRL). If you just tap it, it acts as an arrow.
I added two variants for the basic layer. Both variants are the same except the order of modifiers is different. Mac variant has CMD in the middle, than ALT (OPT) and finally CTRL on the outside. Linux version has CTRL in the middle, ALT (OPT) on the same position and finally CMD on the outside.
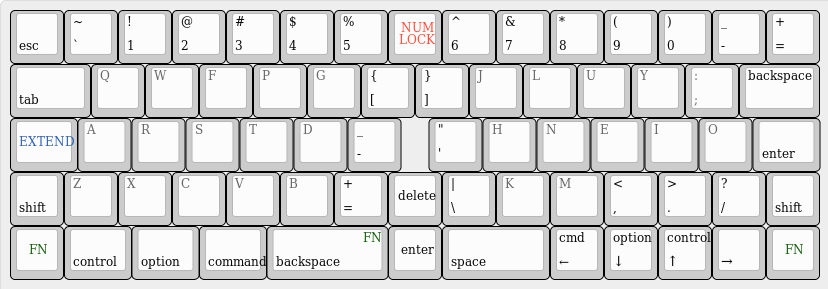
The spacebar on the right (which is actually space) had a secondary function on the original layout. When pressed it acted as FN and therefore activated the symbol layer. But when I was typing it commonly happened that space was not registered. It might have been possible to fine tune the timing to fix that problem but I chose the faster option: I moved the behavior to the left “spacebar” which is actually a backspace. I barely use it as backspace, though.
More base layers!
I also wanted to have a base layer with Colemak layout and an alternative with QWERTY layout. That means in the end 4 base layouts since I also want the aforementioned portability.
Switching of the base layer is mapped to four keys on the extend layer (more about that later). Selected layer is stored in EEPROM so it stays selected when I disconnect the keyboard.
Extend layer
It’s almost the same as the default Katana’s base layer. The most important are arrow keys mapped under the home position on the right. Nice are also shortcuts for previous and next word. Those are actually simulating two pressed keys (arrow and modifier). The problem of those that the modifier is also platform dependent here.
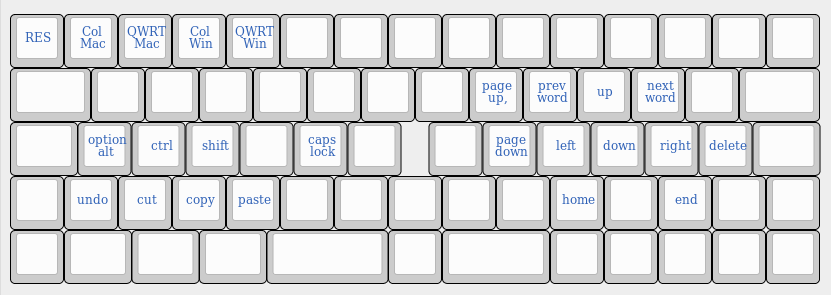
In the end, I had to create two extend layers again - one for Mac and one for Linux. But usage is completely transparent because the extend layer for Mac is activated only from base layers for Mac and the same applies for Linux. The key for Ext layer is still only one.
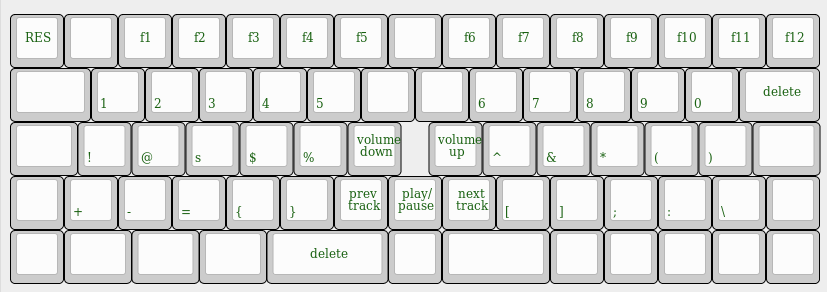
Symbol layer
There’s also the aforementioned symbol layer. It allows me to easily reach symbol keys and numbers without moving far away from the home position. This one is exactly the same as in the original Katana60 layout.
More details about layout
You can find more about the layout here:
What’s next
I really like my new keyboard. It’s cool, it’s nice to type on. I like those layers. I got used to it quite quickly and (unfortunately) became incompatible with any other keyboard.
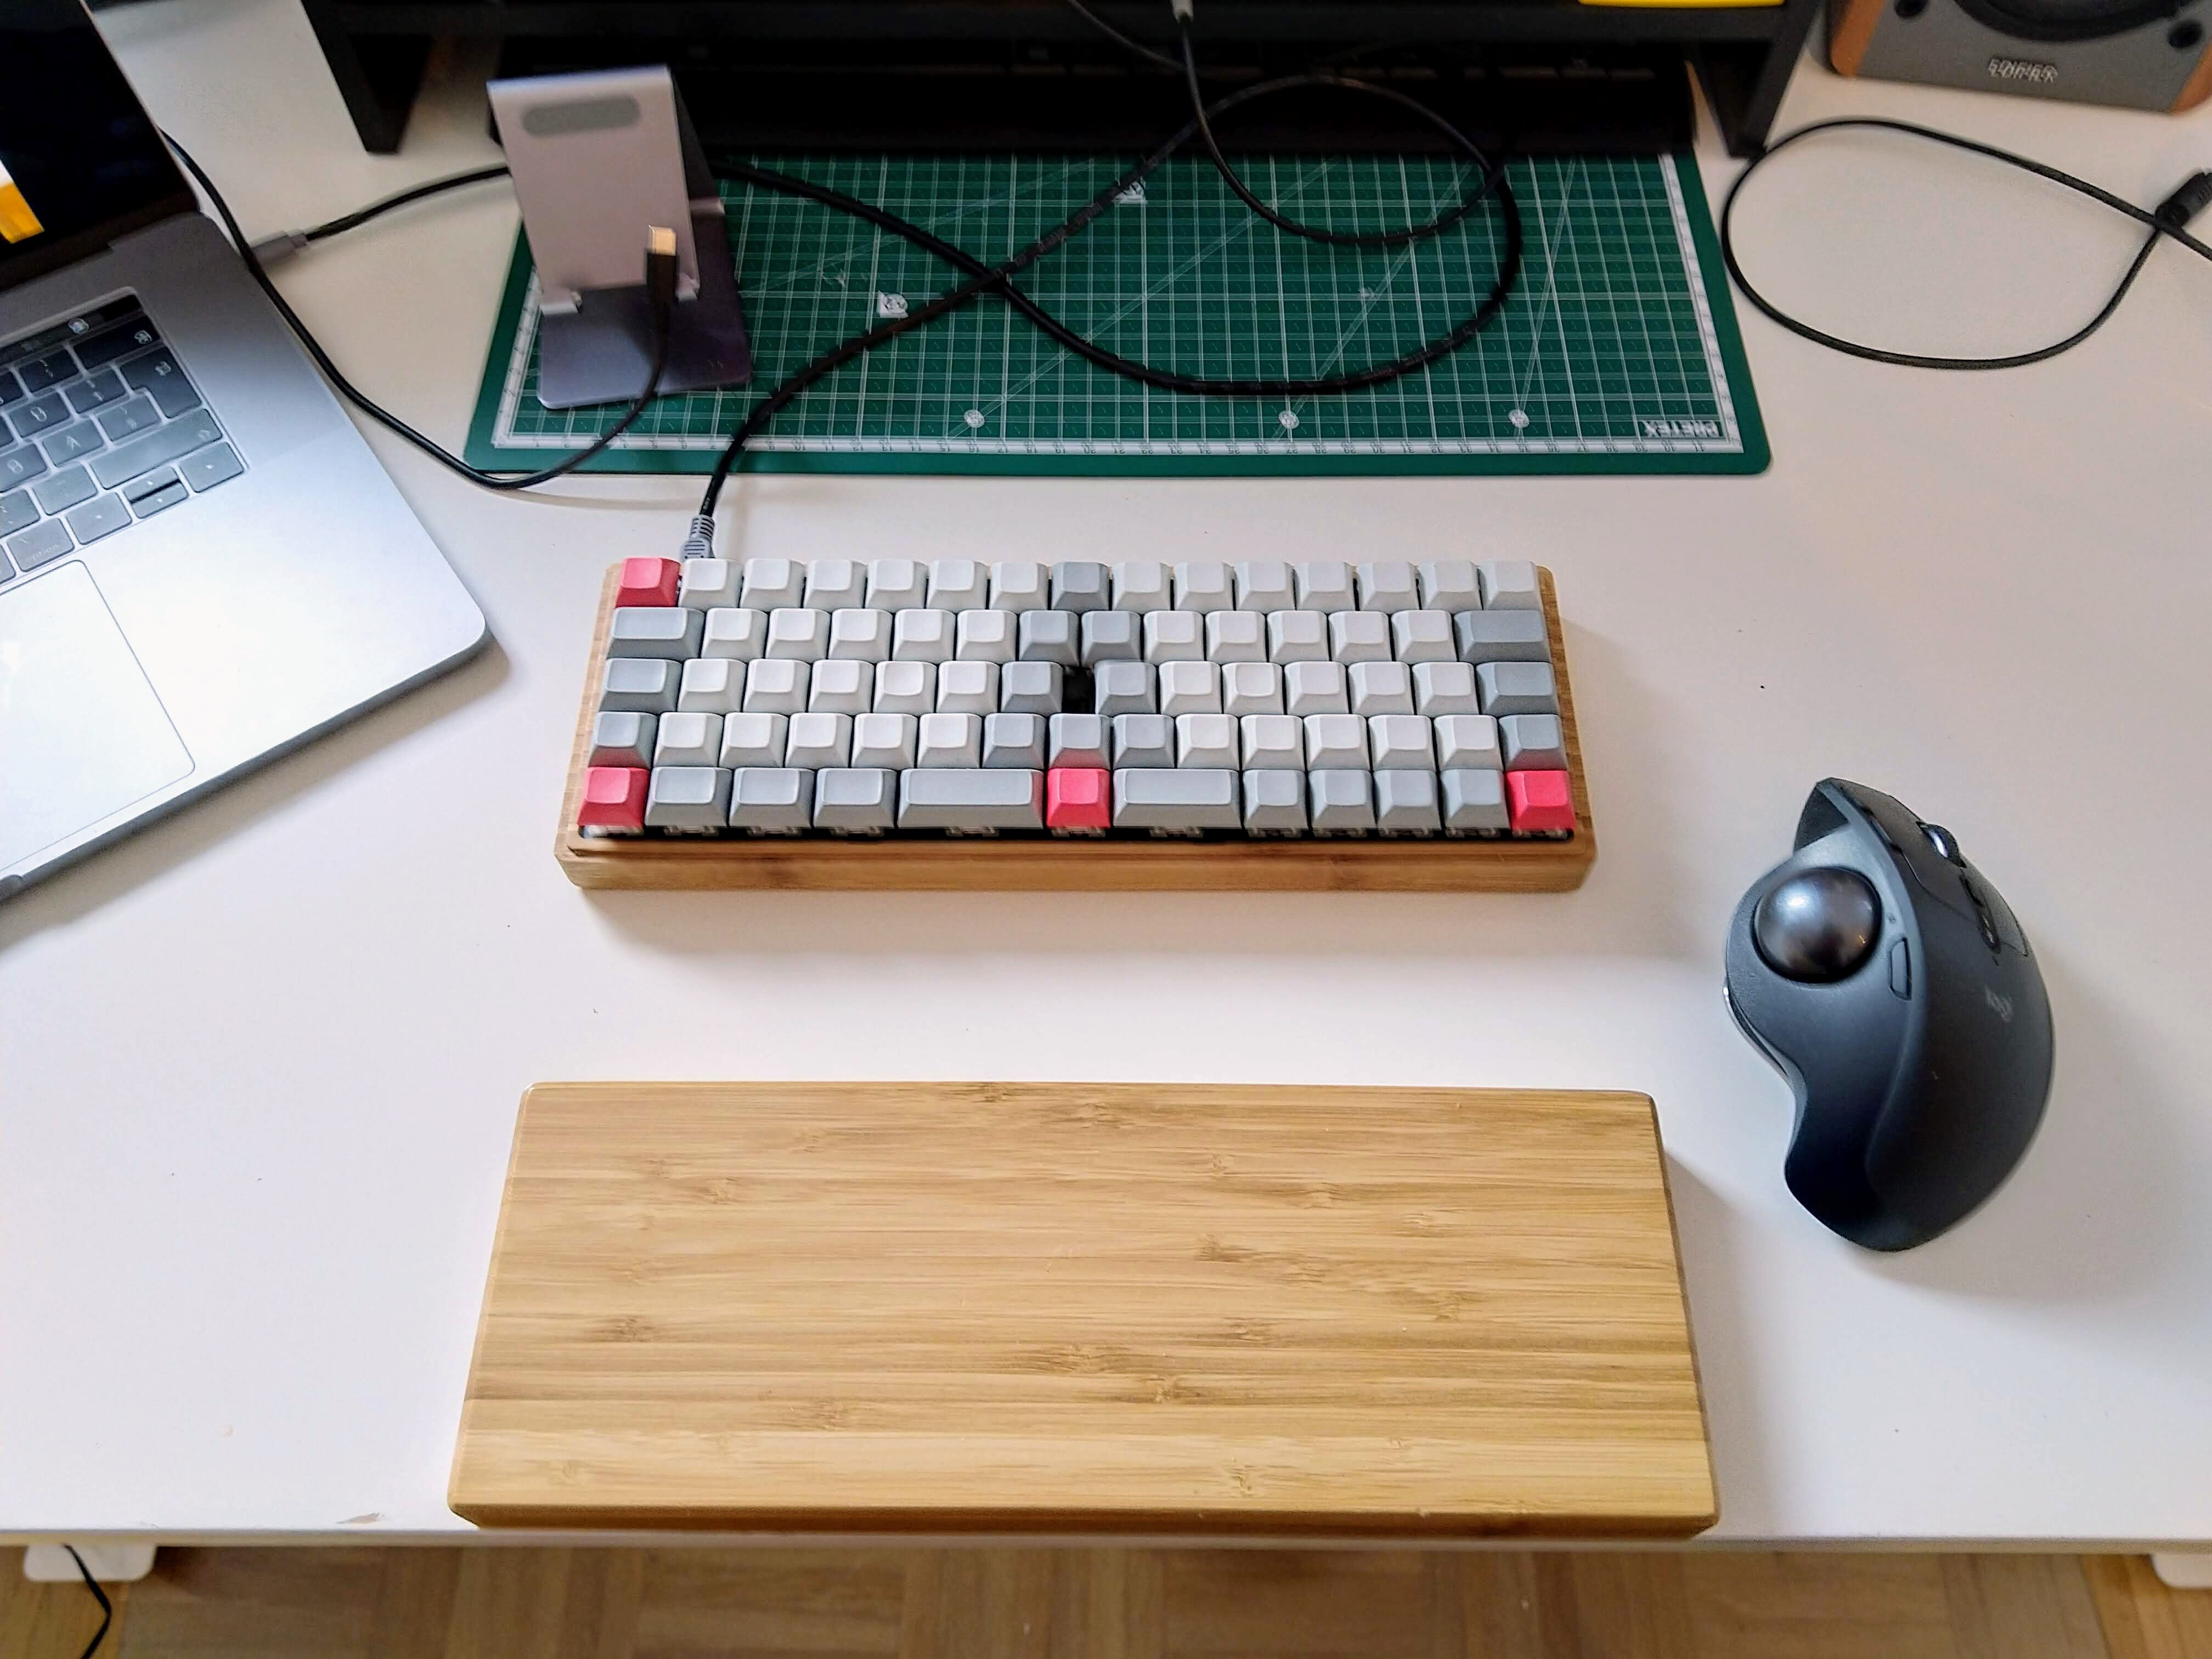
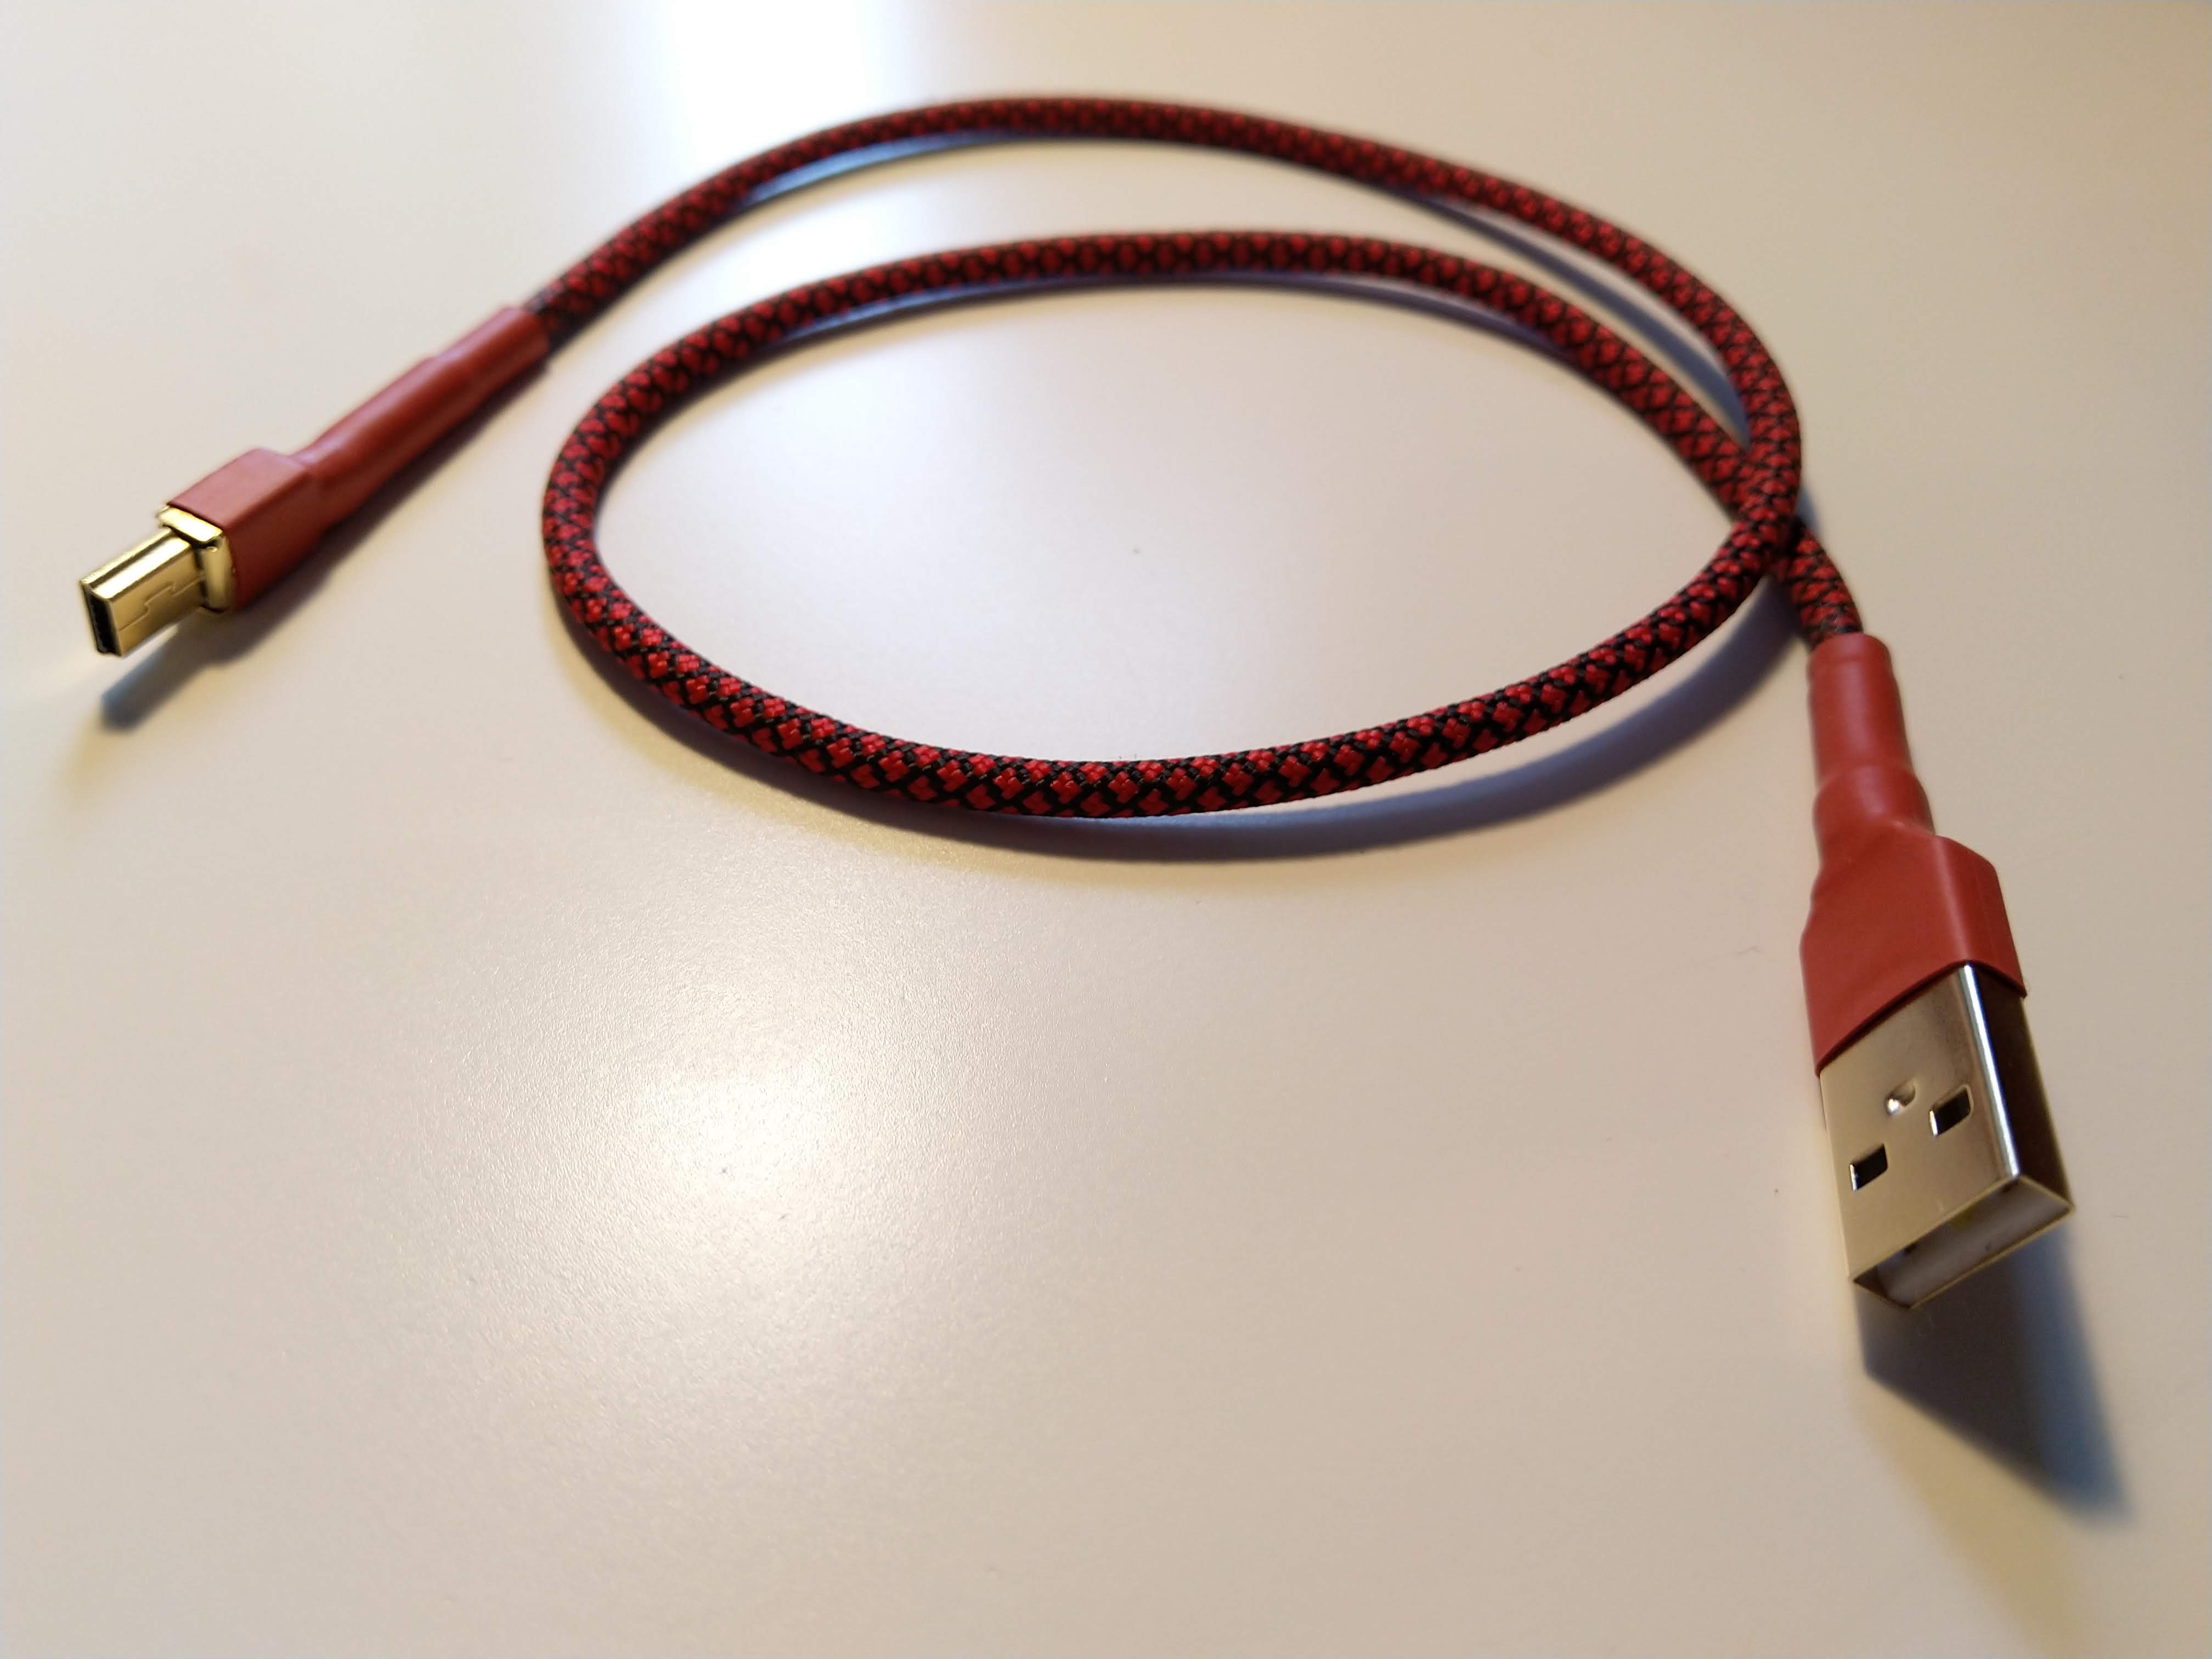
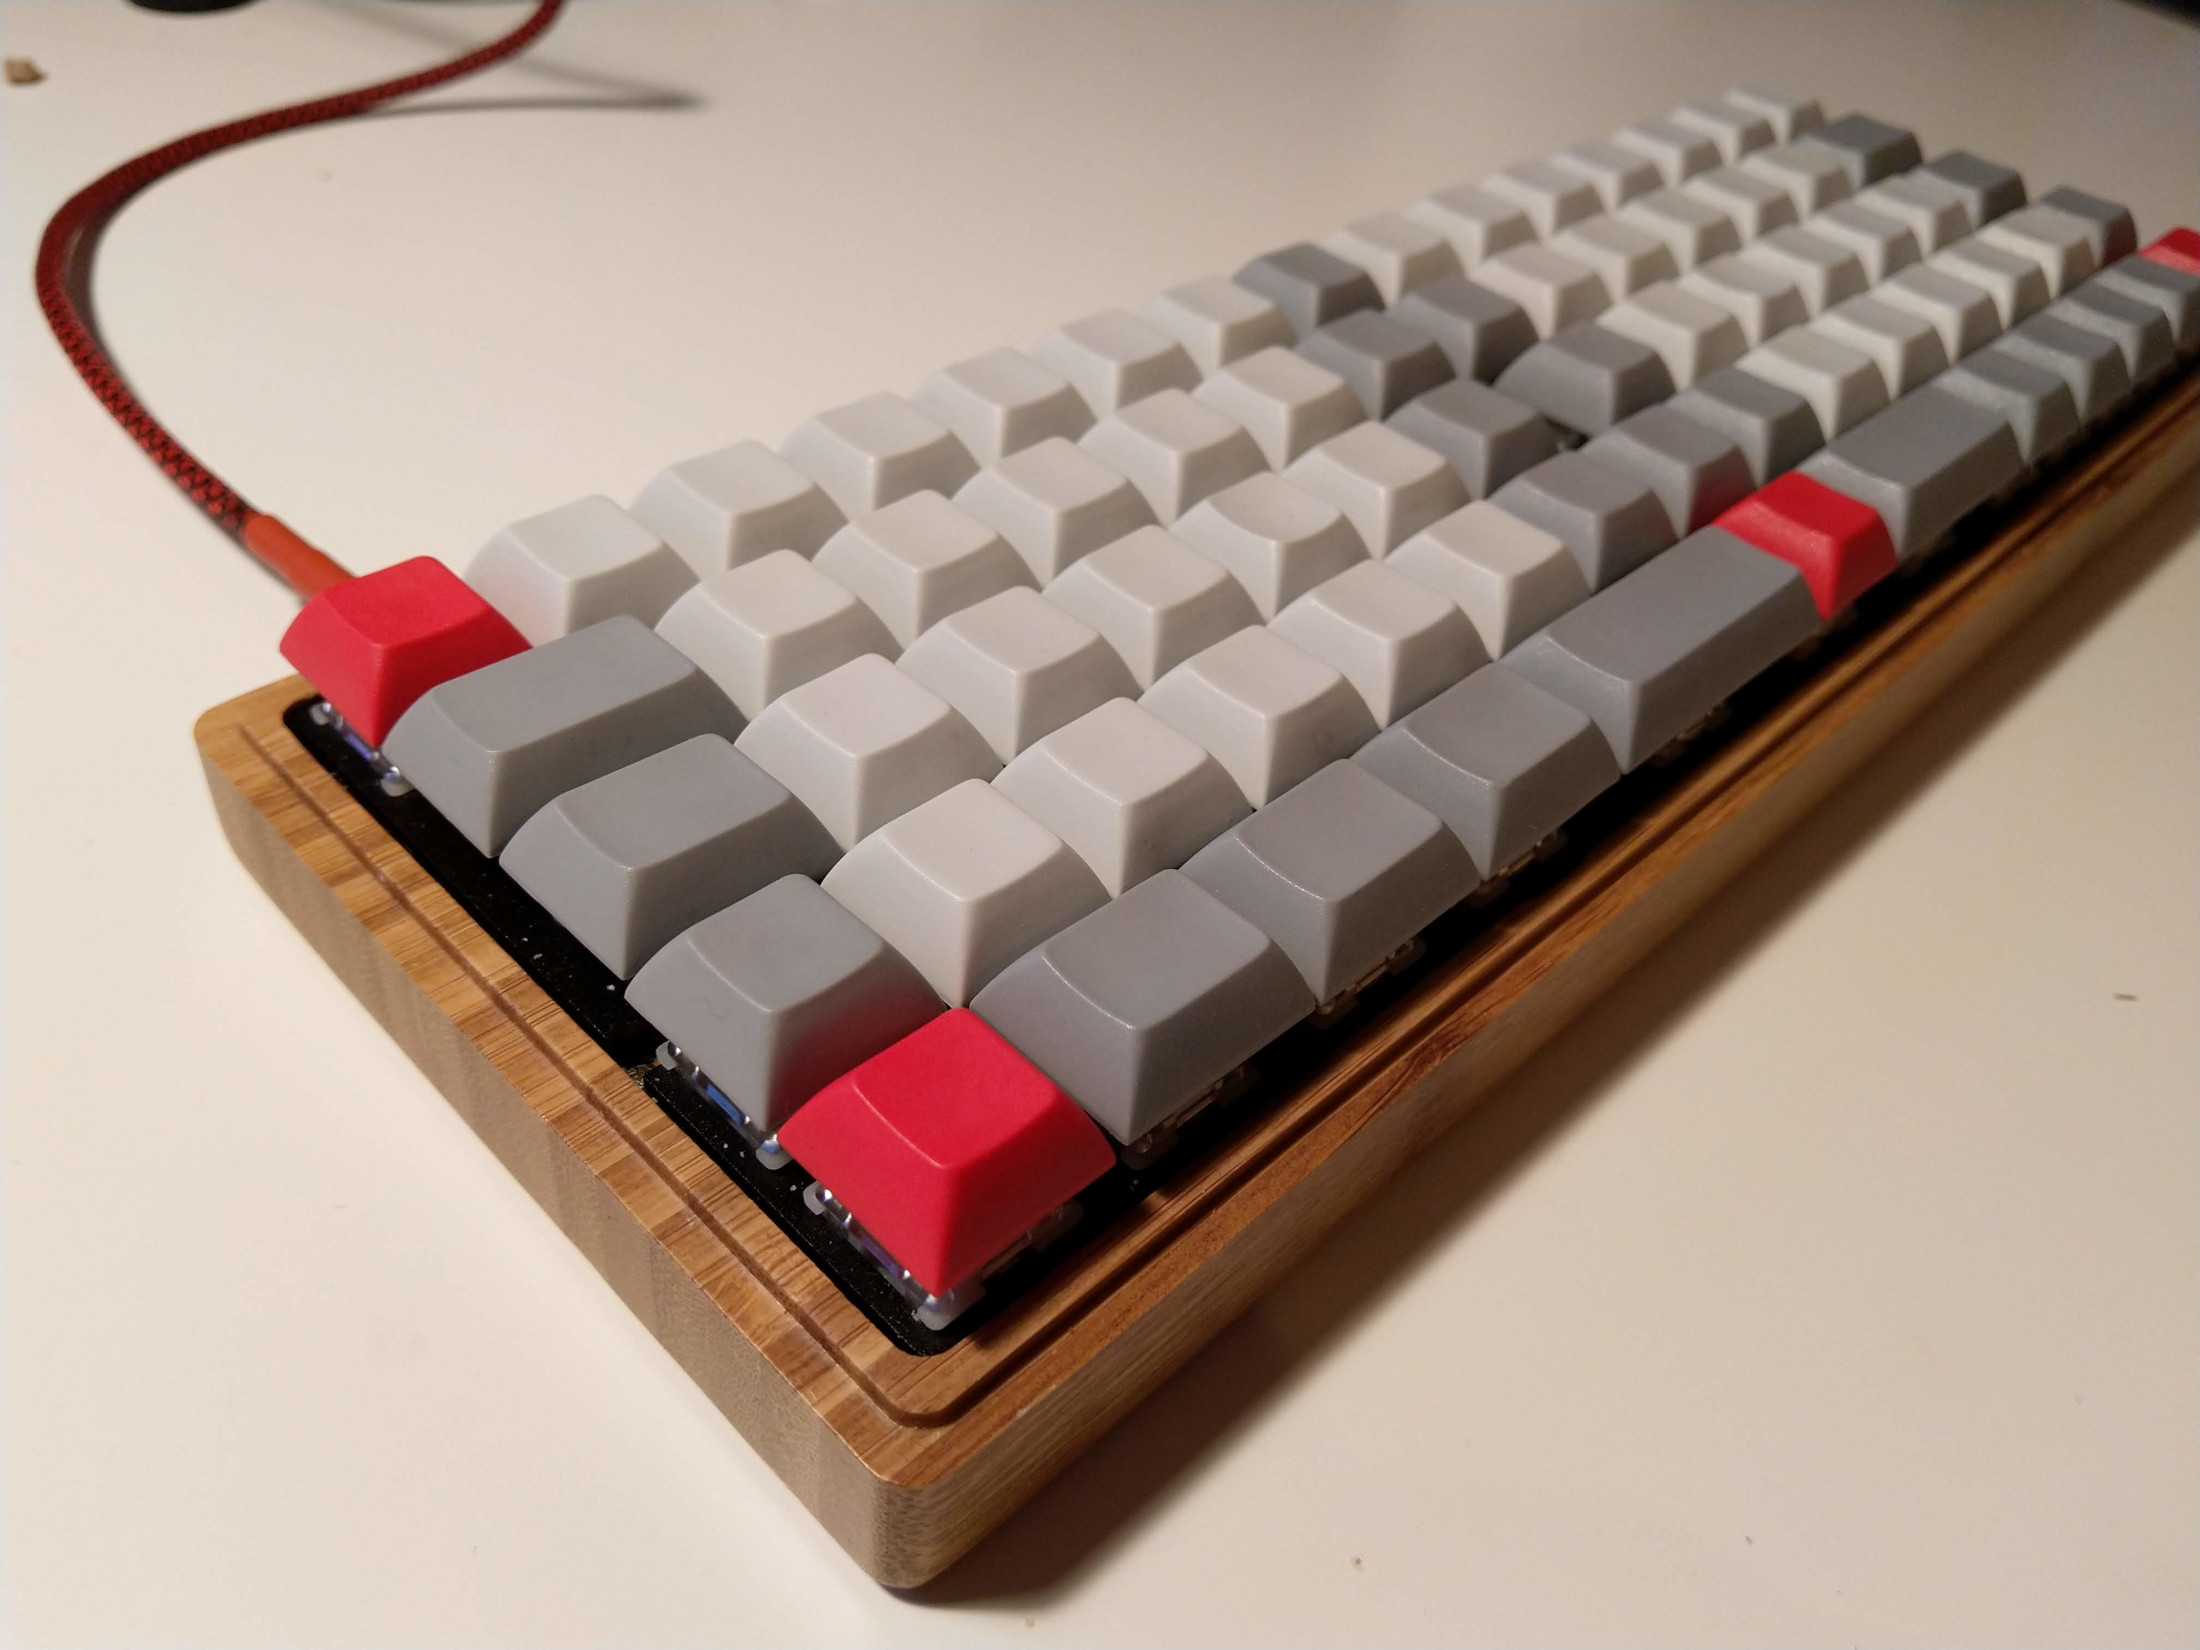
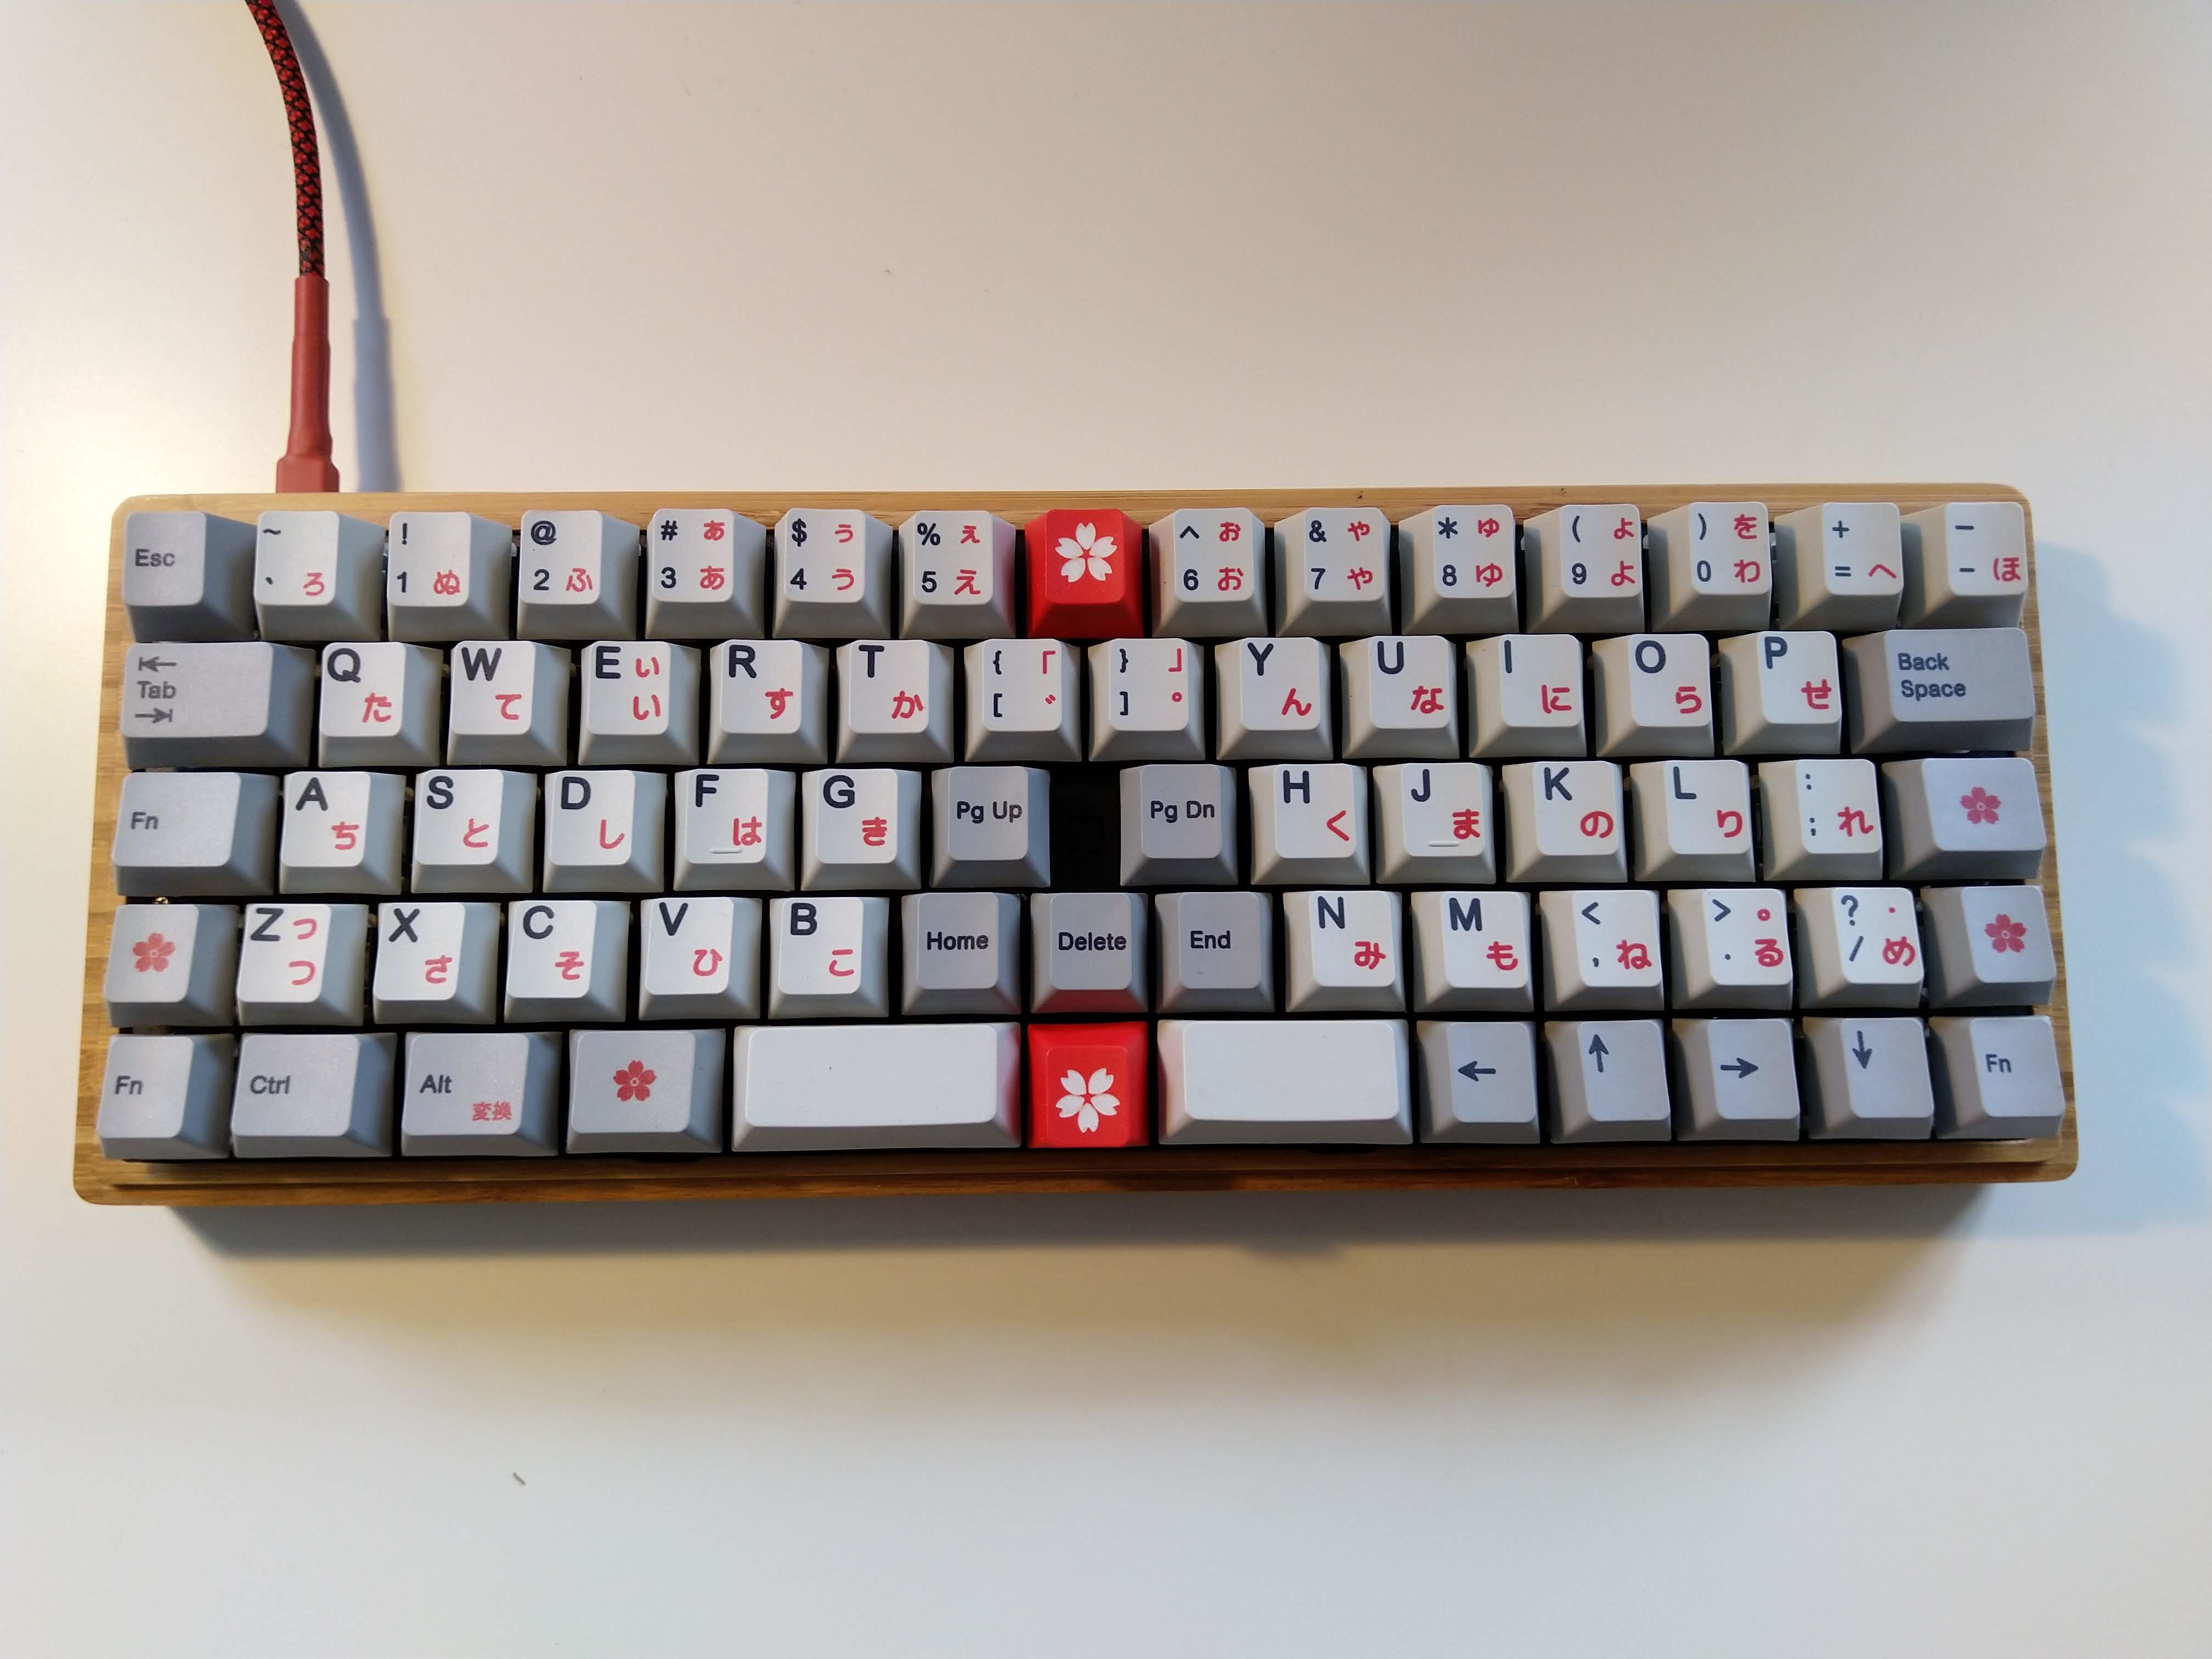
I still work on improvements for the keyboard. I already bought new case with a lid made from bamboo. I built a first custom made cable (and I am going to make more once some components arrive). I also ordered some nicer keycaps with legends which fits the Japanese theme.
But I already know I am going to build another one. RominRonin is designing an improved version of Katana60 but there are also other designs. I am particularly interested in split keyboards. But we’ll see, nothing is decided yet.
More images
And finally a small gallery.