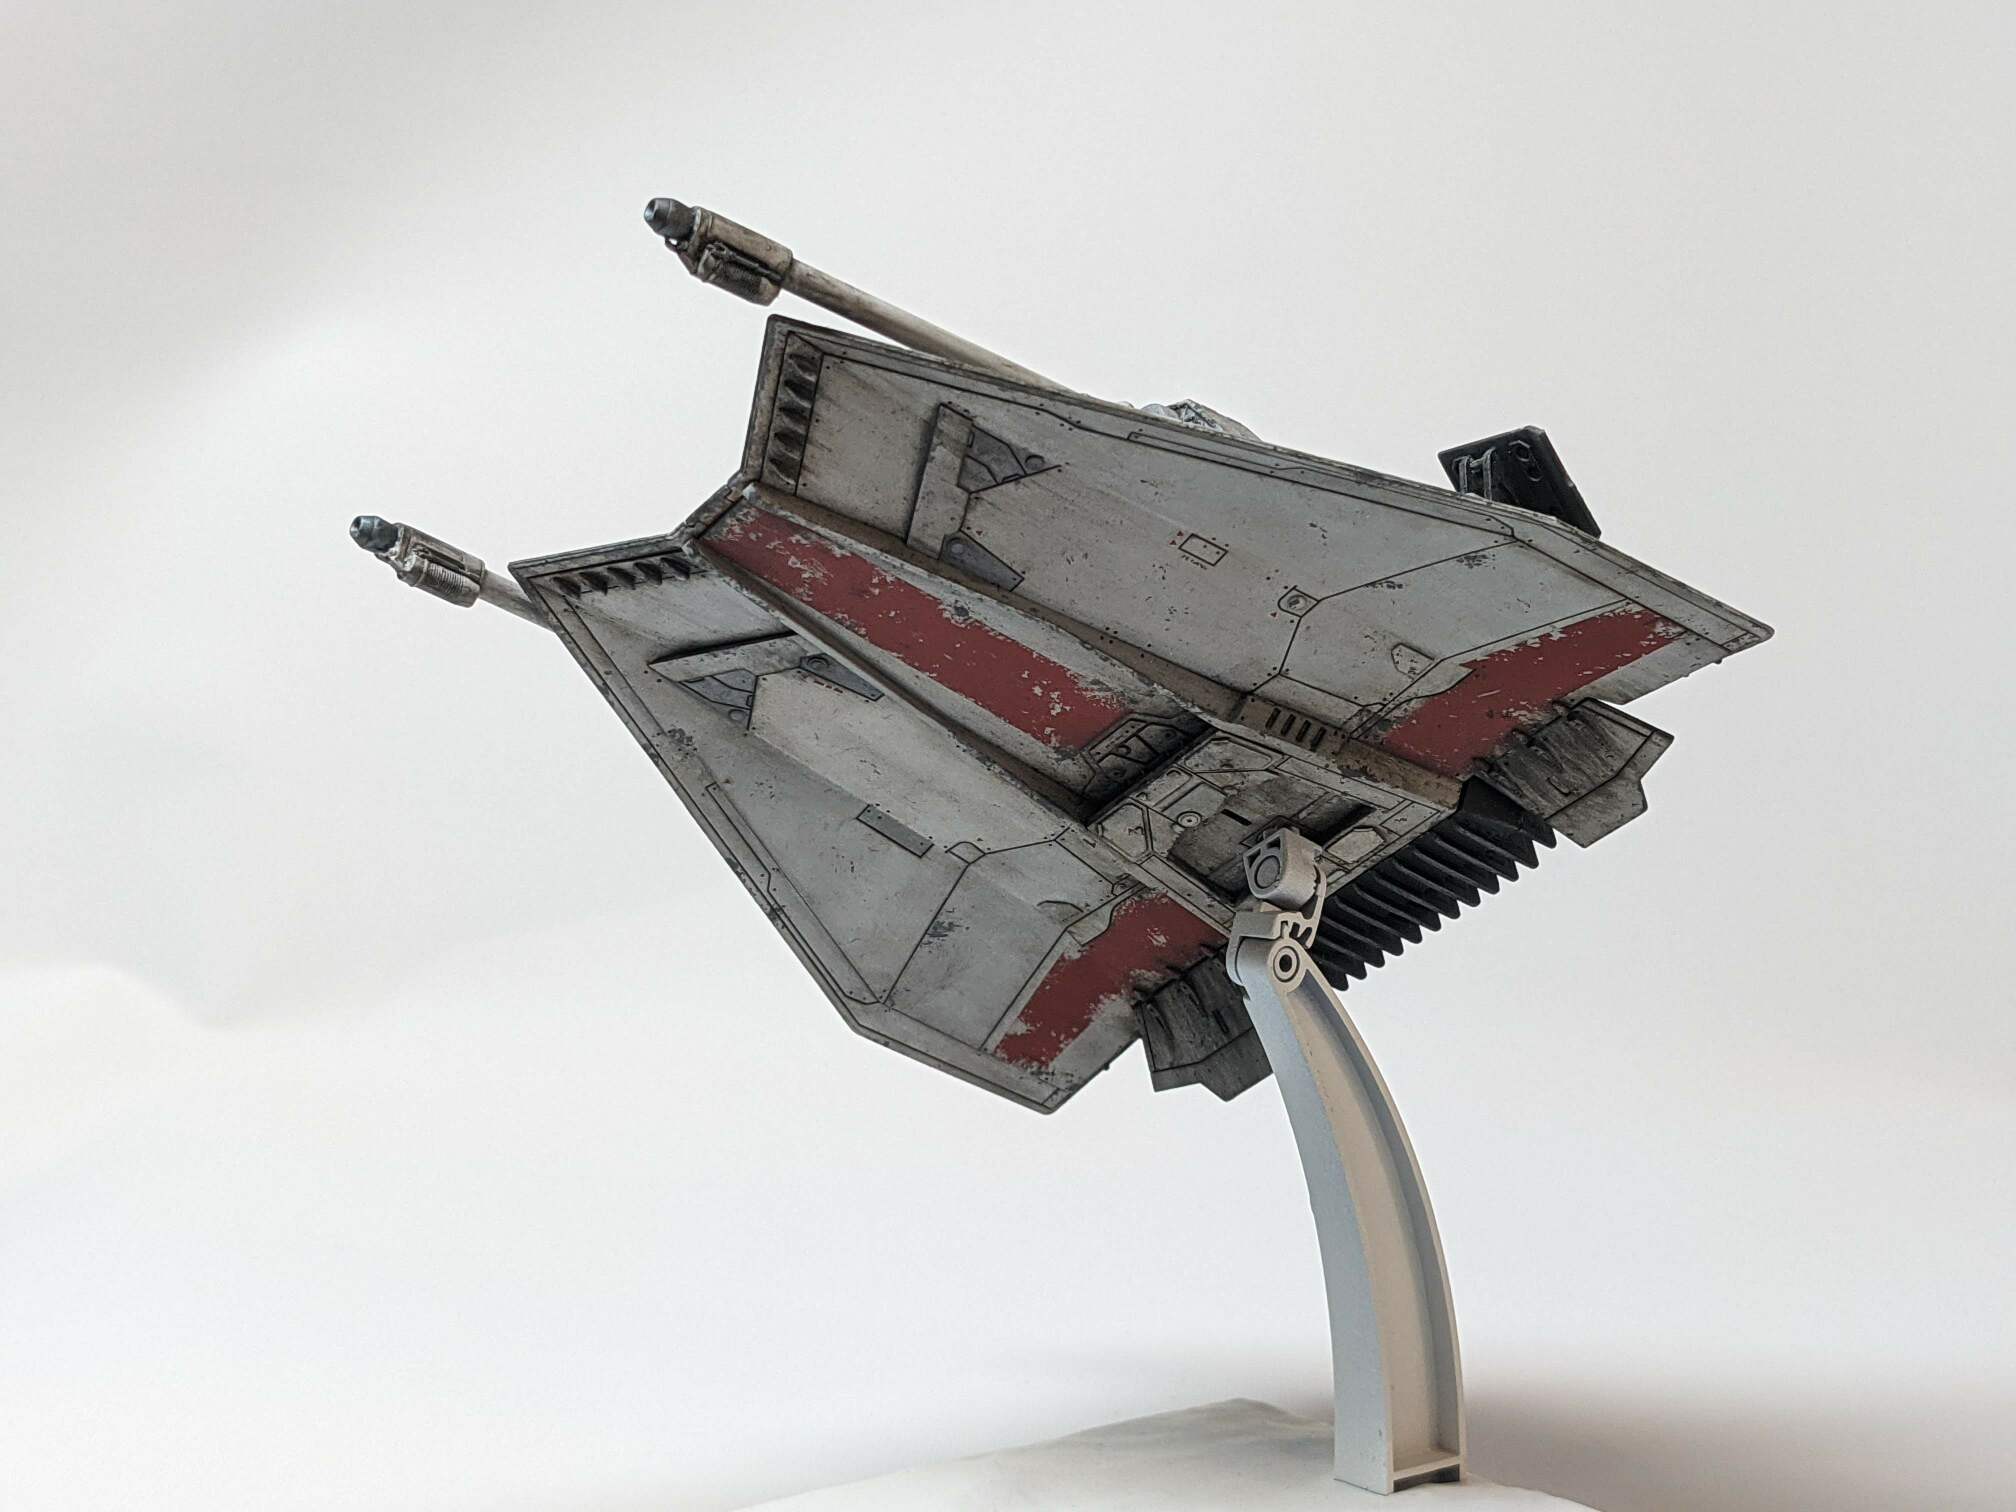
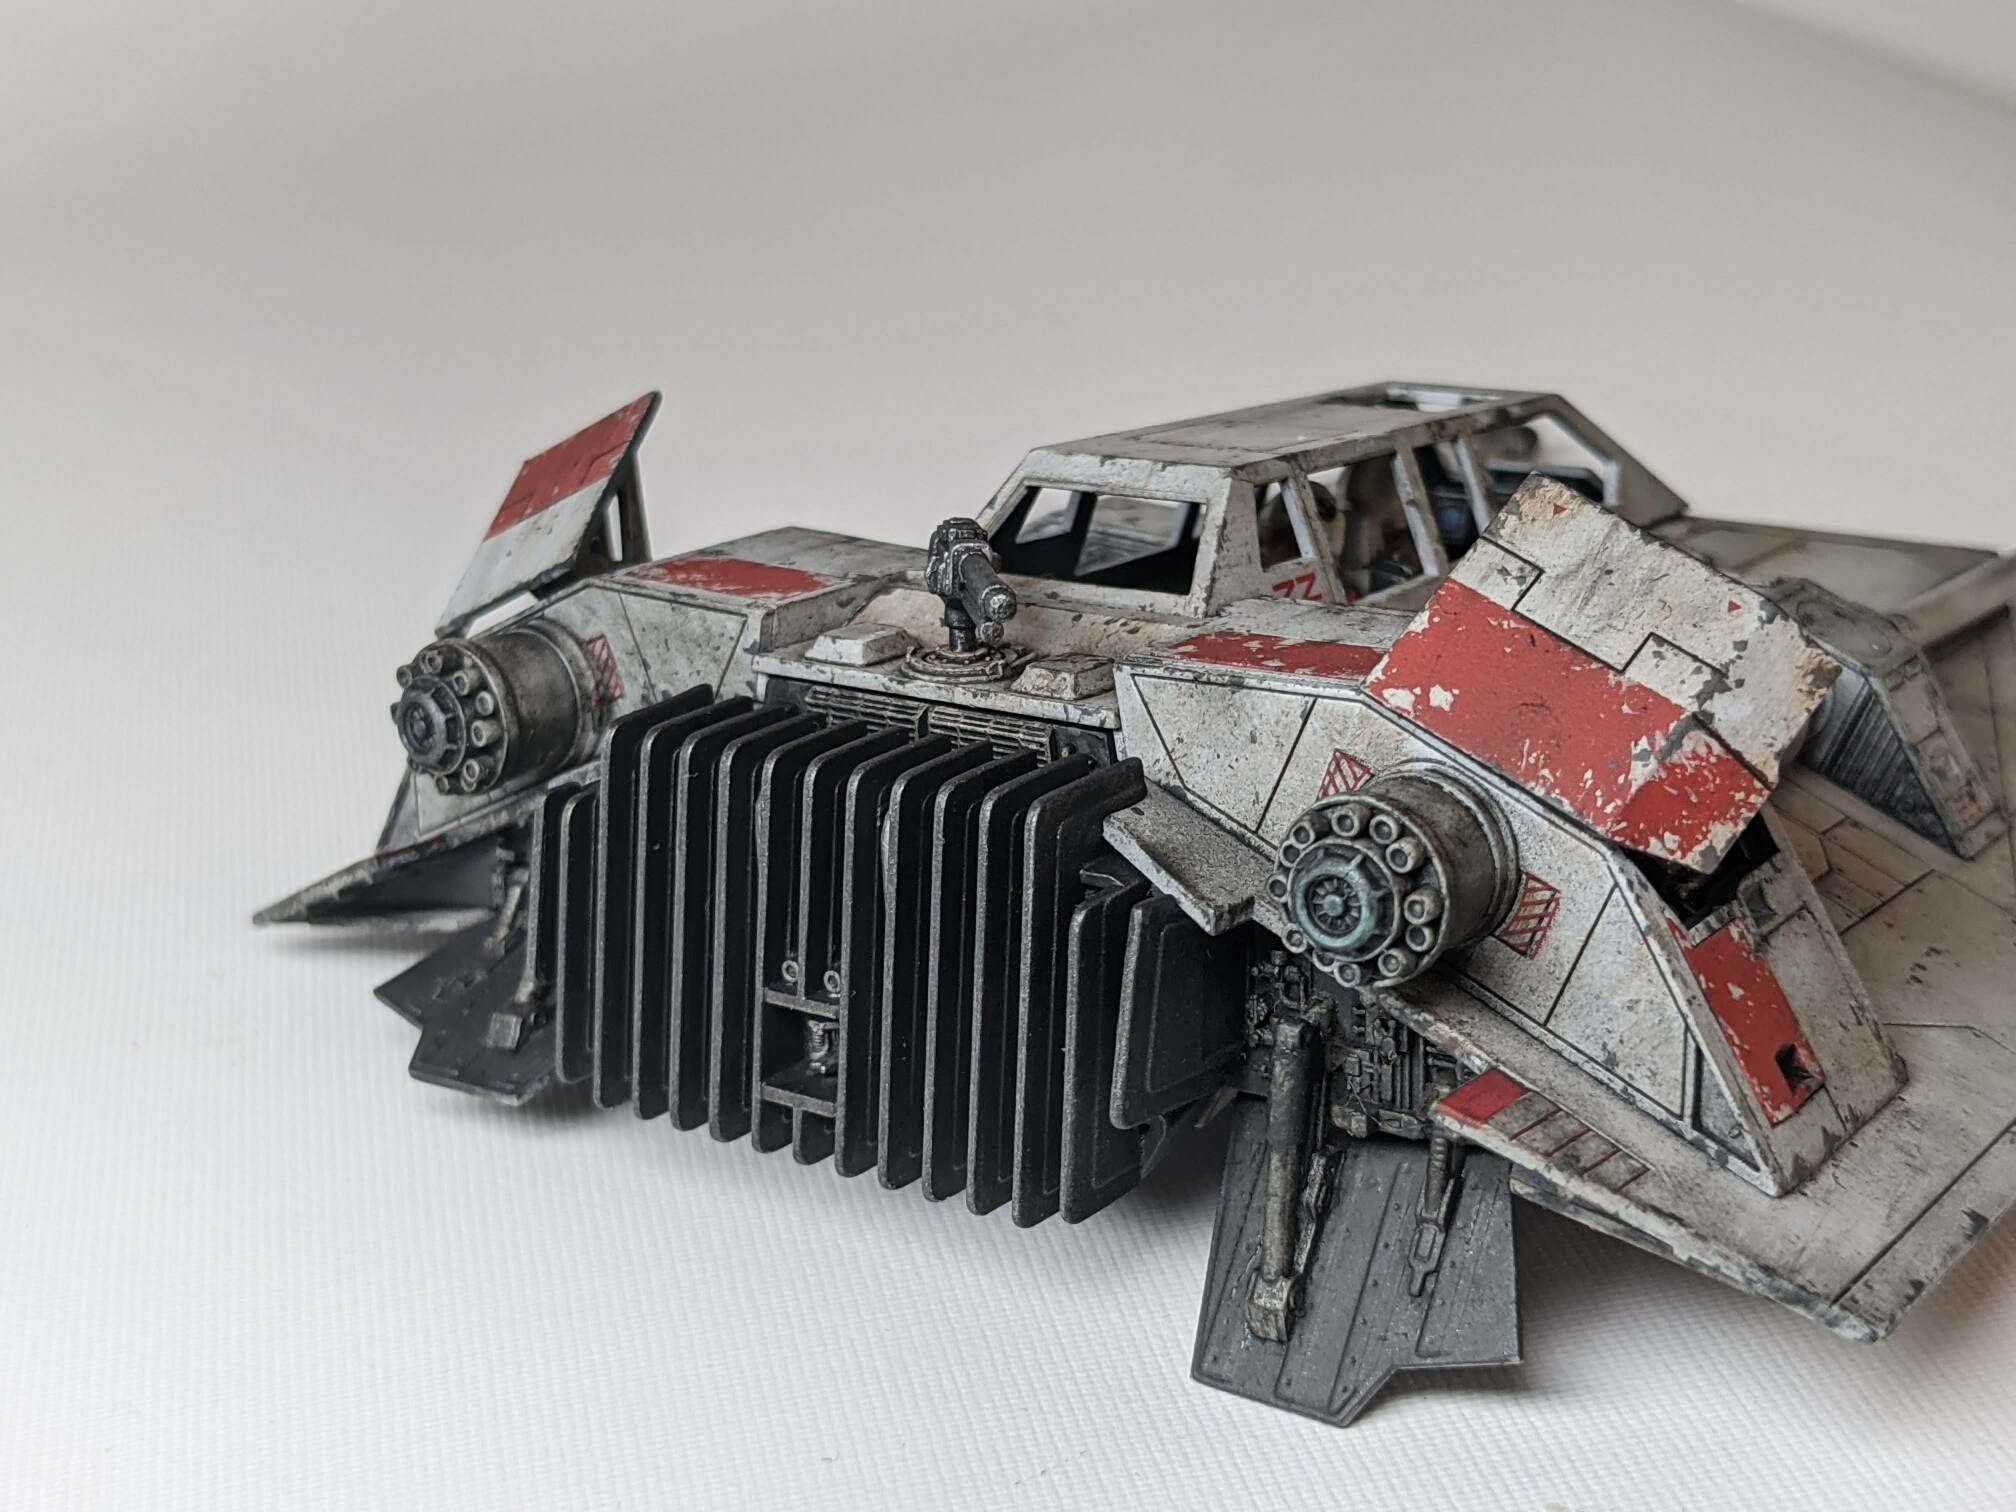
Because I enjoyed my last scale model build a lot I have quickly started working on another one. This time I picked a Star Wars snowspeeder kit by Bandai. I always liked the aesthetics of Star Wars and I am more interested in building sci-fi and space-related models rather than historic planes and tanks.
Bandai kits have a great reputation and since I was hugely disappointed with the quality of the shuttle model made by Revell as I wrote in the build log, I wanted to try a kit with a very good reputation to have some comparison.
And just to make to context clear: this is the second scale model I am building after I got back to the hobby after more than 20 years long break. It’s the 3rd plastic model I am going to paint ever. And it is the first one I’ll attempt to weather.
The kit
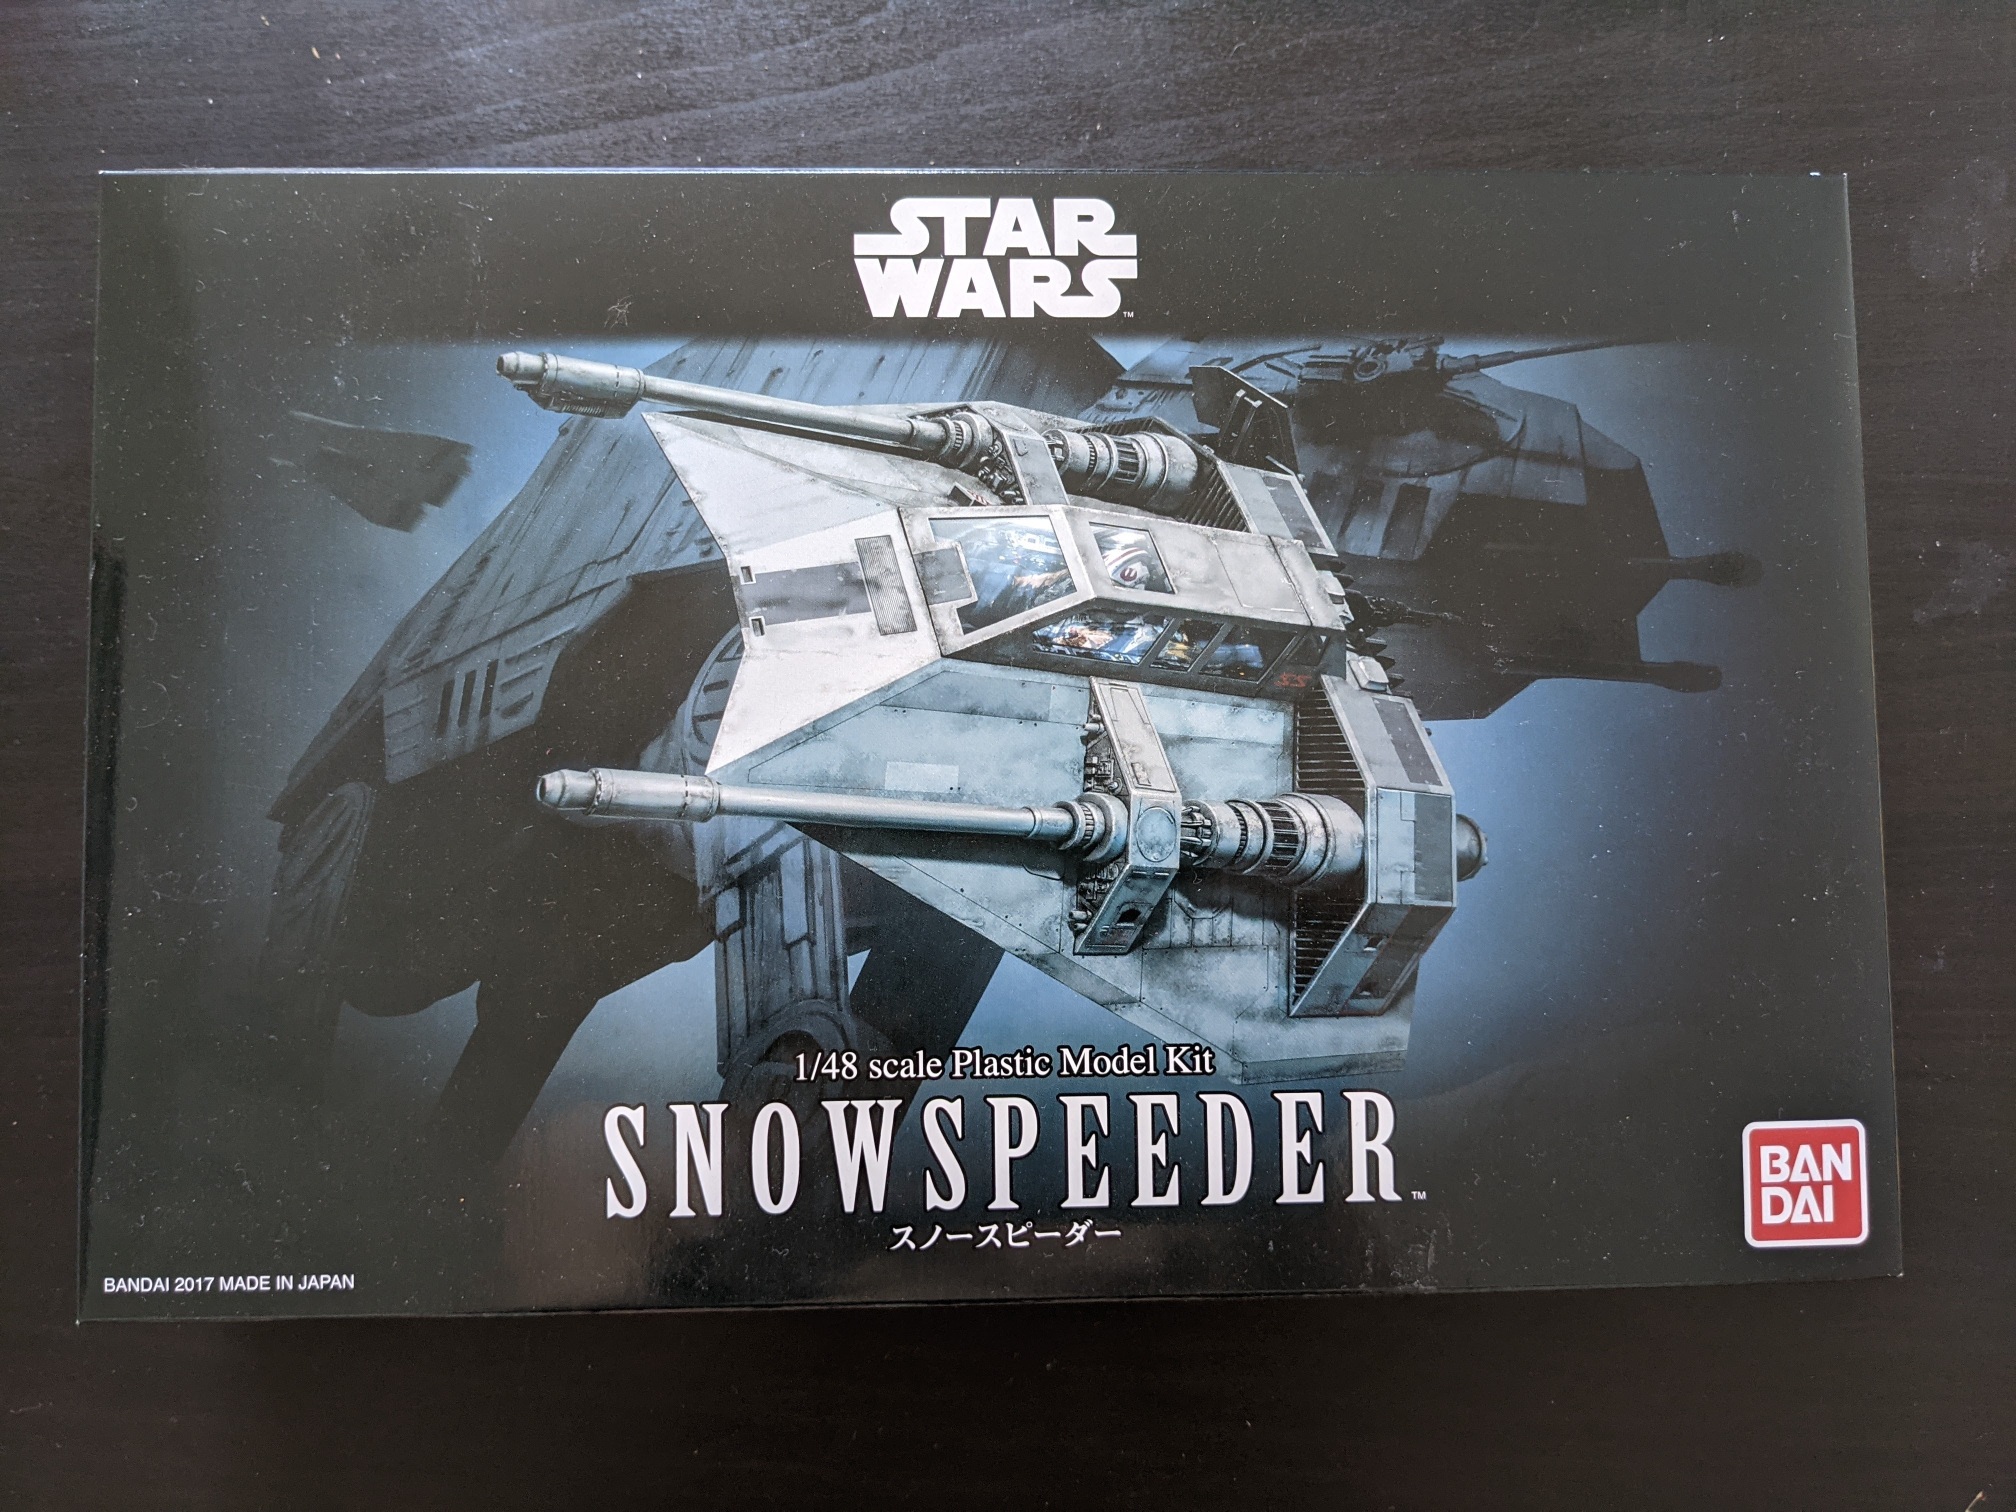
The kit is Snowspeeder by Bandai in the 1:48 scale. I have got it quite cheaply (under 20 euro) from a local distributor. Internet is full of reviews of this kit and it is very popular.
There are the usual things everybody repeats about the kit: very fine and crisp details, very good fit. It can be built without glue just by snapping parts together and it works surprisingly well. There’s a sheet of water slide decals and a sheet of stickers for people who just want a simpler building experience without painting and complicated fiddling.
I must admire the engineering that went into designing the kit. The parts are carefully designed to snap in only into the right place and in the right orientation and that helps to avoid many mistakes. The seams are often a natural part of the model (they act as a panel line and similar) and even mould lines are almost not present or in a place where they are hard to spot. Therefore only a minimal amount of sanding is require and I didn’t have to fill in anything with putty. I could imagine using some putty here and there if I was going for perfection, though.
Most of the time I spent with the model was about painting and weathering. It can be put together very quickly.
Painting plan
My aim was to explore some weathering techniques with this model. I wanted to start with simple things. So I wanted to do:
- airbrush for basic coat and the coloured strips
- brush painting to add a bit of variation to panels
- paint chipping with “the basic” technique - using paint and a sponge
- acrylic wash for panel-lines
- Tamiya Weathering Master pigments for final weathering.
Eventually, I have added some weathering with oils and oil wash, more about that later.
There’ll be time to try other techniques with the next models. I would also like to make small dioramas for the models in the future but that would be too much for the second model I picked.
The sources of inspiration
I have spent some time going through photos and videos of other people who build the model. I got a lot of inspiration from them. I did some research about how the on-screen models for the movies looked as well but I didn’t really try to be accurate in that regard.
I must mention two sources since I kept returning to them through the build:
- build by Andy Moore. It’s an amazing build of the model with nice hangar scenery. Forum thread with the process here and his Flickr album here.
- and 2 builds by John Bius who wrote about his first build on his website and made videos about the second one.
Build log
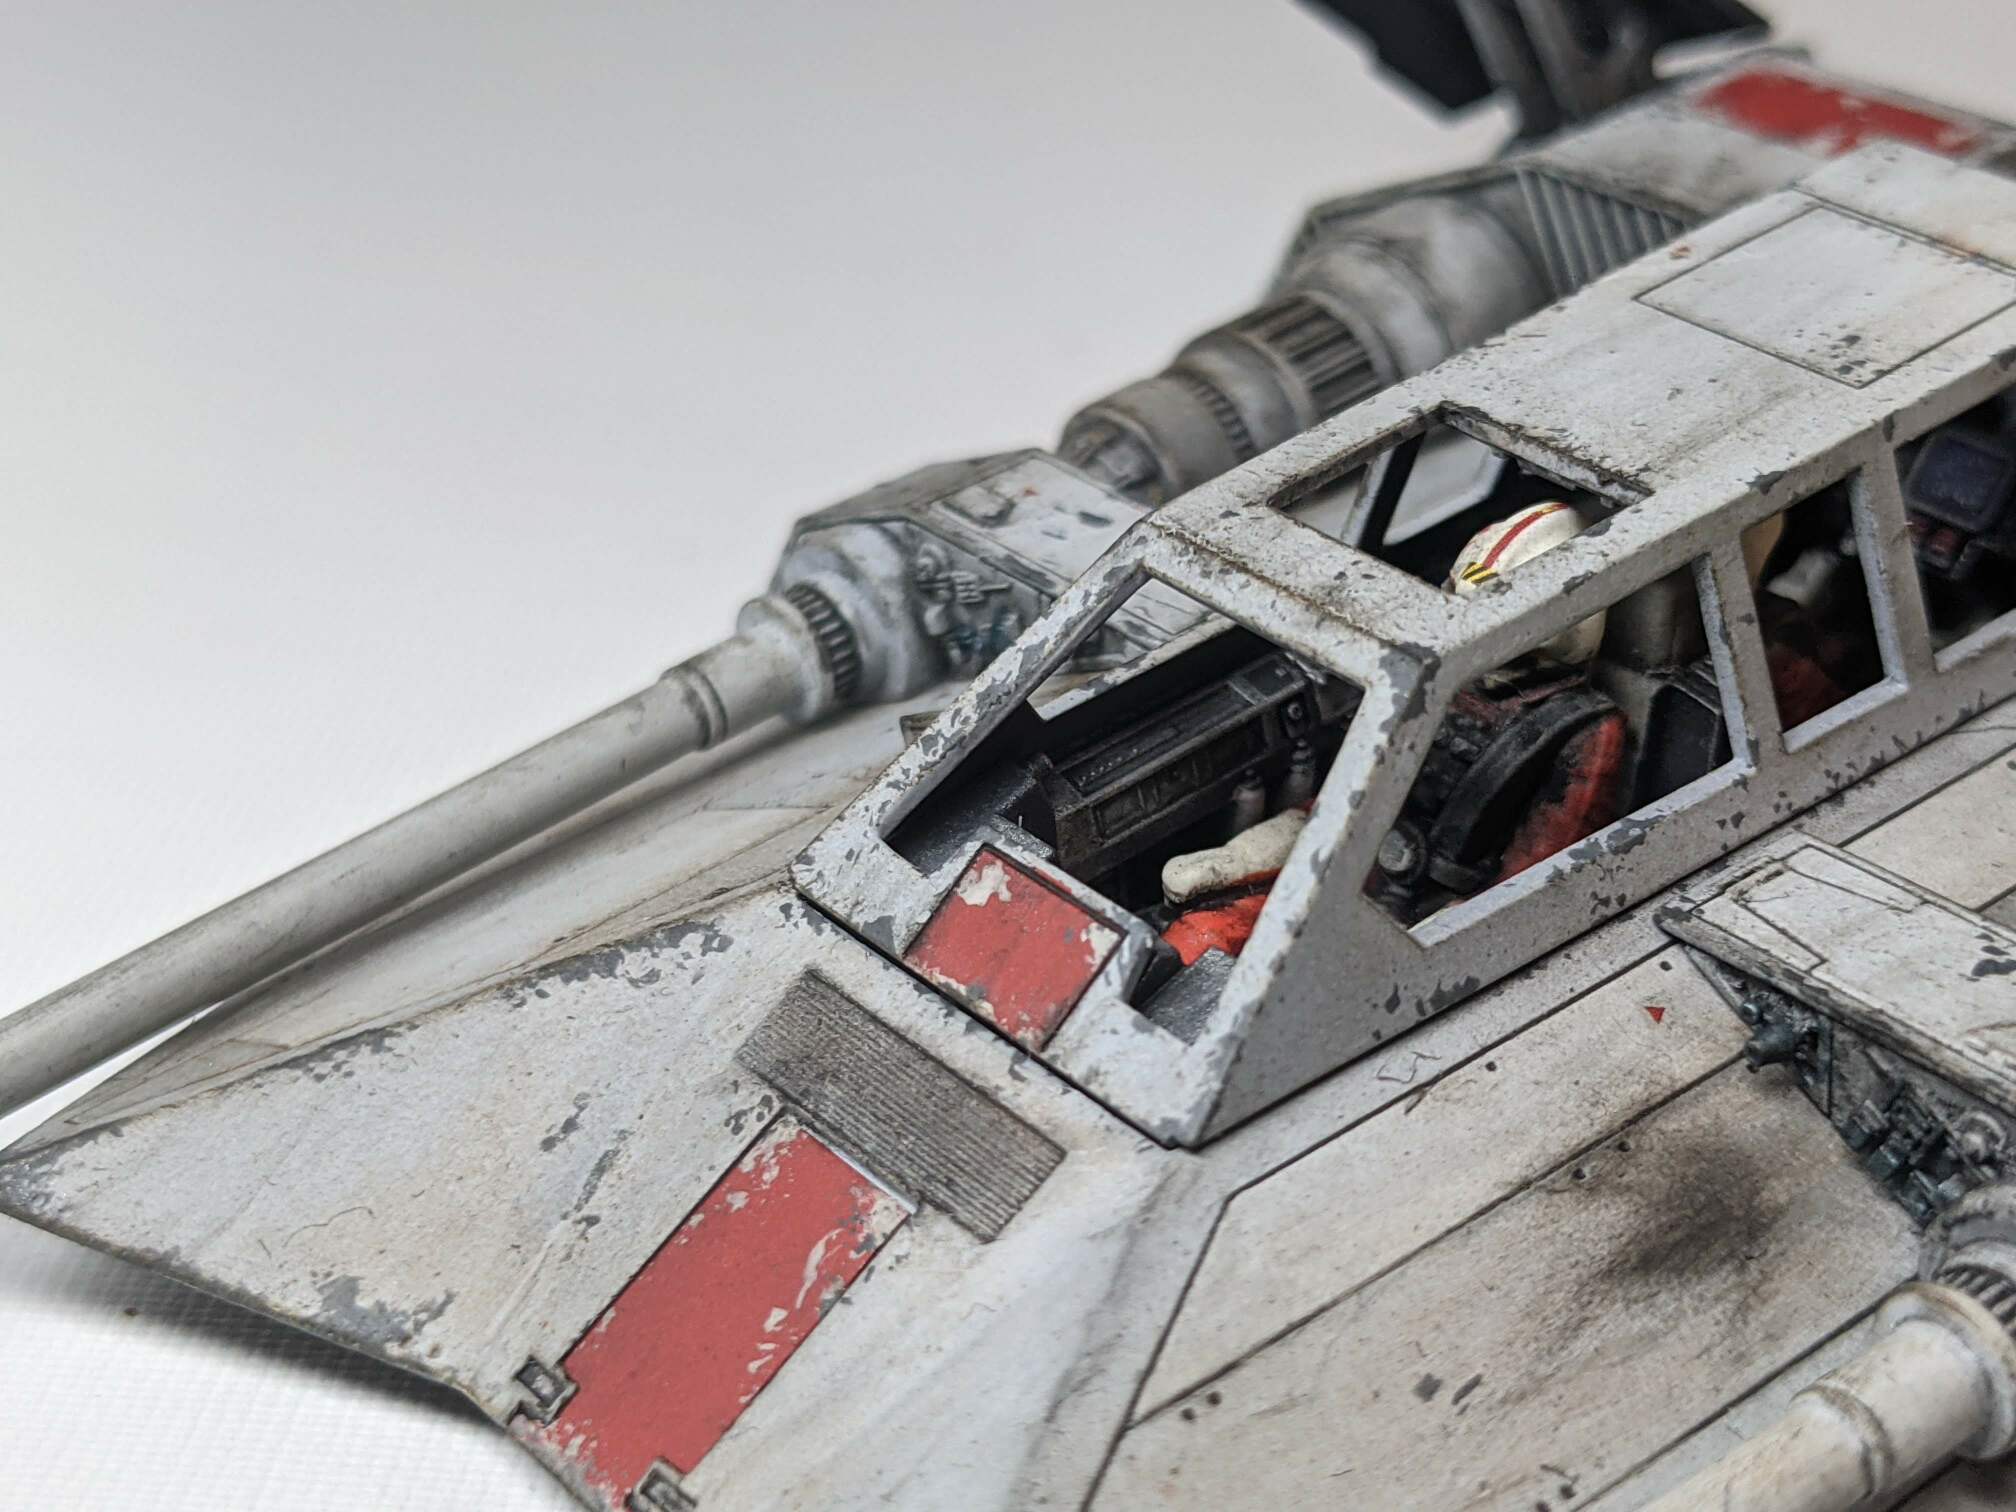
Cockpit and crew
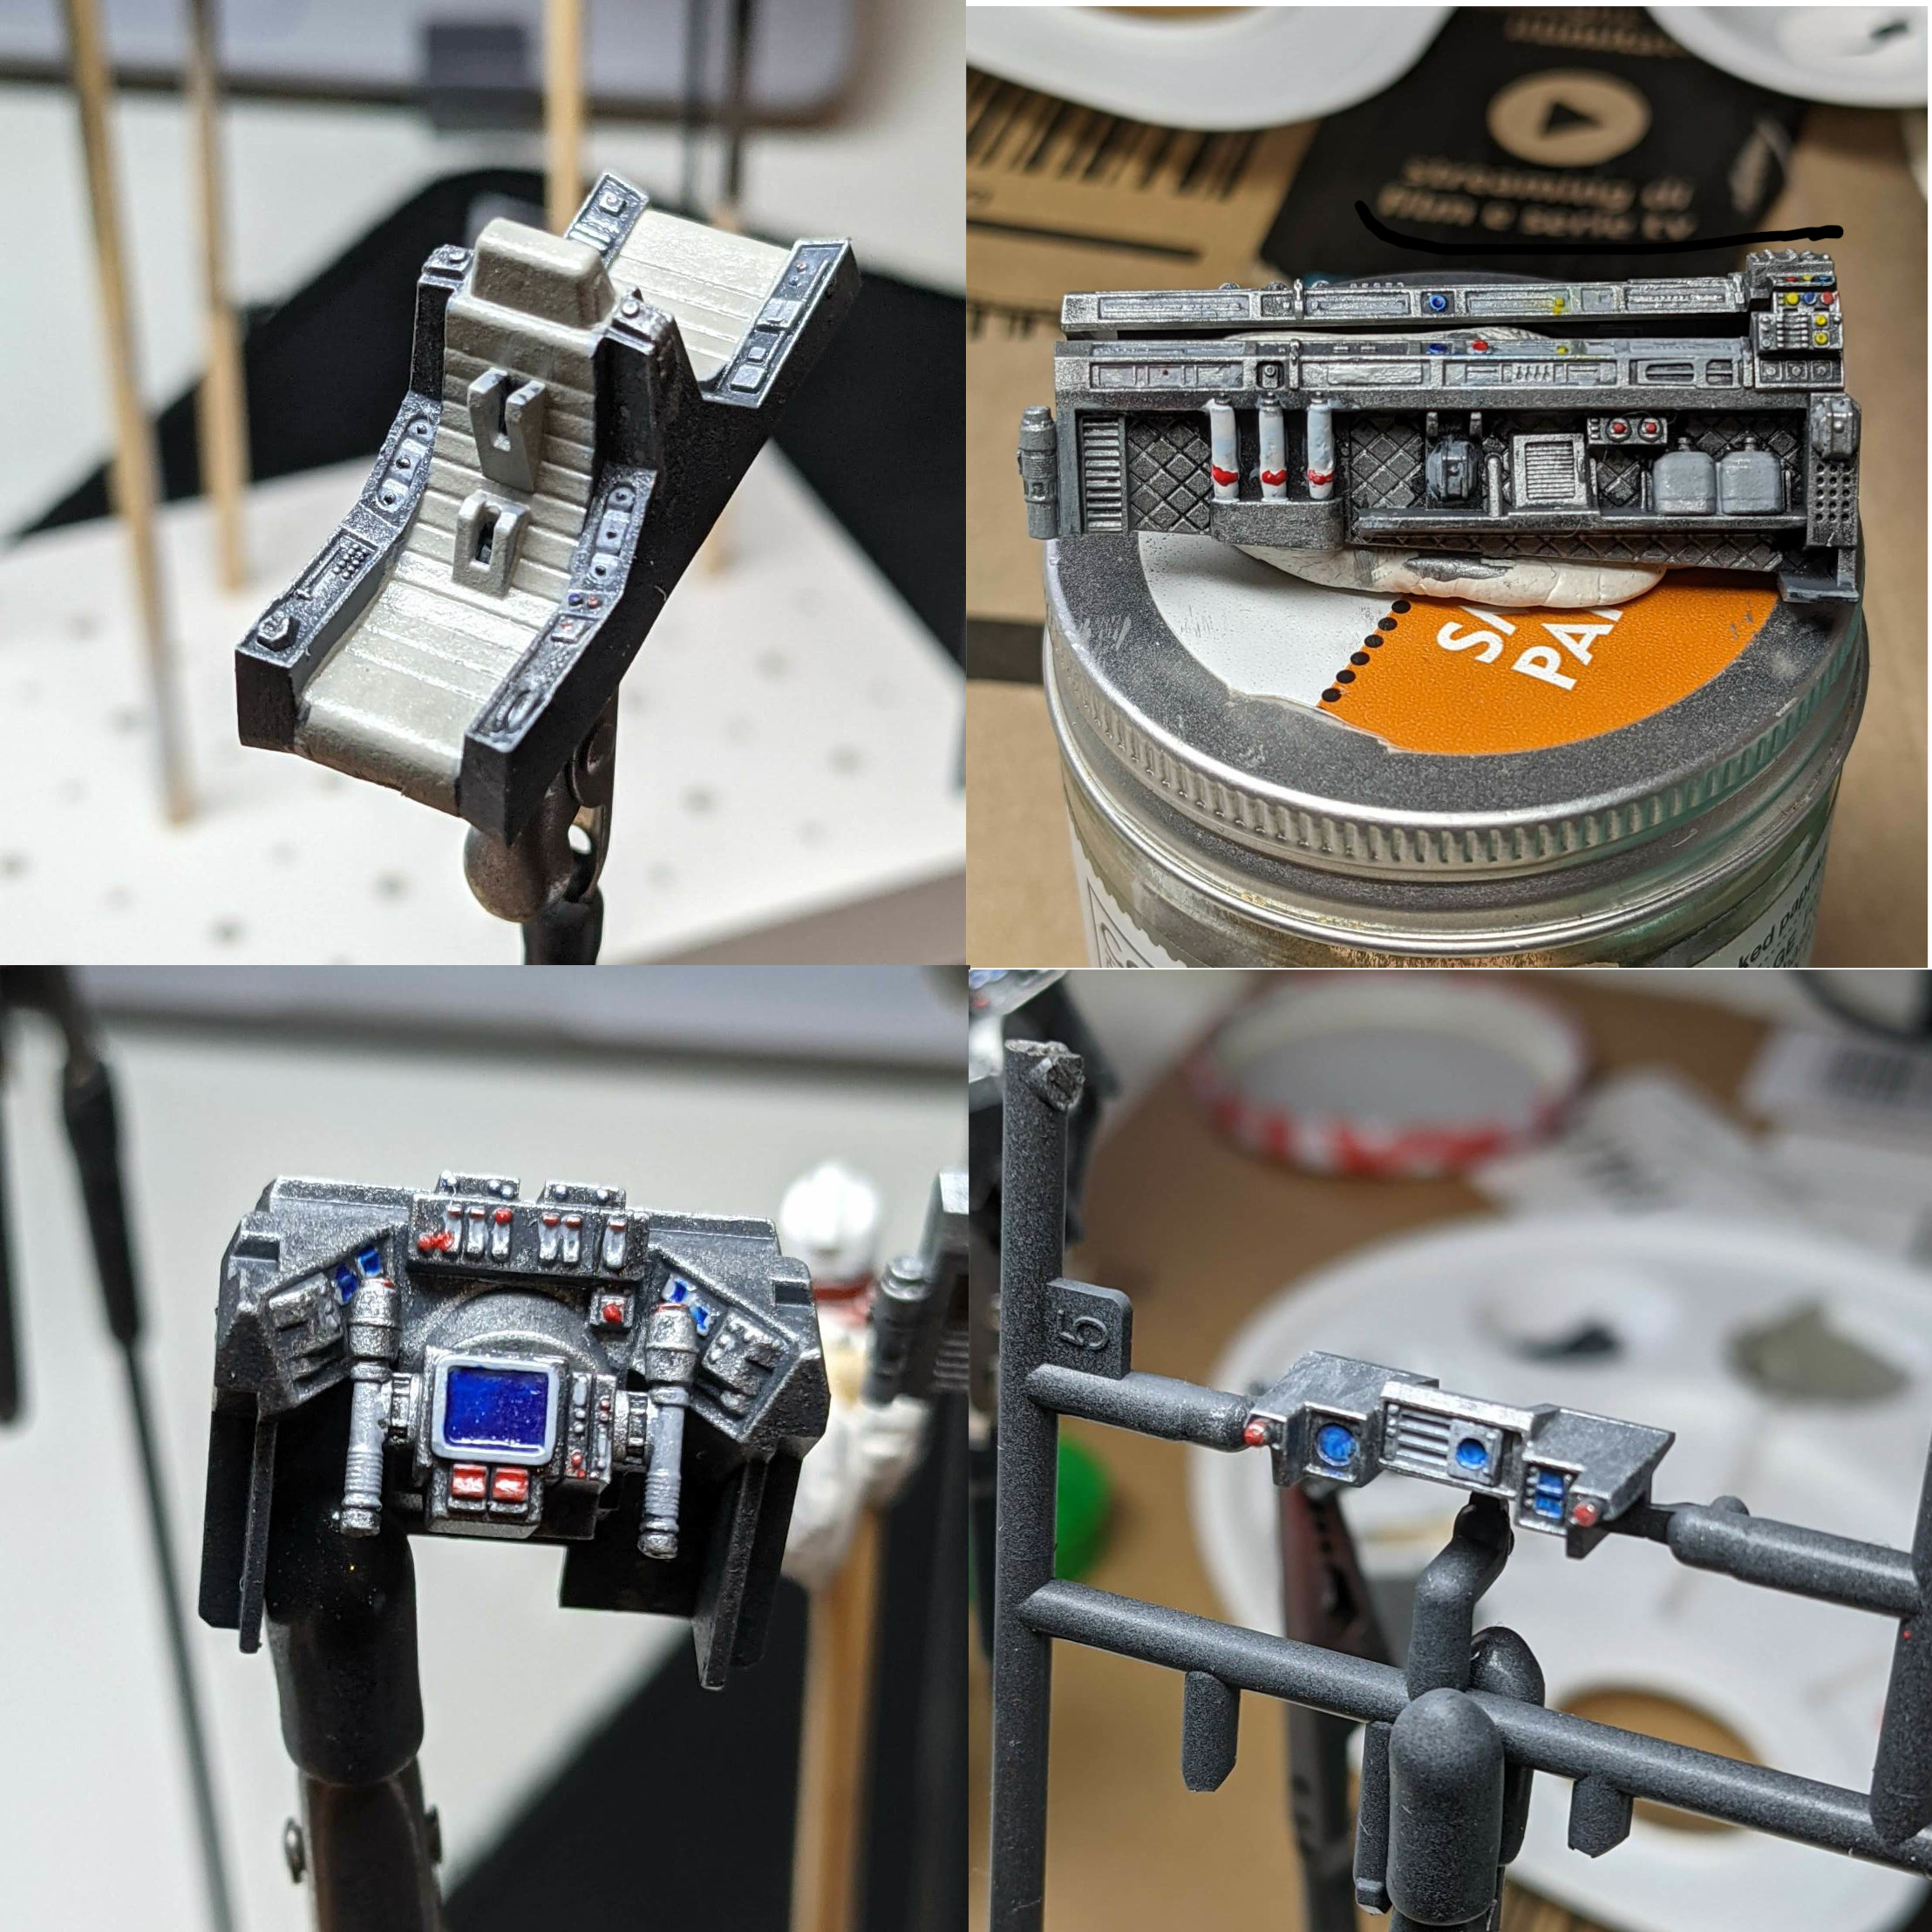
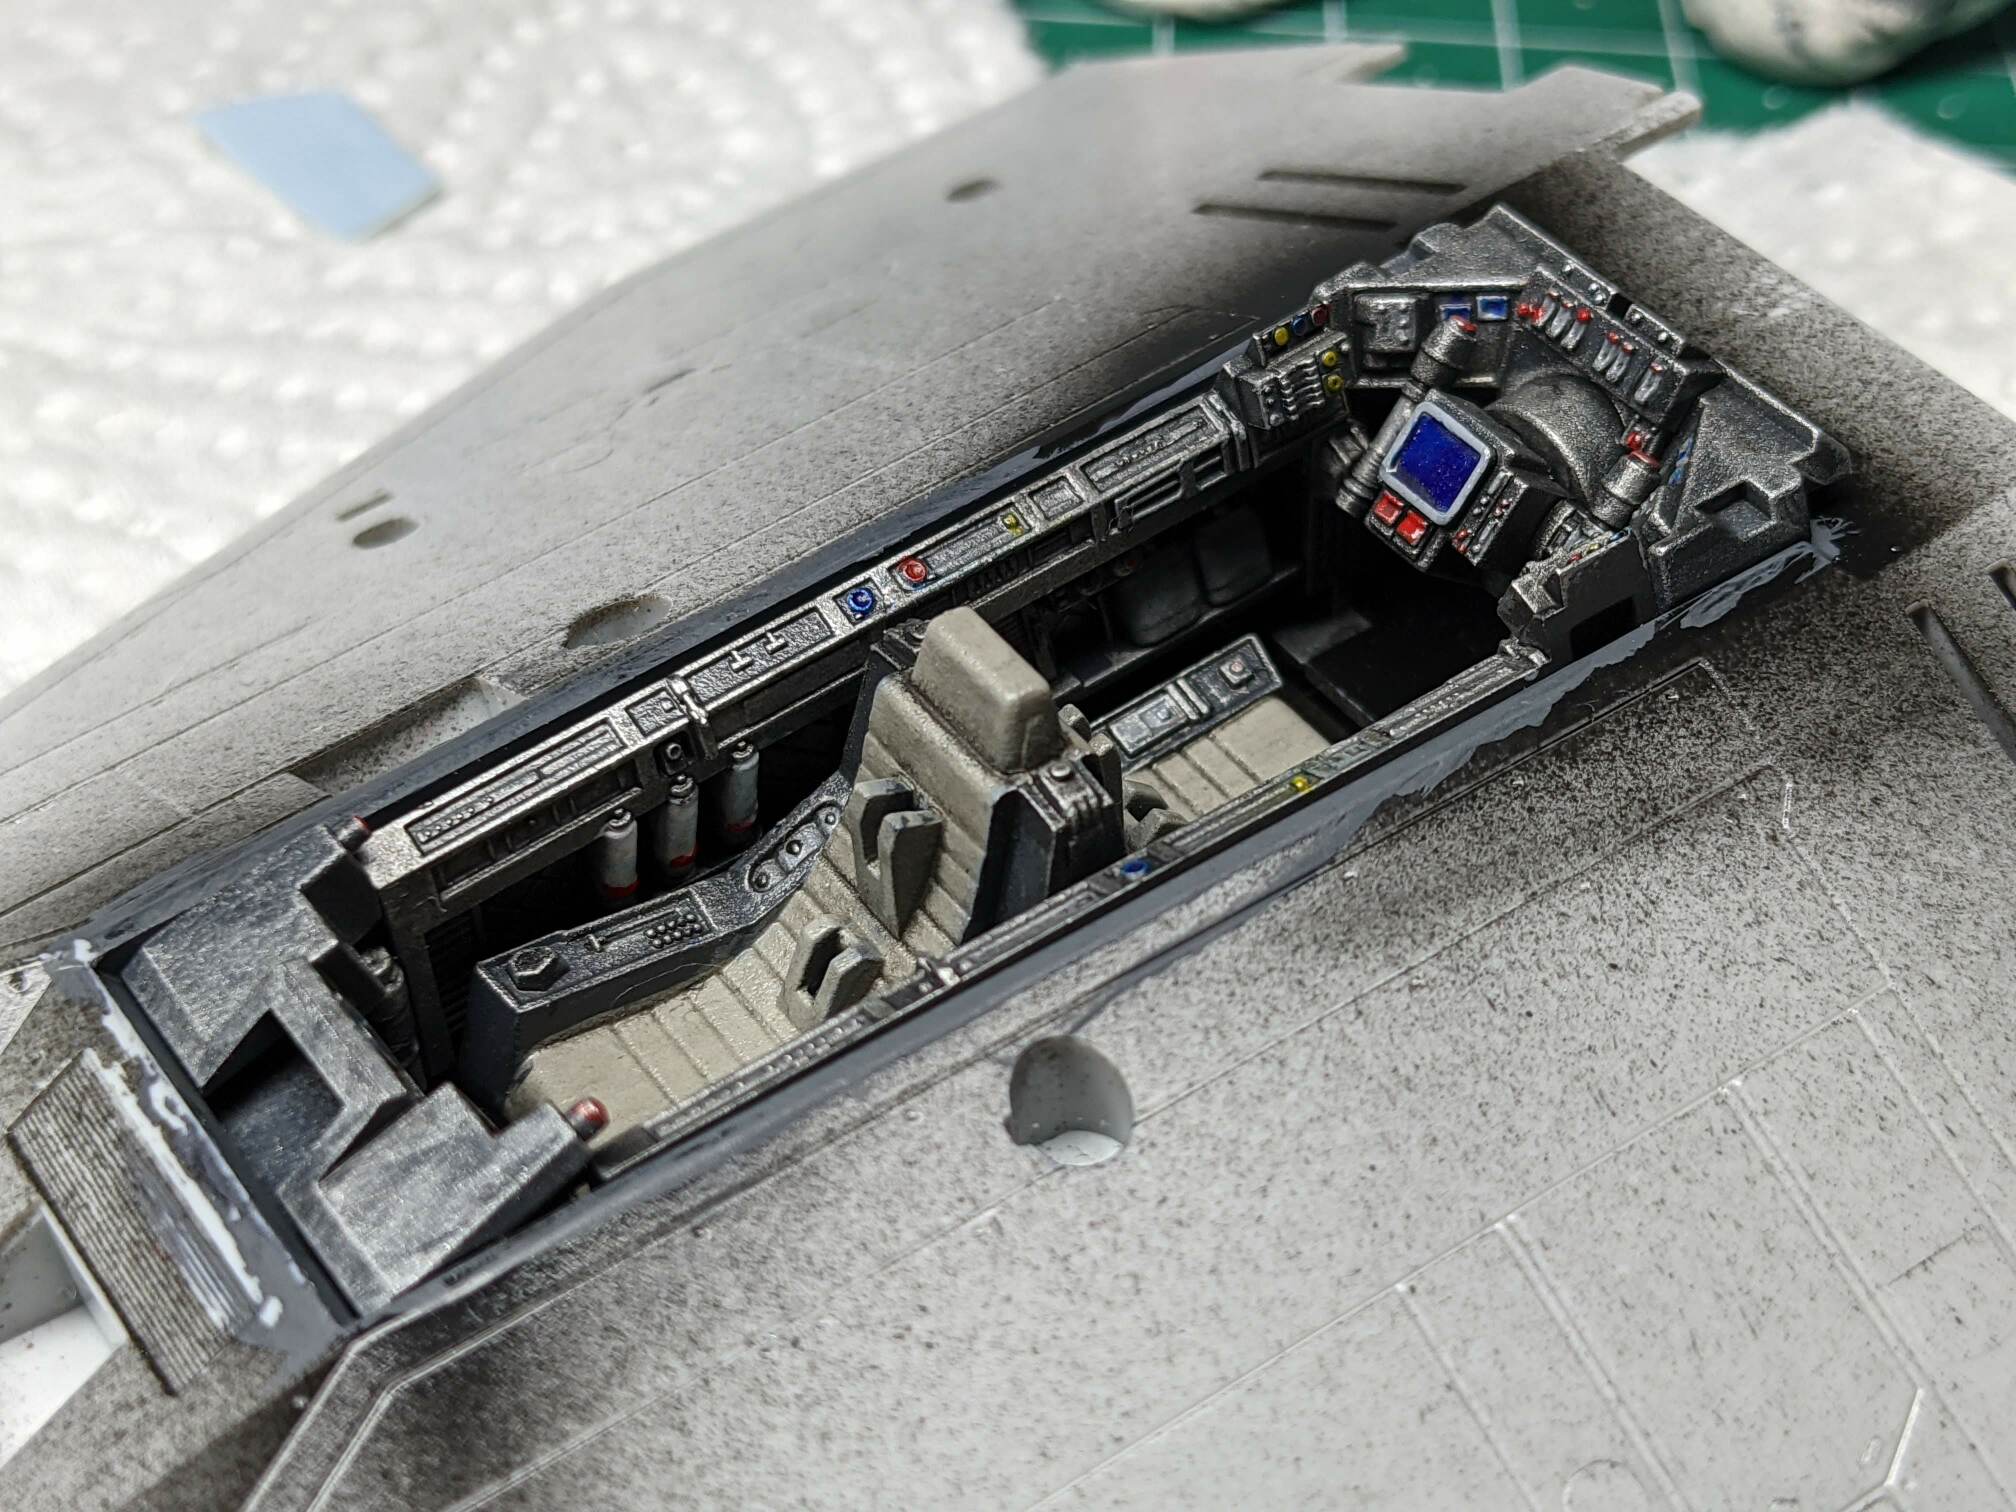
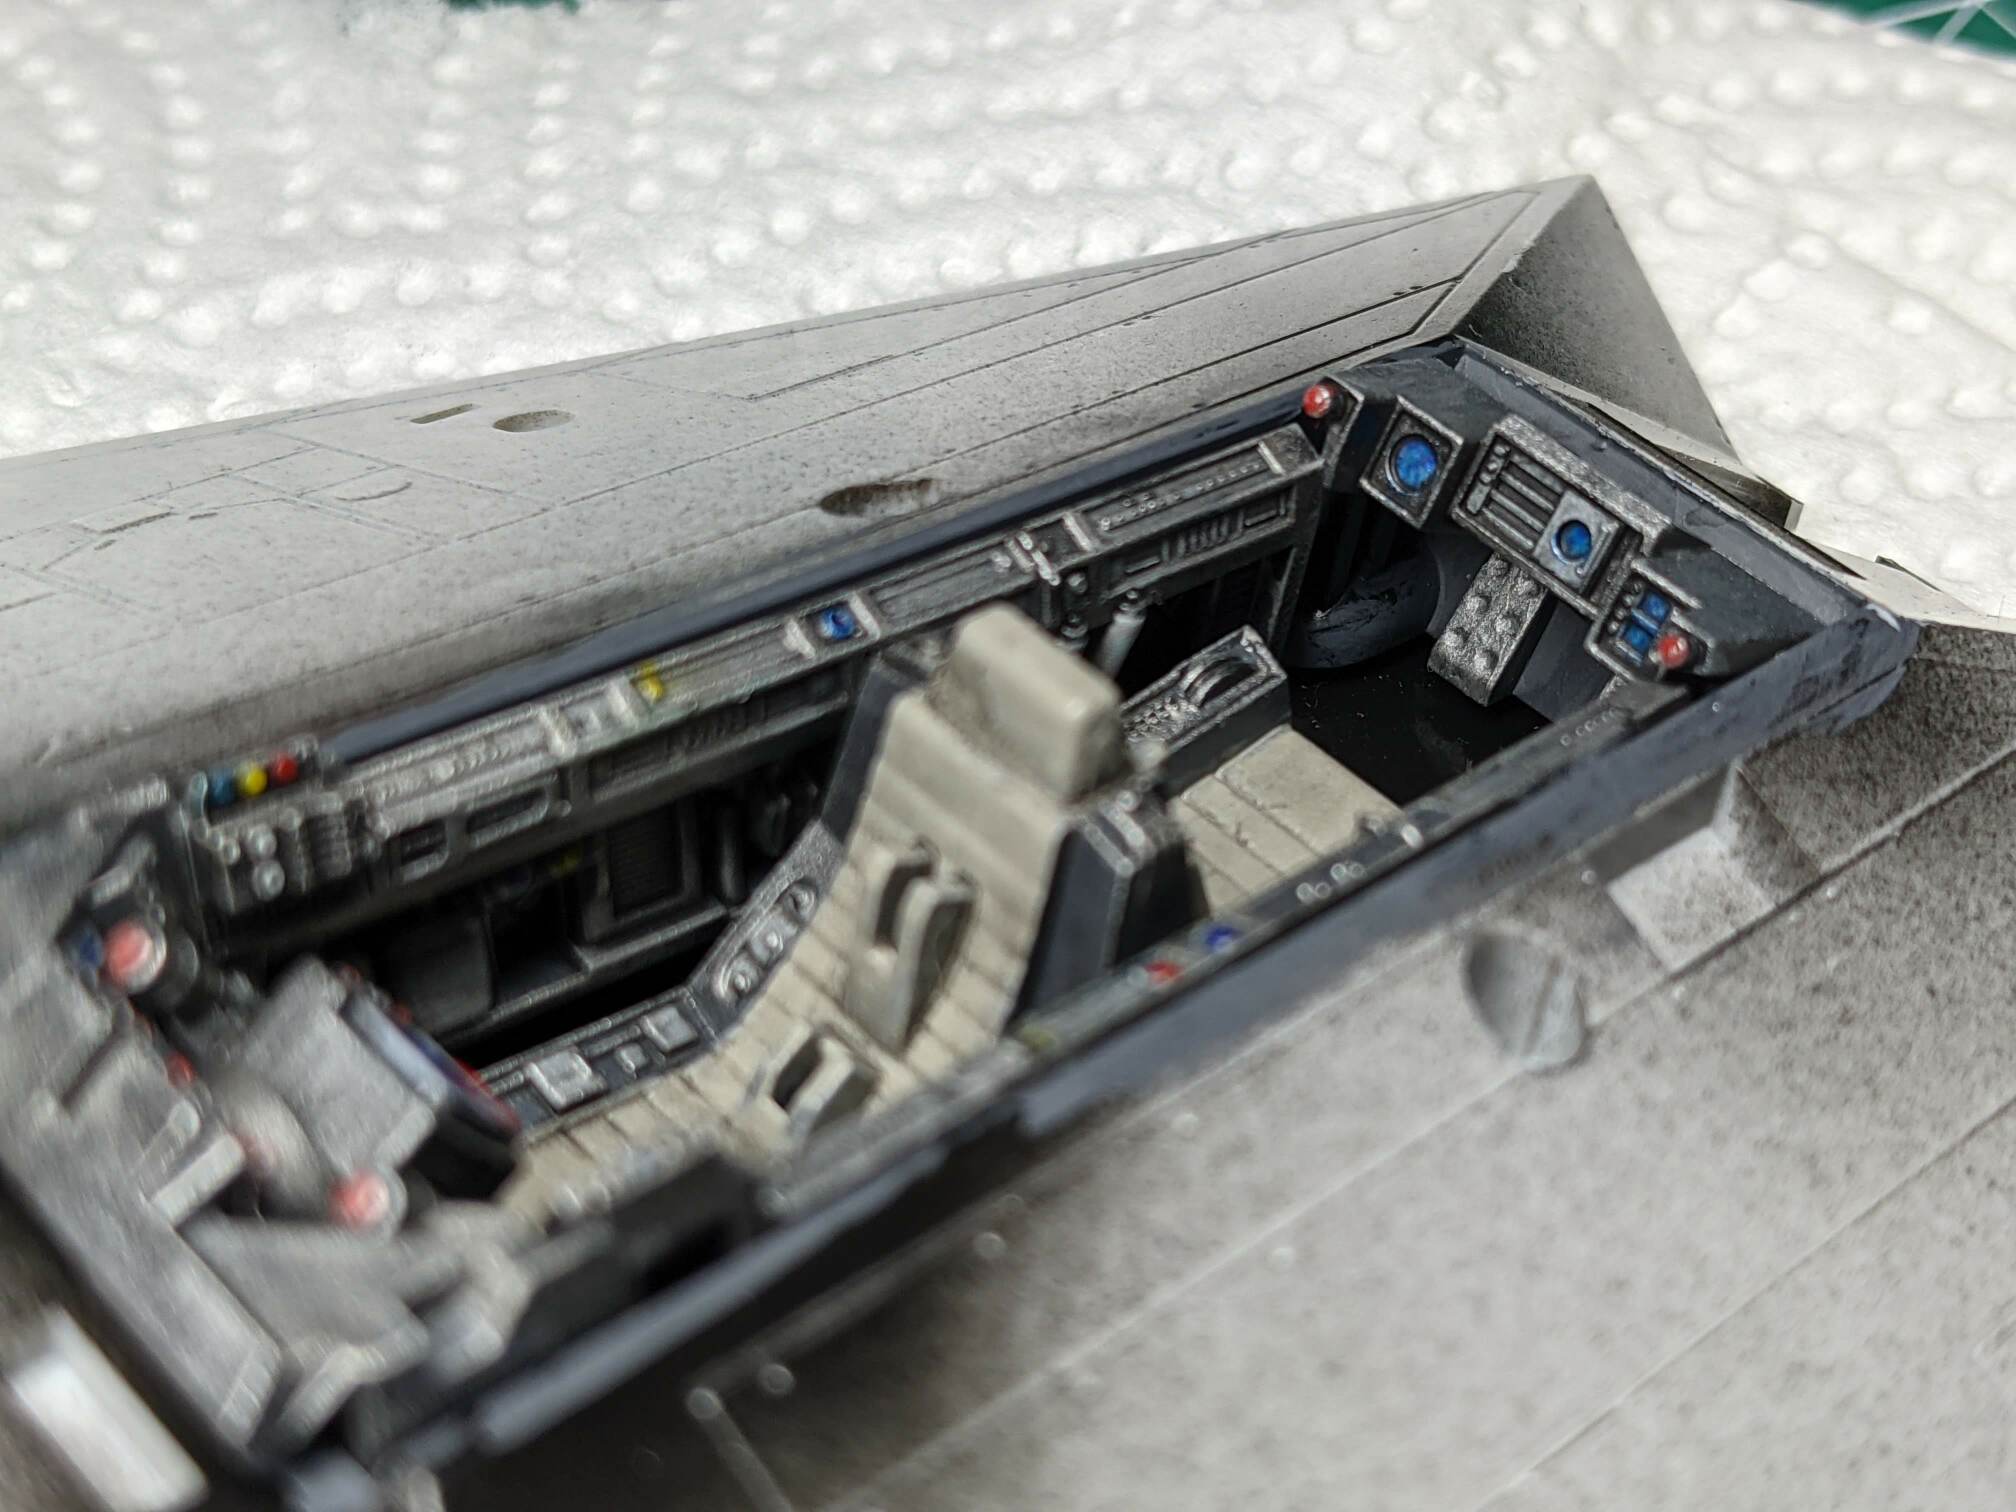
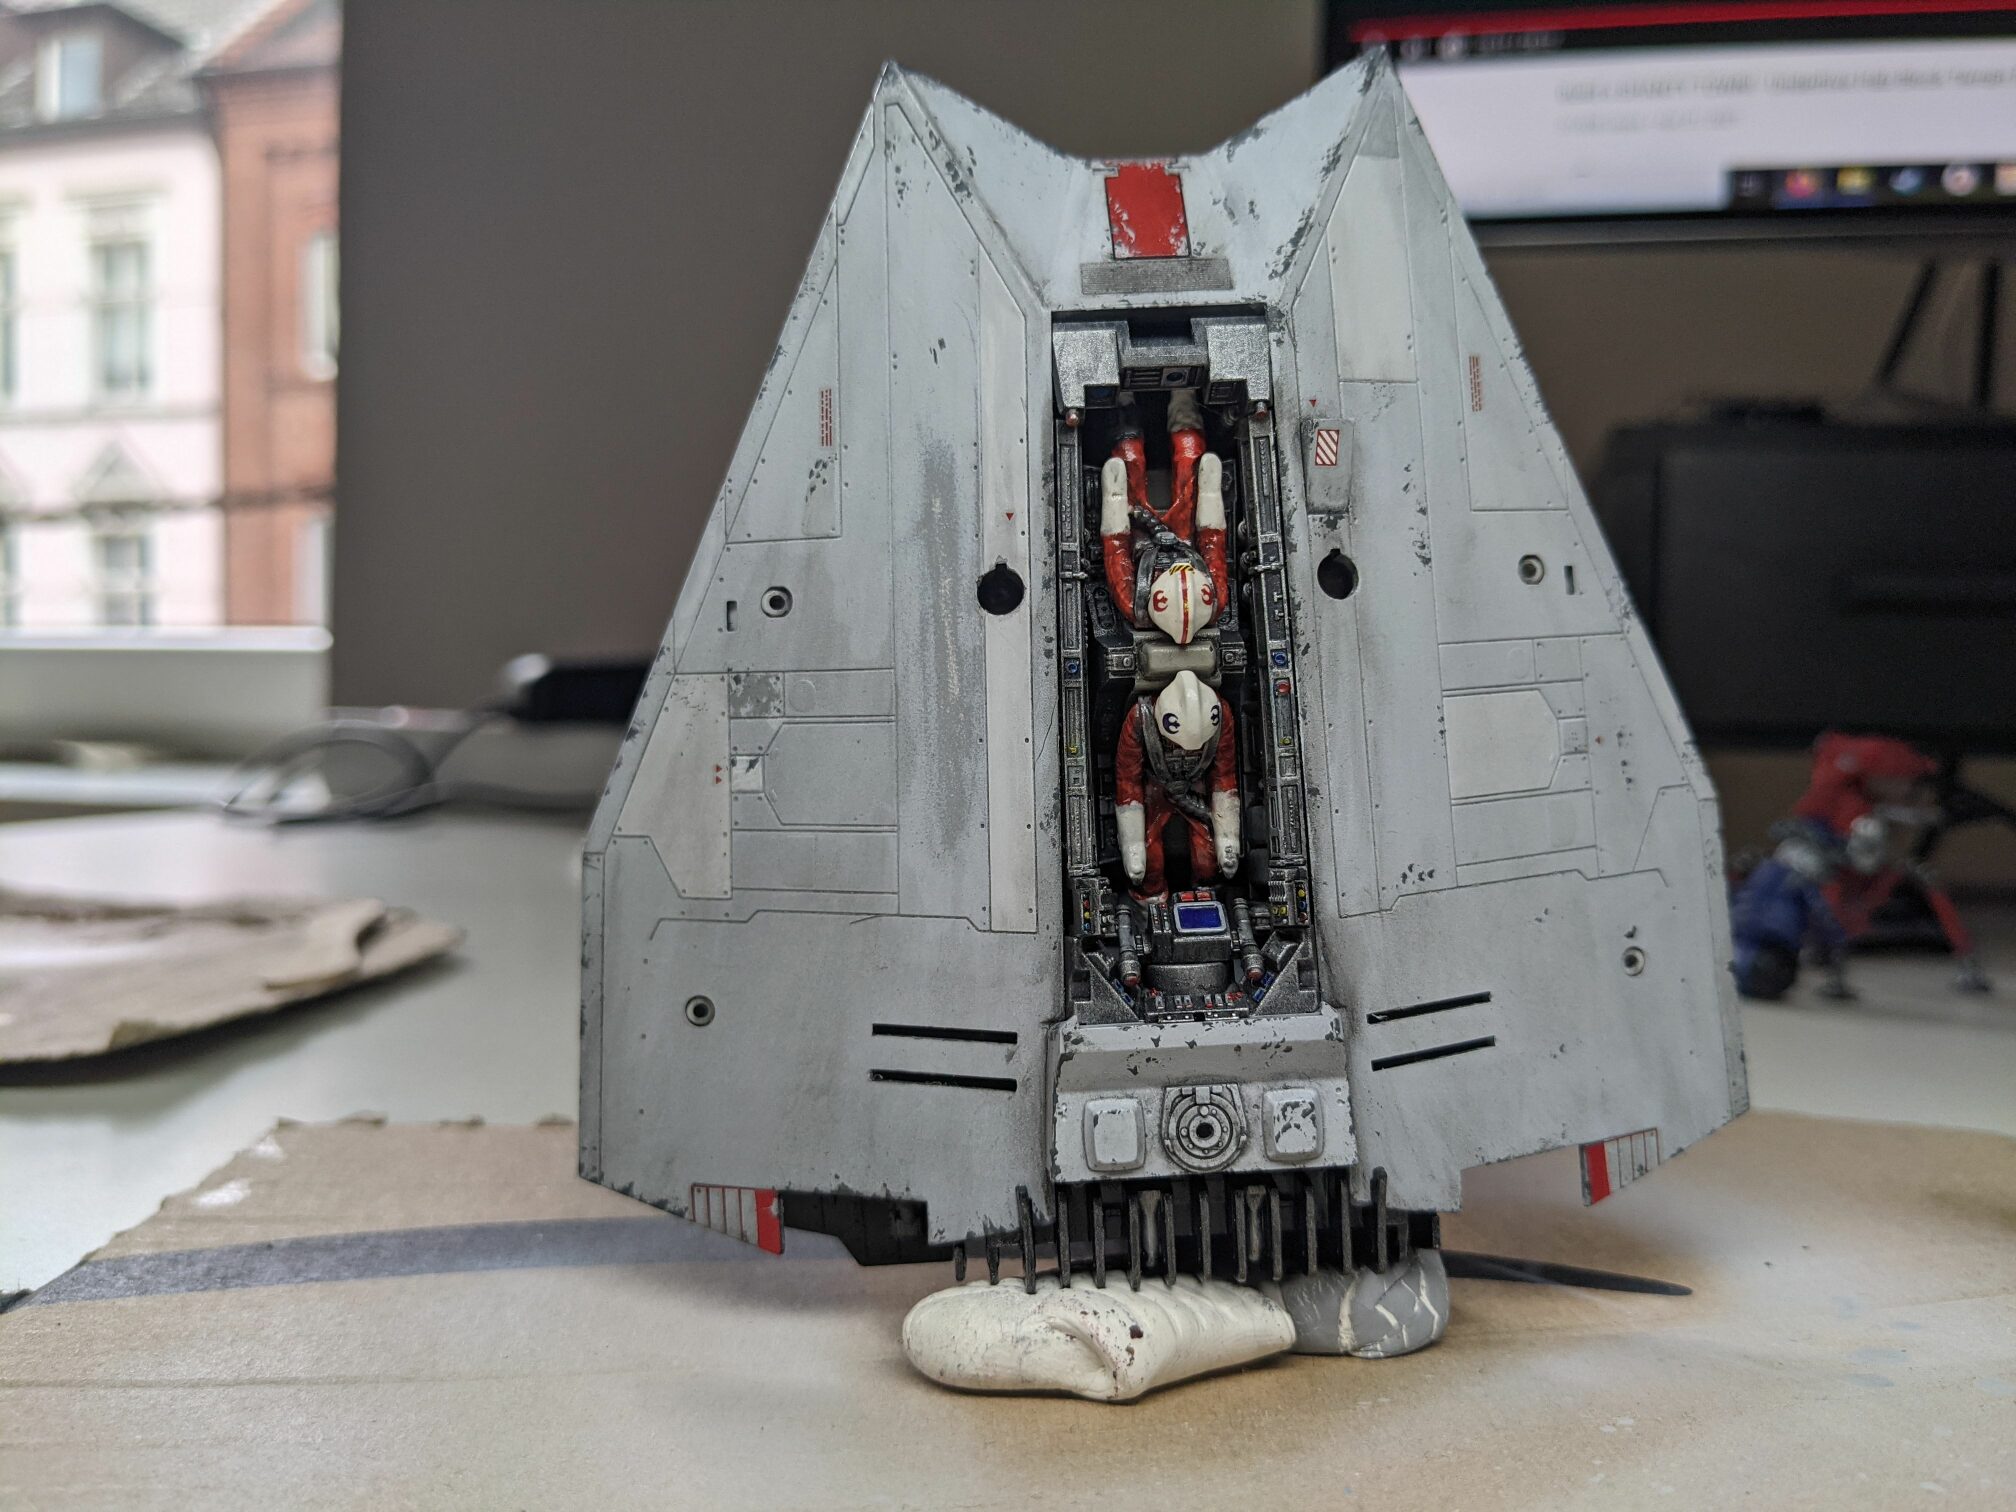
Inspired by others I started by painting the cockpit. I didn’t expect much from myself. I believed that my shaky hands would prevent me from painting any detail and lack of experience wouldn’t help as well.
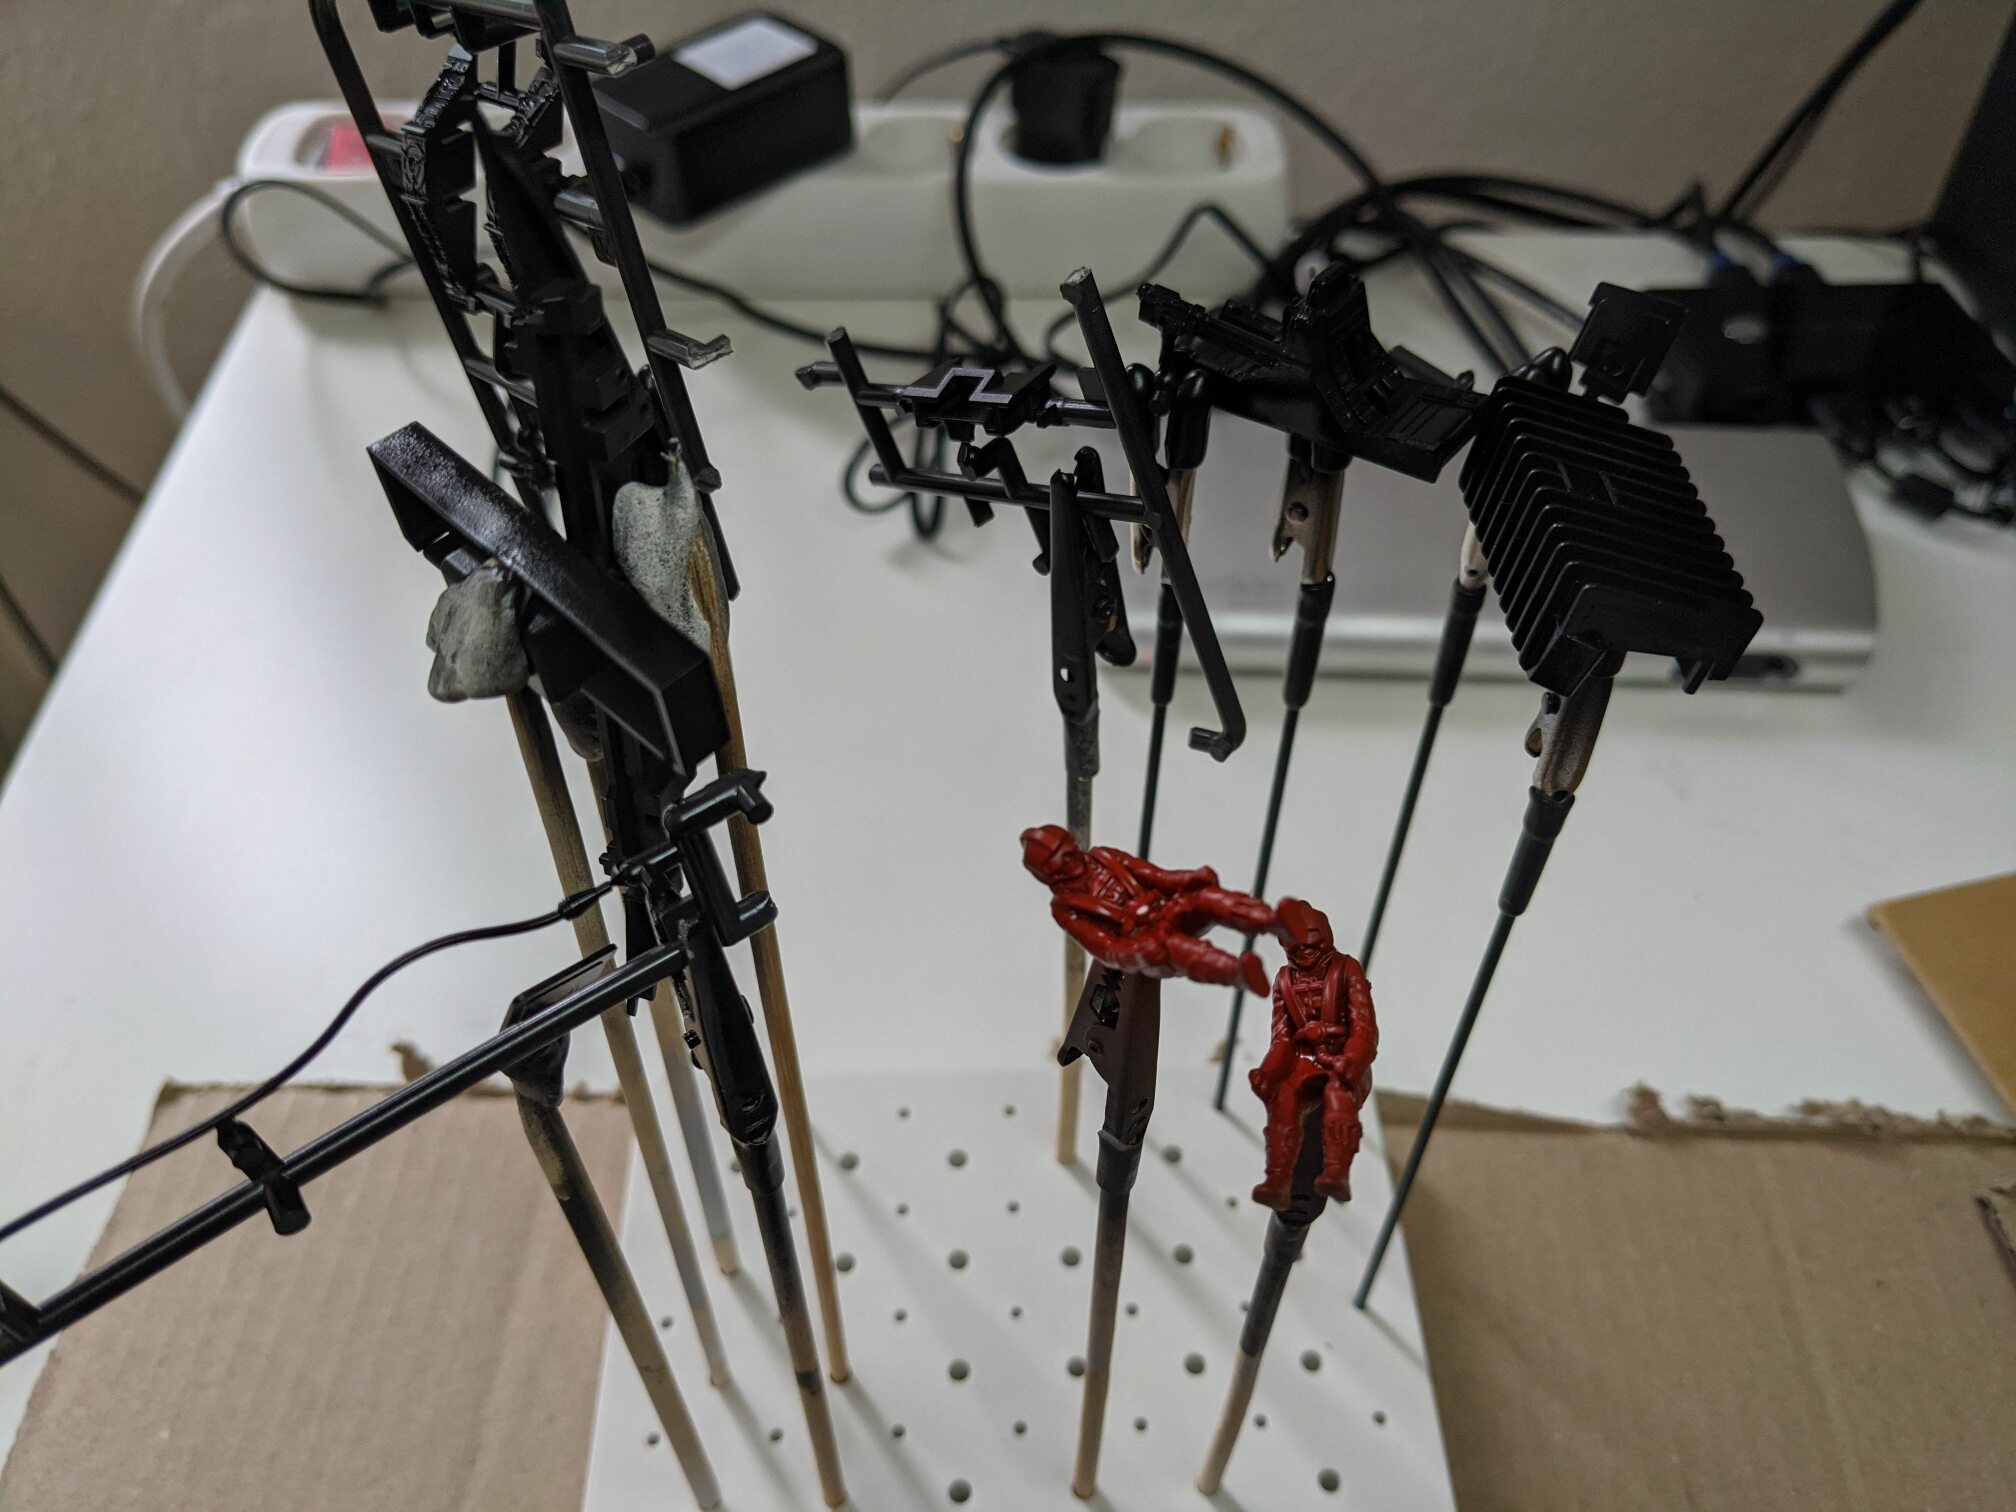
All the parts (including pilots) were primed by airbrush with gloss black primer from Vallejo. Then they got another airbrush coat with some dark grey (forgot which paint it was, but it might have been Tamiya German grey). The rest was painted by hand with some dry-brushing. A toothpick ended up being a very valuable tool for the small buttons. Finished with acrylic wash from Vallejo.
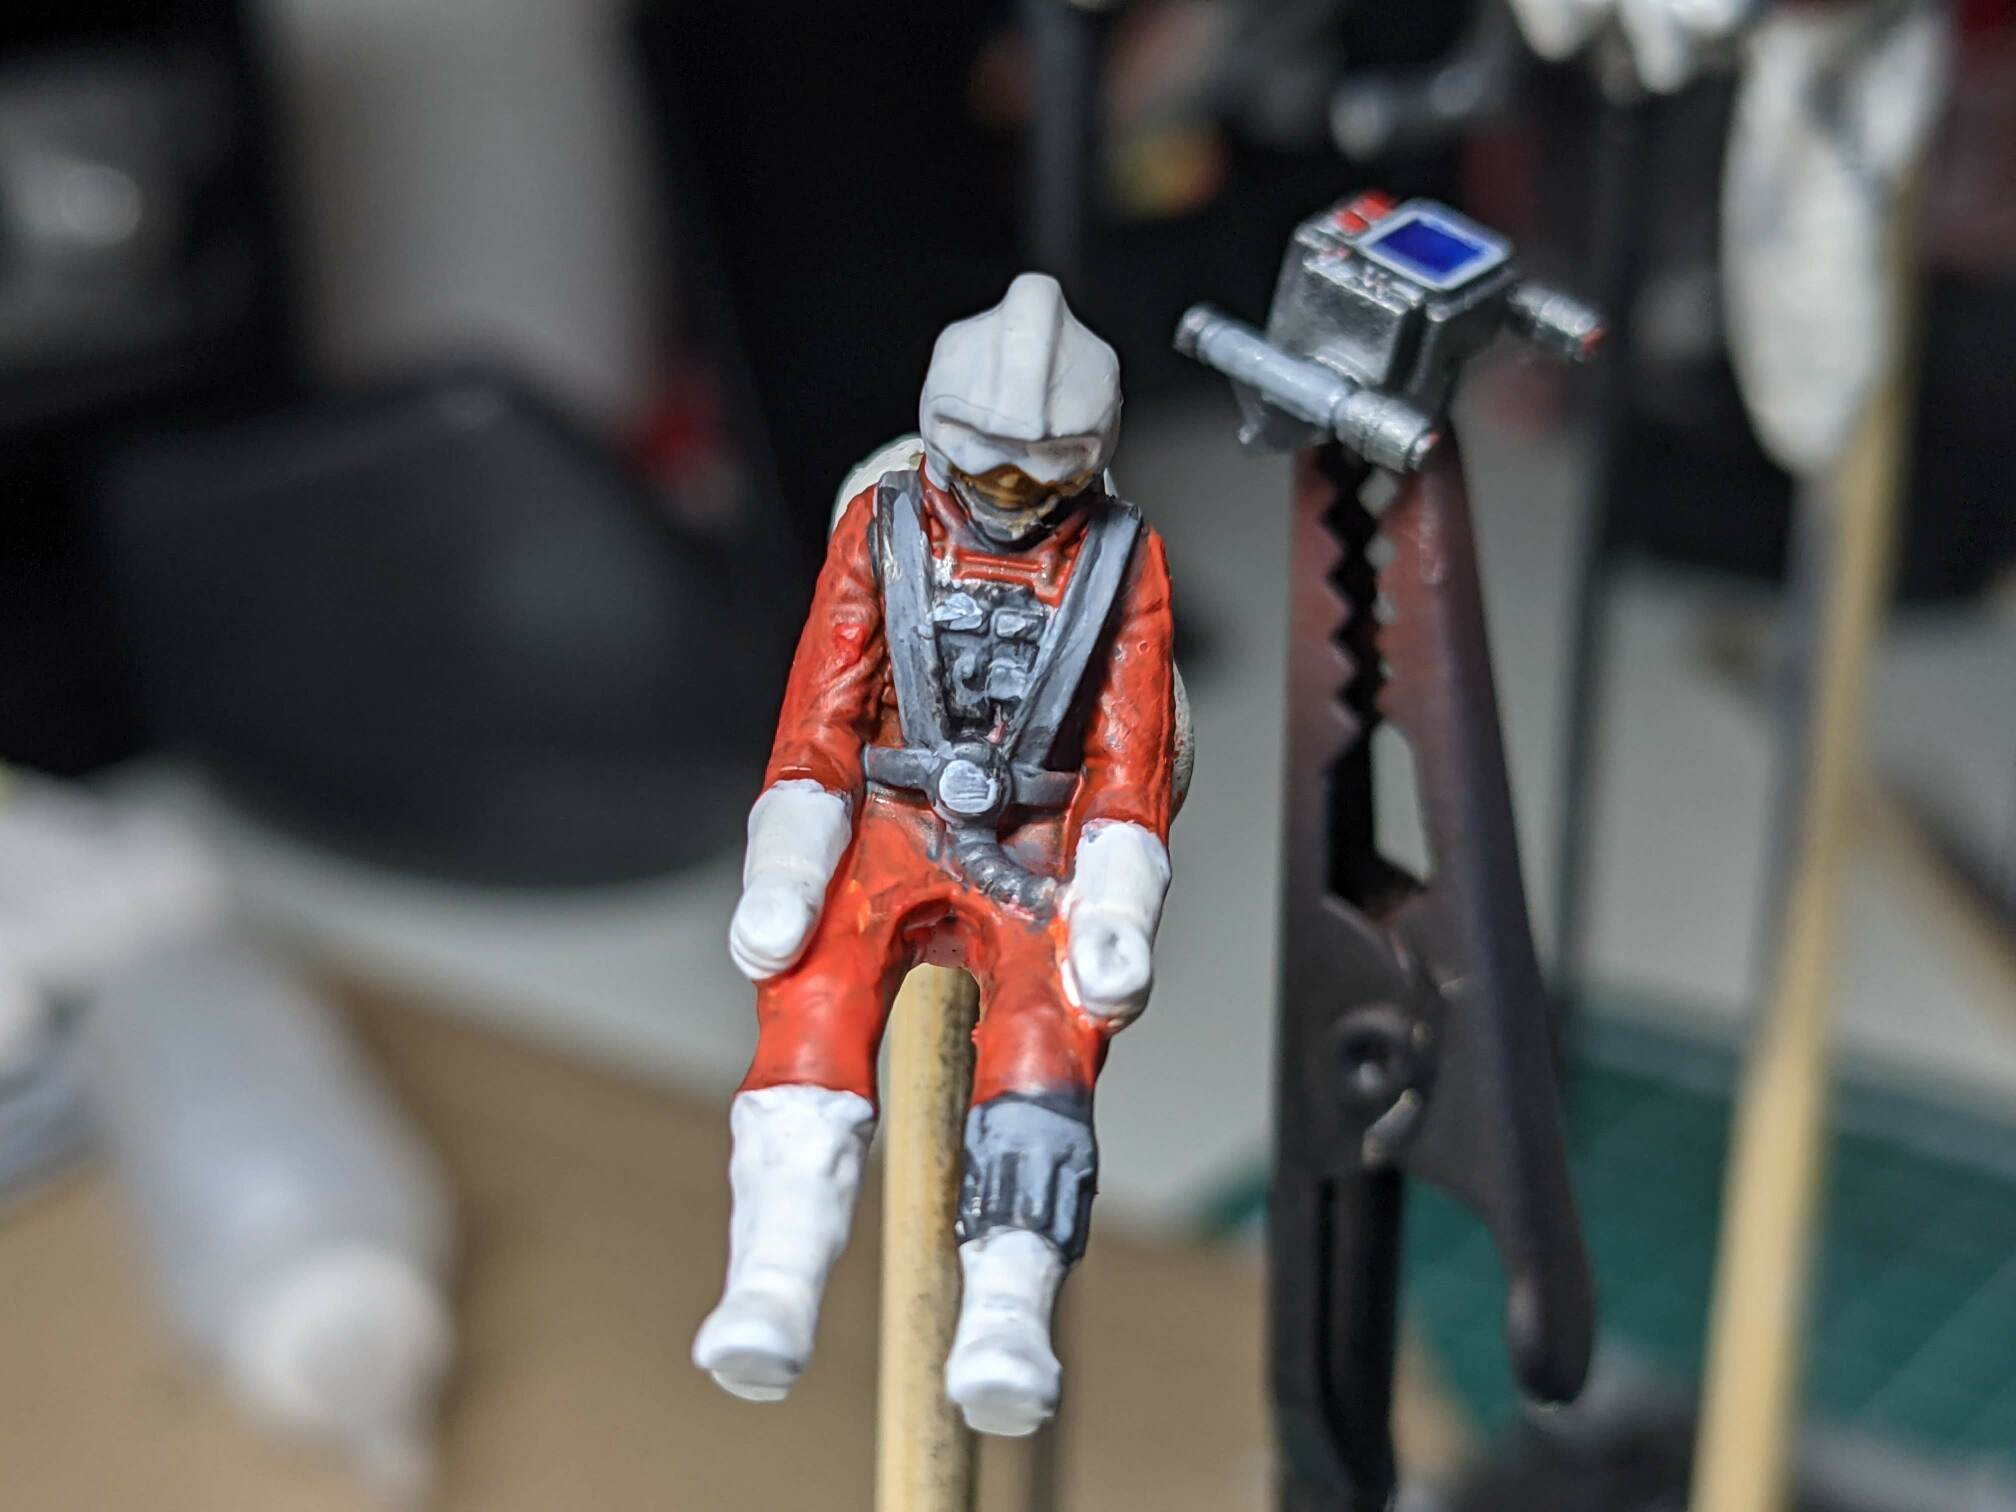
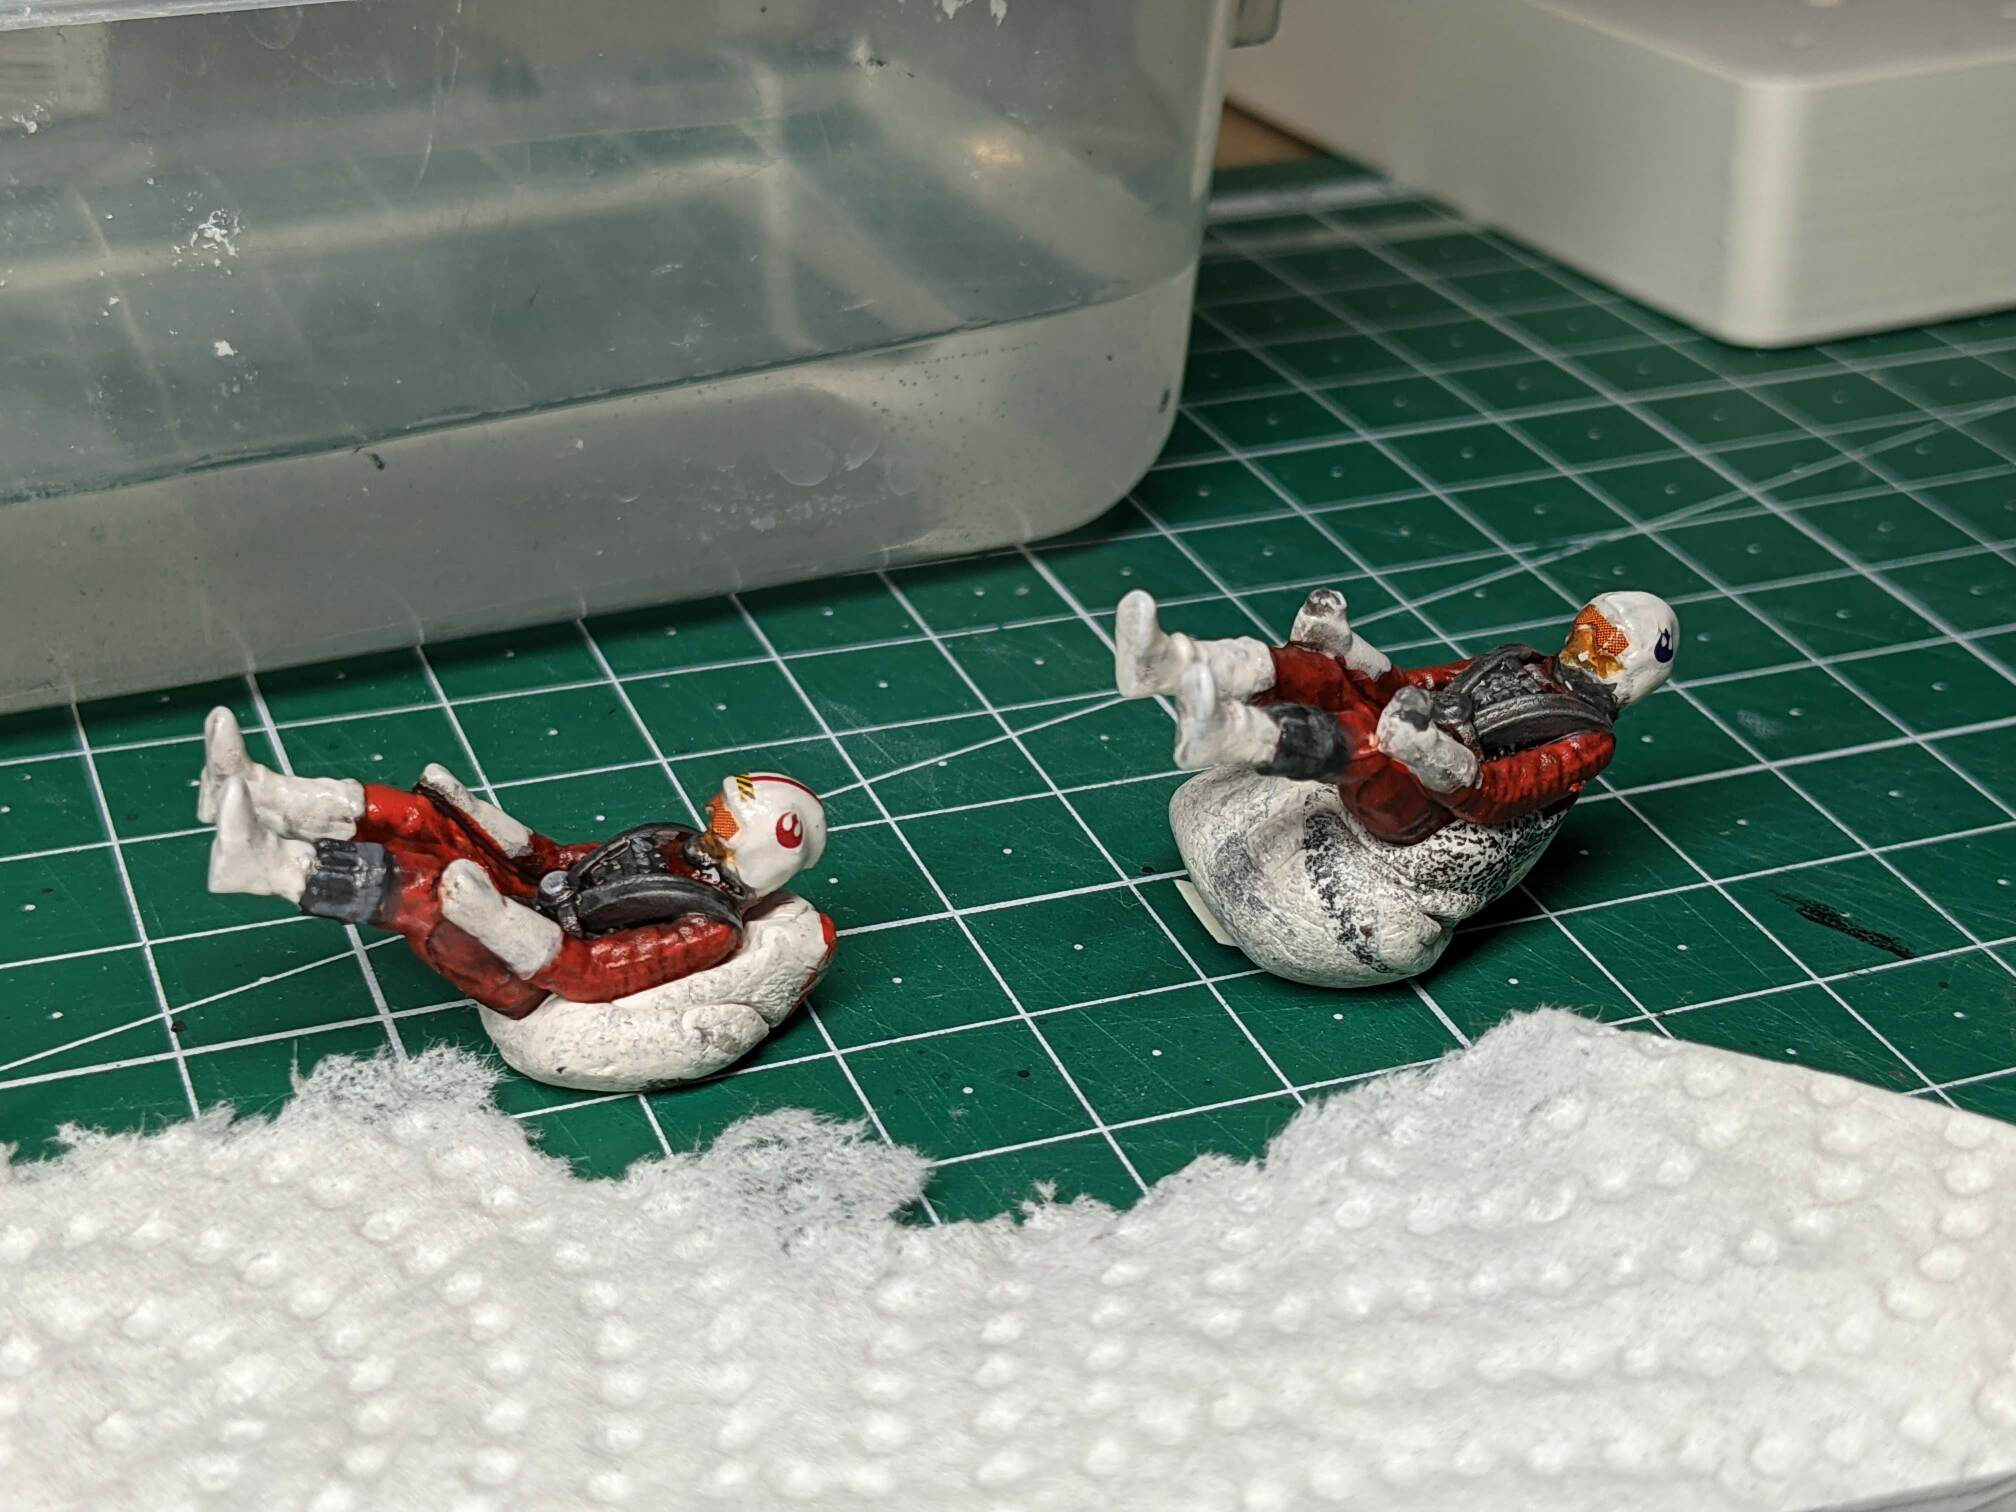
The kit has a lot of details for the cockpit but I didn’t use them. I did use decals for the pilot helmets. I struggled with the ones for the visors and I broke one later when moving the pilot around.
I was very surprised by what I was able to do with the cockpit and very happy with the result. It’s certainly not perfect, but I wouldn’t hope for more.
I am less happy with the pilots. They are more on the terrible side and kind of what I expected. All of that is going to be barely visible since the cockpit is going to be closed. It was very good practice and fun, though.
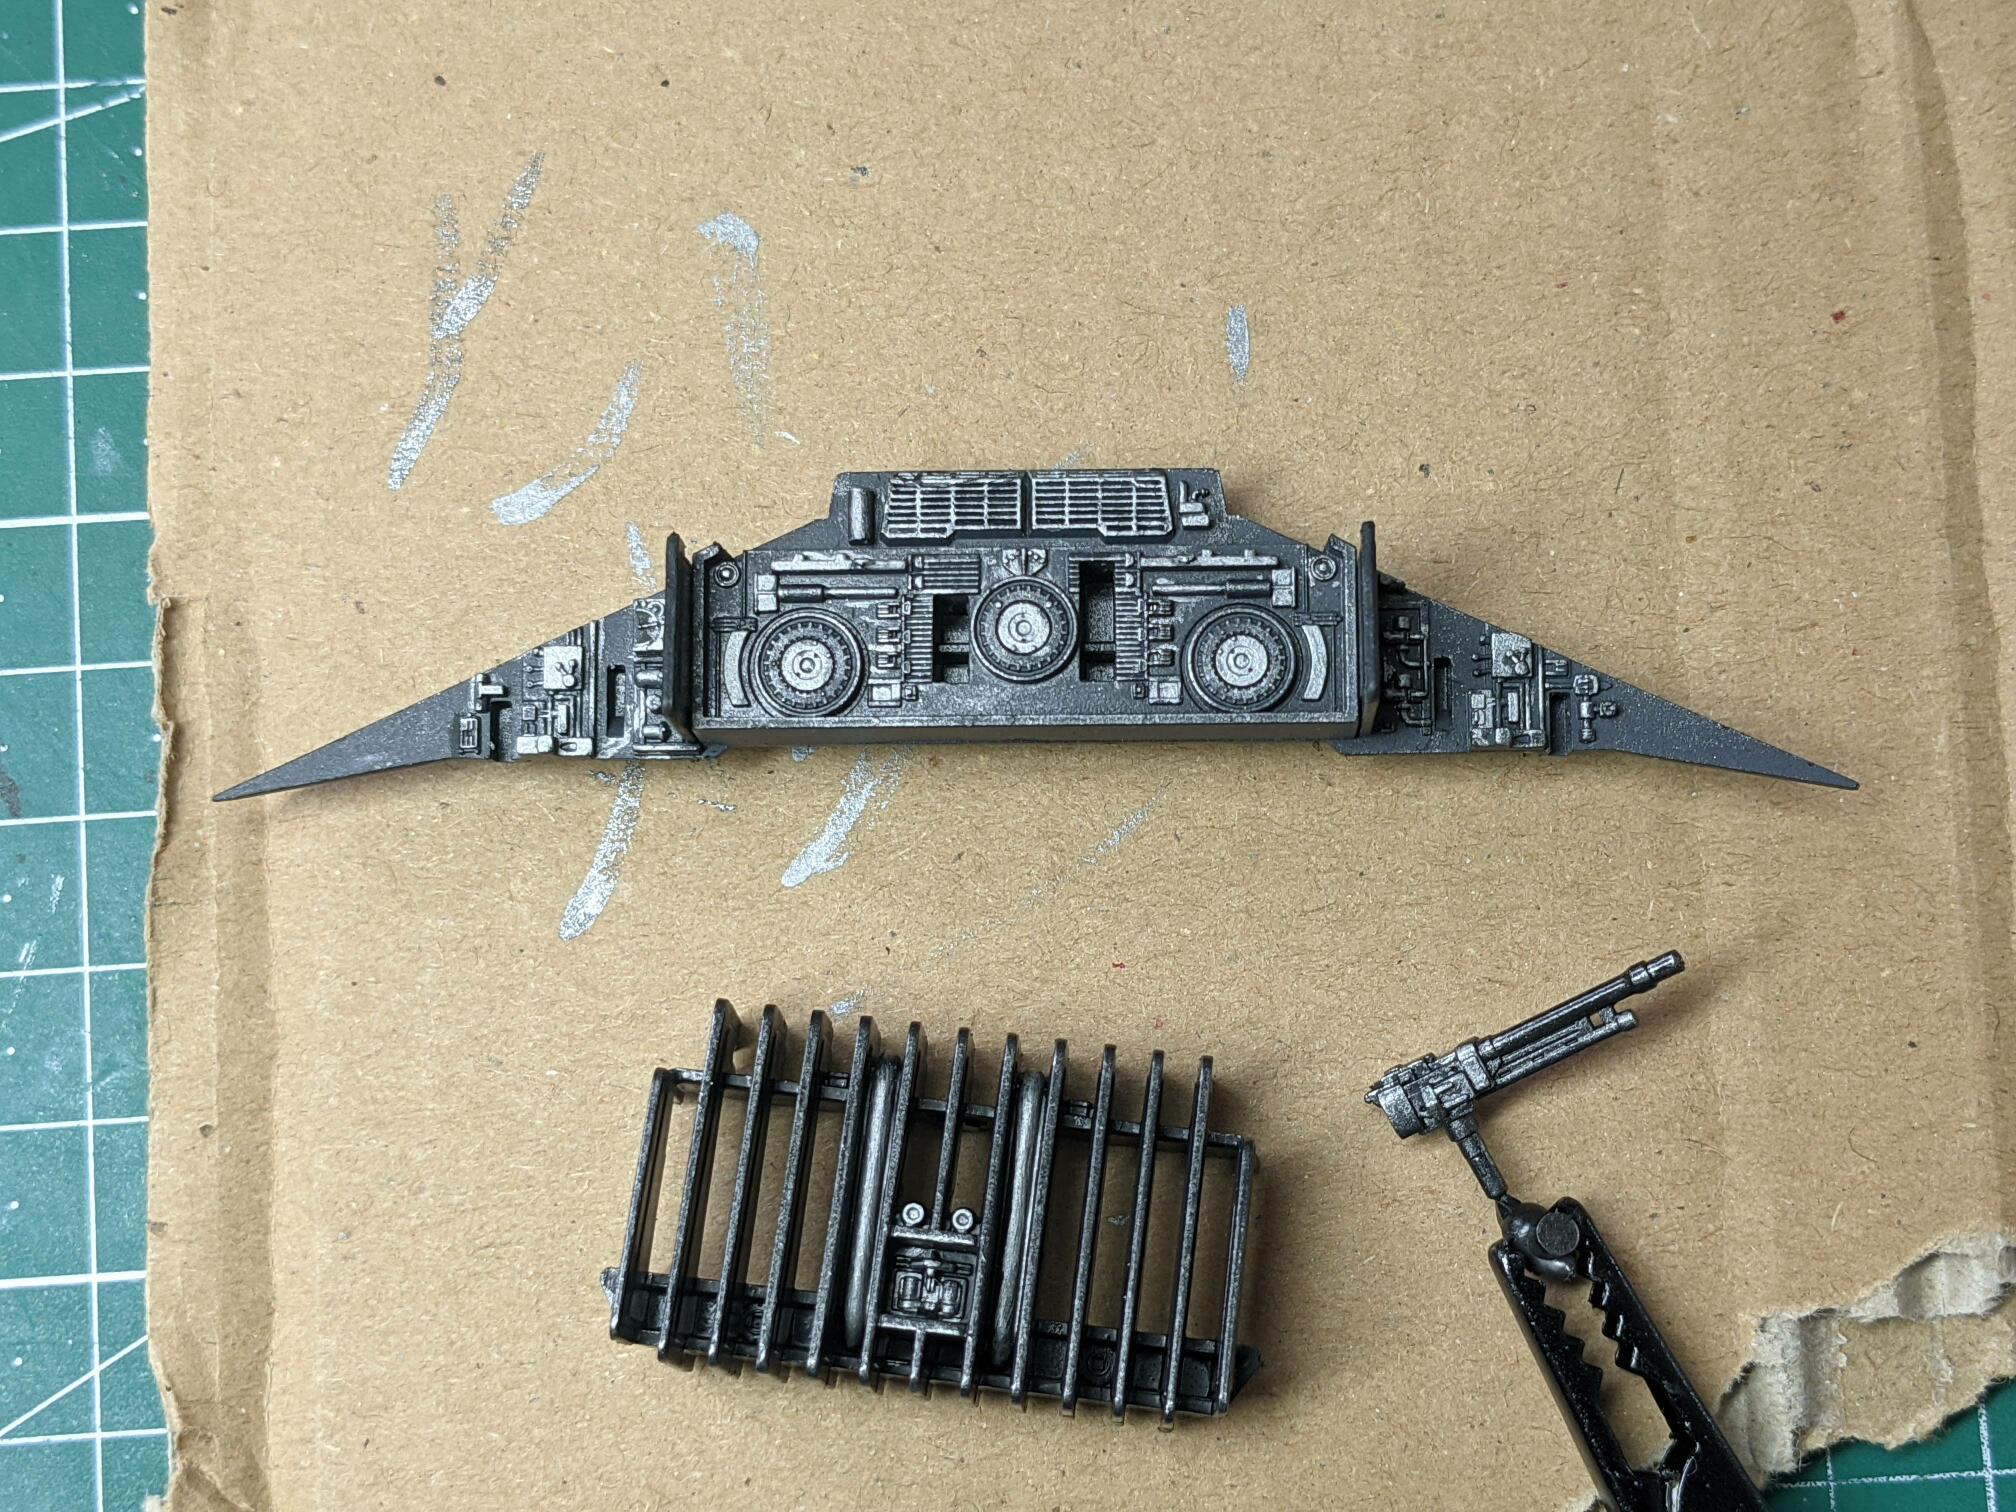
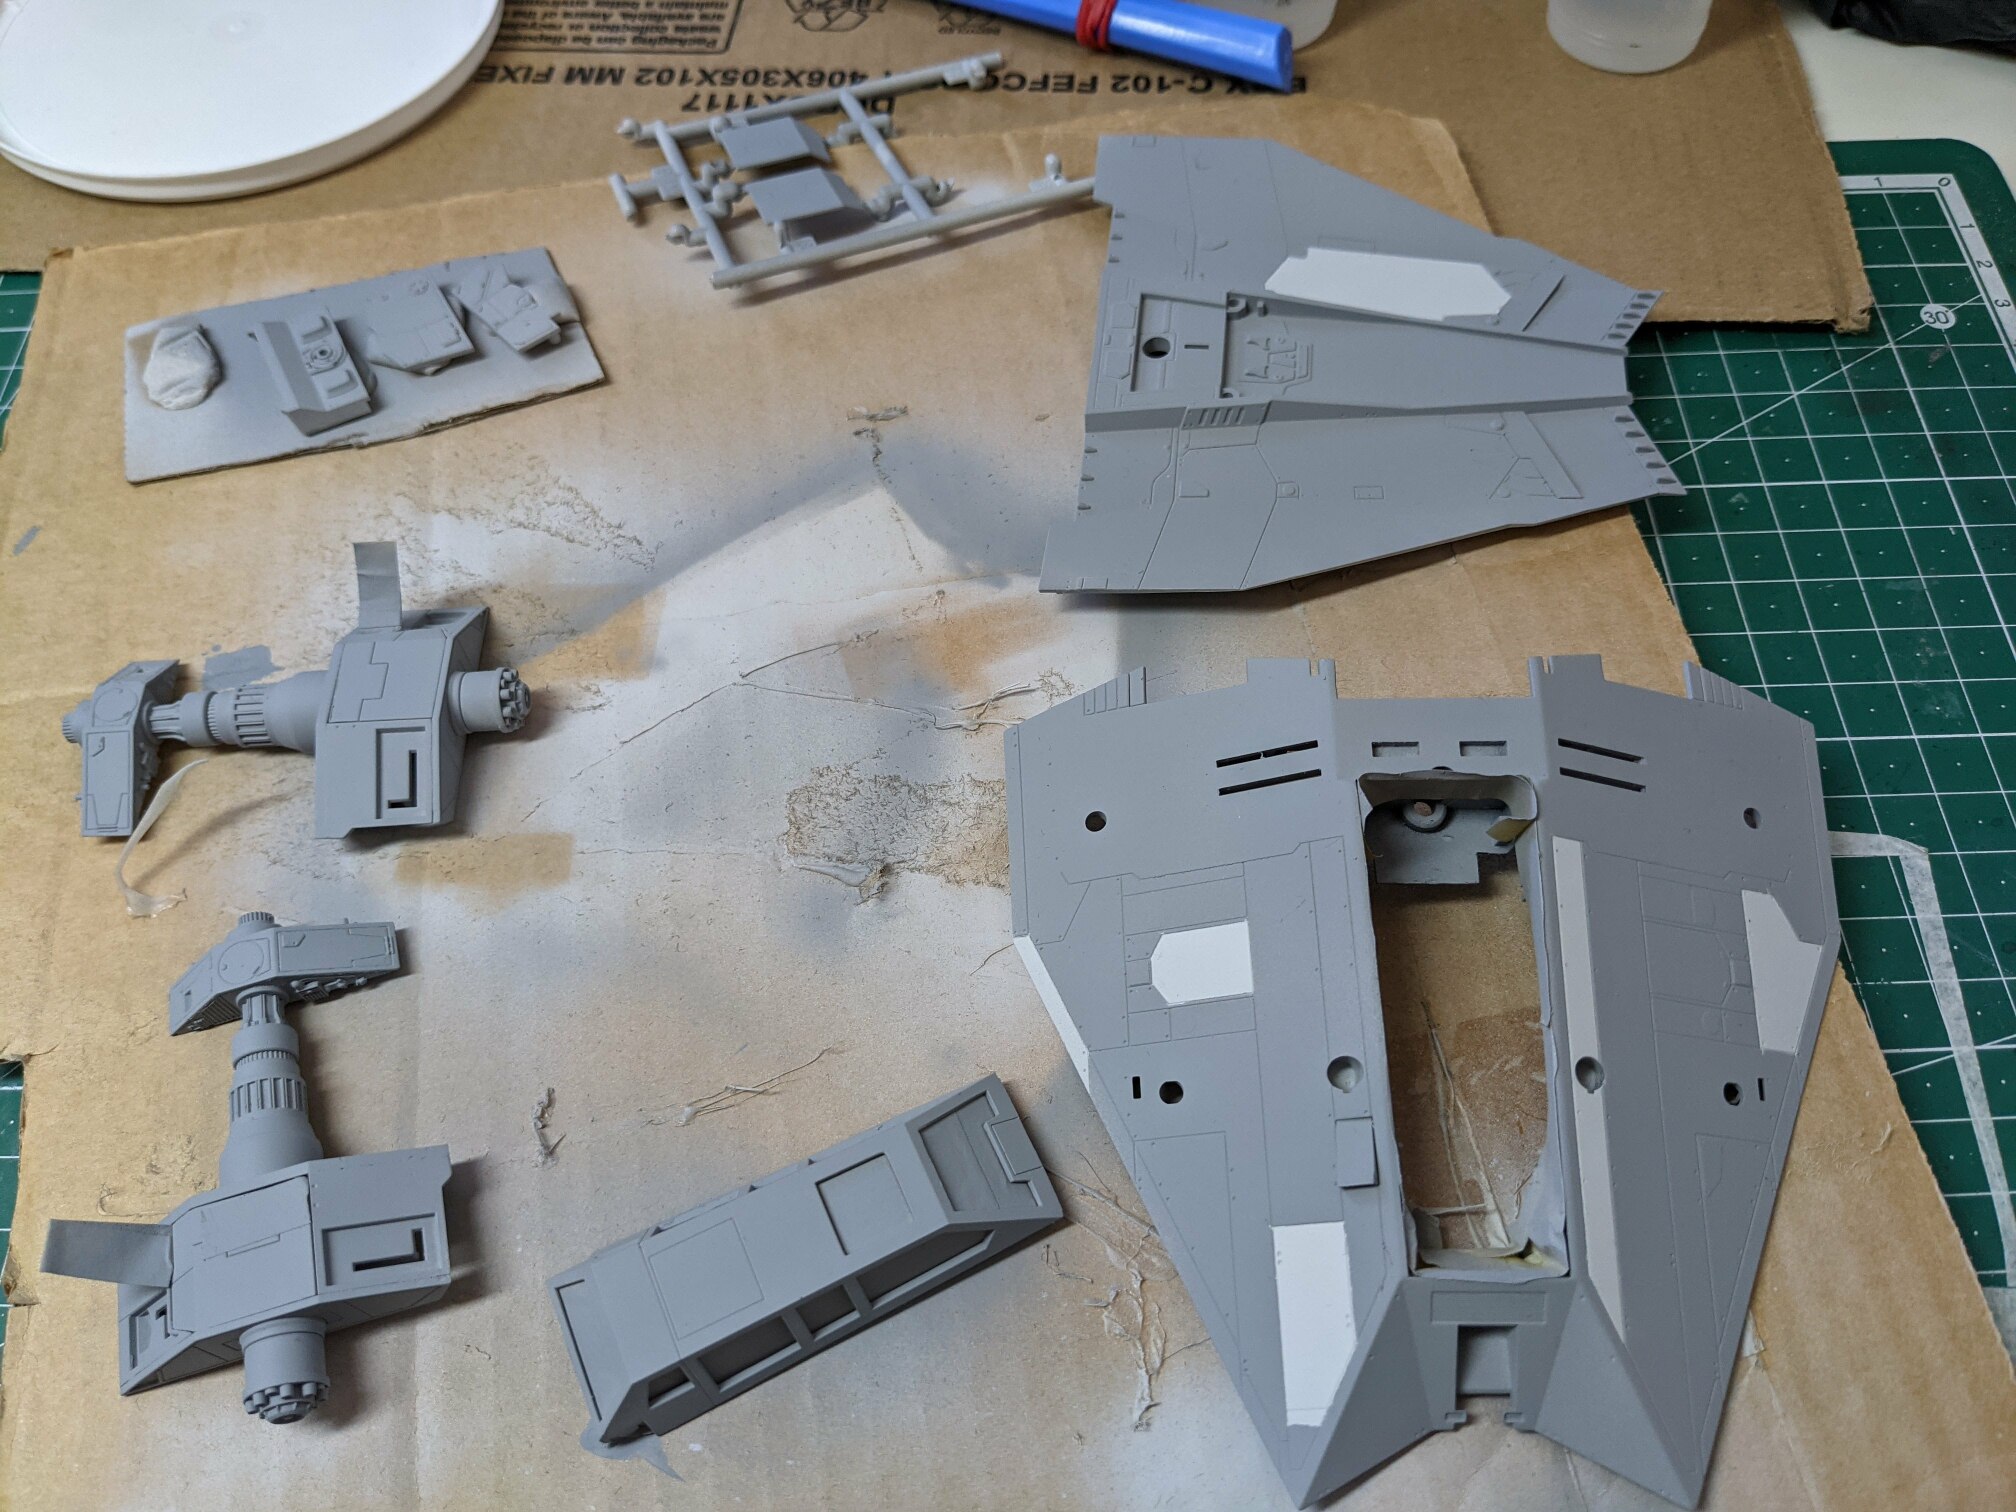
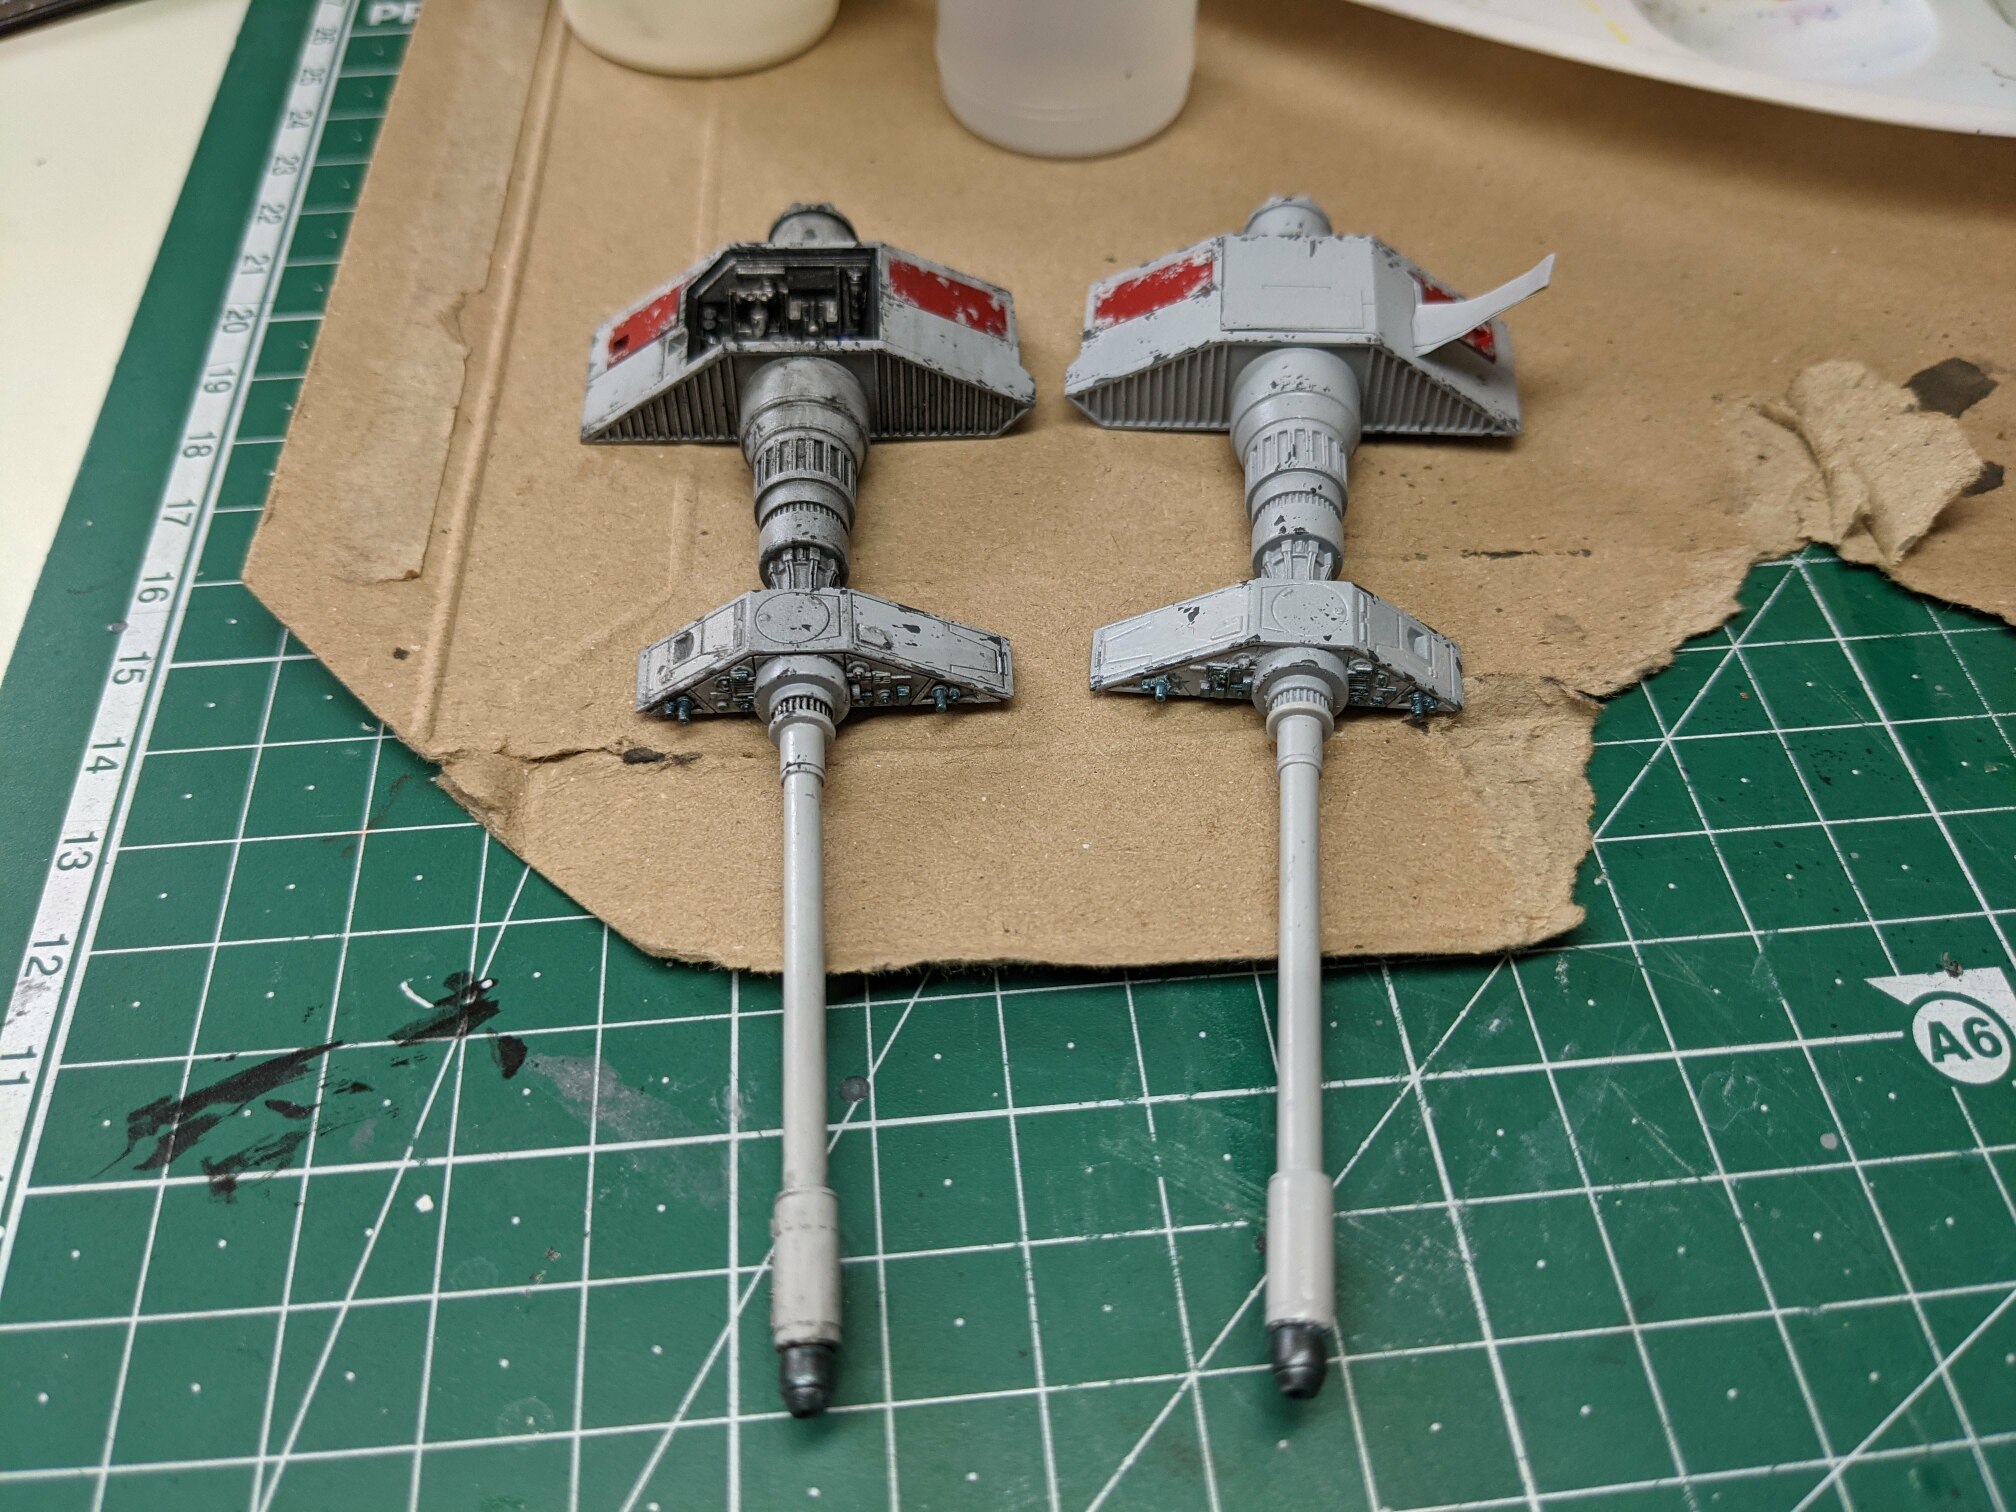
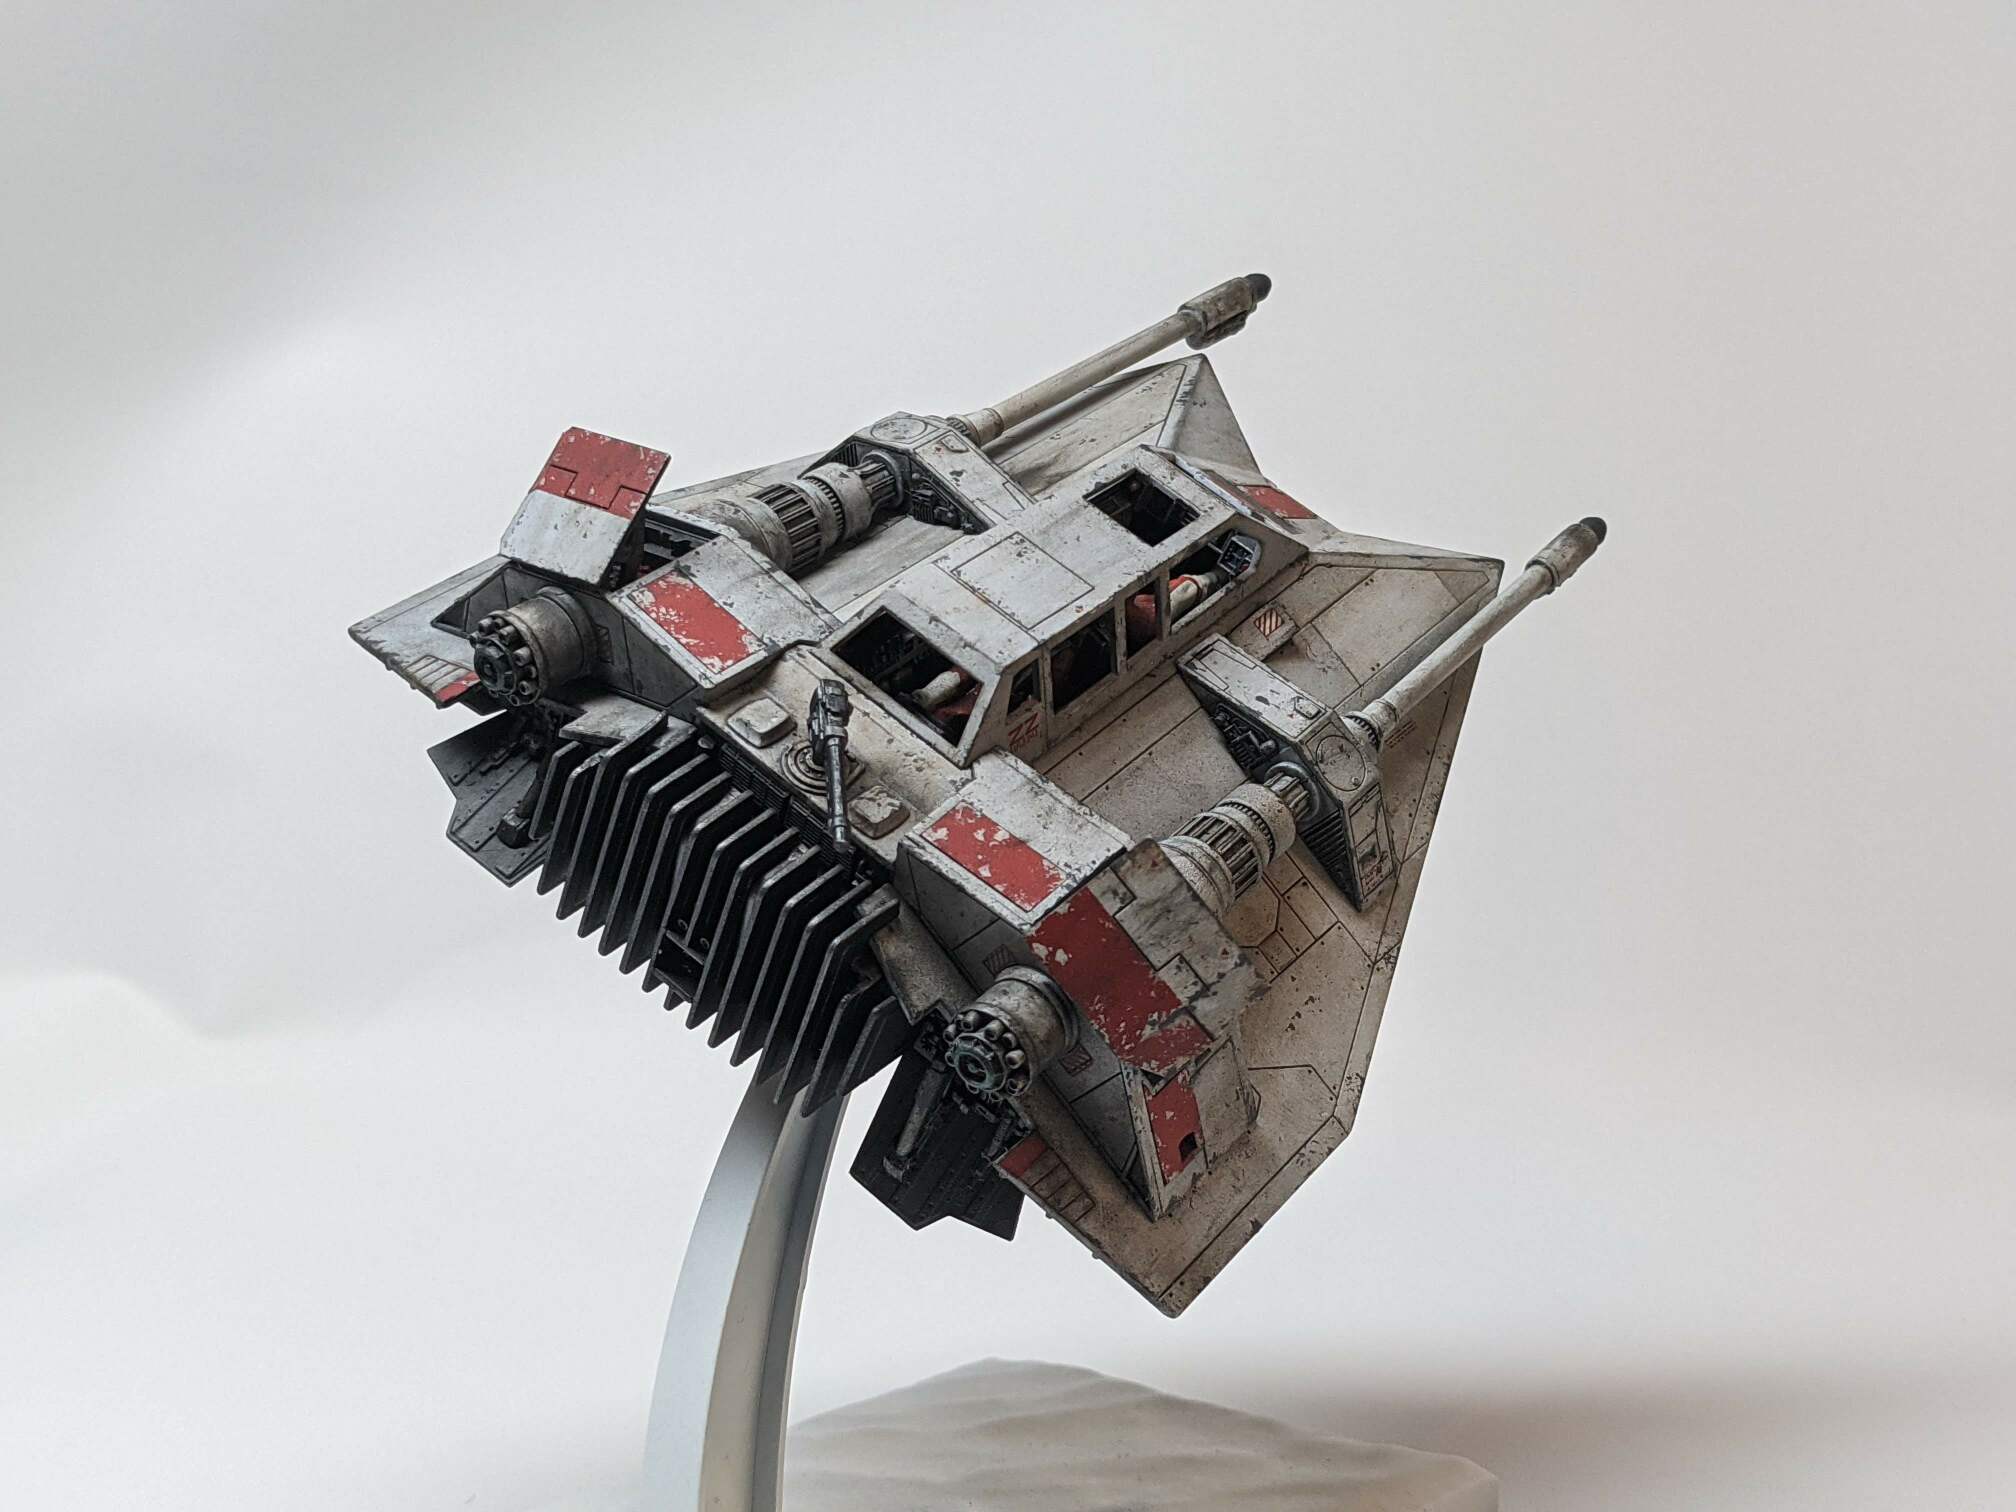
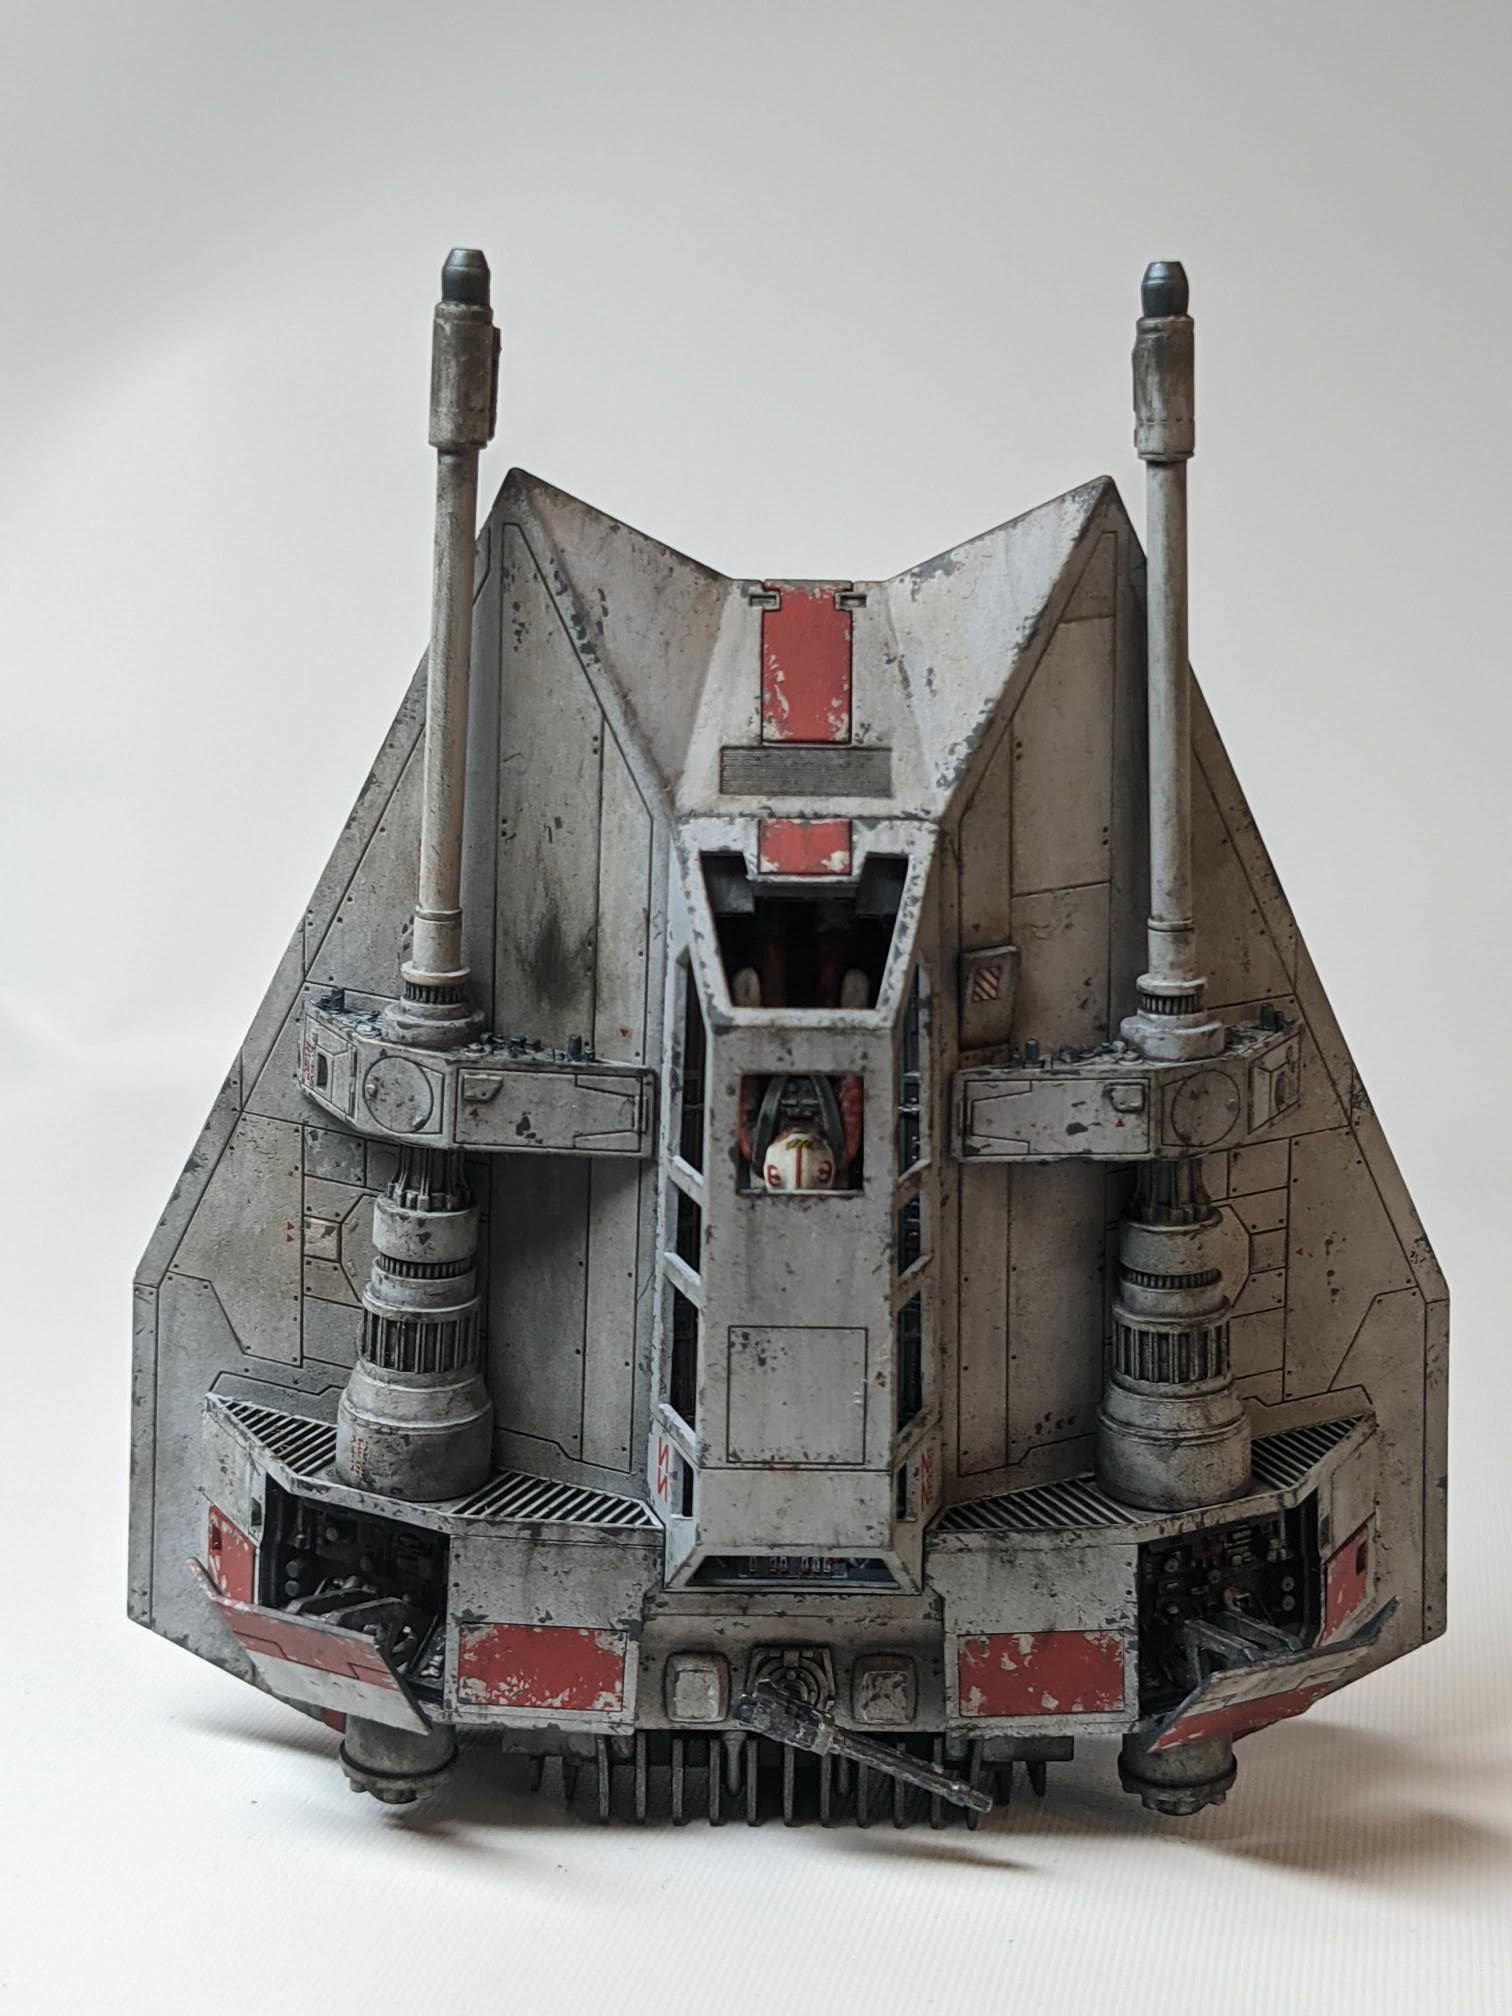
Snowspeeder’s back
Very straightforward process:
- airbrushed black gloss primer
- the main back part airbrushed with the same dark grey as the cockpit
- dry brushed with gunmetal acrylic by Tamiya
- hand painted some details
- acrylic wash by Vallejo
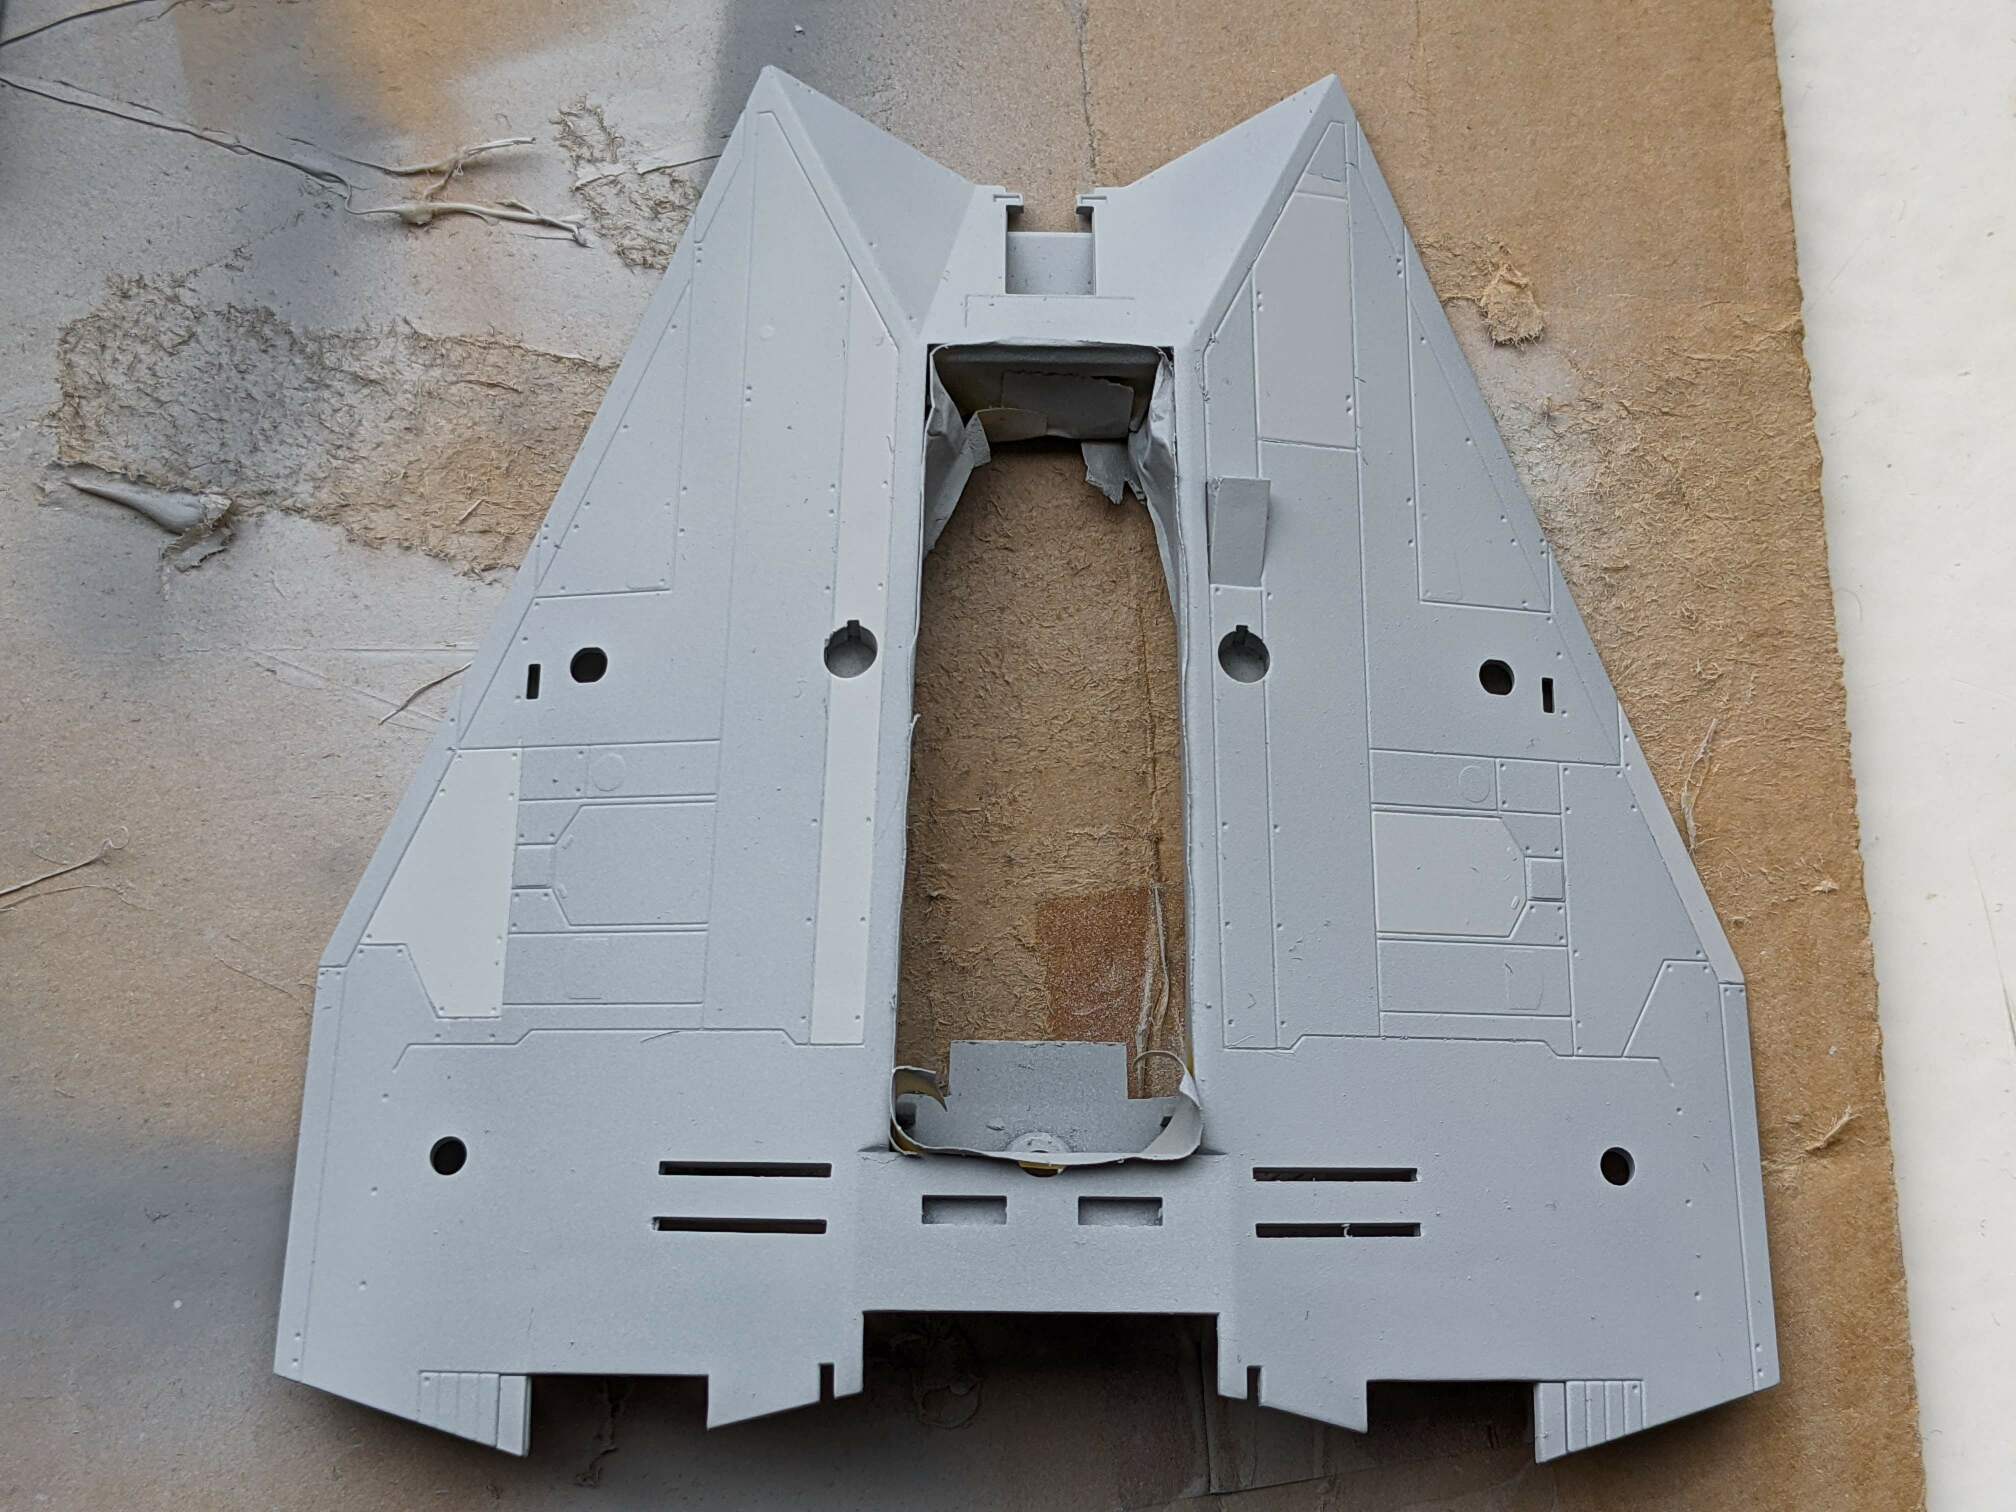
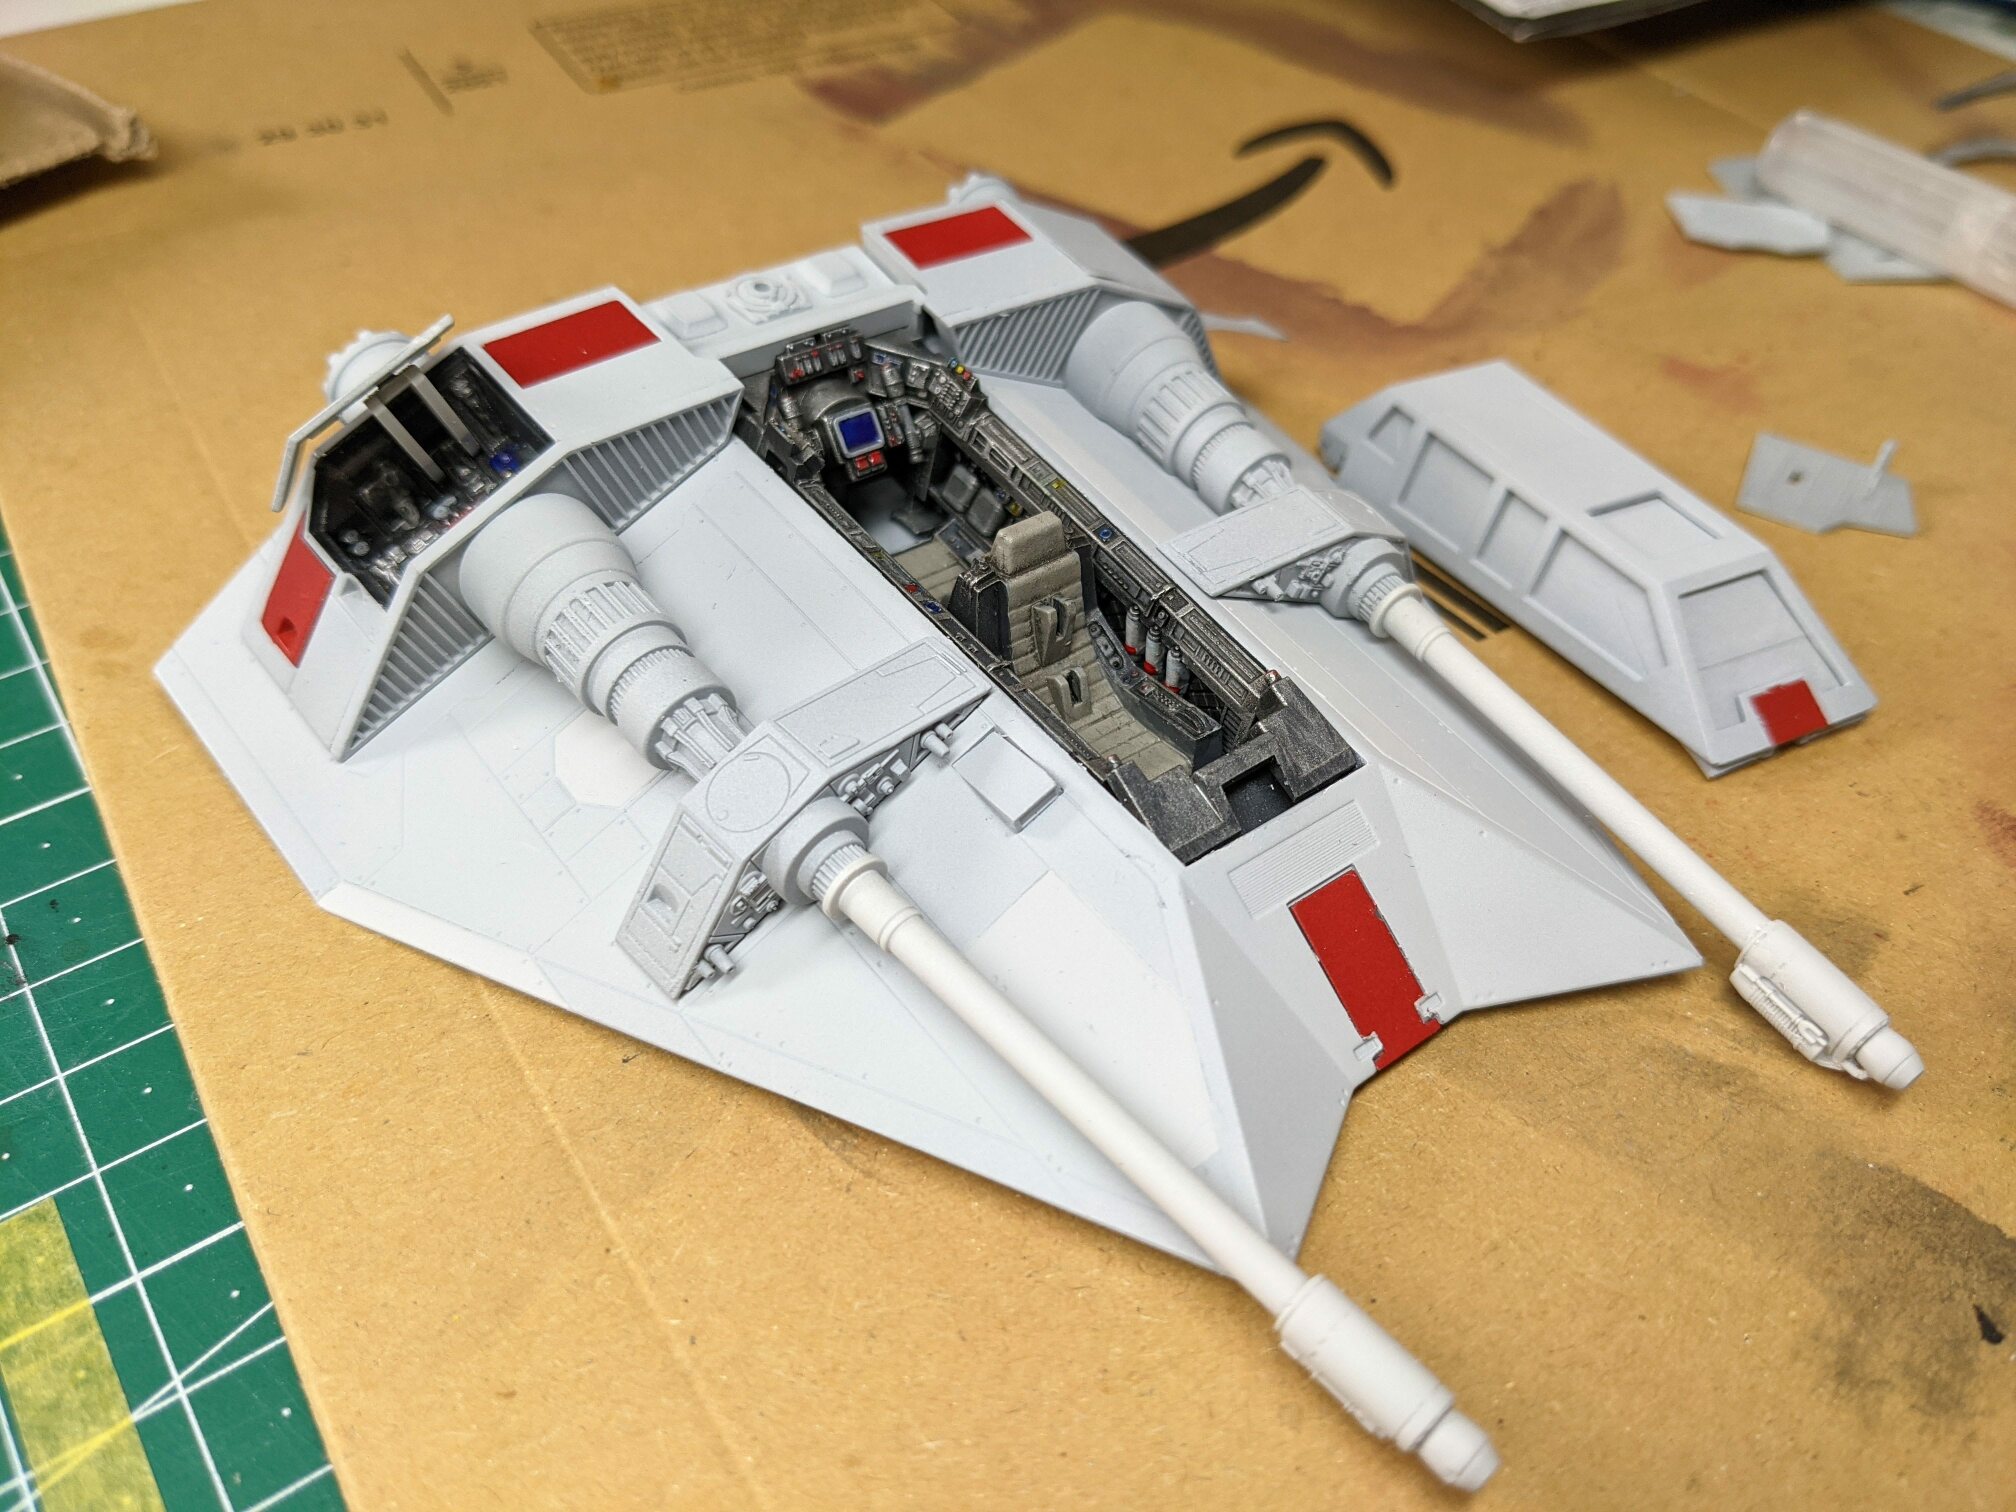
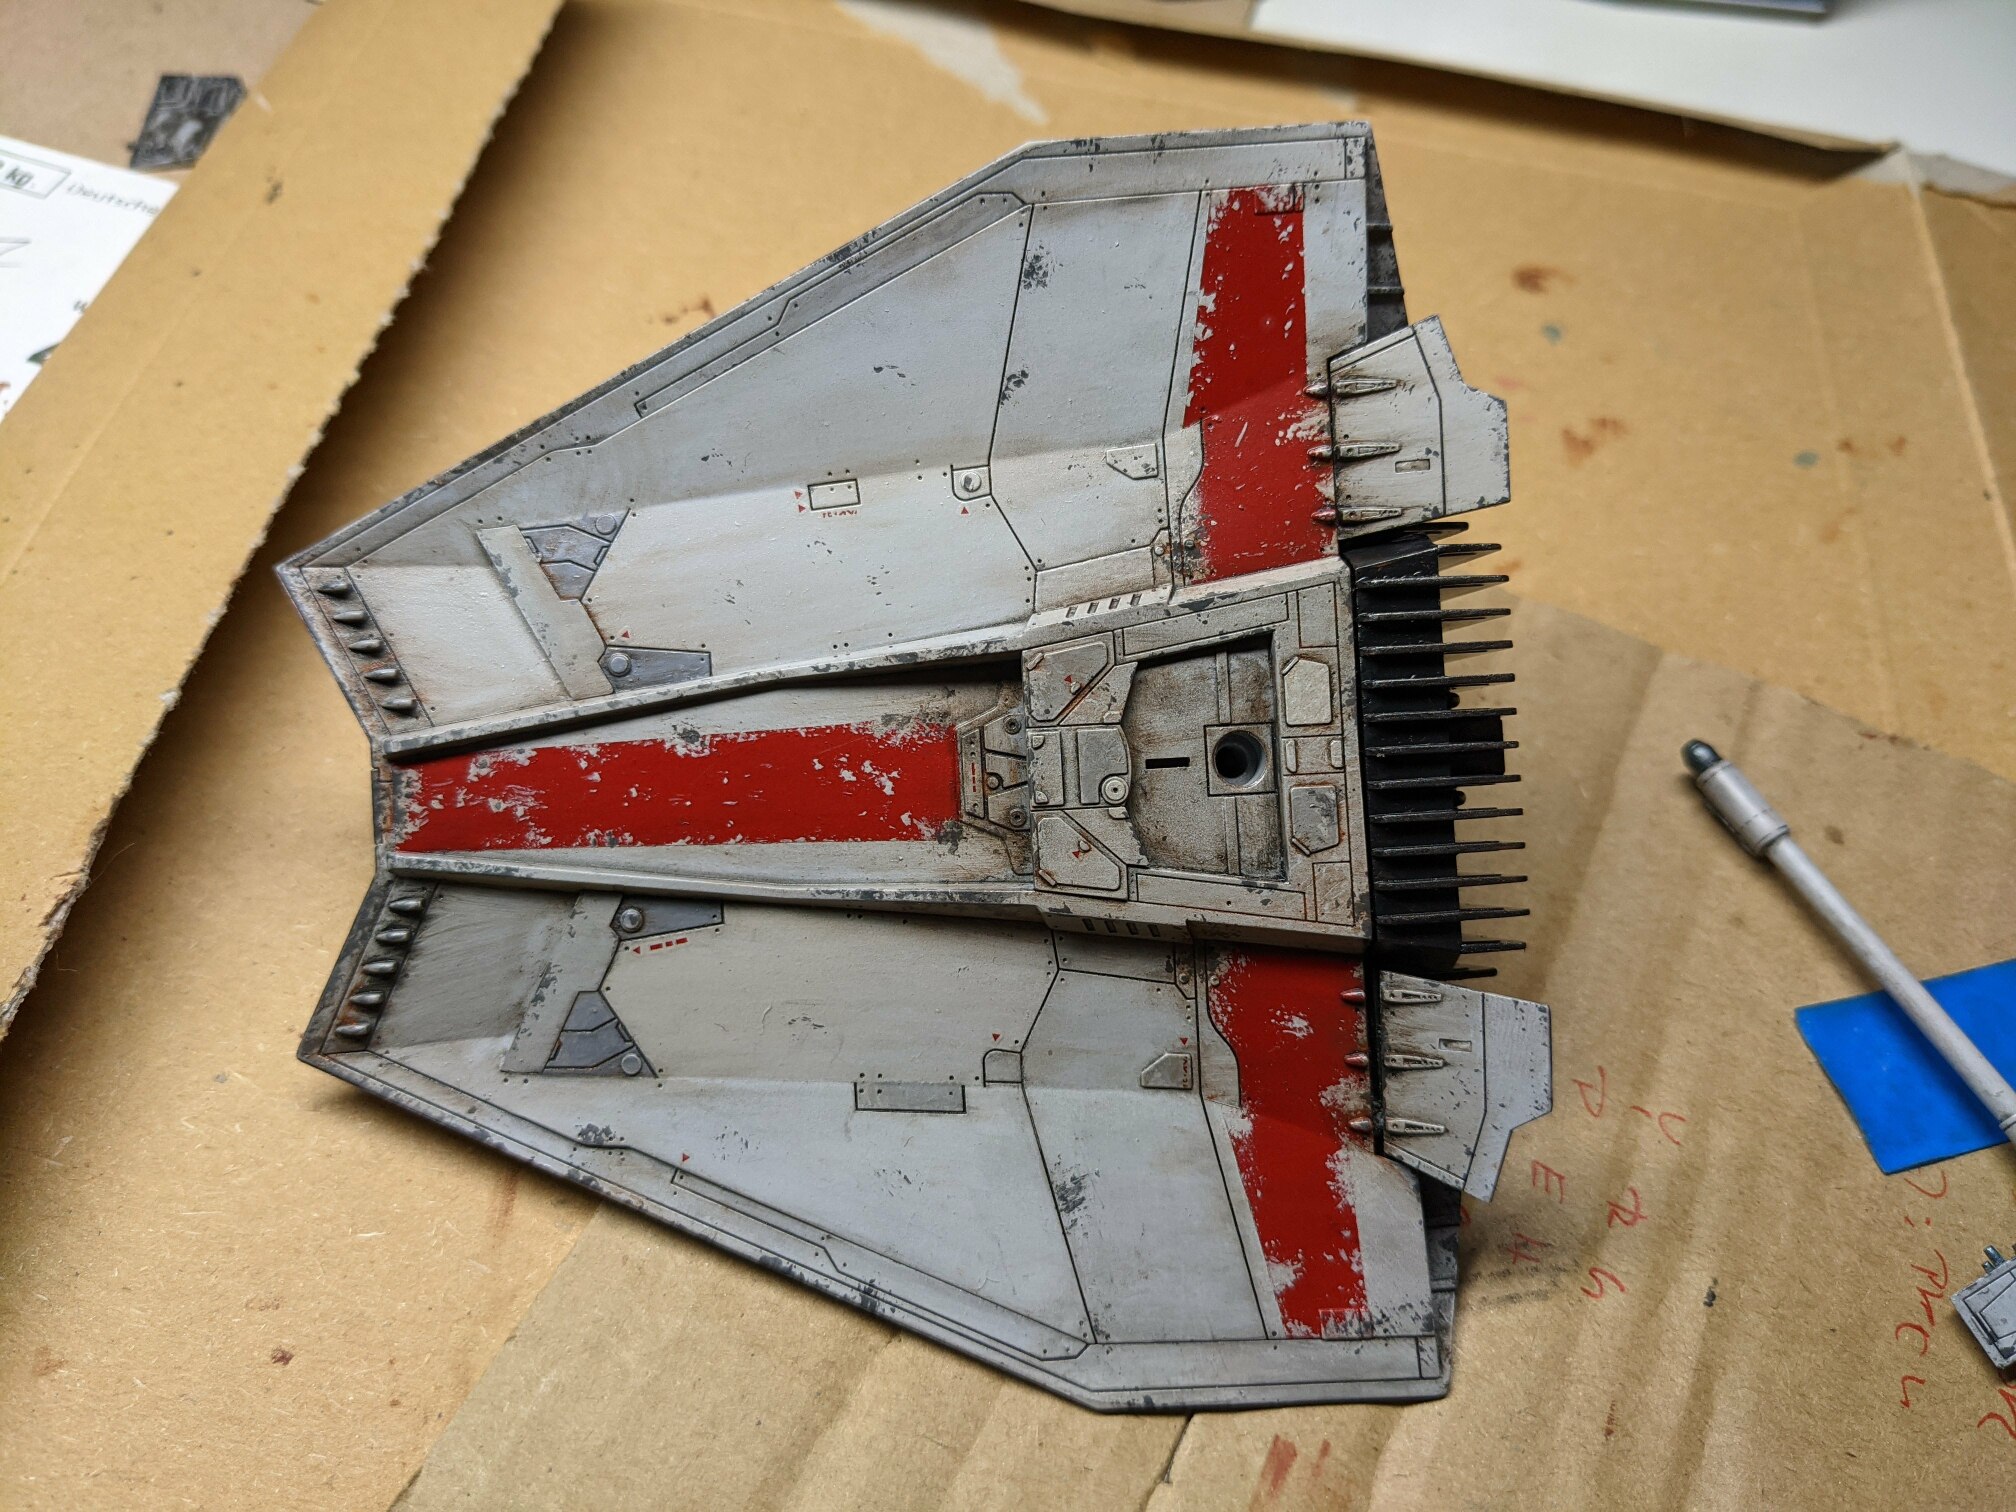
Basic paint job for the fuselage
The colour of the primer is already quite a nice grey. To add some variety, I have masked some panels and sprayed them over with Vallejo light grey.
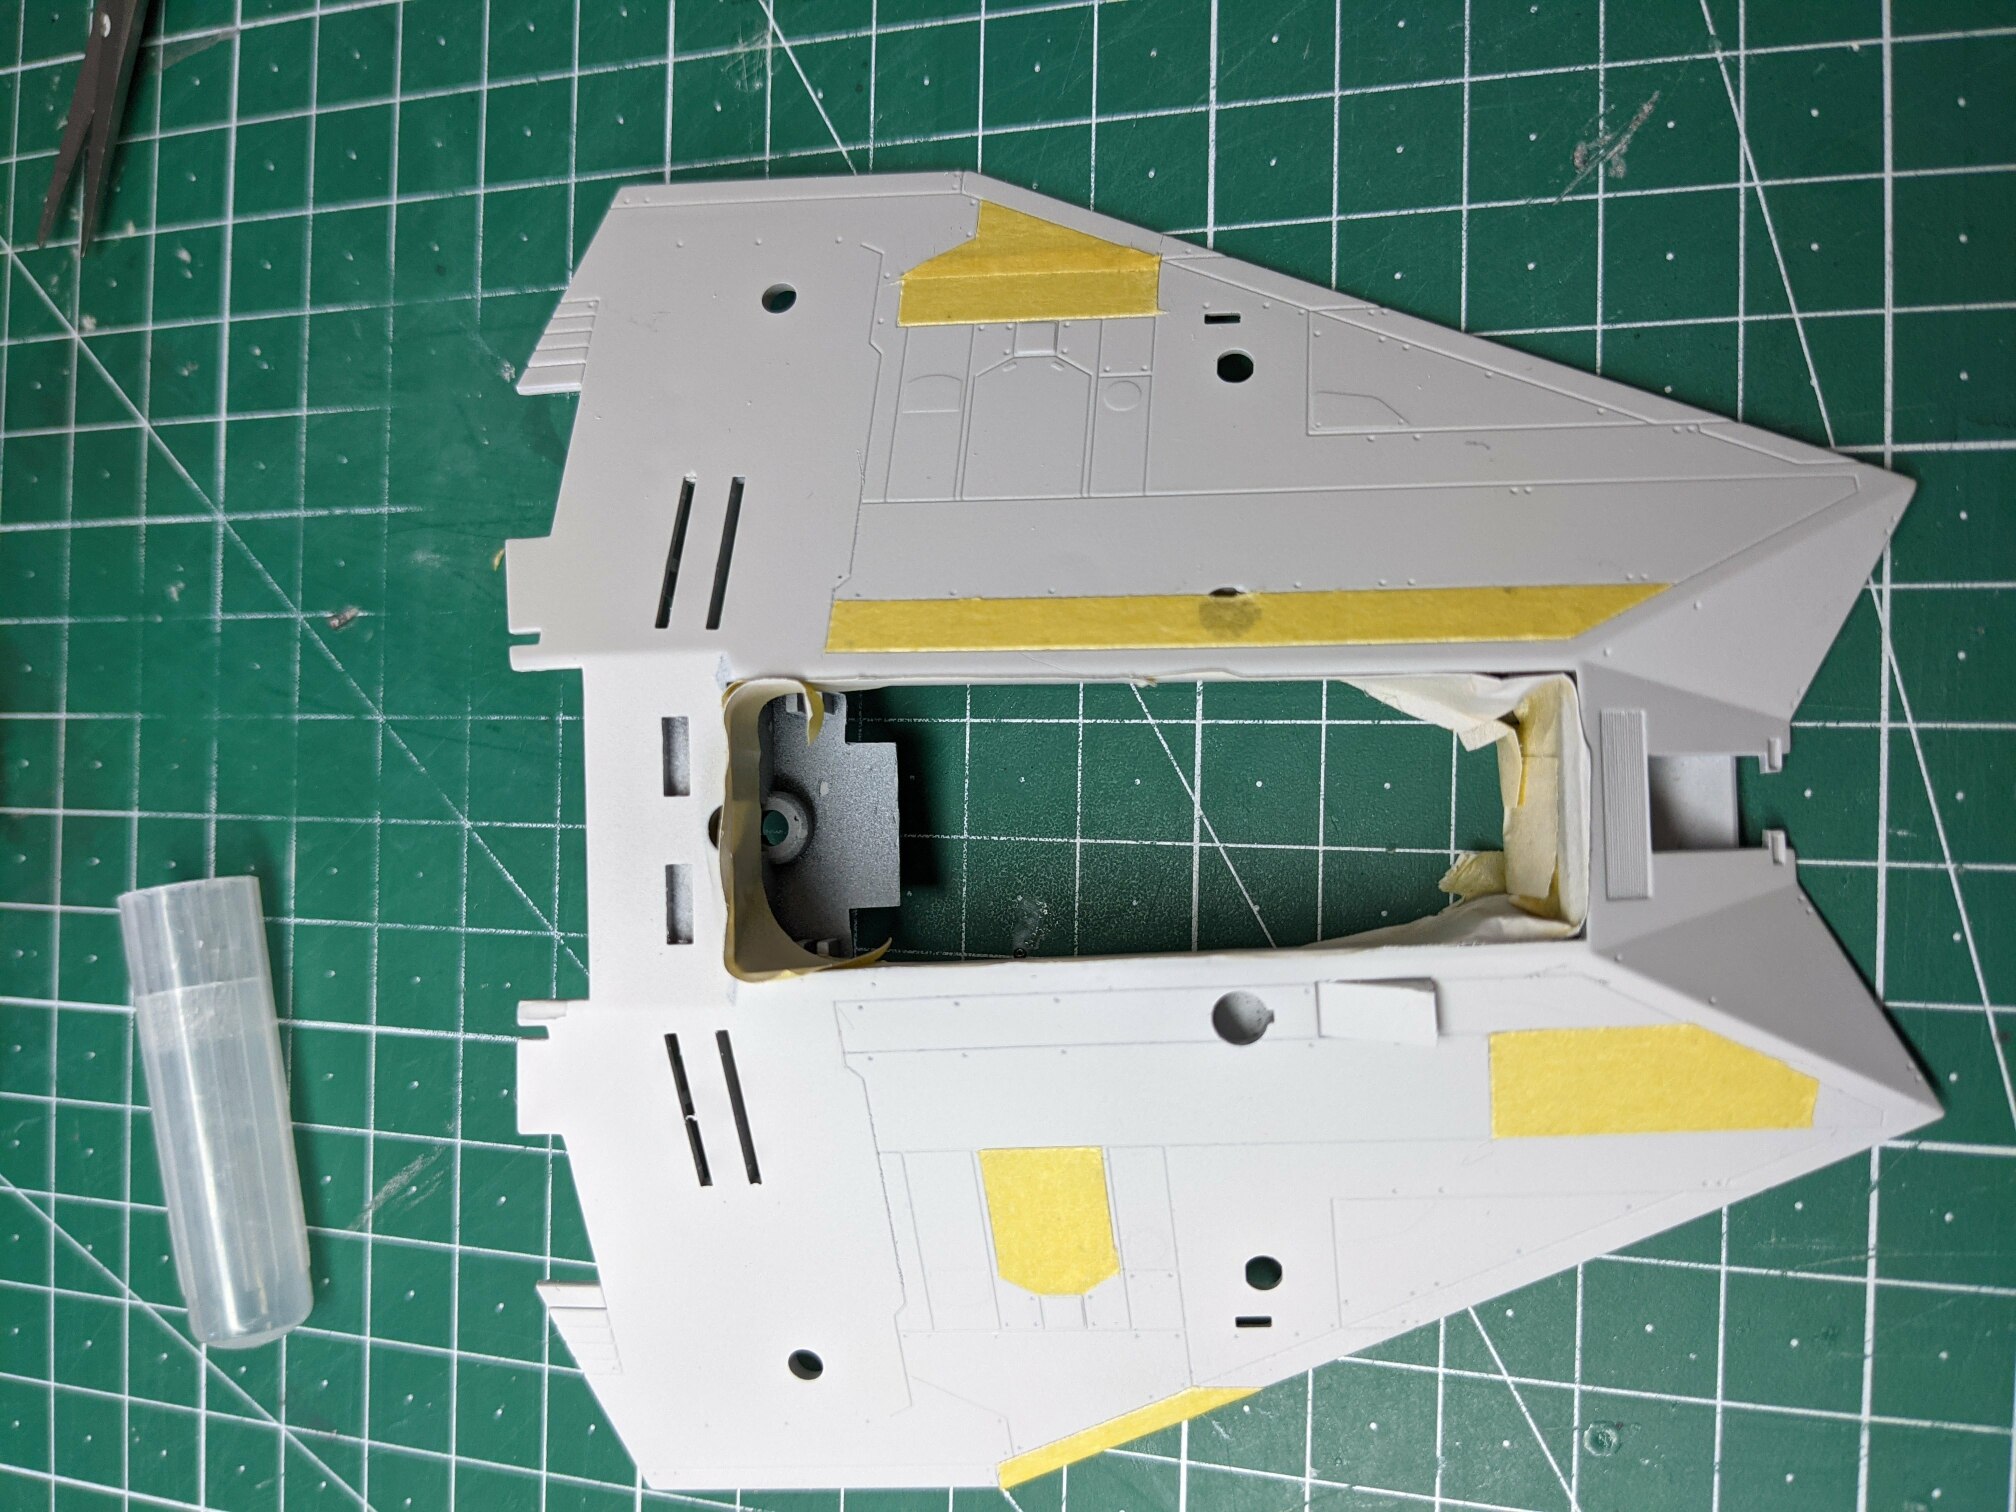
Once I removed the masking tape I realised the light grey is too dark and the contrast too much.
Mixing a much lighter shade of grey (Vallejo light grey and a lot of white) and airbrushing over was an easy fix and the variance in the colour of panels was preserved.
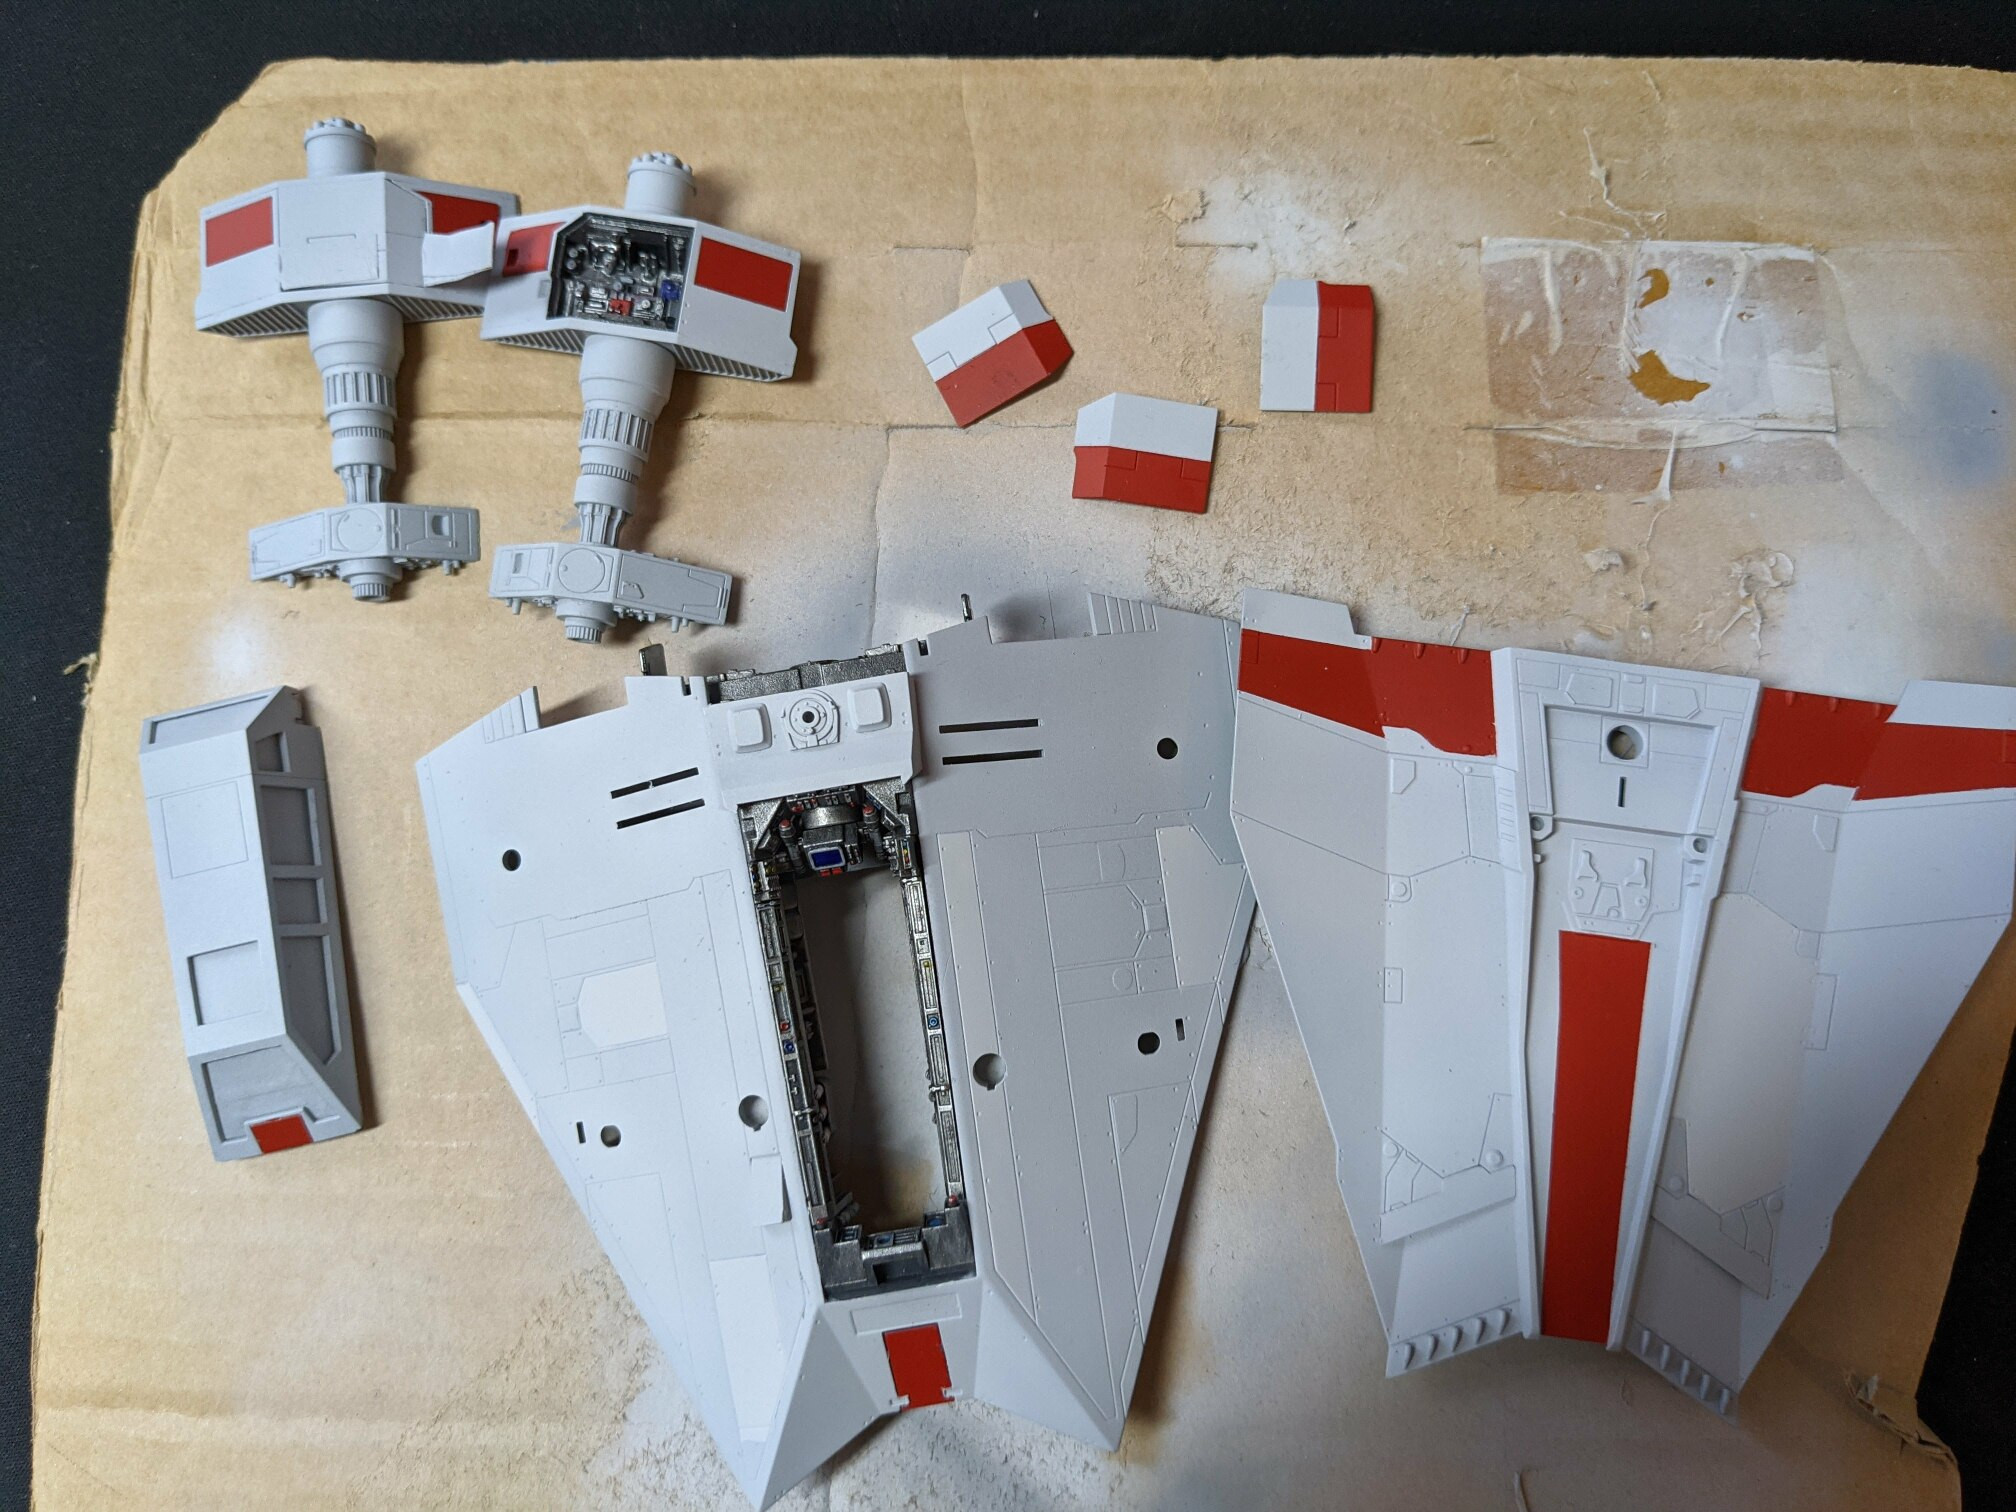
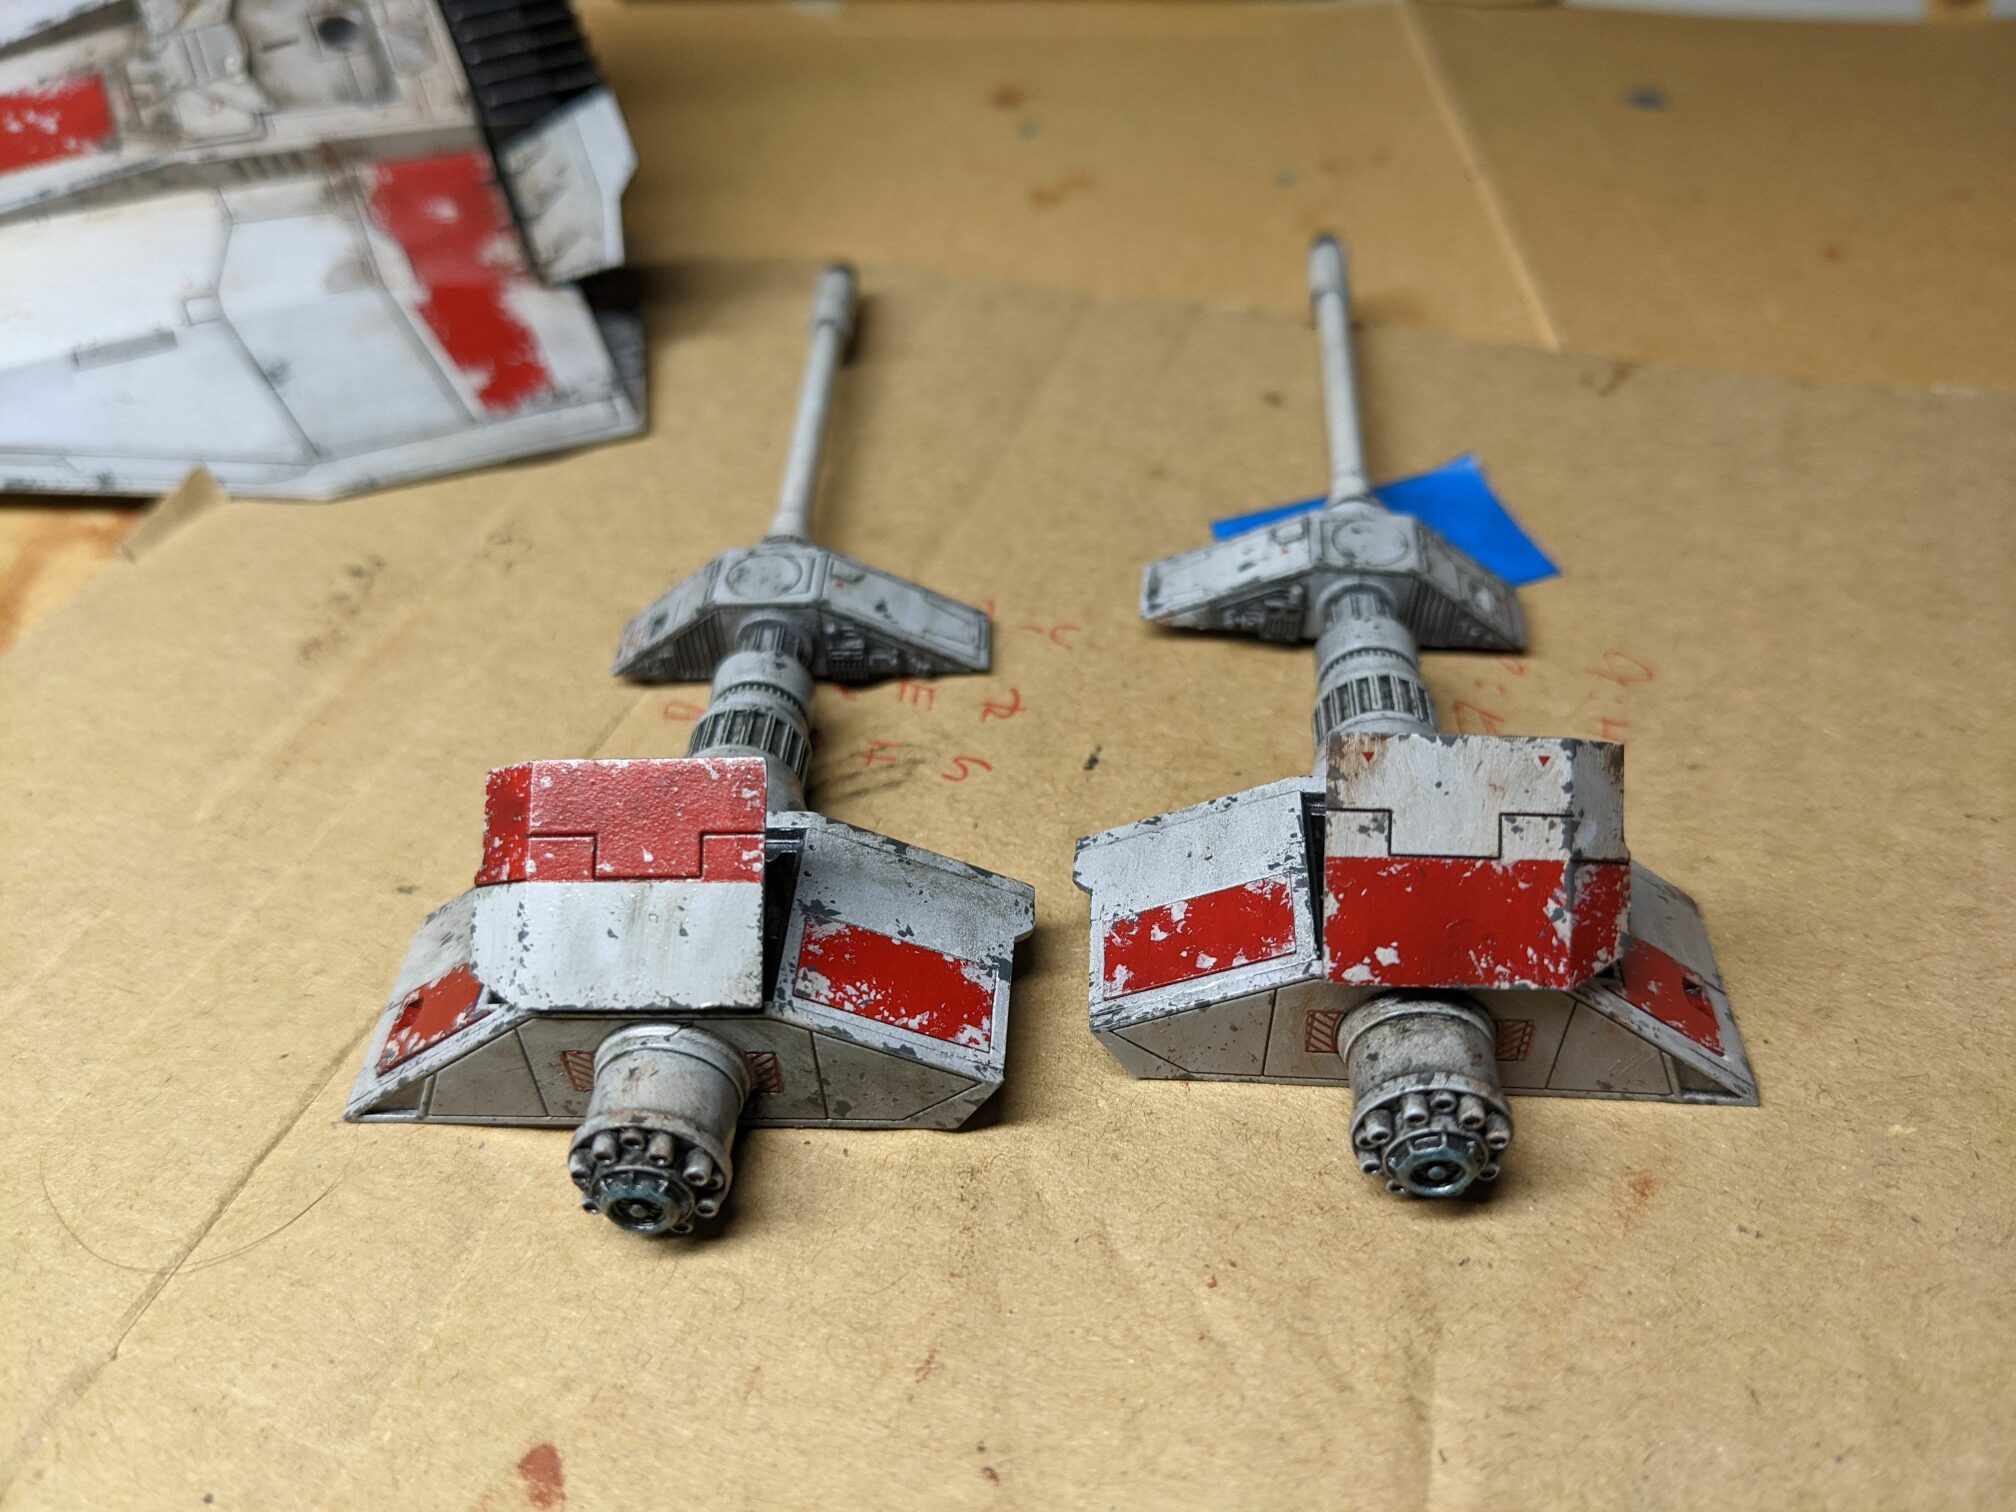
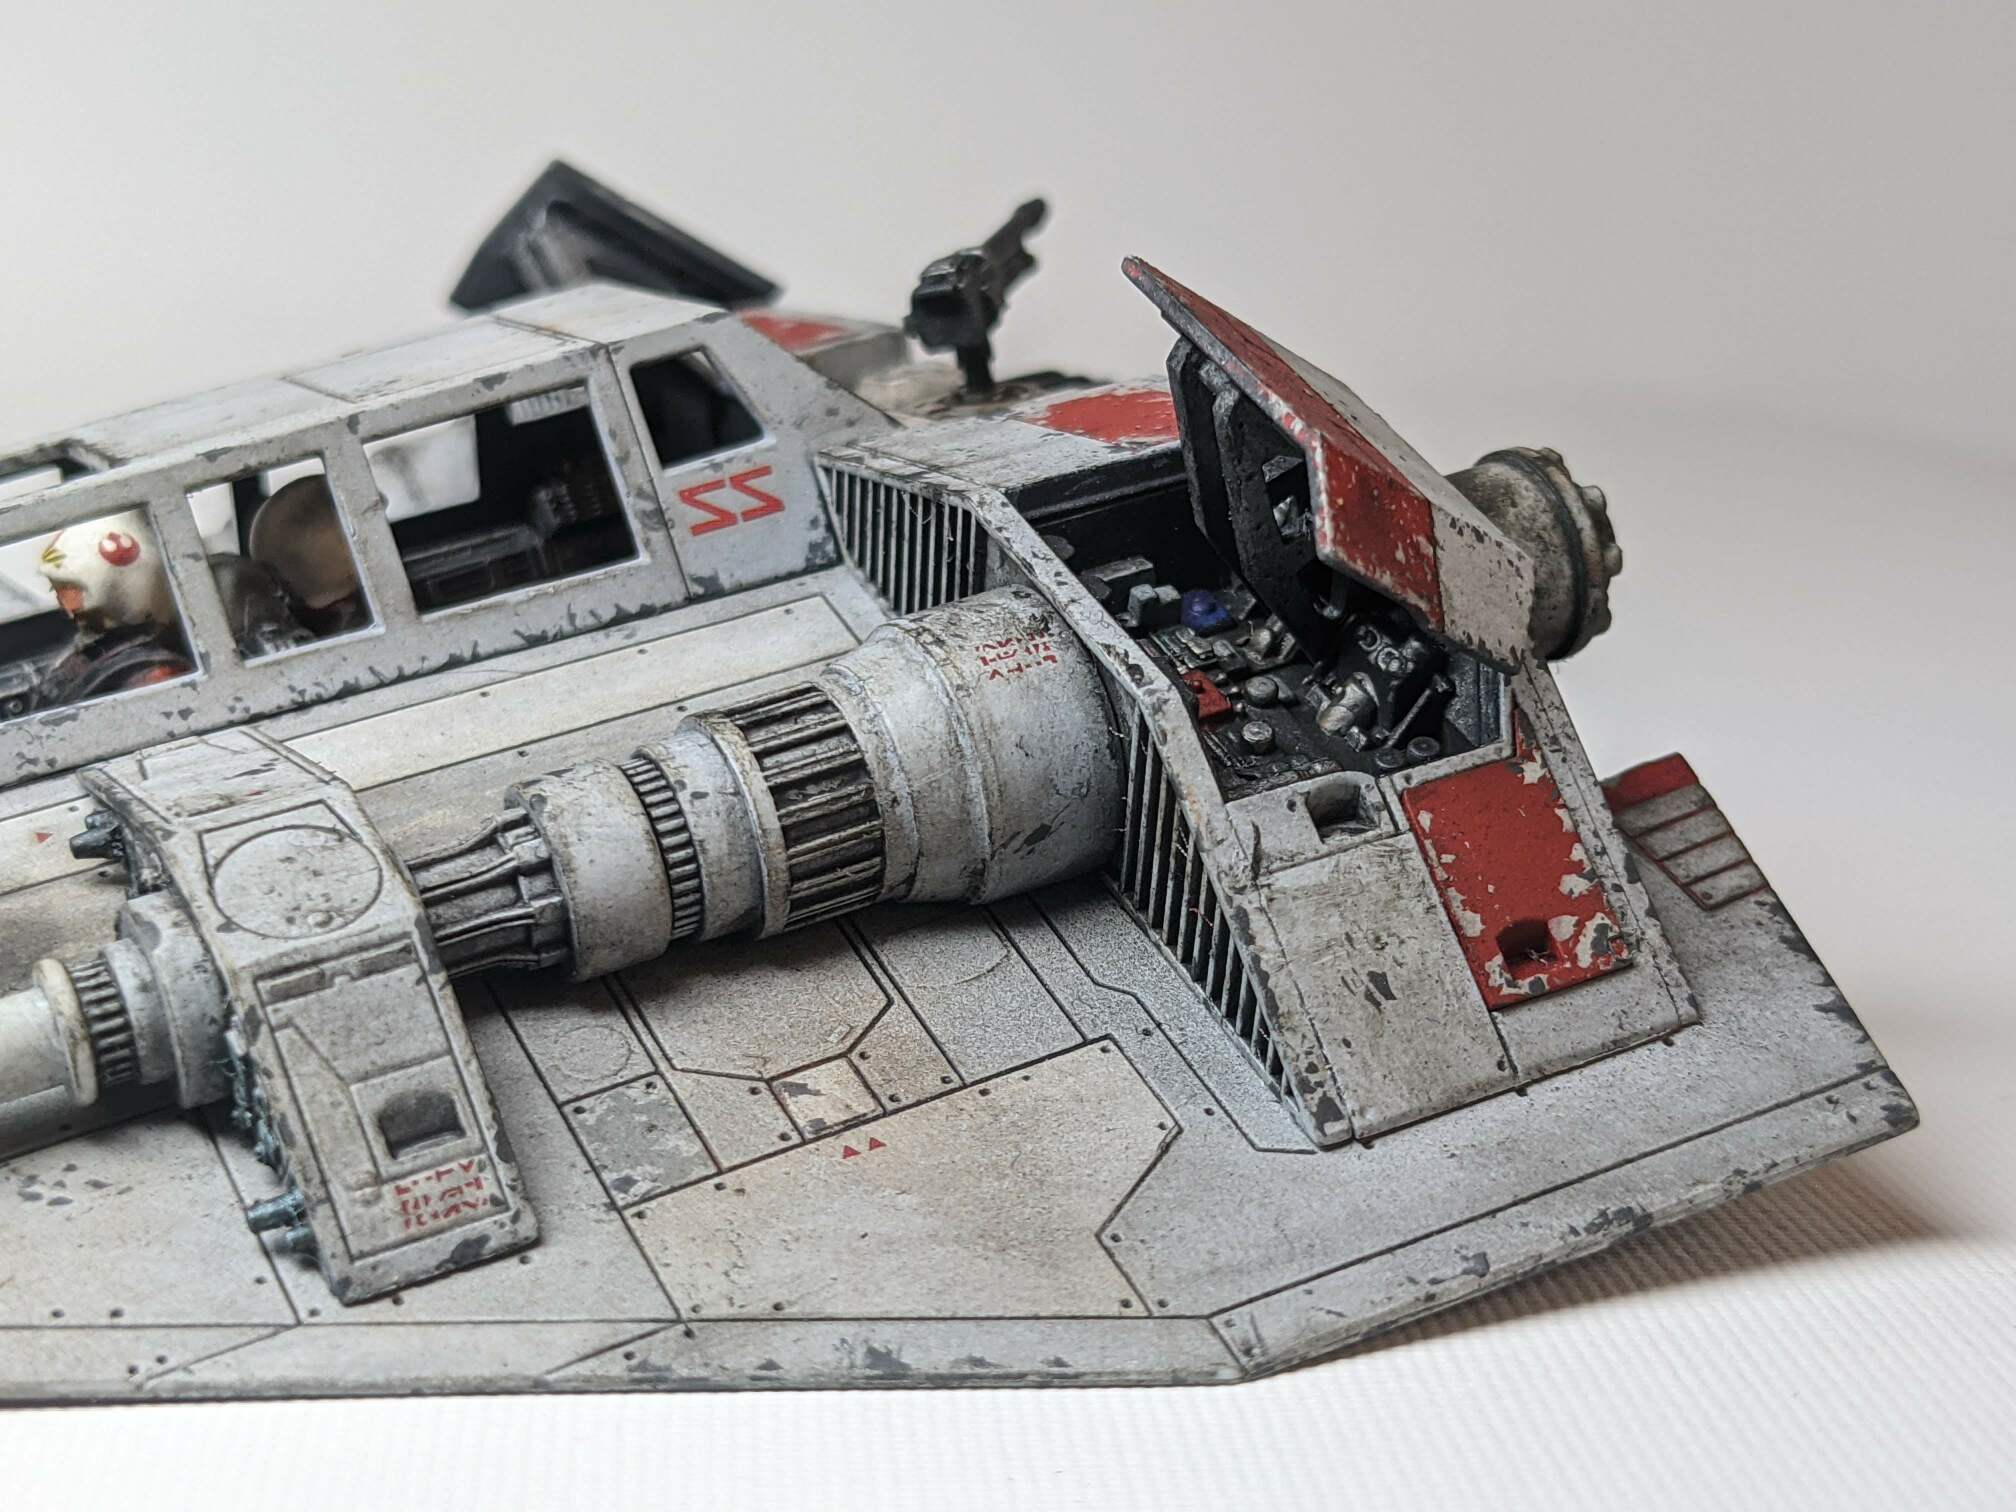
The kit contains decals for the stripes on the fuselage. They are dark grey and the same is the box art. I wanted to have something more visible so I mixed a red colour. I don’t remember how exactly. The basic colour was Vallejo red and I added bits of others I had until I was happy.
Given how the model is designed I was able to paint some small pieces without masking and assembling them later. They are already from plastic of a different colour (for the low effort variant of the build when someone doesn’t want to paint it all).
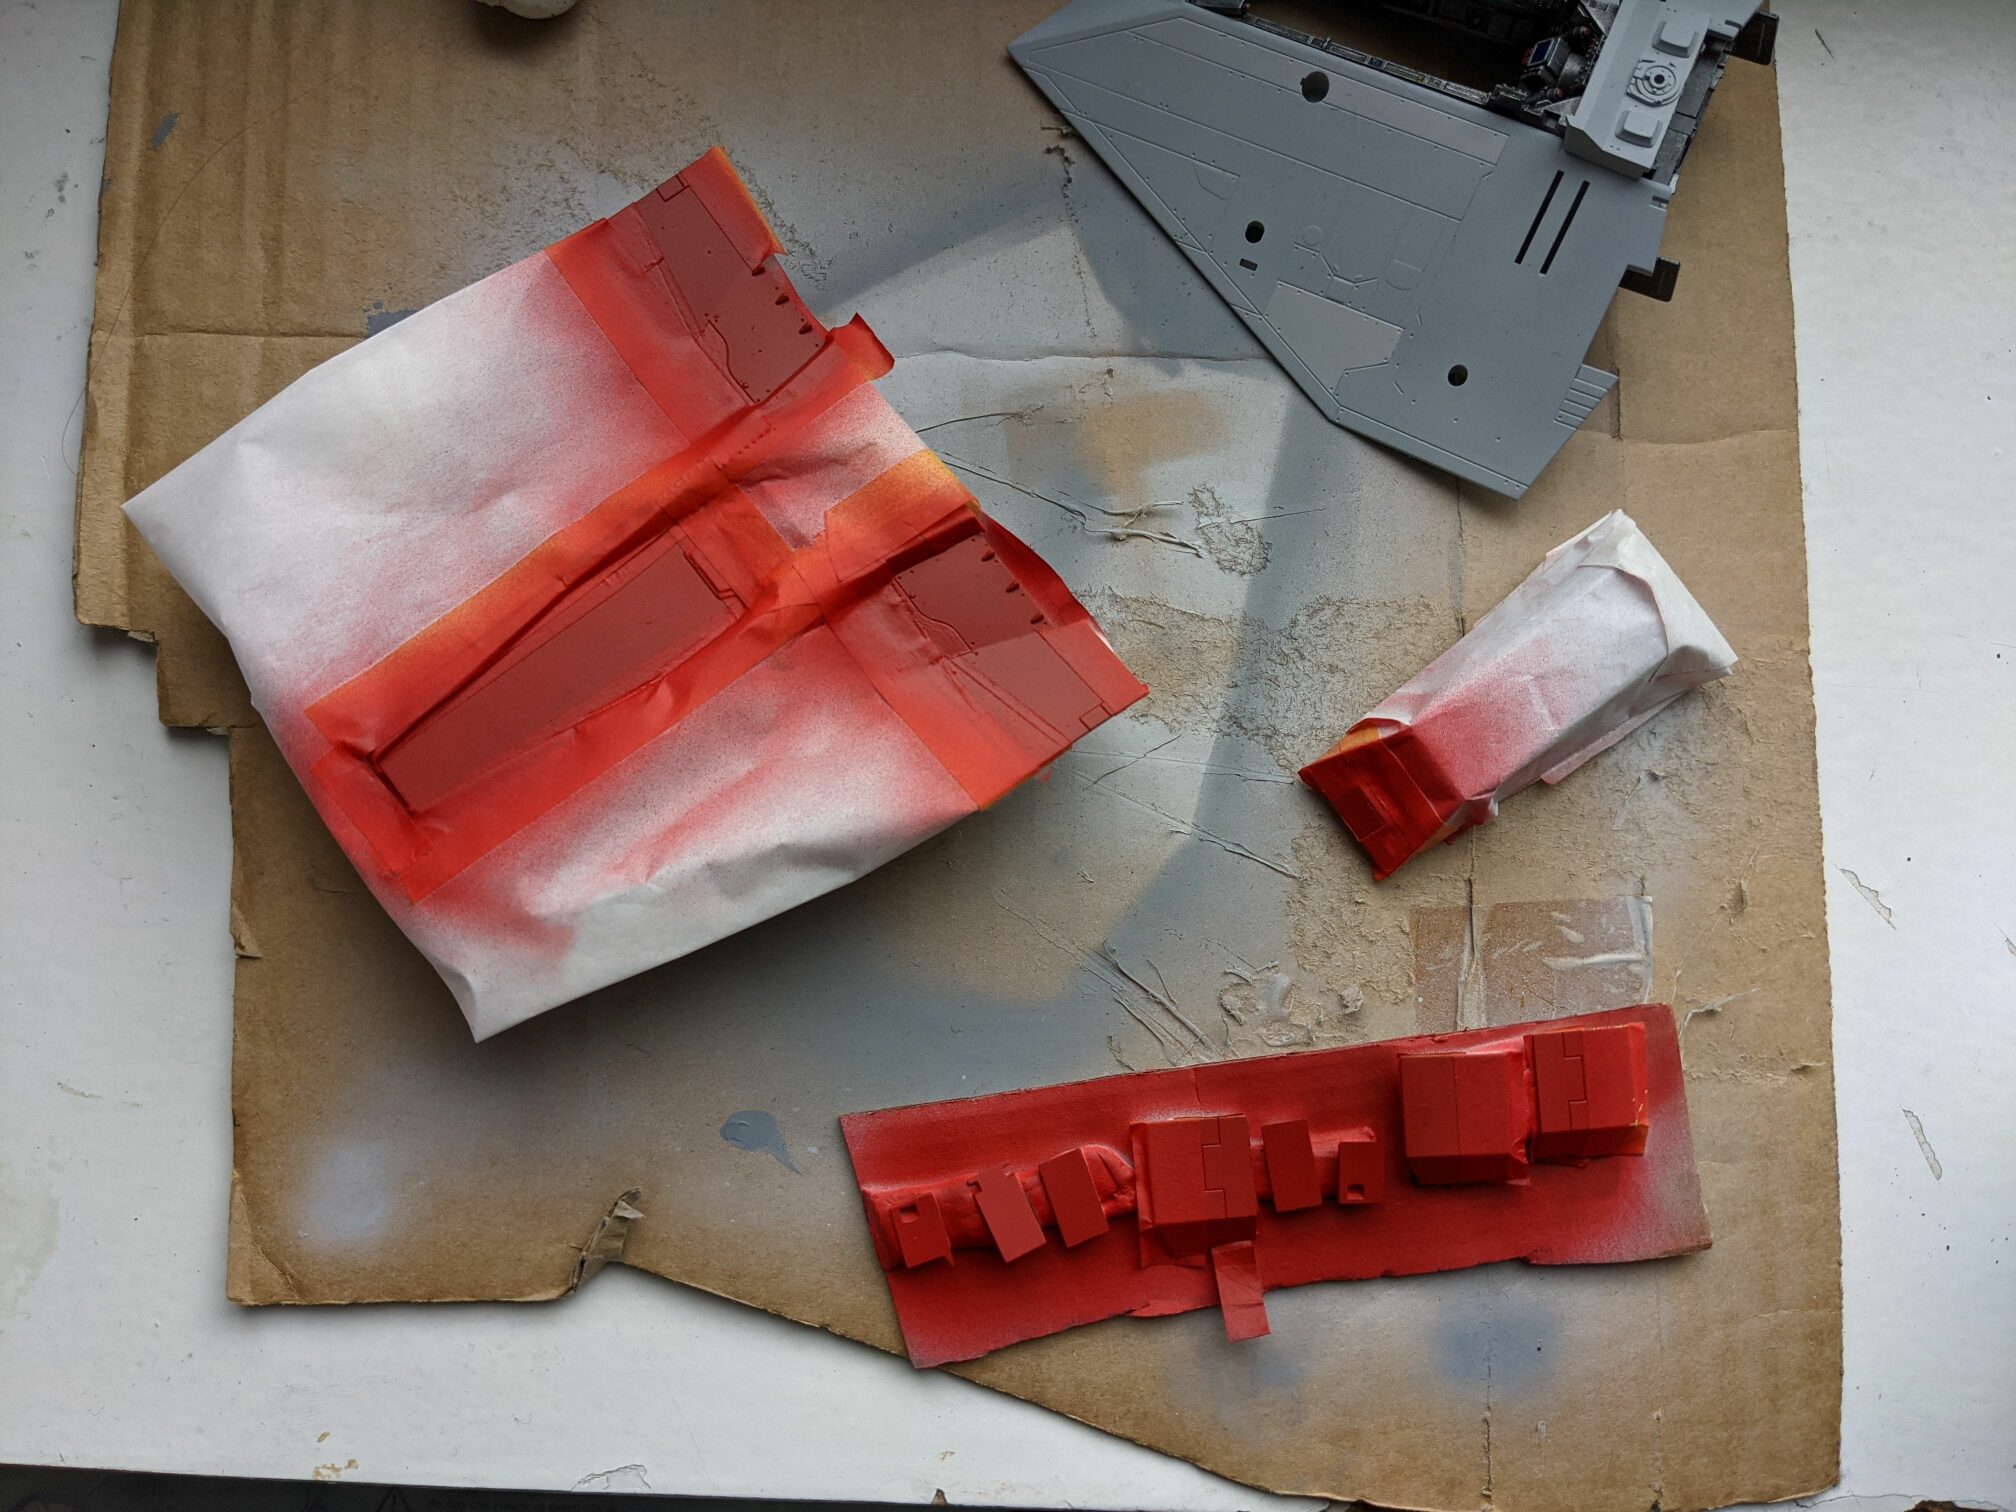
Some masking was necessary for the rest but nothing difficult. Again a nice practice for me. I did manage to mess up one detail. You may notice already on the picture, but I haven’t until I assembled the model.
Paint chipping and variance
I brush painted a few panels with different shades of grey to add a bit more variance. I didn’t mask anything and I am terrible at painting details and precise lines. Thankfully mistakes in this step were easy to fix later.
A very exciting step was the paint-chipping effect. I know there are many approaches hot to create the effect on models. For this one, I decided to stick with one of the most basic ways. A bit of paint and a piece of sponge. I have used the coarse part of the dishwashing sponge. I did try the technique a little bit on 2 scratch build bots I have made recently so it wasn’t my first try.
The first pass was using the same colour mix I used to paint the main fuselage and create chips for the red paint. The second pass was with the Vallejo grey (or light grey? I don’t remember honestly) to create chips for the rest of the snowspeeder.
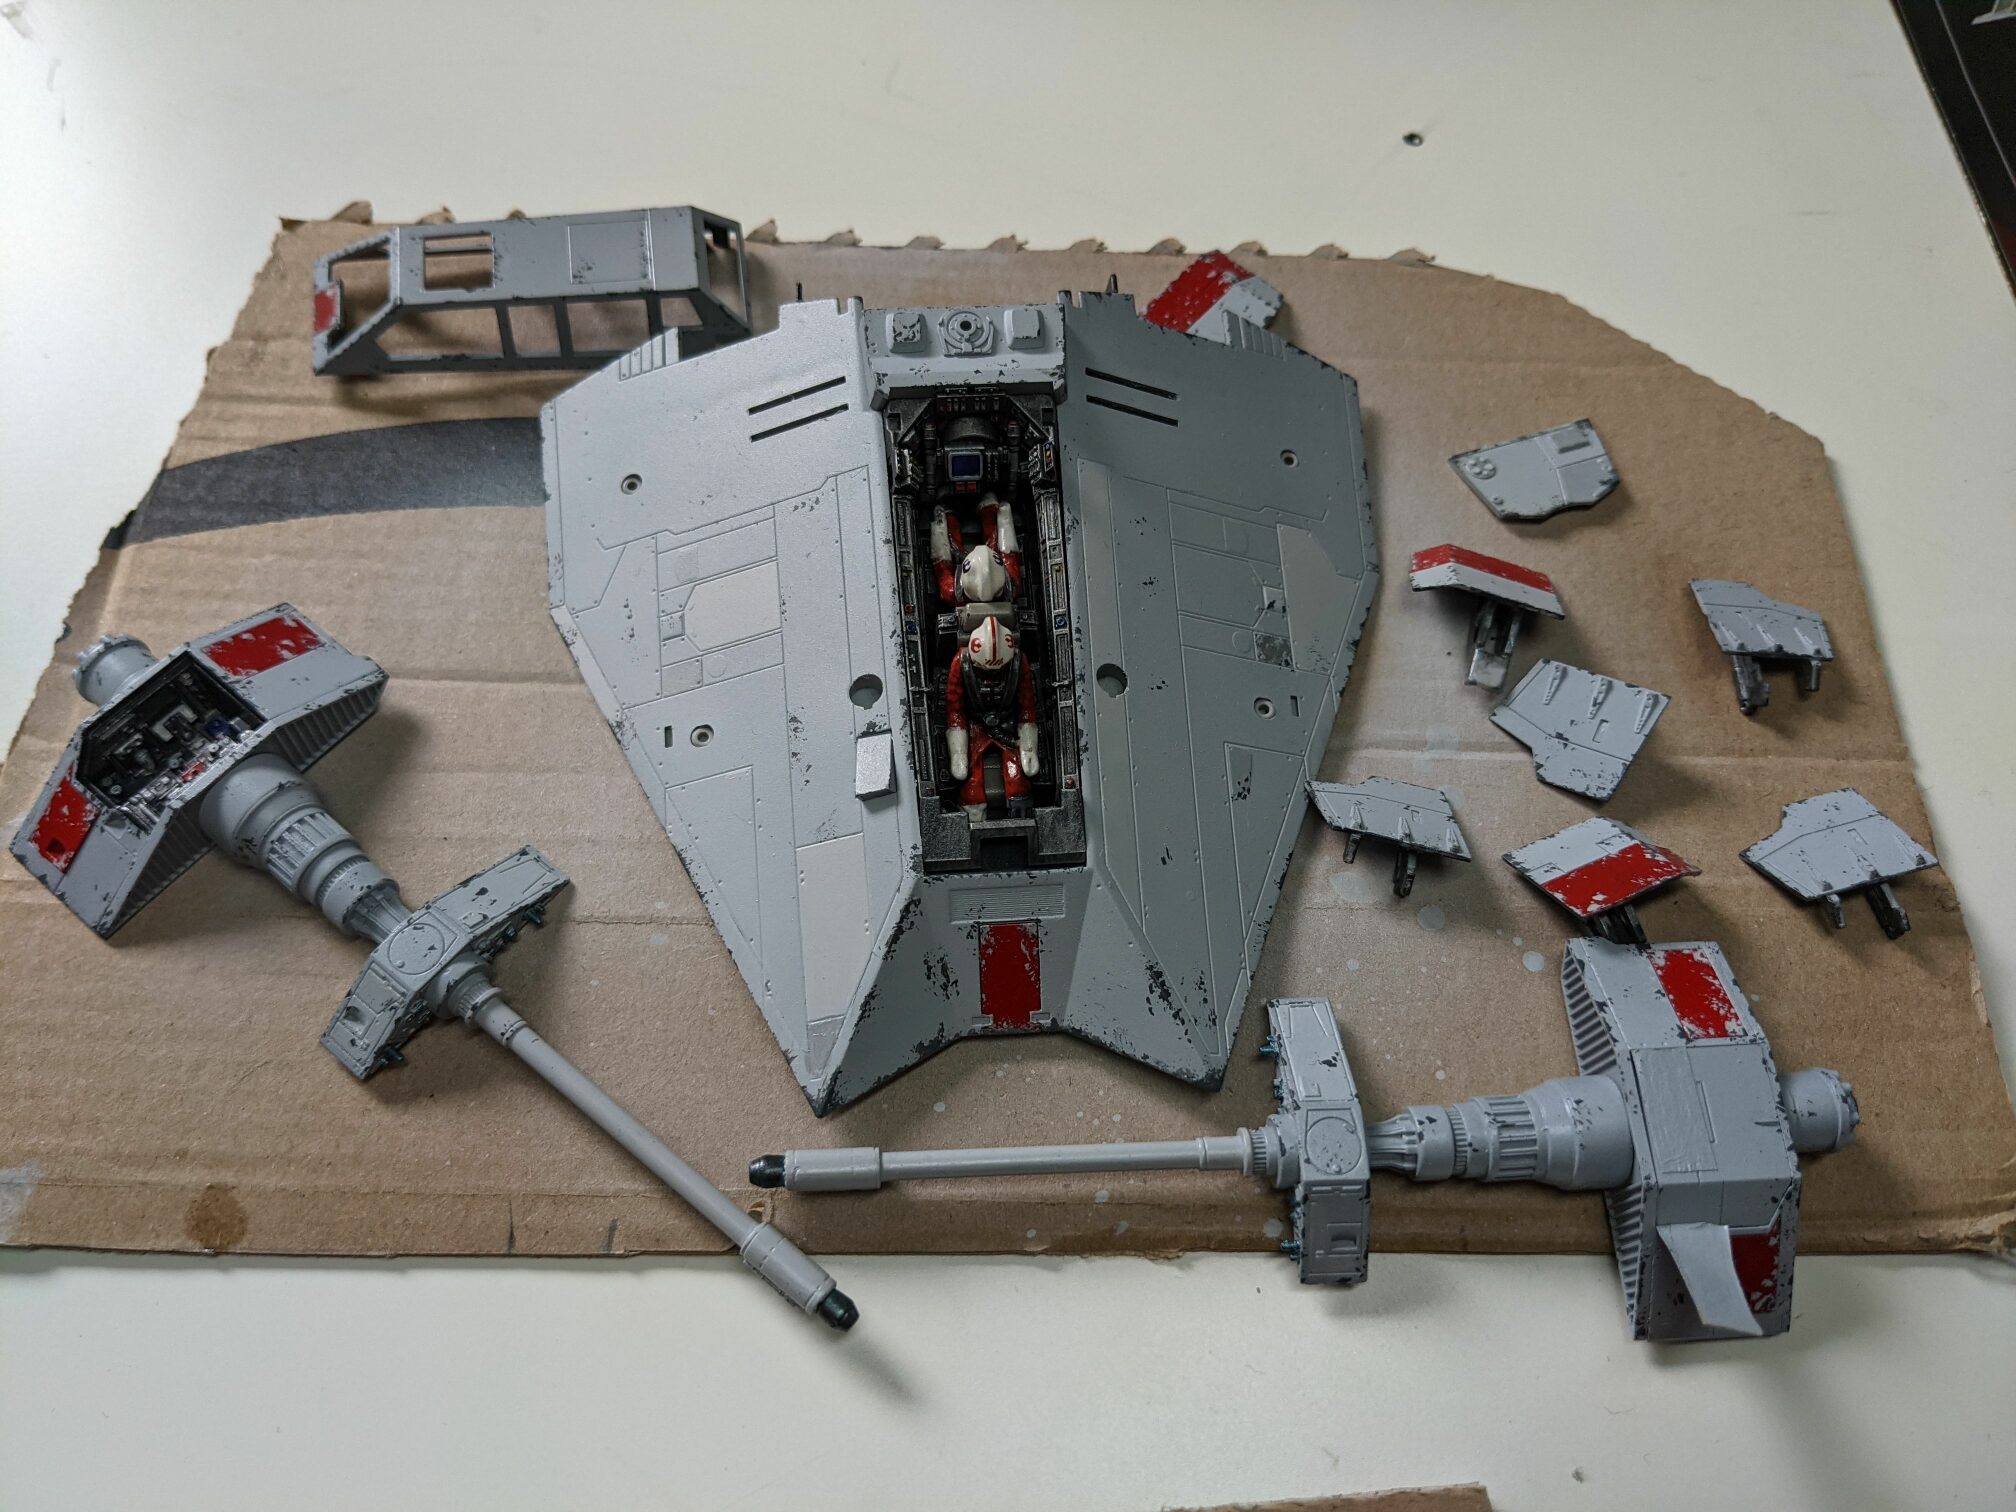
Overall I am pleased with the result even though there are certainly some places where it could be better (mainly on the bottom, where I started).

Weathering and finish
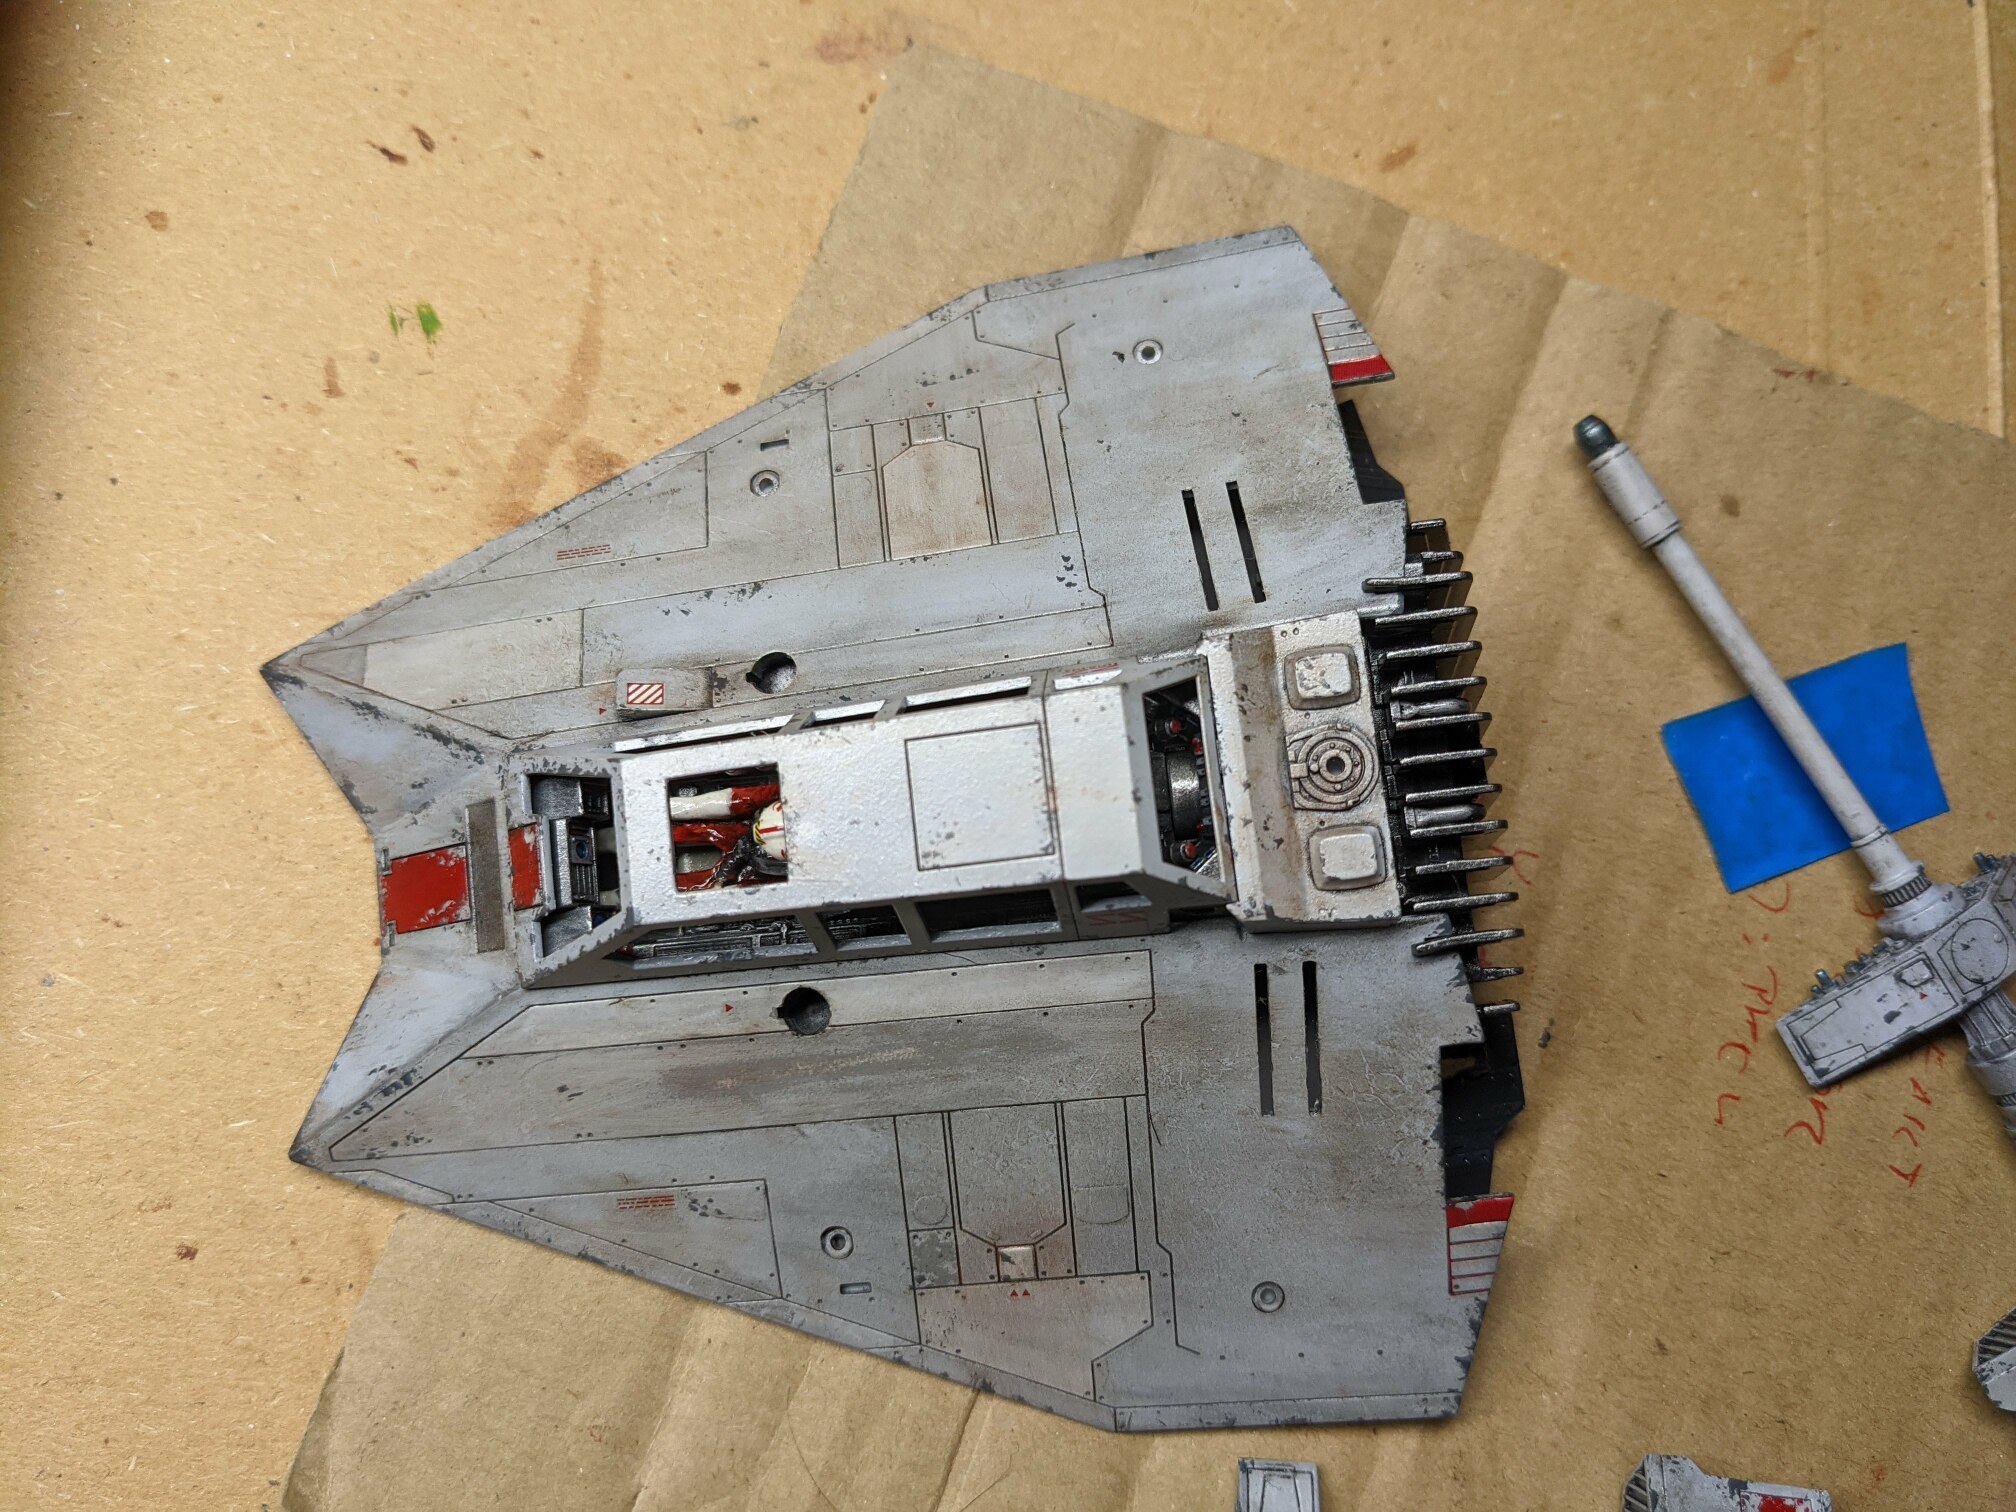
At this stage, the model got a coat of Vallejo Acrylic-Polyurethane gloss varnish. I was still learning how to airbrush it since it’s quite thick and I have to thin it a lot (at least 1:1) to make it work. I was using a 0.4 mm nozzle/needle in my airbrush. Since I struggled I think I didn’t coat some parts of the model well.
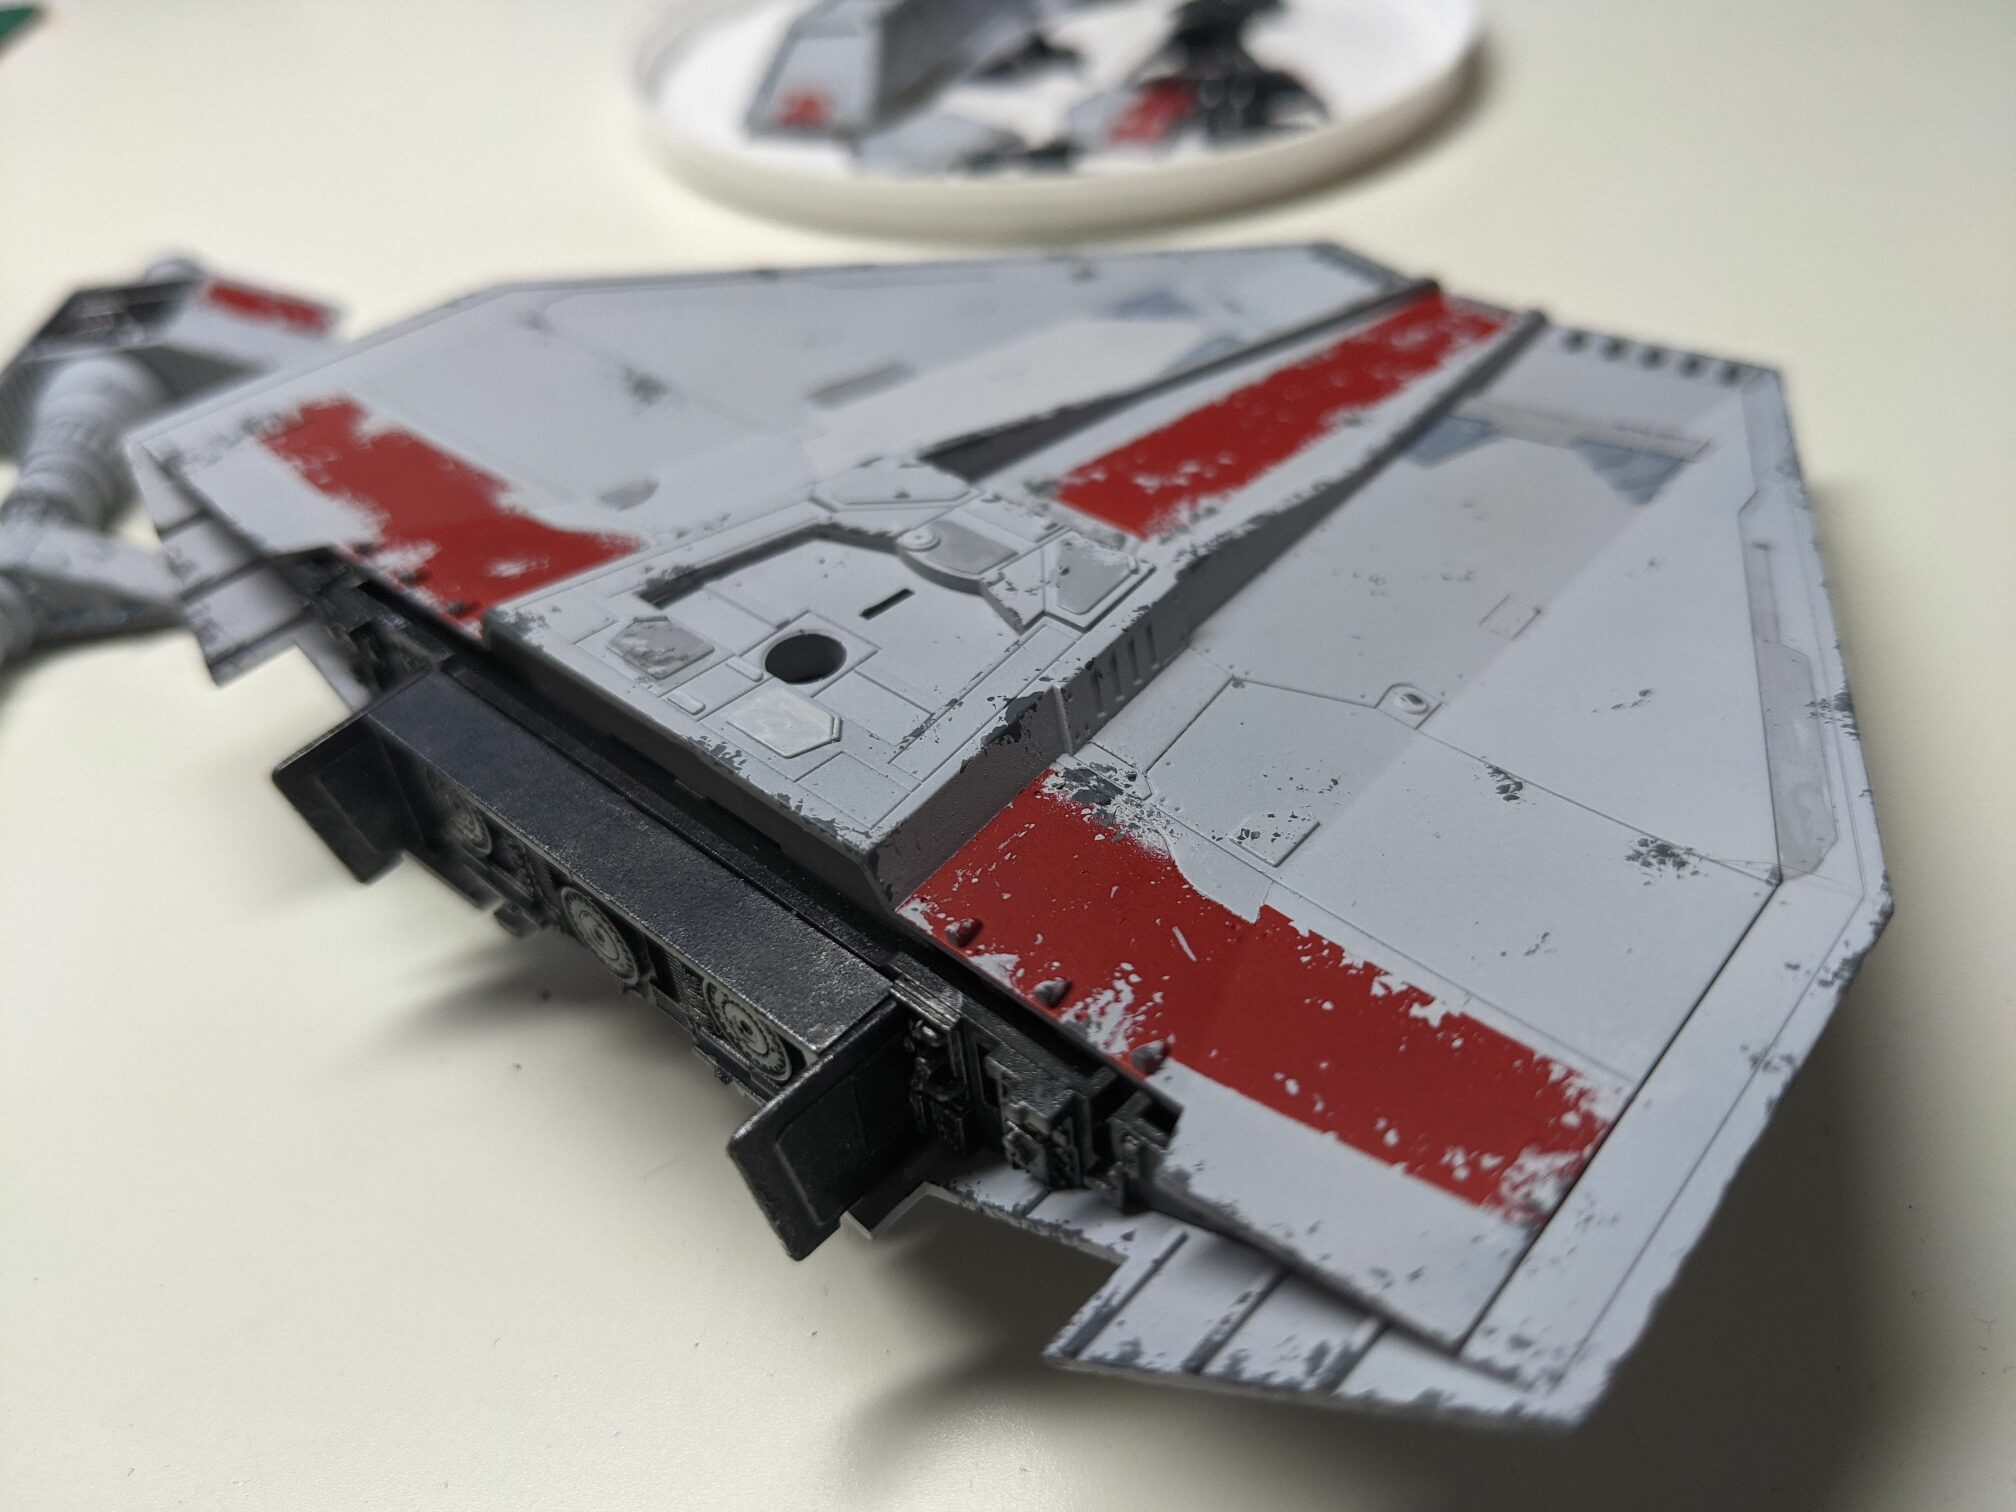
The next step was to use Vallejo acrylic wash (dark grey for grey and dark vehicles). Mainly to enhance the panel lines but I was also playing around a bit toning the colour of the wholes surface.
This was my first time using a wash to enhance panel lines and I had some trouble getting it right. It was also more difficult for some parts of the model than for the other and my theory is that it was caused by the imperfect coat of varnish I mentioned above. I had the most trouble with clearing the wash from places where I didn’t want to have it without removing it from the panel lines as well. At one moment I panicked and tried to use a cotton bud soaked in IPA to clear a bit and I managed to strip the clear coat and at least one coat of paint. You can see the mistake in the next image.
You can also see some decals applied in the image above. I did them after I applied the wash. I did only a few from the sheet. Most of the decals are to create the stripes and some other variation in panel tones and I painted. There are a few markings and labels left.
Maybe it would make more sense to apply them before so the wash and panel lines are on them and not under them. I was afraid I would damage the decals while applying the wash and was impatient and didn’t want to do another clear coat between steps. I was ready to fix the issues once I applied the coat after decals to seal both steps in.
The original plan involved using Tamiya weathering master pigments to make the model a bit dirty and rusty. But because I wasn’t really happy with the results I got from the application of the acrylic wash and accidentally I just received my first oil paints for model weathering (Abteilung 502 Starship filth and 2 shades of rust) I decided to give them a go.
First, I made a bit of oil wash from Starship filth and thinner and tried to improve the panel lines. It was certainly a very different experience than with the acrylic wash and it felt better and easier to work with.
Next, I used all three shades without thinning from the tube to dirty the model, let it dry a bit and later blended them using a combination of brush, cotton buds and paper towels. It was really about experimentation and learning how oils work. I am not sure which kind of clear coat would be the best for them, I am quite sure they would behave a bit differently when applied over satin or flat varnish.
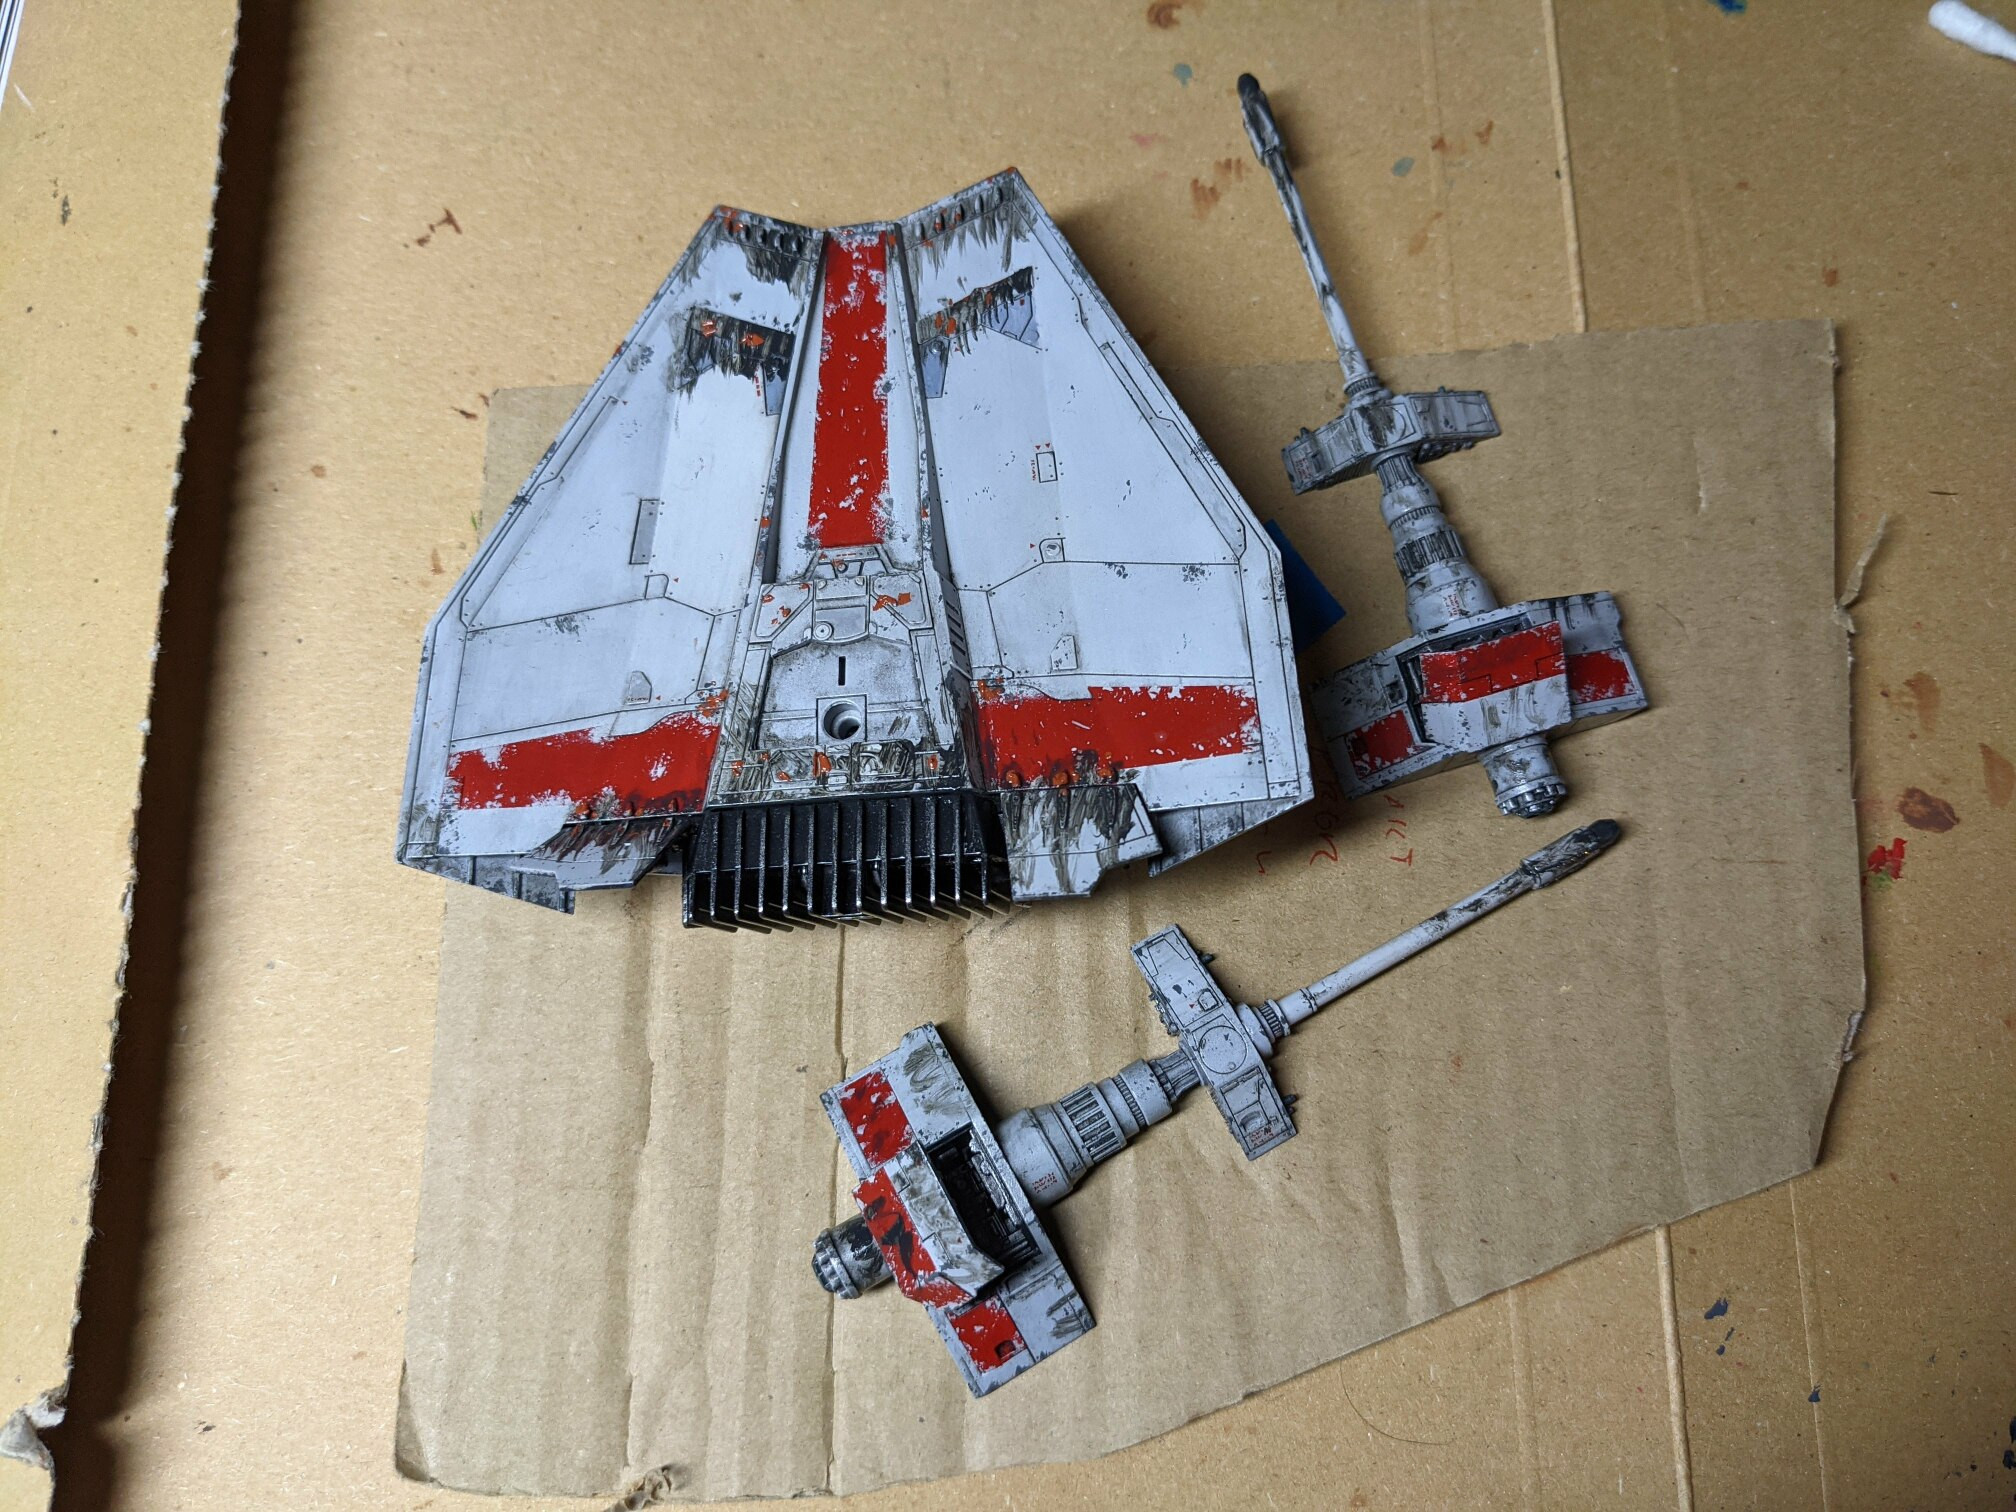
Overall, I was pleased with the result. I am sure there’s is a huge room for improvement and learning, though.
I knew that oils are going to be drying for a long time. What surprised me that they felt manipulable and “wipeable” even after few days. I ended up waiting for a week before I sealed them with another clear coat (gloss again). Maybe that’s just how they behave when applied over gloss coat, I don’t know.
At this point, I assembled the model to its full state (minus the gun at the back).
Now it was the time for Tamiya weathering master pigment. Another first experience with a material and technique for me. I struggled a lot. It felt very hard to actually get some of the pigment on the applicator and then on the model. I also struggled when trying to blend it. I am not sure what I was doing wrong. In this case, I am quite sure that a satin coat would be better than the gloss one. I must try it on the next model.
Despite the trouble, I still like the result.
There was still one last step left: the last clear coat. This time a flat one (Vallejo premium acrylic-polyurethane matt varnish). I must say that the Premium line seems to be easier to work with. The varnish was thinner and I didn’t have trouble airbrushing it straight from the bottle.
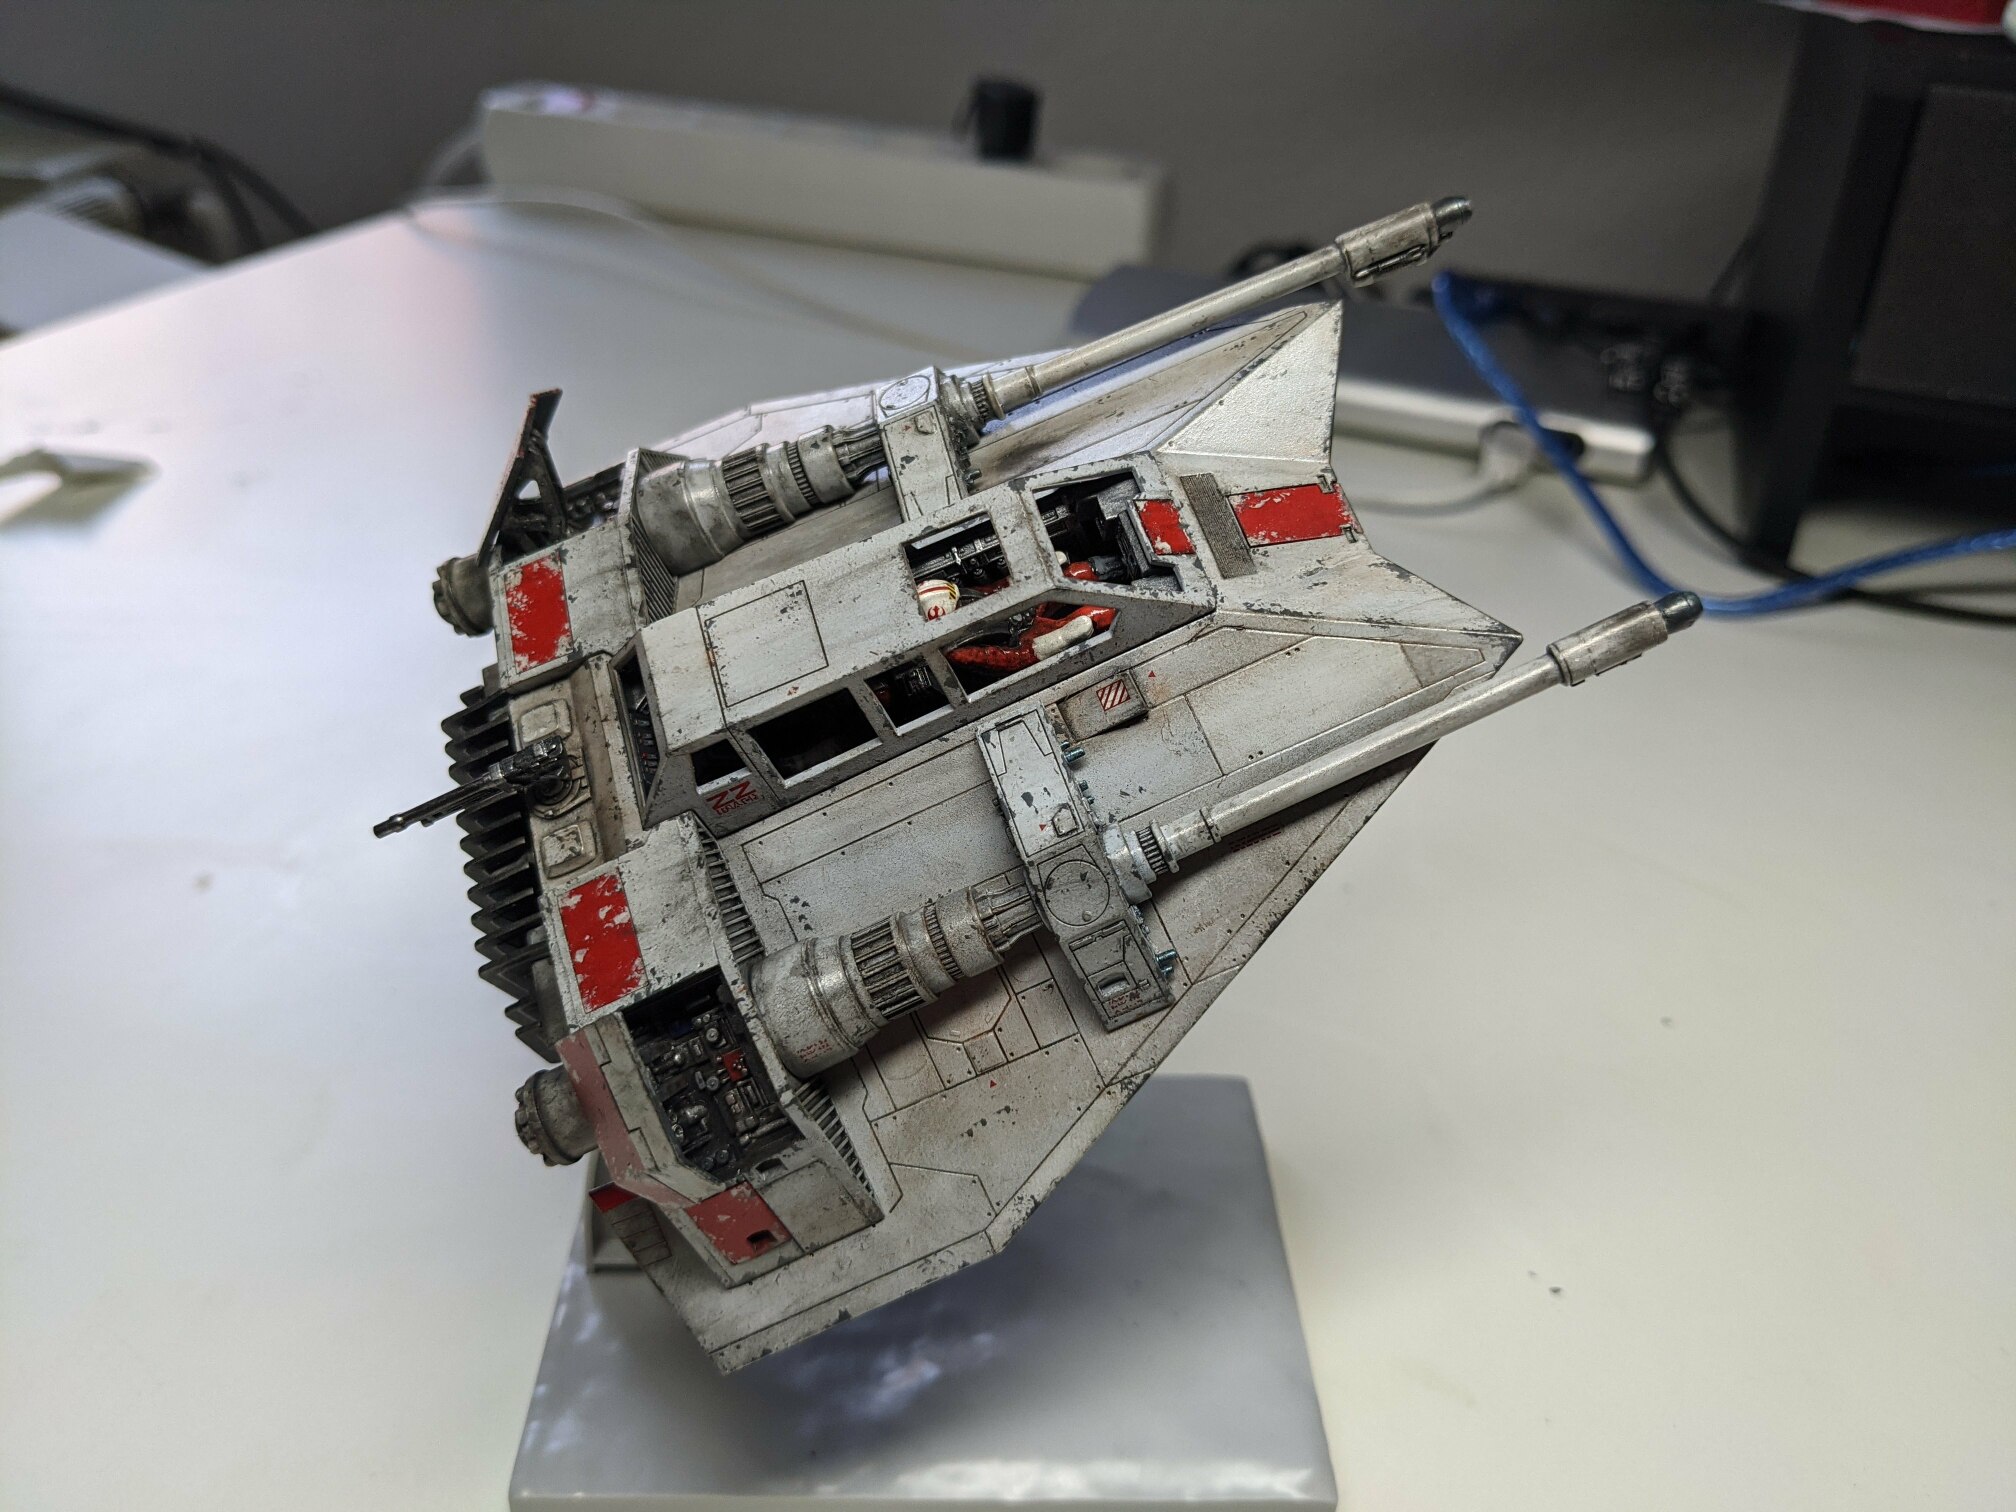
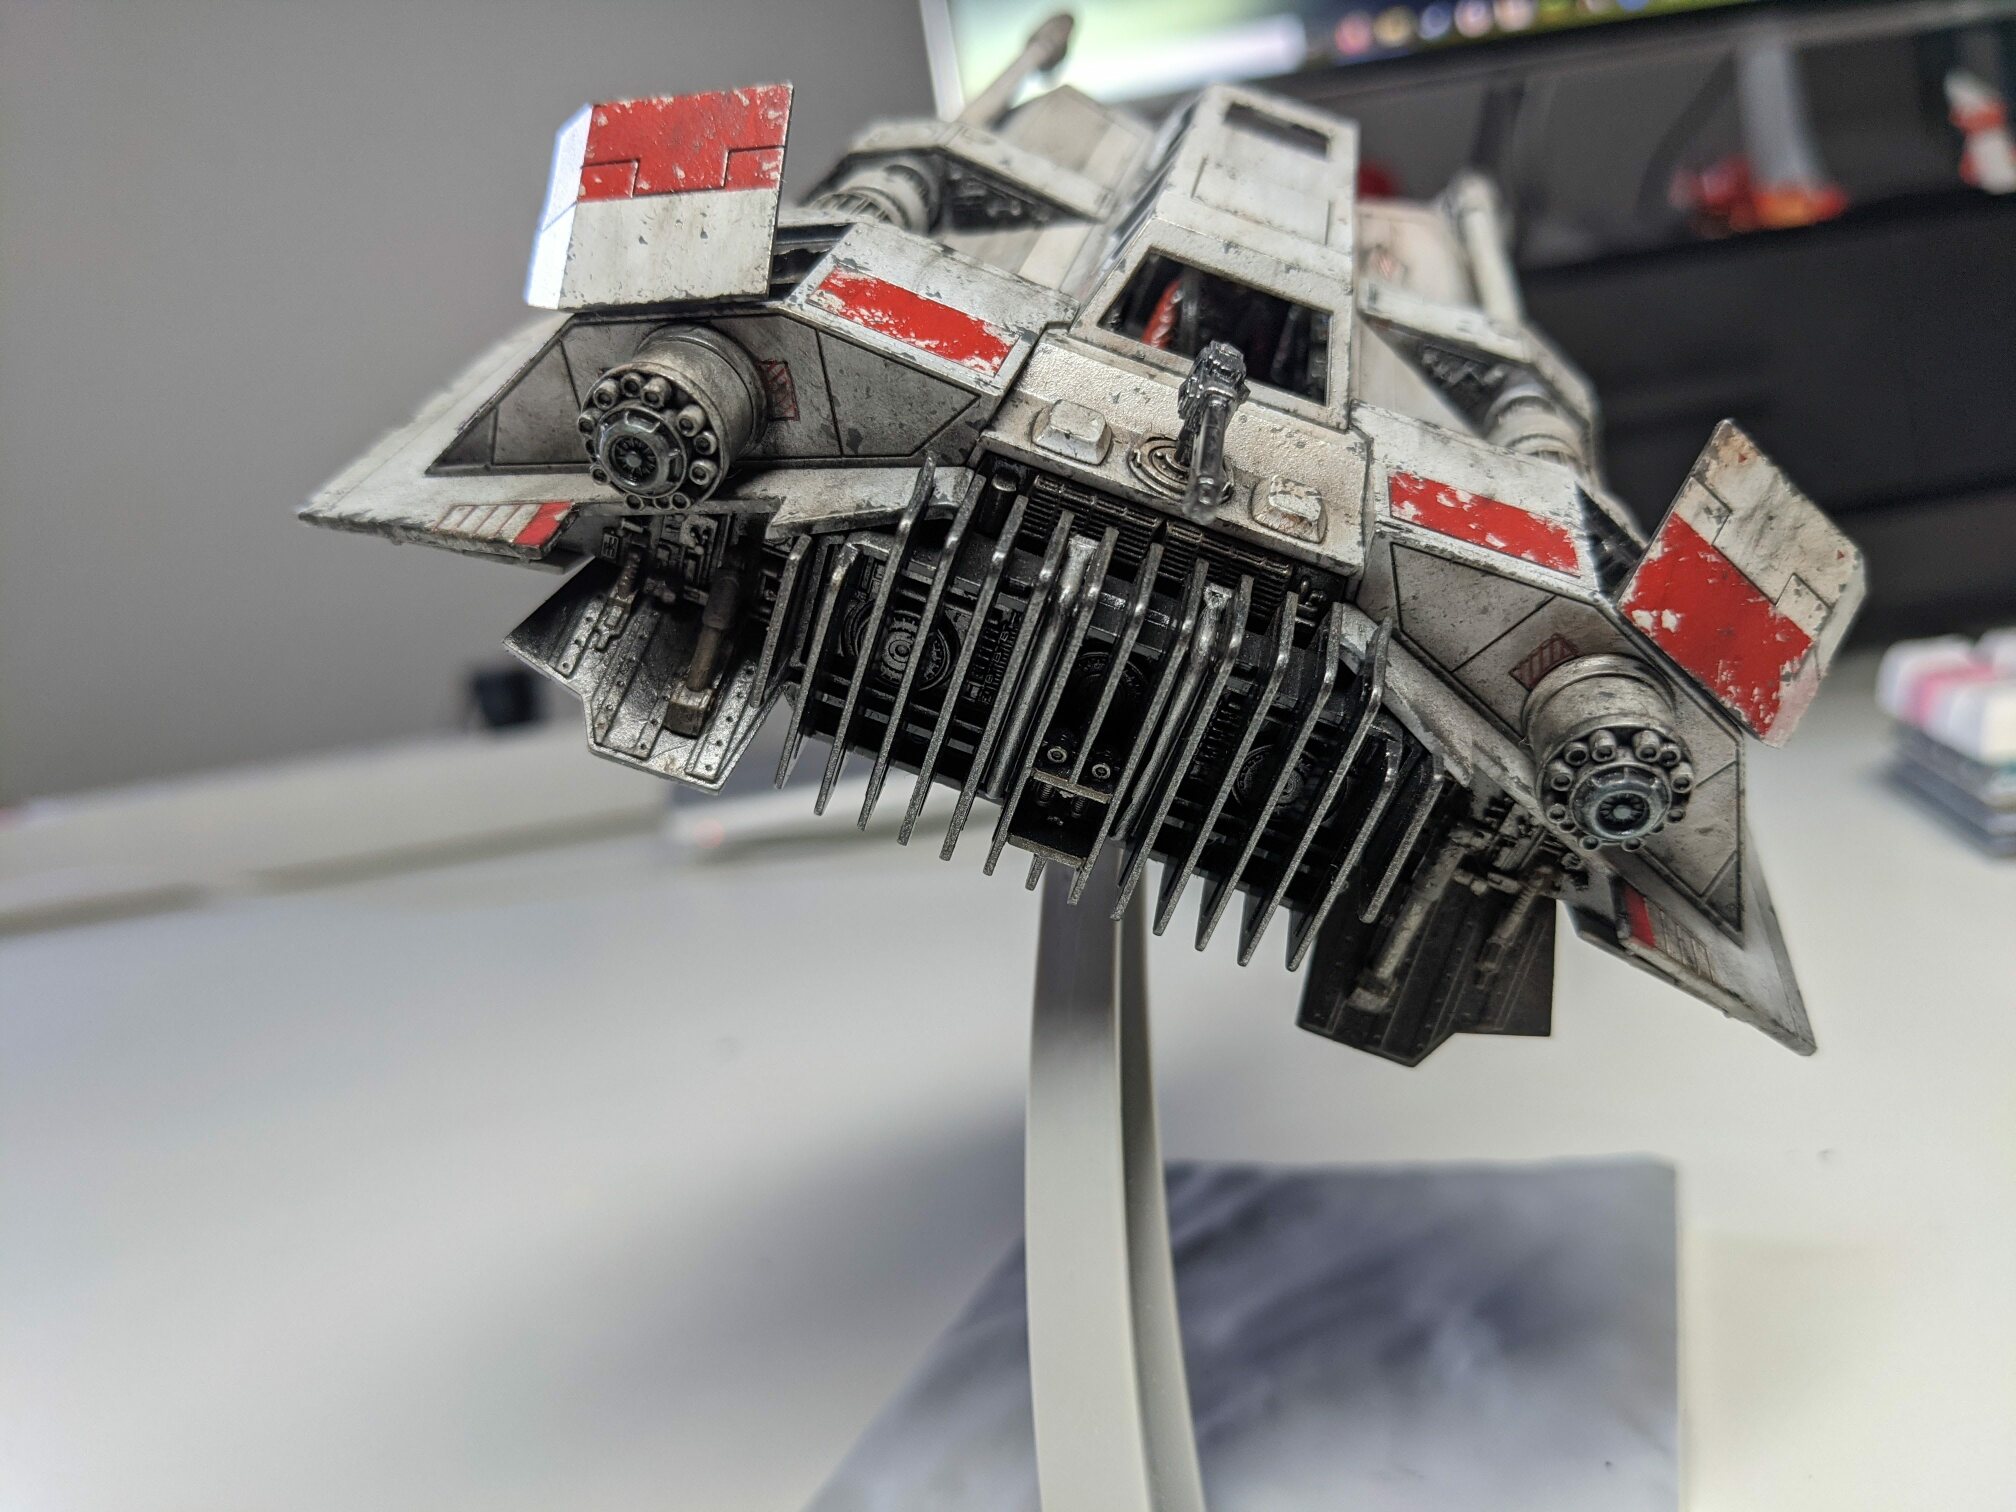
Final pictures and video!
And a little homework for the dear reader. Do you remember how I mentioned a mistake during masking I didn’t notice until the end? Can you find it?


Lessons learned
1) It’s important to learn how to resolve mistakes and don’t be upset about them. They’ll happen. Weathering steps can hide a lot of problems. Panel lines also help to hide some sub-optimal hand painting.
2) Details which look terrible from up close can be perfectly fine from a normal distance the model is going to be seen.
3) With all the washes and weathering the model will get significantly darker. It’s important to keep this in mind when doing the basic paint job.
4) Triple check how you mask things. Masking the part that should be actually covered with paint is an oversight that can happen to anyone. But not noticing until the model is assembled and almost done is plain stupid.
5) Working with oils is indeed very interesting.
Conclusion and future plans
I do feel the model is a bit over-weathered. I intentionally didn’t hold myself back. Trying and learning the techniques was more important for me than having something realistic looking. And it’s a vehicle from a space fantasy movie which is quite far from any realism anyway, so why bother too much.
As expected I do enjoy the weathering part of the process the most. It is very satisfying and you can do a lot of interestingly looking things without being able to paint very fine details by brush.
What’s next? I have 2 more Bandai kits waiting to be built. Both of them Star Wars. I don’t have exact plans for them yet but I am thinking about going one step further and create some diorama. It could be even crashed X-Wing or destroyed AT-AT lying on the ground. I like the idea of having a small post-battle scenery.
I am also becoming very interested in scratch-building, mainly from easily accessible materials and trash. I blame some Youtubers for this, mainly Bill and his Bill Making Stuff channel. His videos and builds are awesome and as a bonus you get some valuable safety advice here and there.