Somehow, I have got an idea to revisit one of the former hobbies of mine.
When I was a kid I was quite interested in planes. Apart from reading books and visiting air shows I also ended up building few scale model kits. I have never really got good at it. If I remember correctly, I managed to paint only one of them. Somehow I didn’t have enough patience to learn more and pass through the true beginner phase.
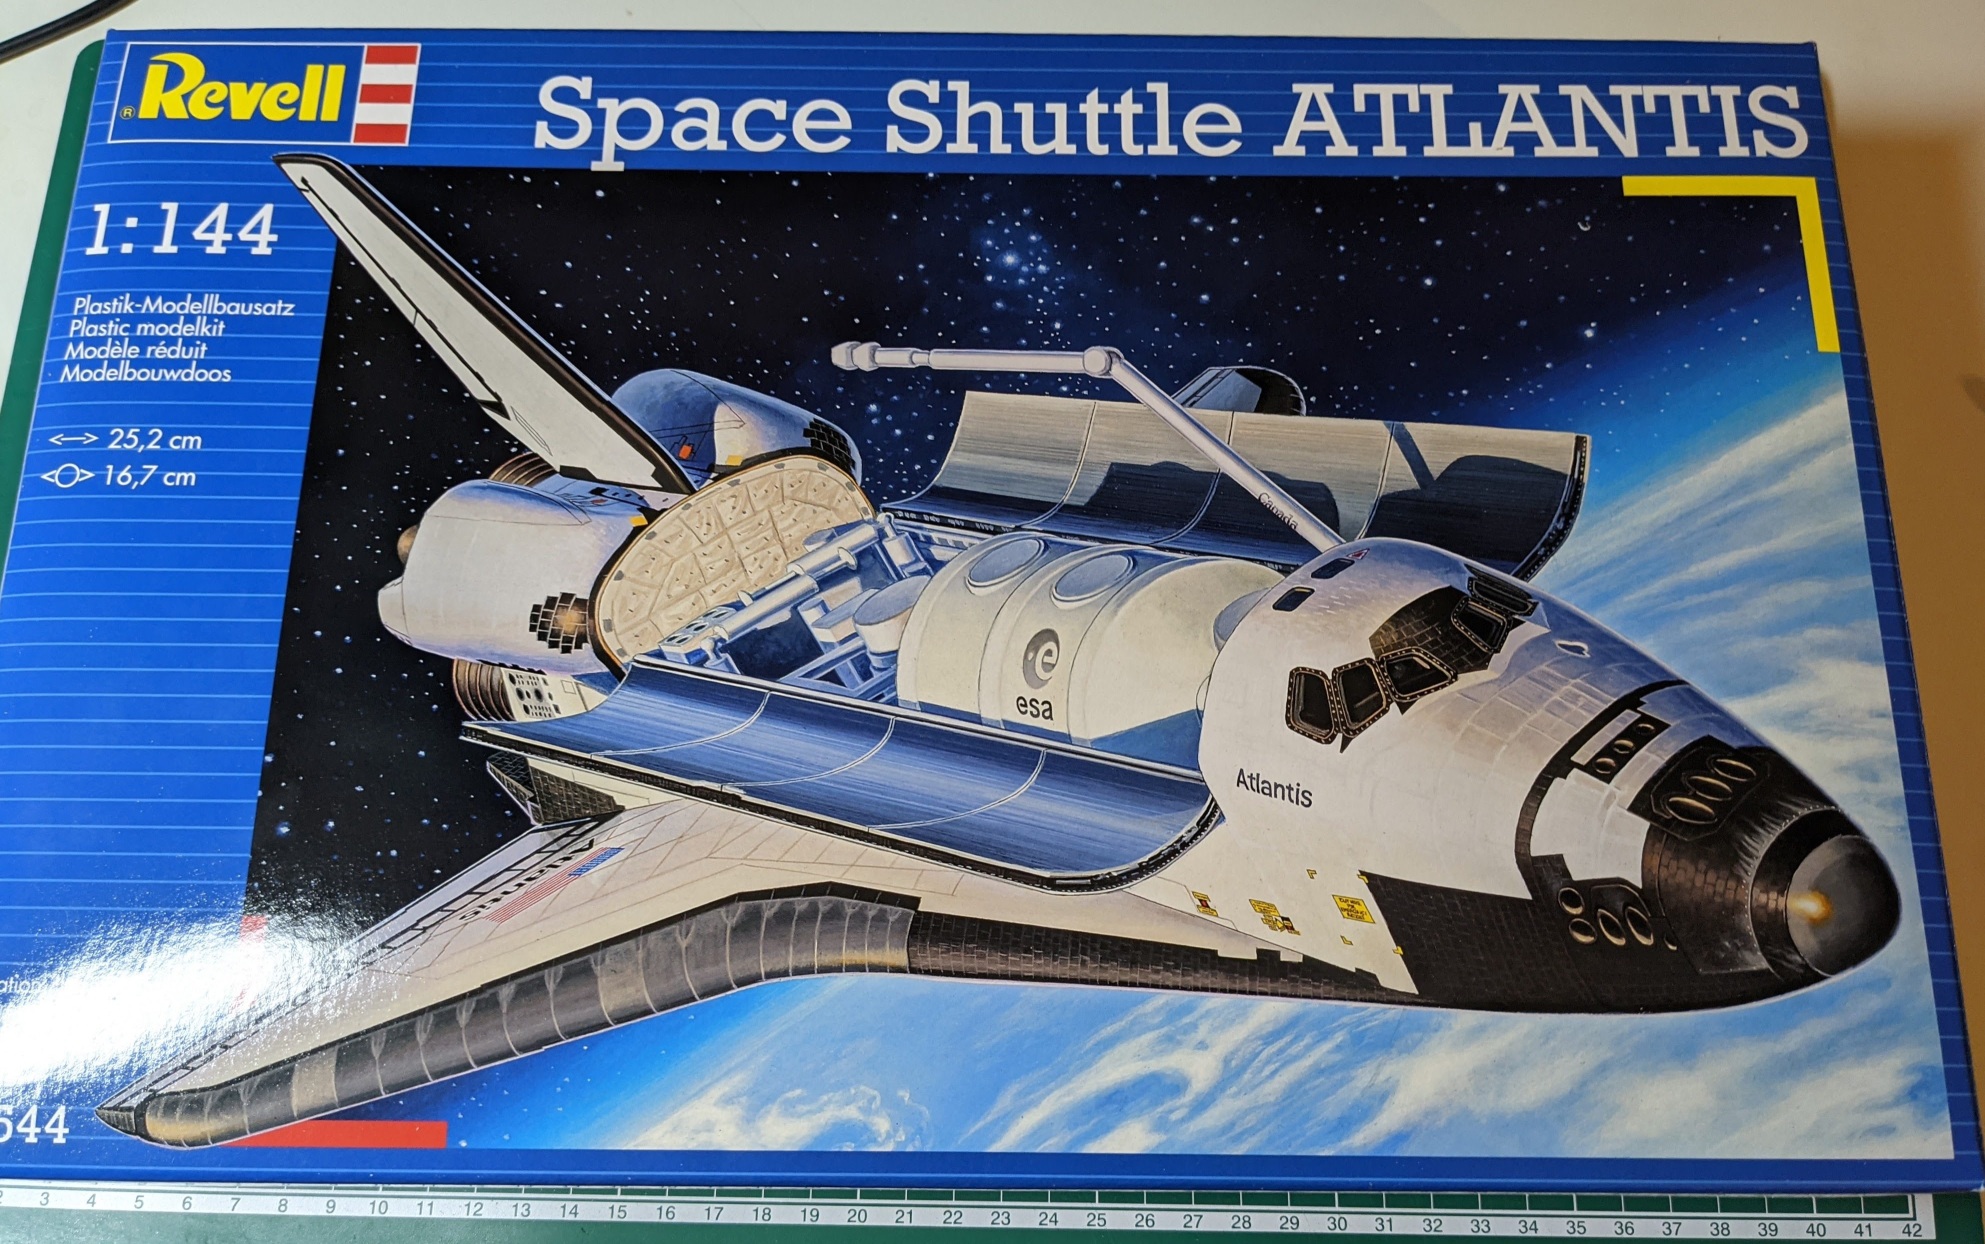
It might be interesting to try again now, a few decades later, maybe I am patient enough? I bought a cheap Revell model kit of Space shuttle Atlantis, glue, paints and other accessories and this is my experience.
Kit quality
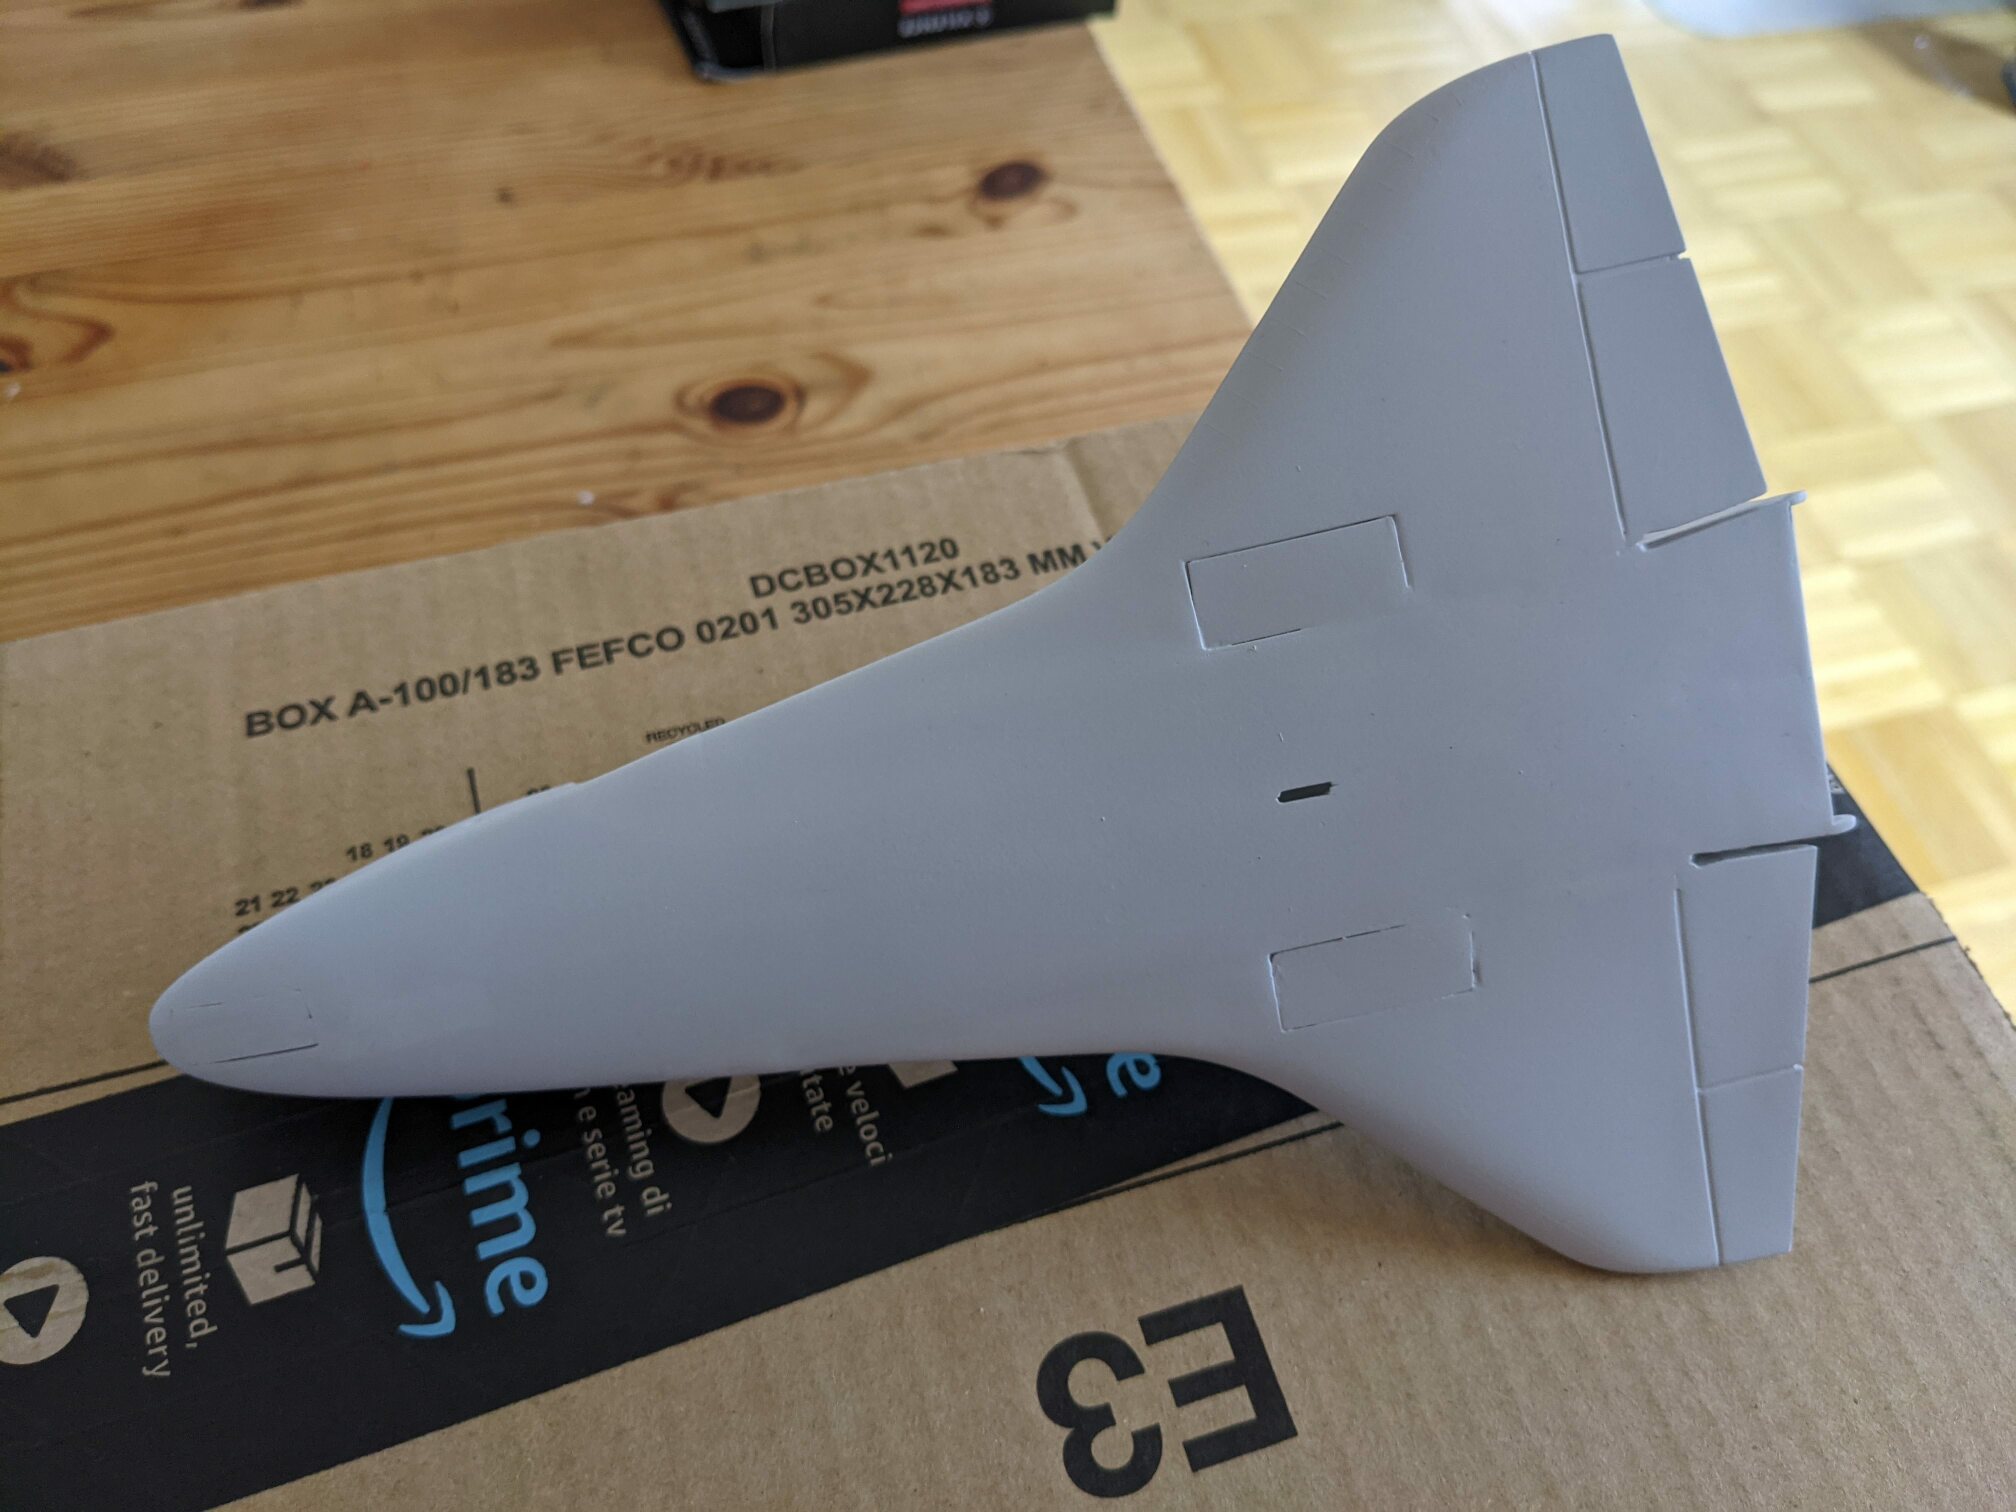
I am far from being an expert on scale model kit quality. However, the kit was so terrible that even I could tell. Somehow I expected Revell to have some decent standard. Moulding was very low quality. It seems that moulds shifted and a lot of plastic leaked between them so a lot of cleaning was necessary. The mould lines were also very apparent.
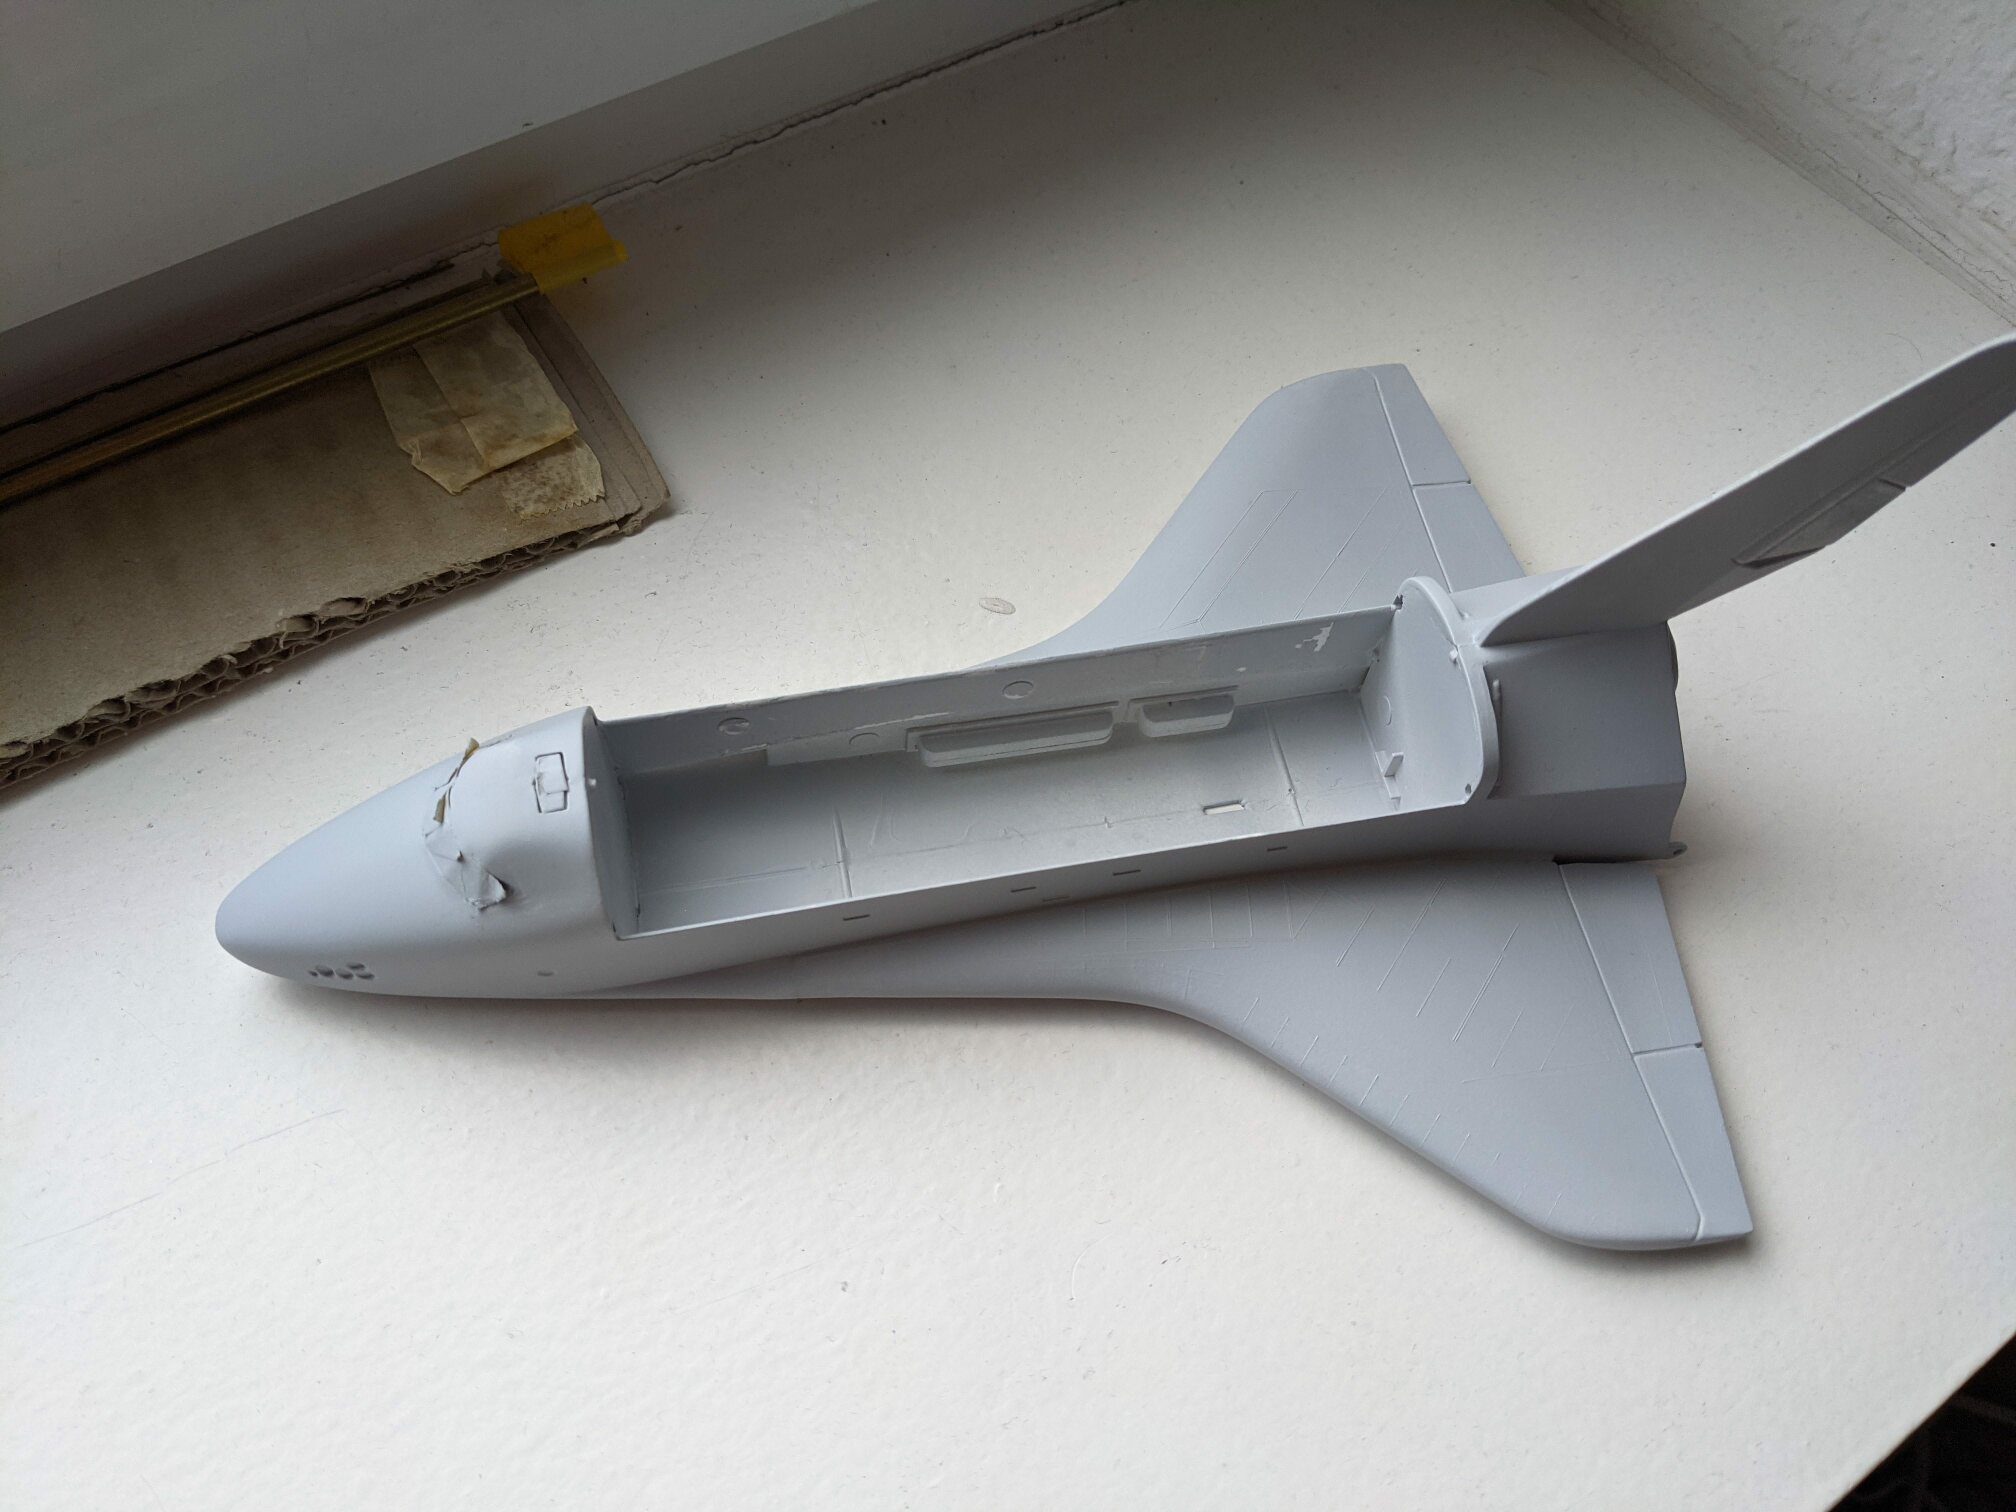
The fit of the parts was a joke. For example, this is how assembled fuselage looked:
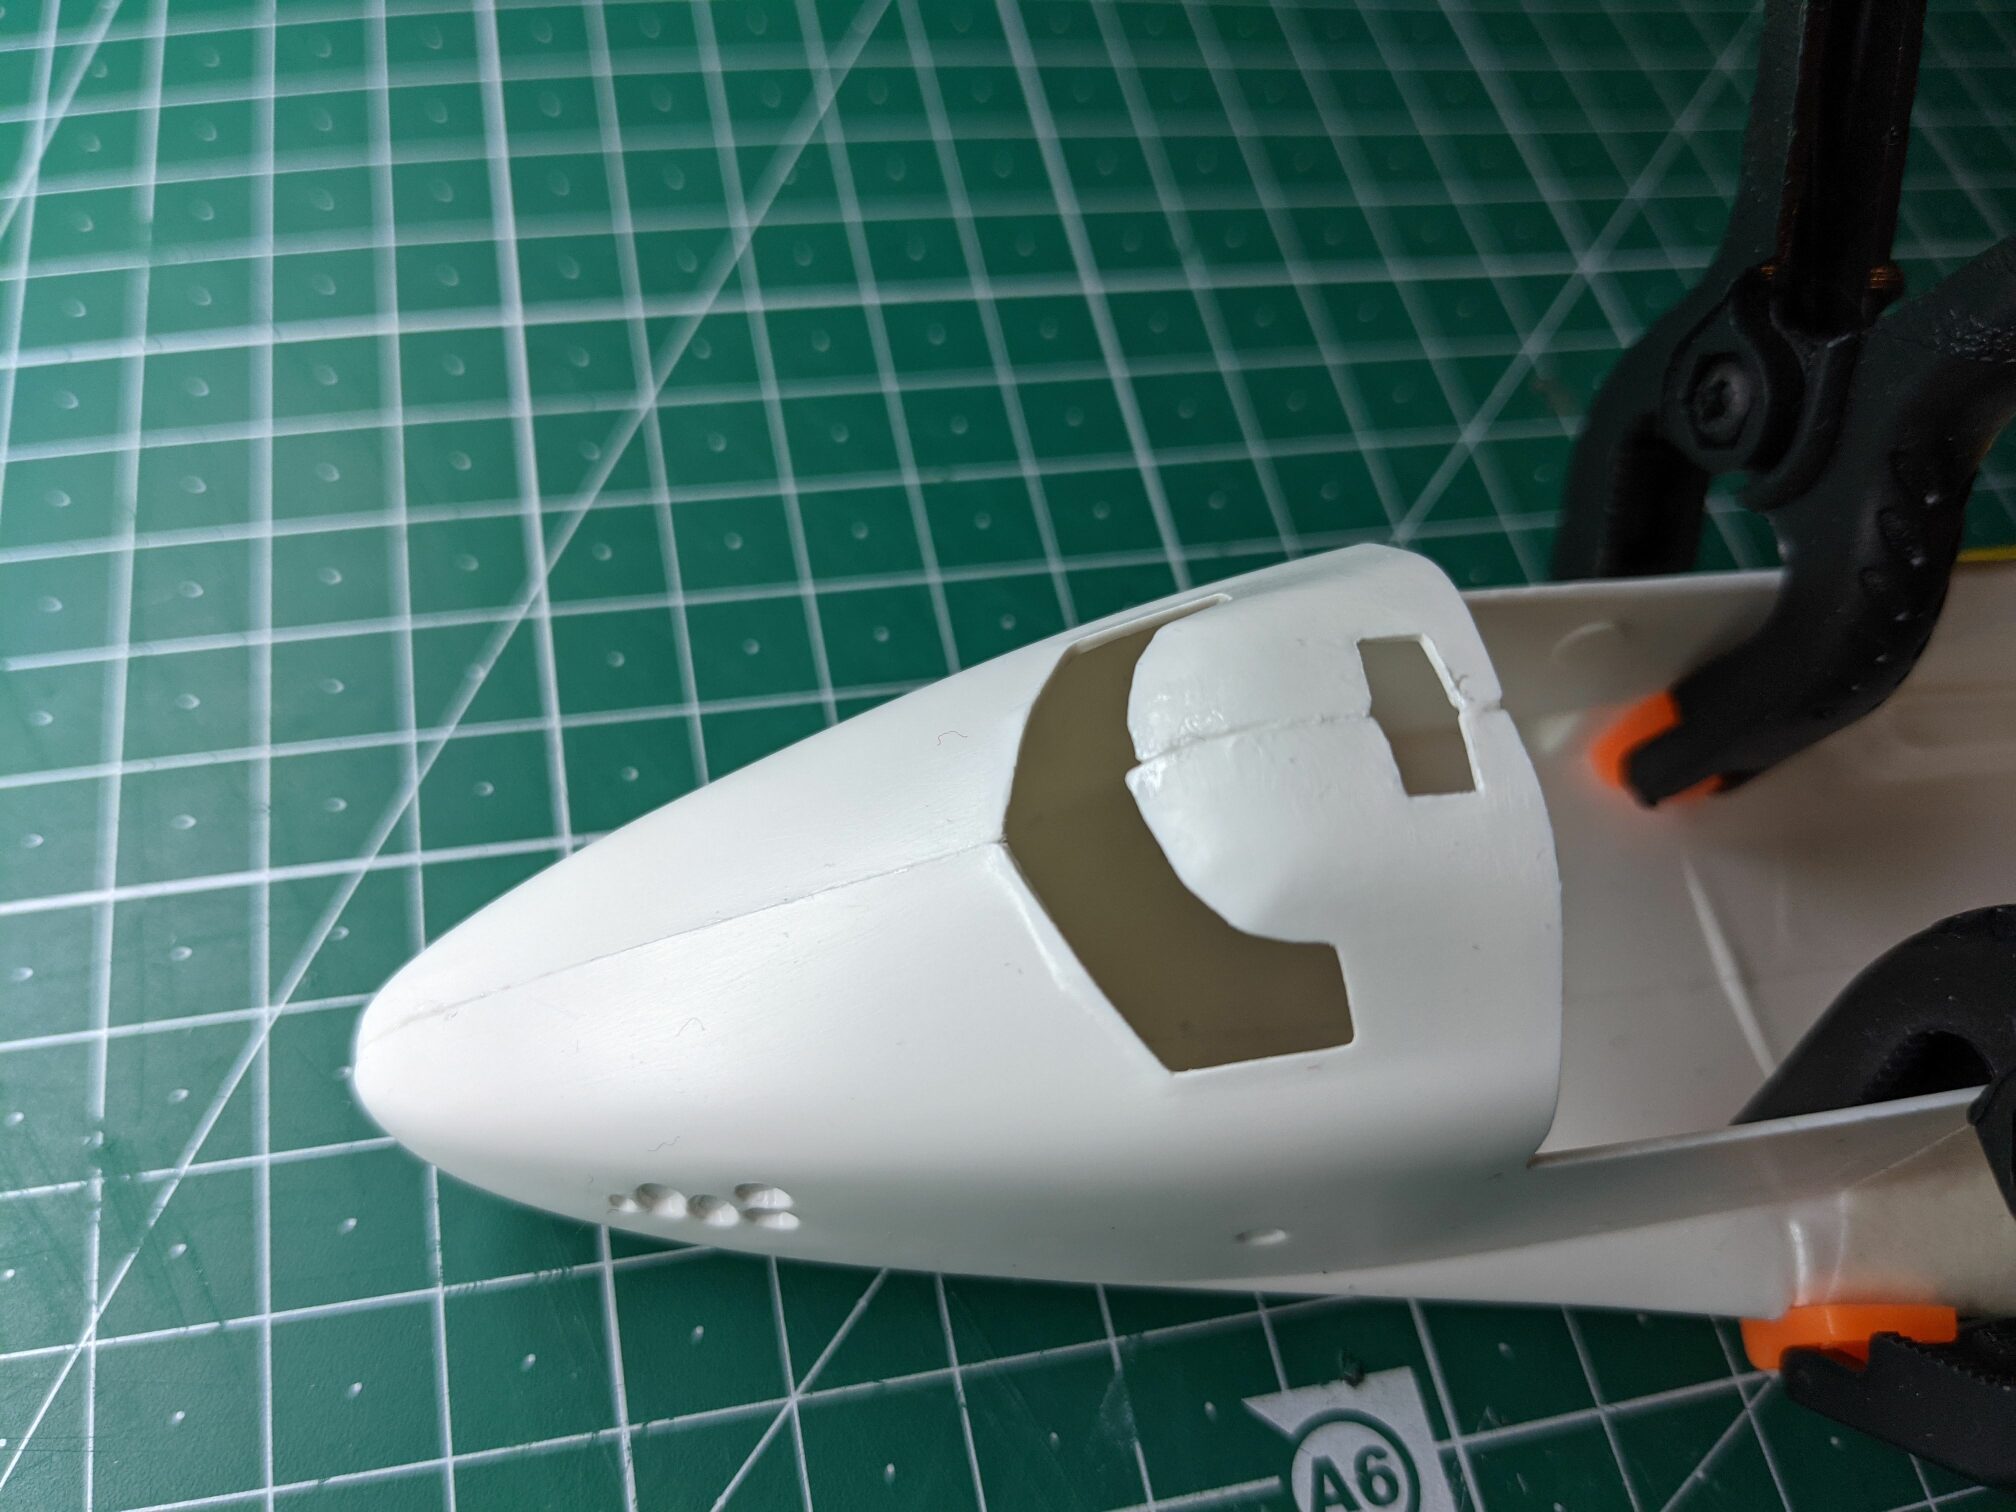
Sometimes the location of injection marks didn’t really make sense.
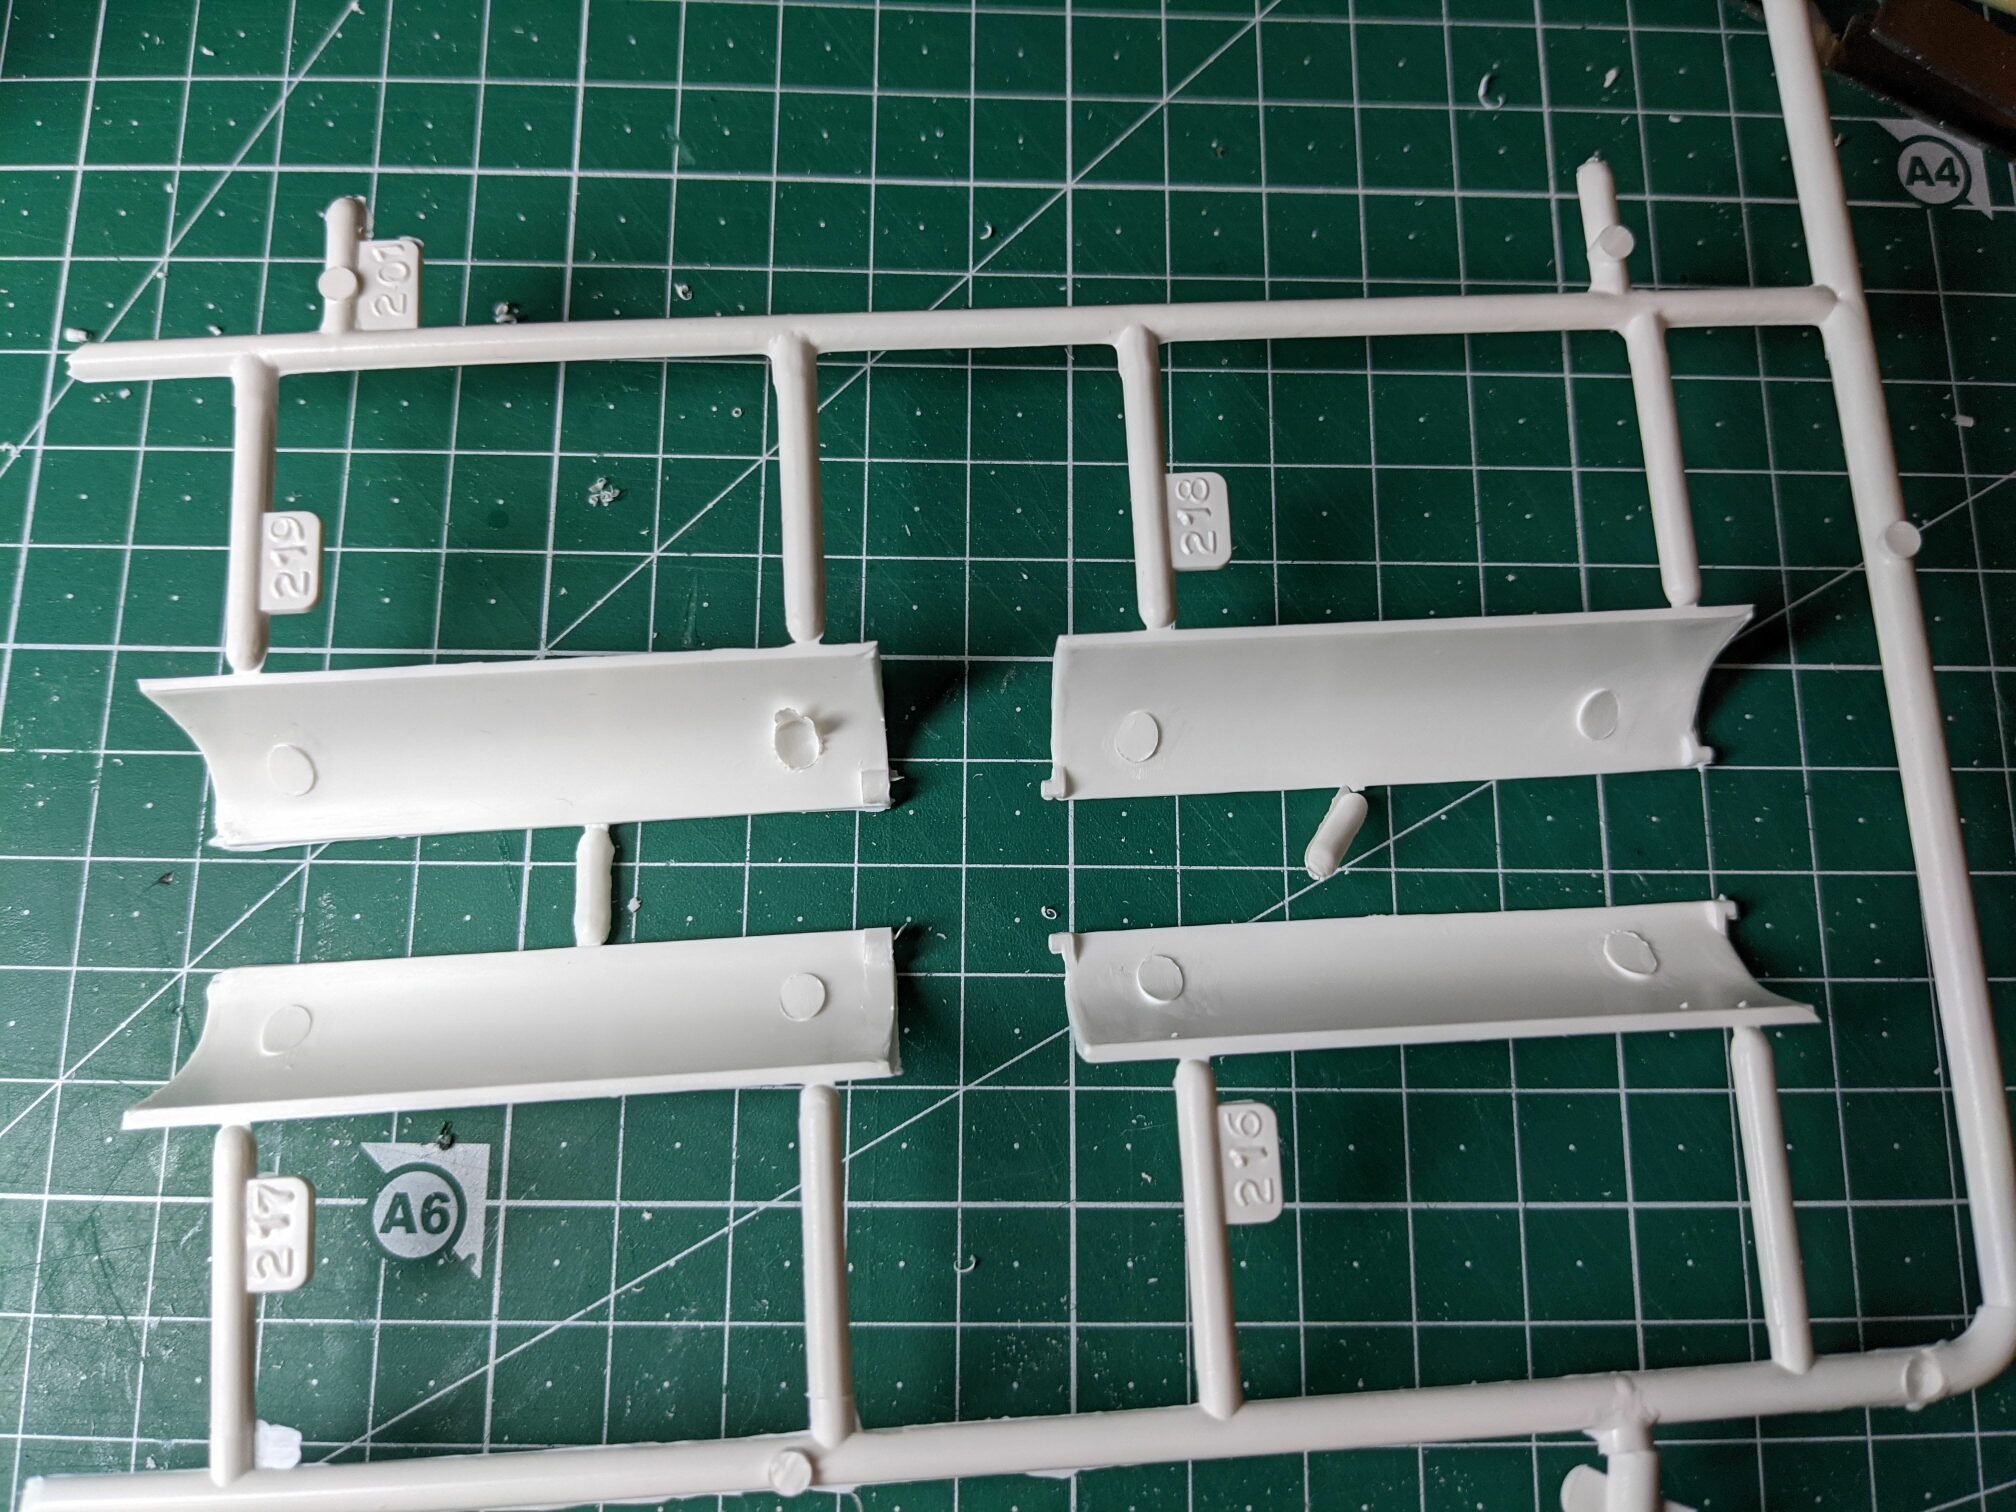
Let’s say this created a lot of opportunities for me to learn how to utilise putty and how to sand.
Filling and sanding
Part of my order was Revell Plasto Bodyputty. I was a bit surprised by the product, somehow I expected something more along the lines of thick acrylic paste. Instead, I have got a quickly drying glue-like matter (I am actually quite certain it’s just their glue mixed with some fine plastic dust). Not Revell’s fault, though, just my ignorance and impatience. I had quite some trouble figuring out how to use it but all the mistakes led only to a bit more sanding.
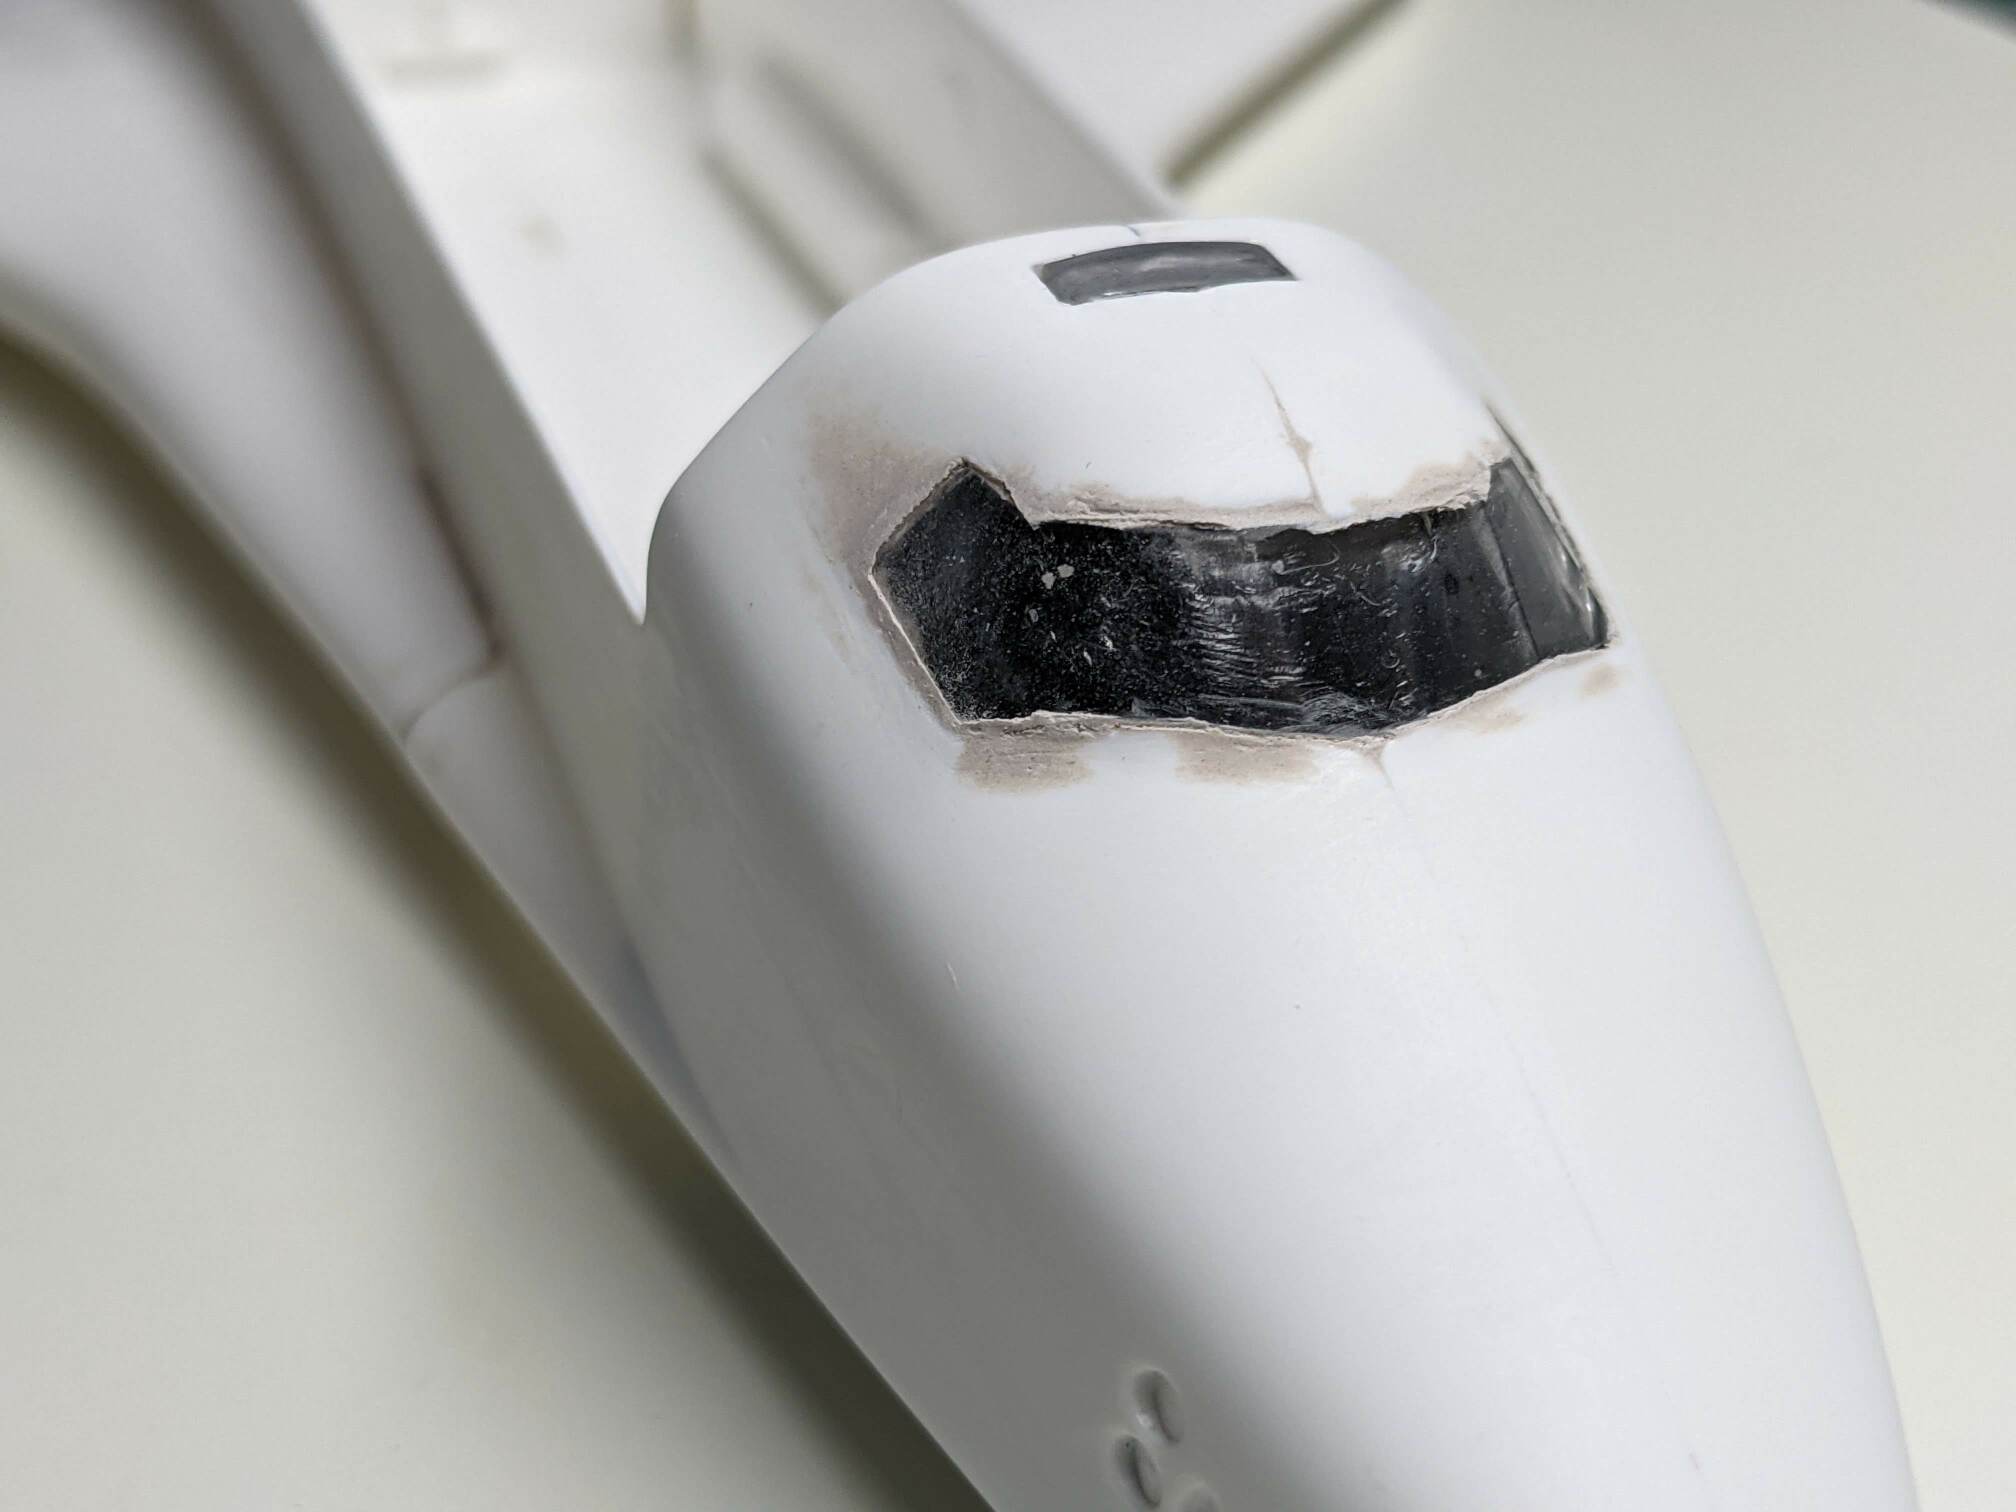
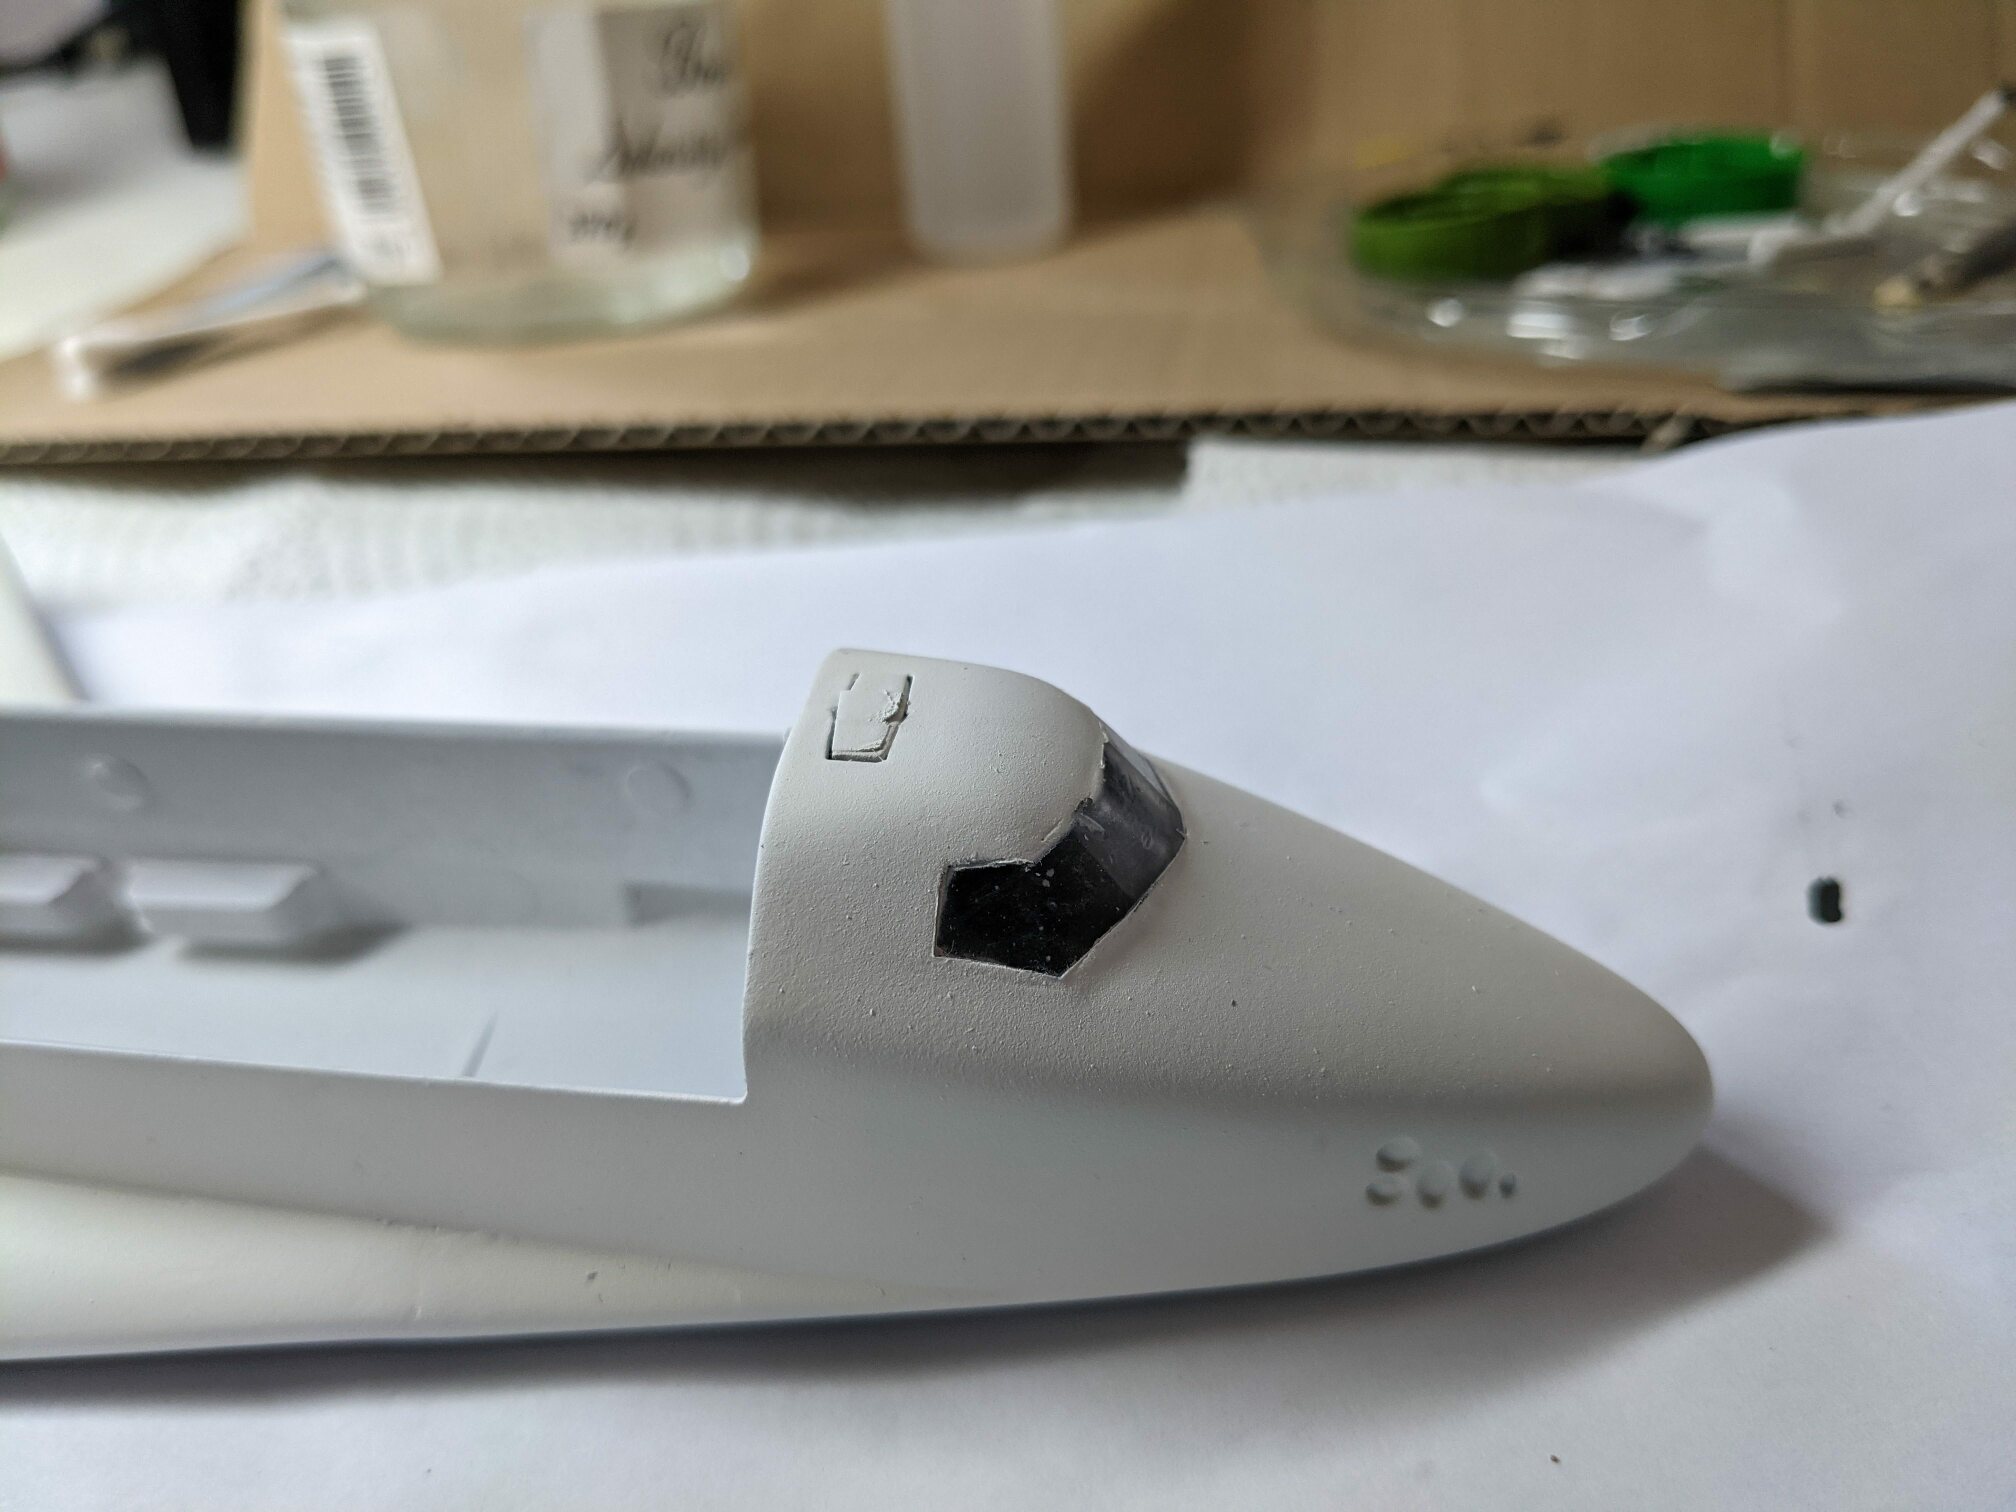
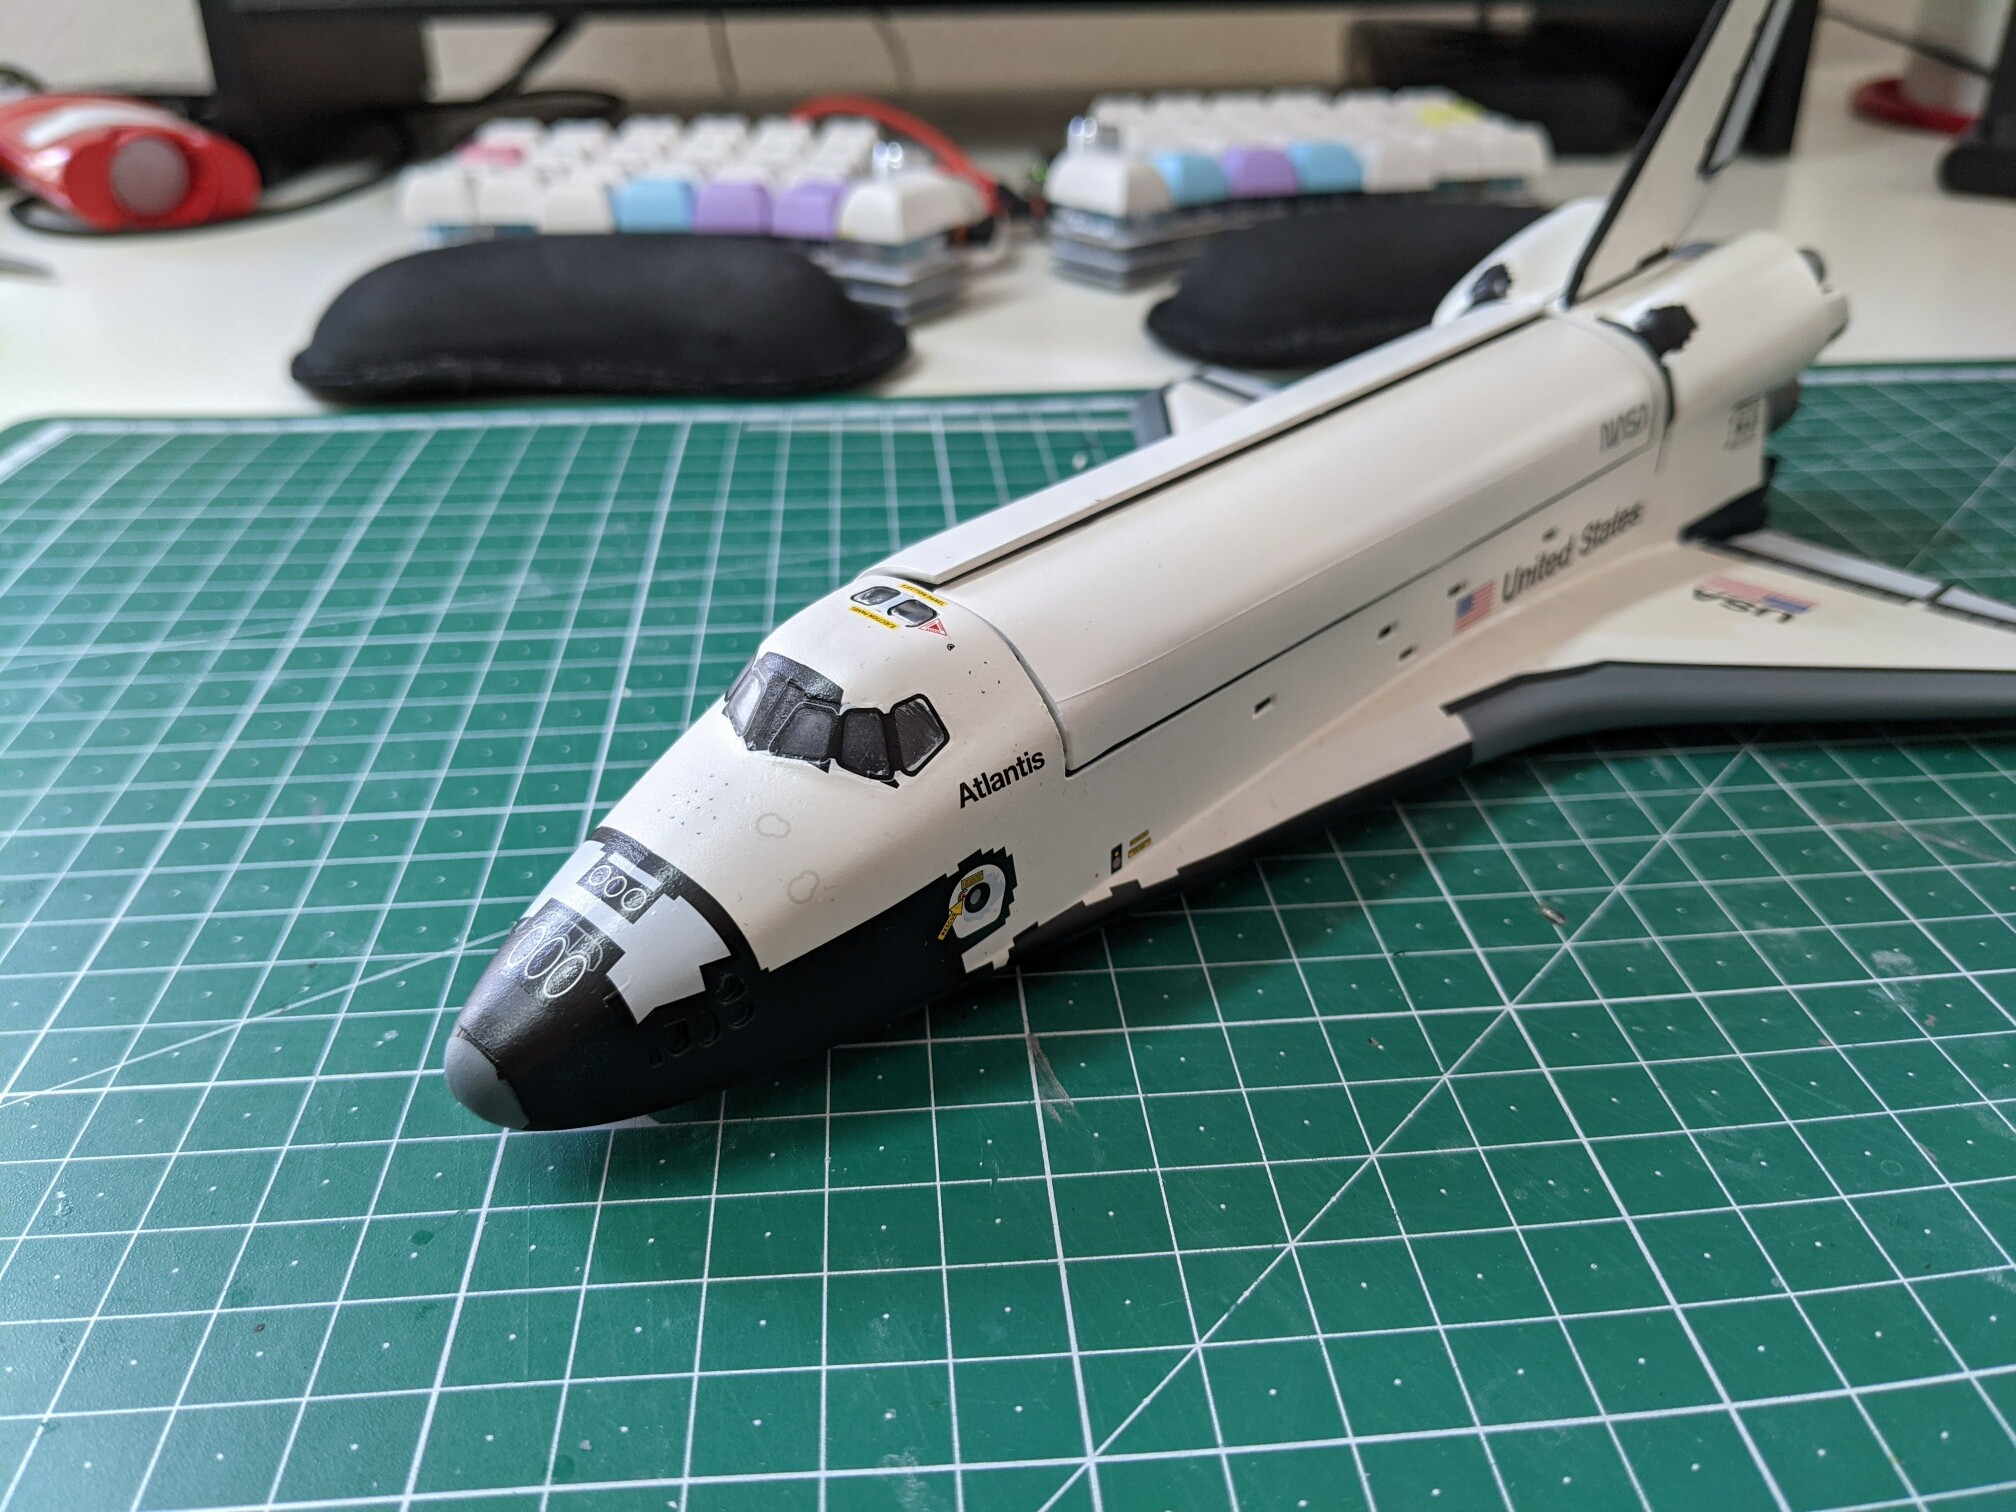
The most problematic part was around the cockpit window.

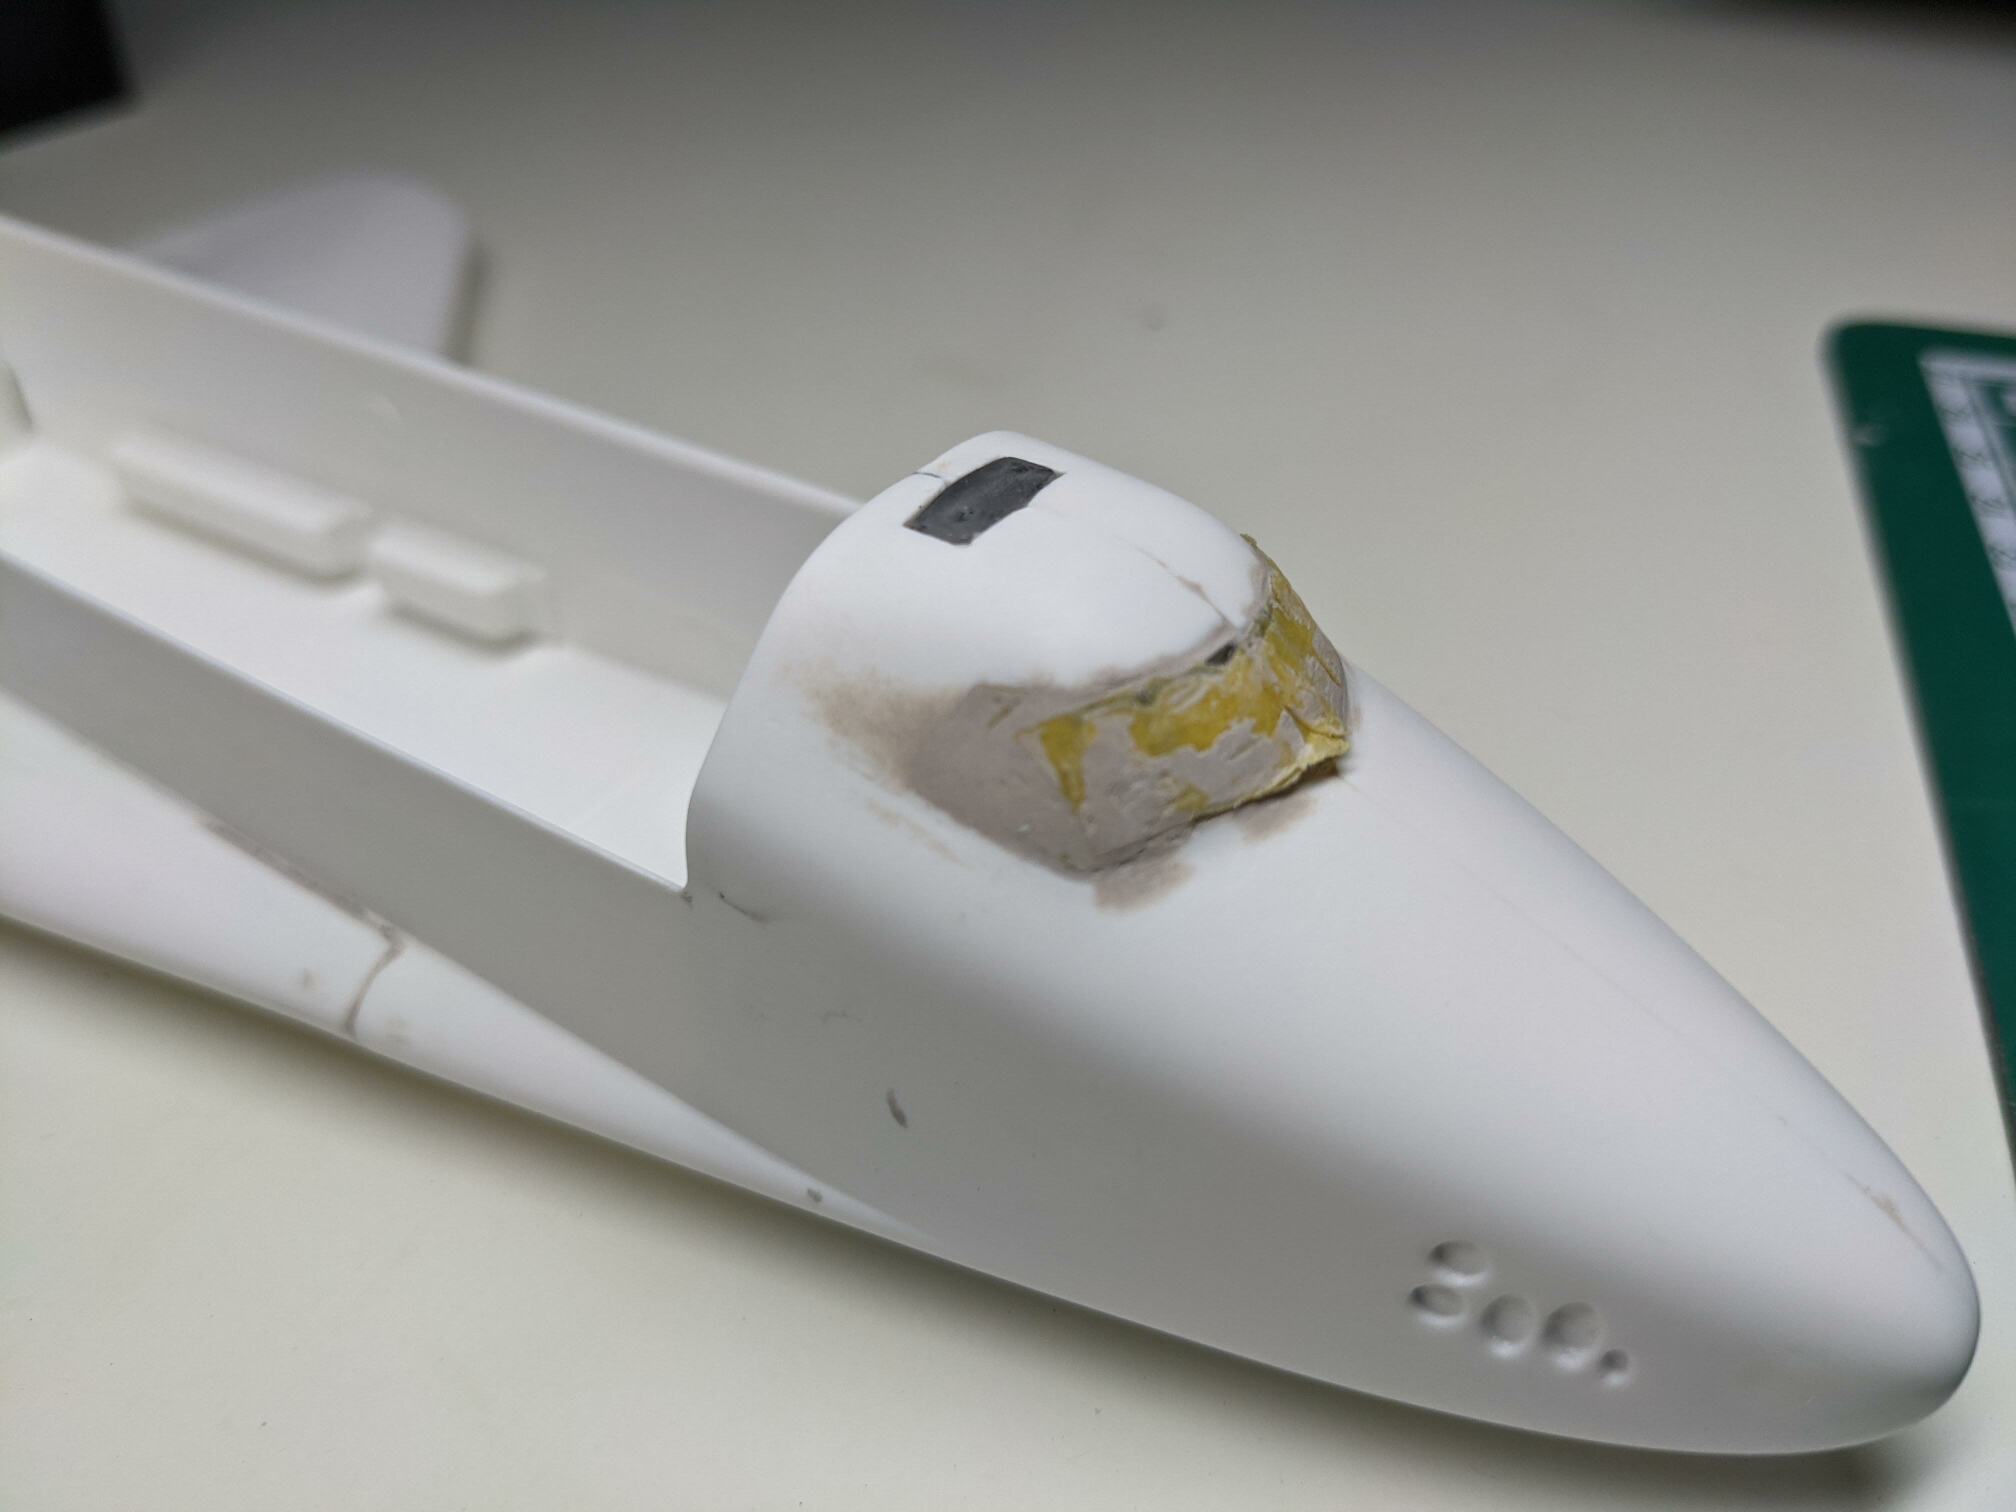
The next step was a coat of grey primer. I have used some grey primer from Edding in a spray can I had around. I am not sure if it was a good idea since I had a lot of problems with the primer peeling off later.
As they say, the primer revealed imperfections and I went through another iteration of sanding and filling followed by the second coat of primer.
Painting and first airbrush experience
My girlfriend had a barely used cheap airbrush and compressor lying around so I tried to airbrush main colours.
Learning was quite rough. The low-quality equipment combined with lack of skills and poor choice of paints led to a lot of confusion and even some frustration. I had only Revell Aqua colours which are not really made for airbrushing. They are thick and require a lot of thinning. That’s one of the details which require some experience to get right. Watching Youtube videos is not enough to learn it. One needs to learn by failing.
Another interesting detail I have learned the hard way is that white paints tend to have bad coverage properties. That’s certainly the case for Revell Aqua colours, but based on my research it is usual problem.
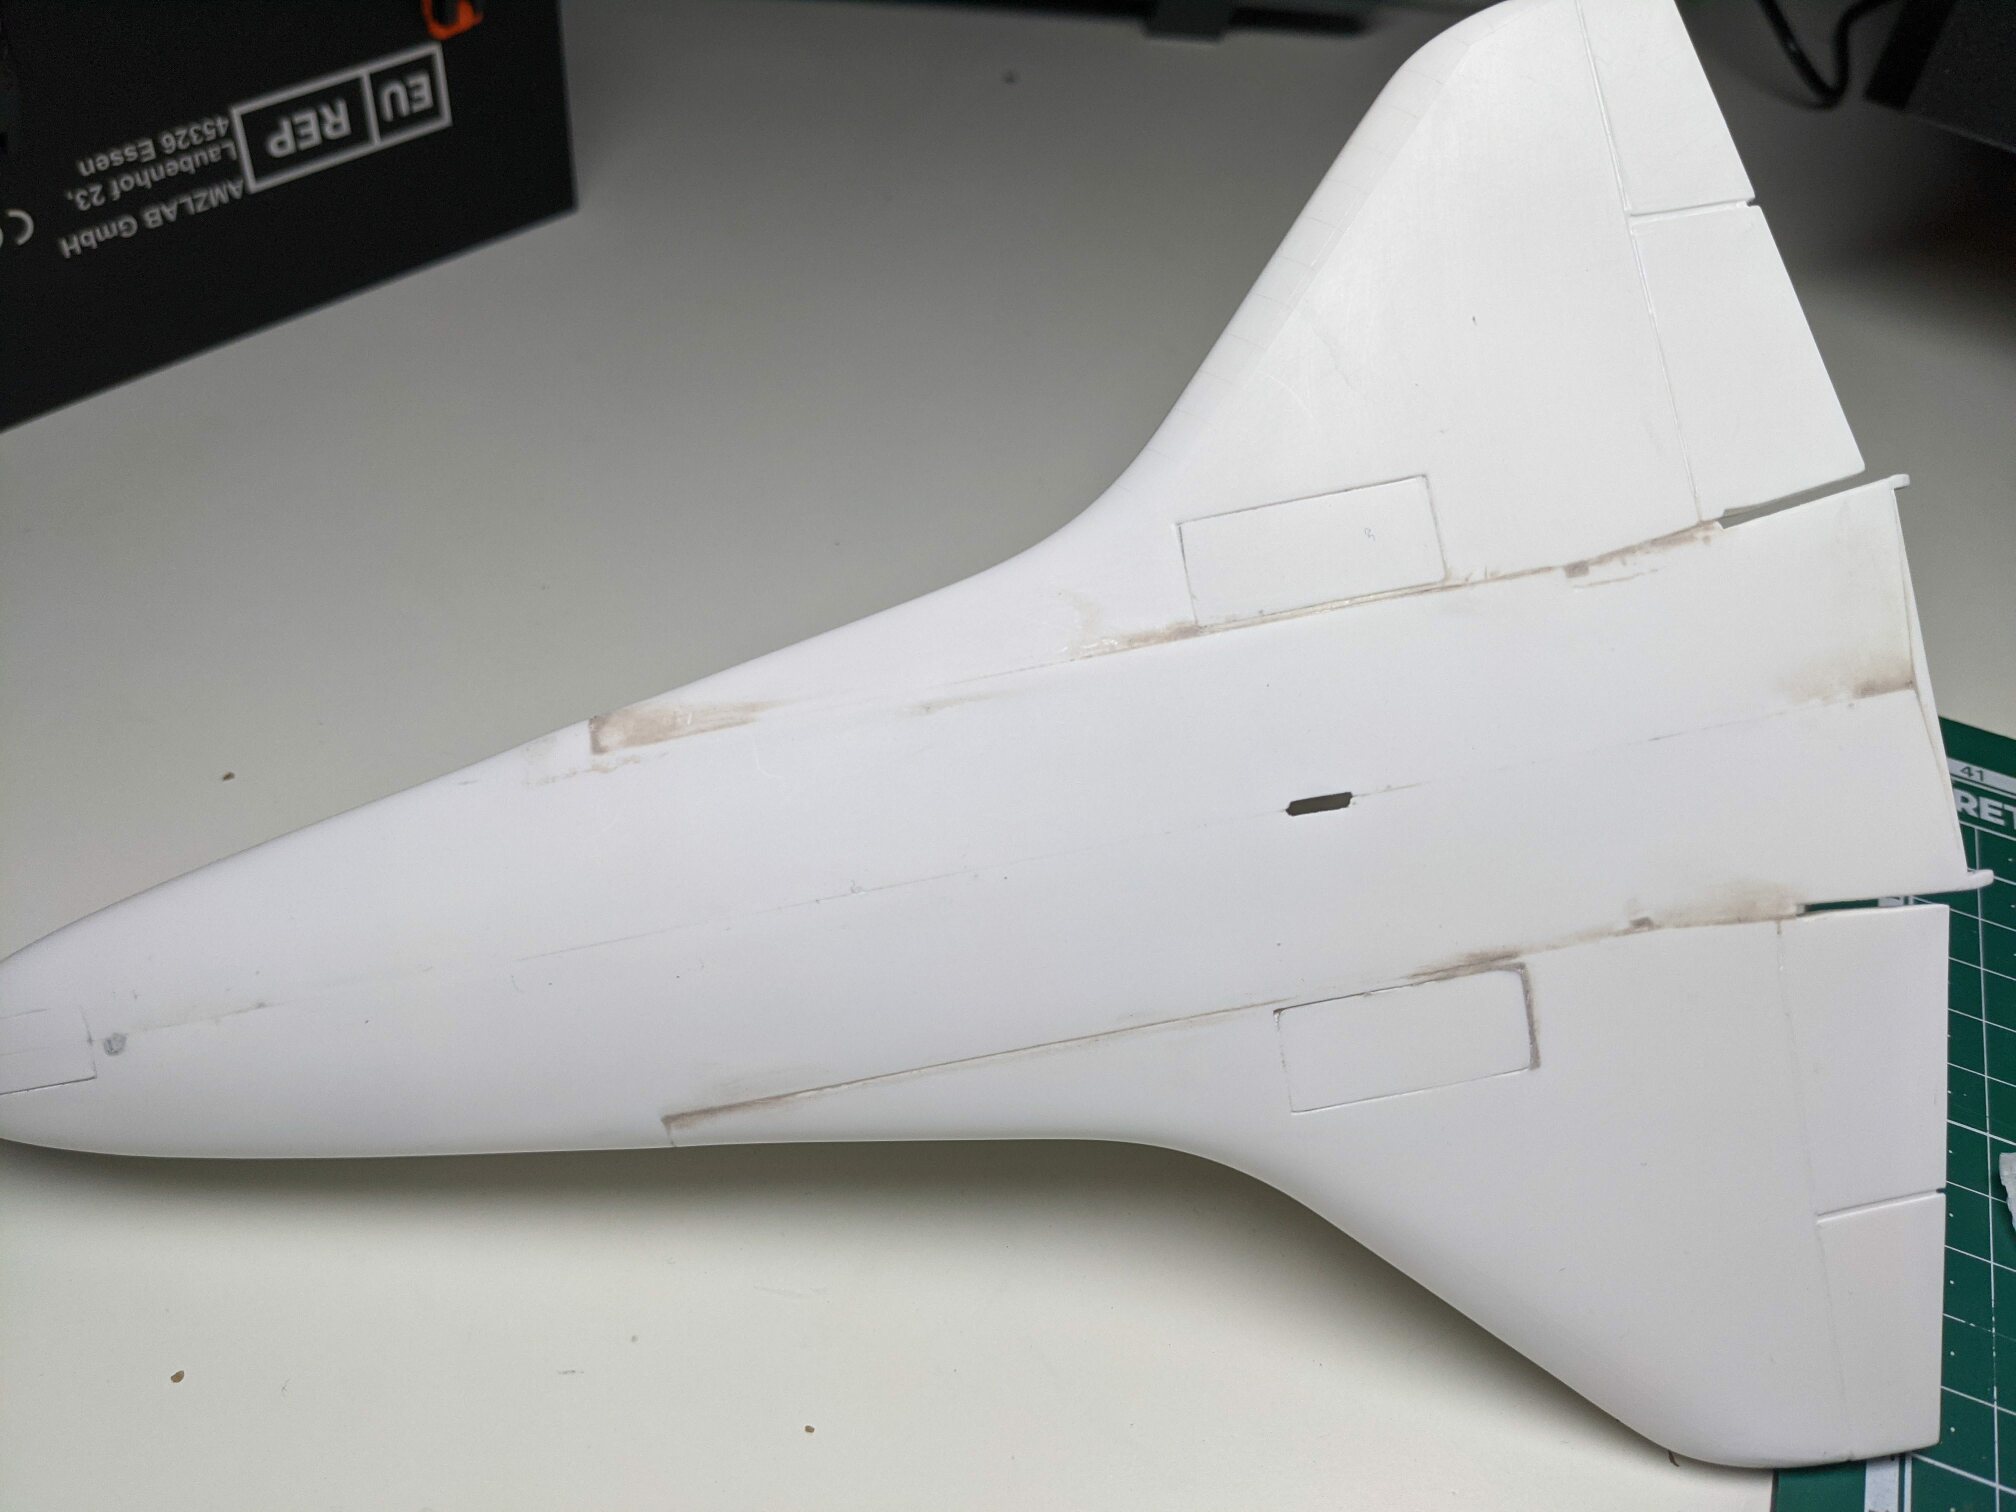
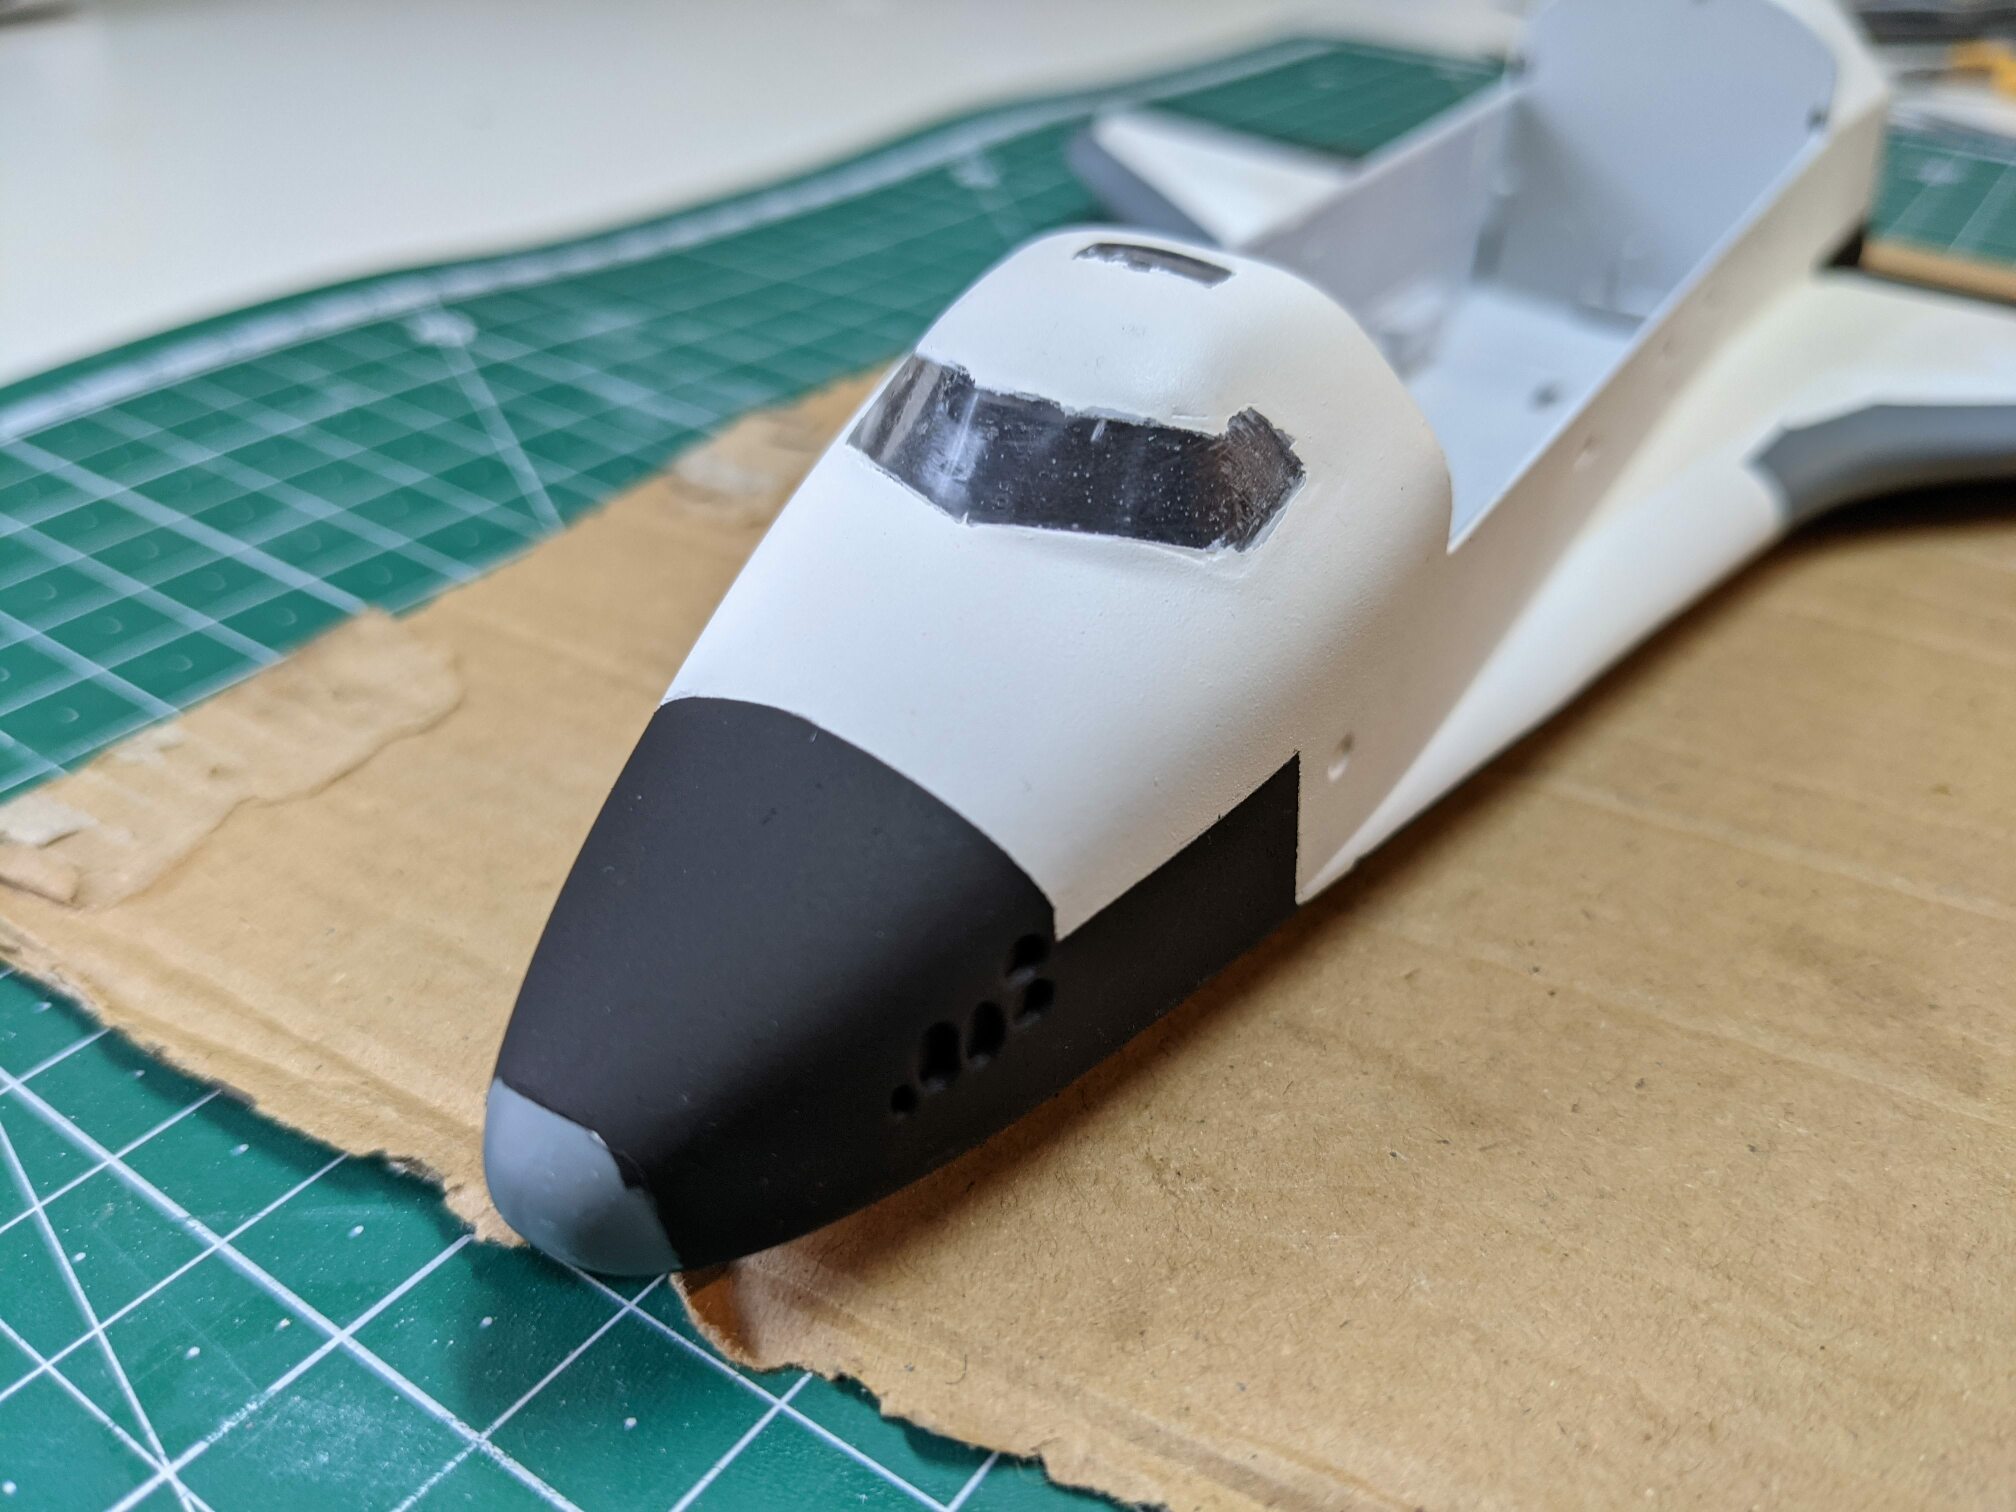
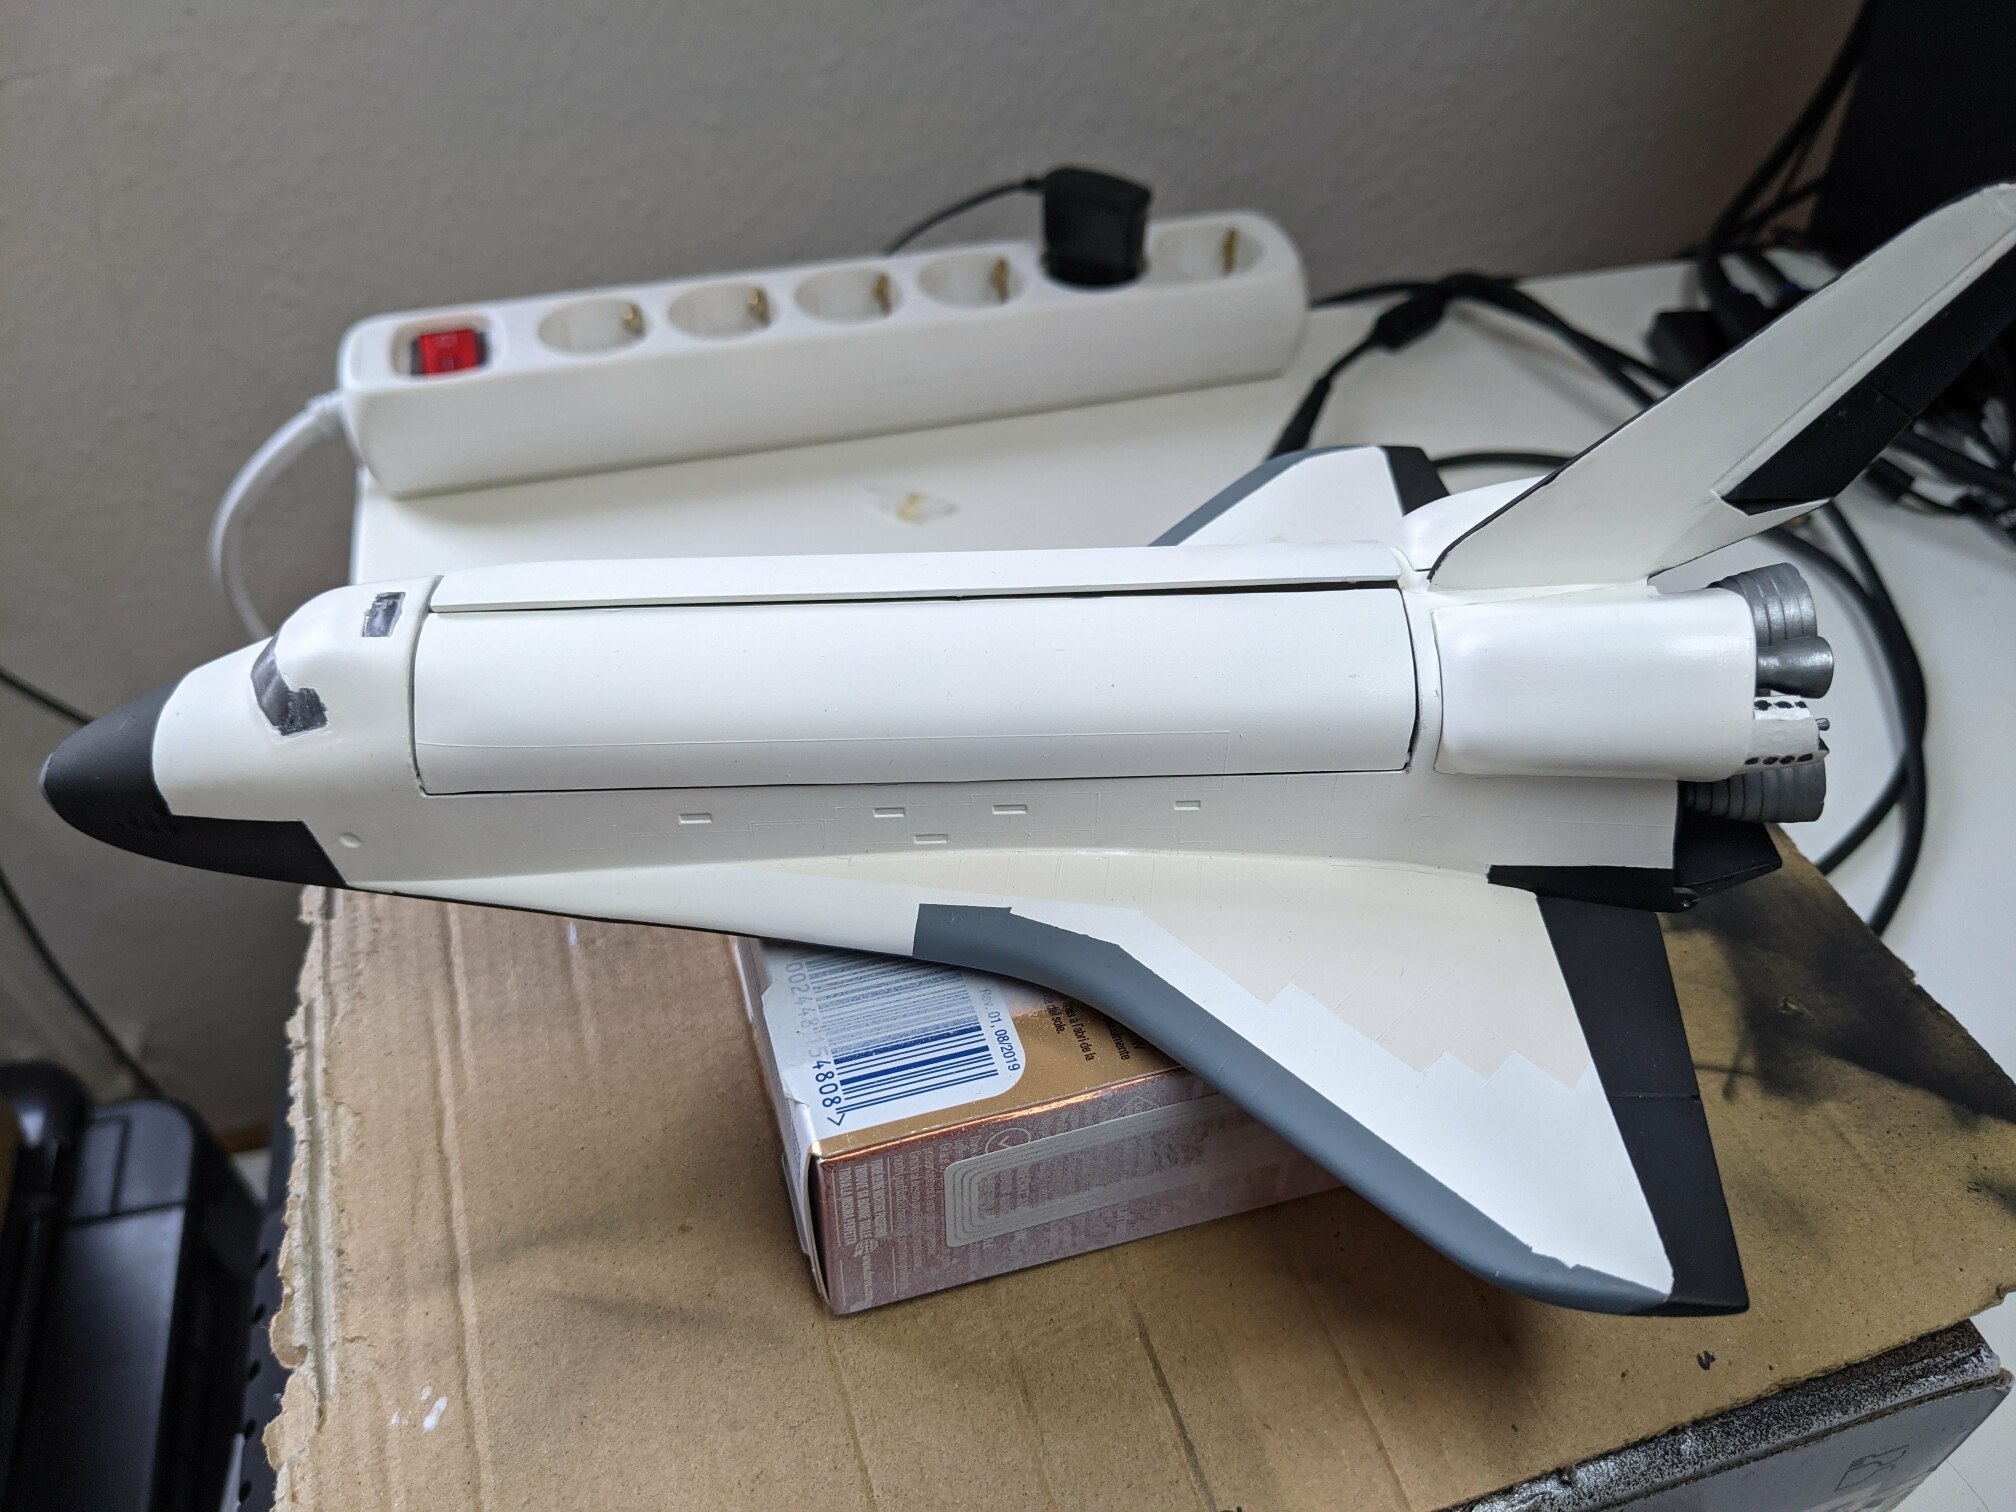
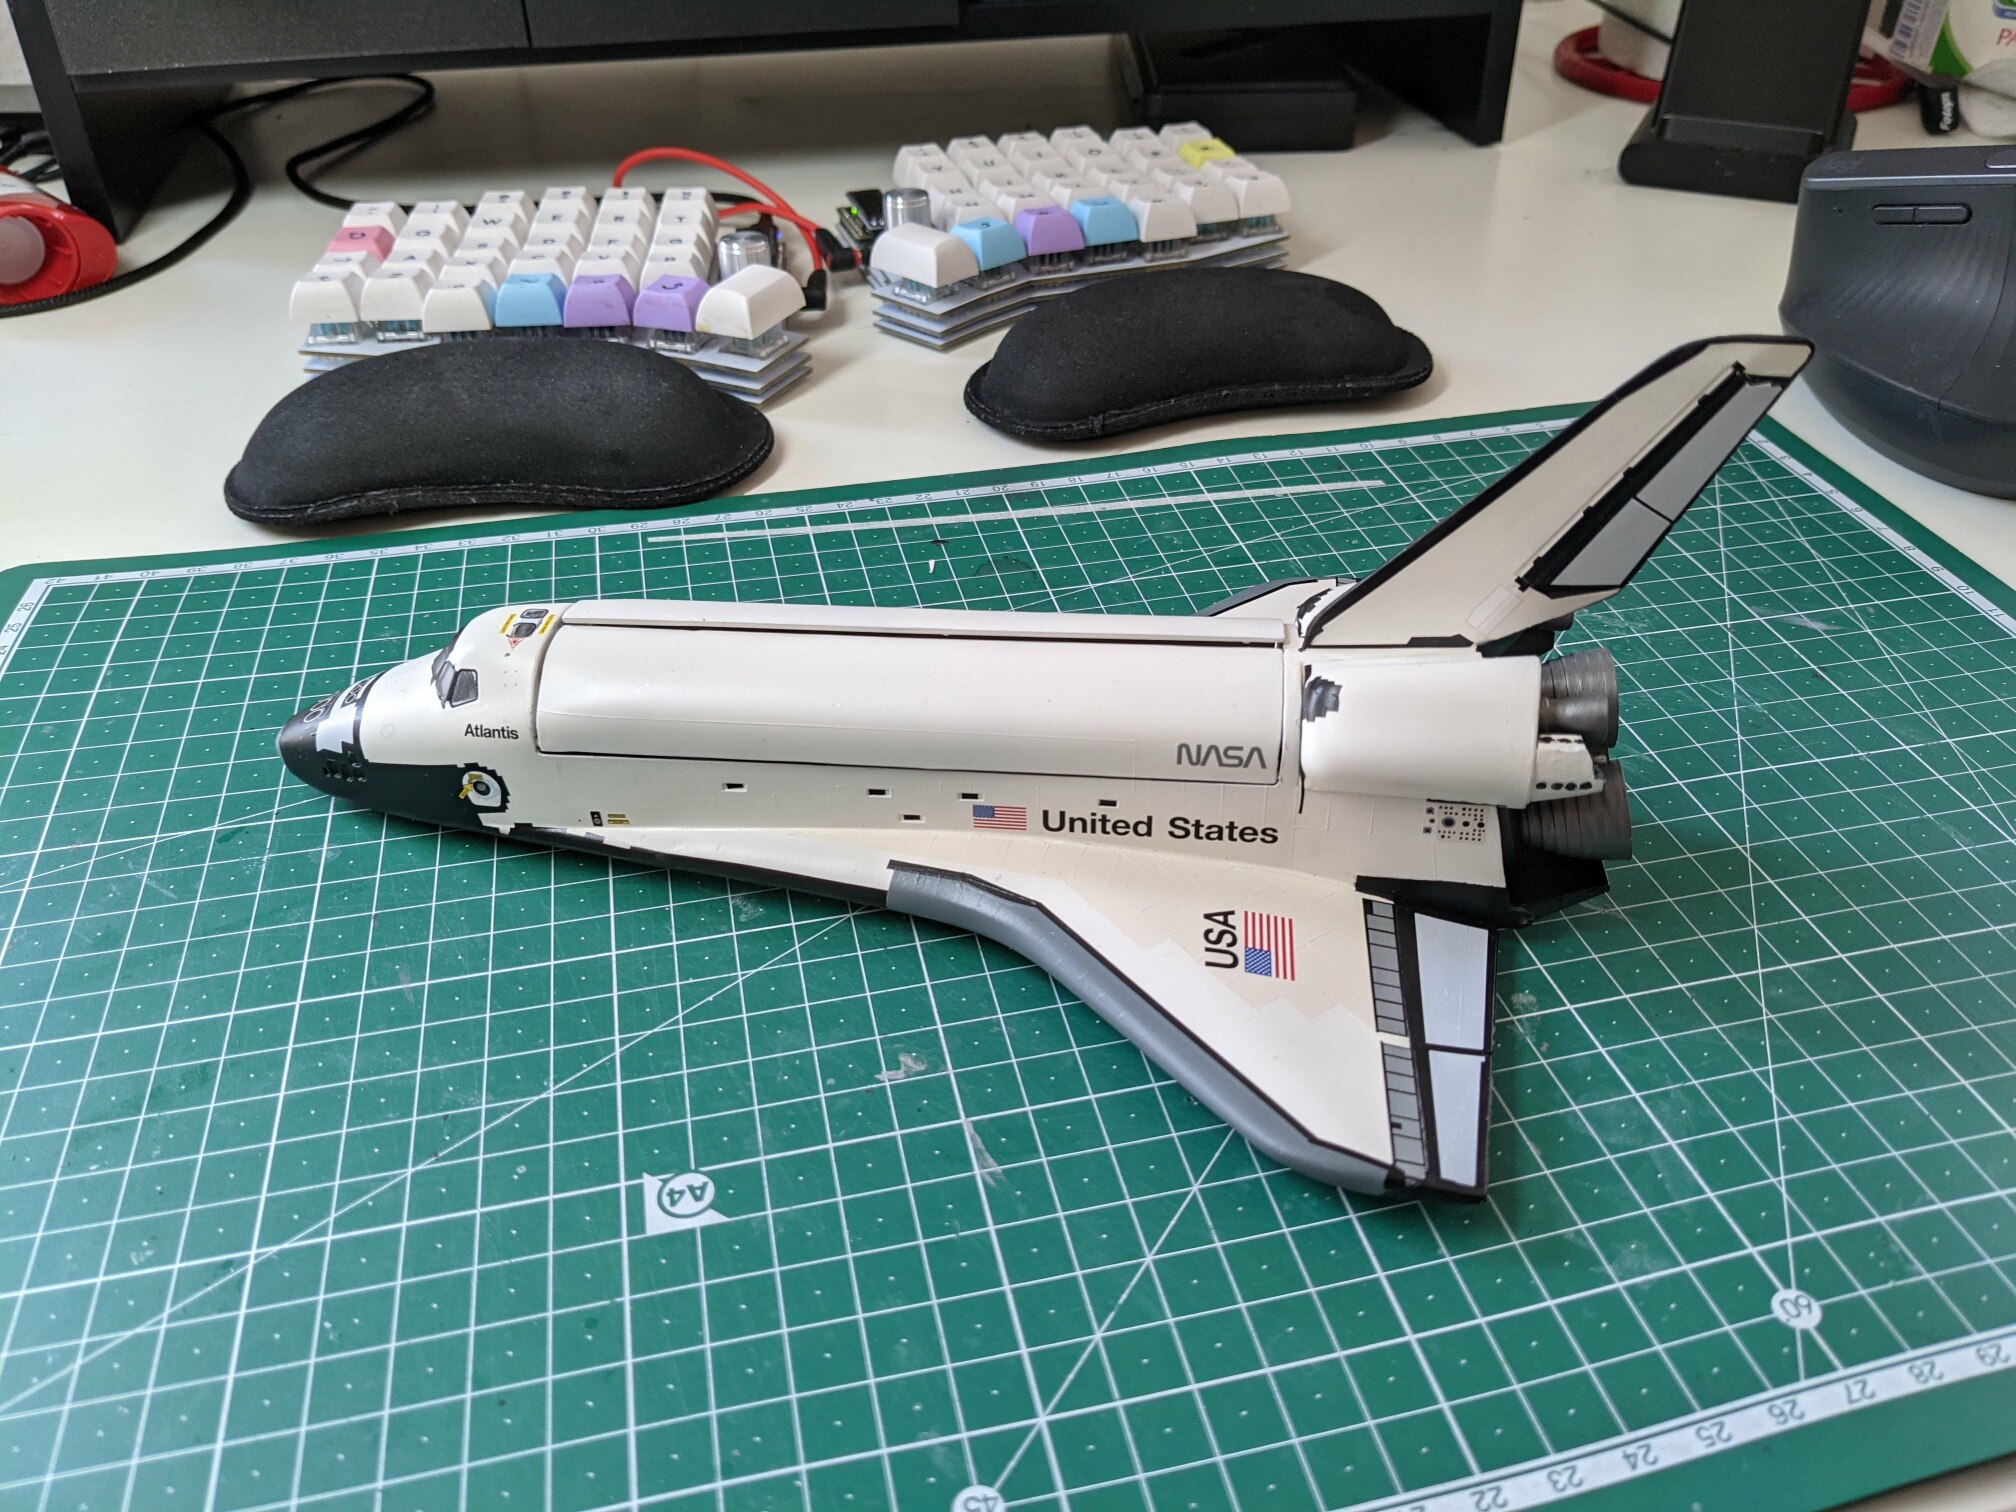
Eventually, I managed to do a basic white coat in Silk White according to Revell’s colour guide. You can see in the picture that it is quite rough and matt. Still not sure if it is just how the given paint works or if it’s my fault.
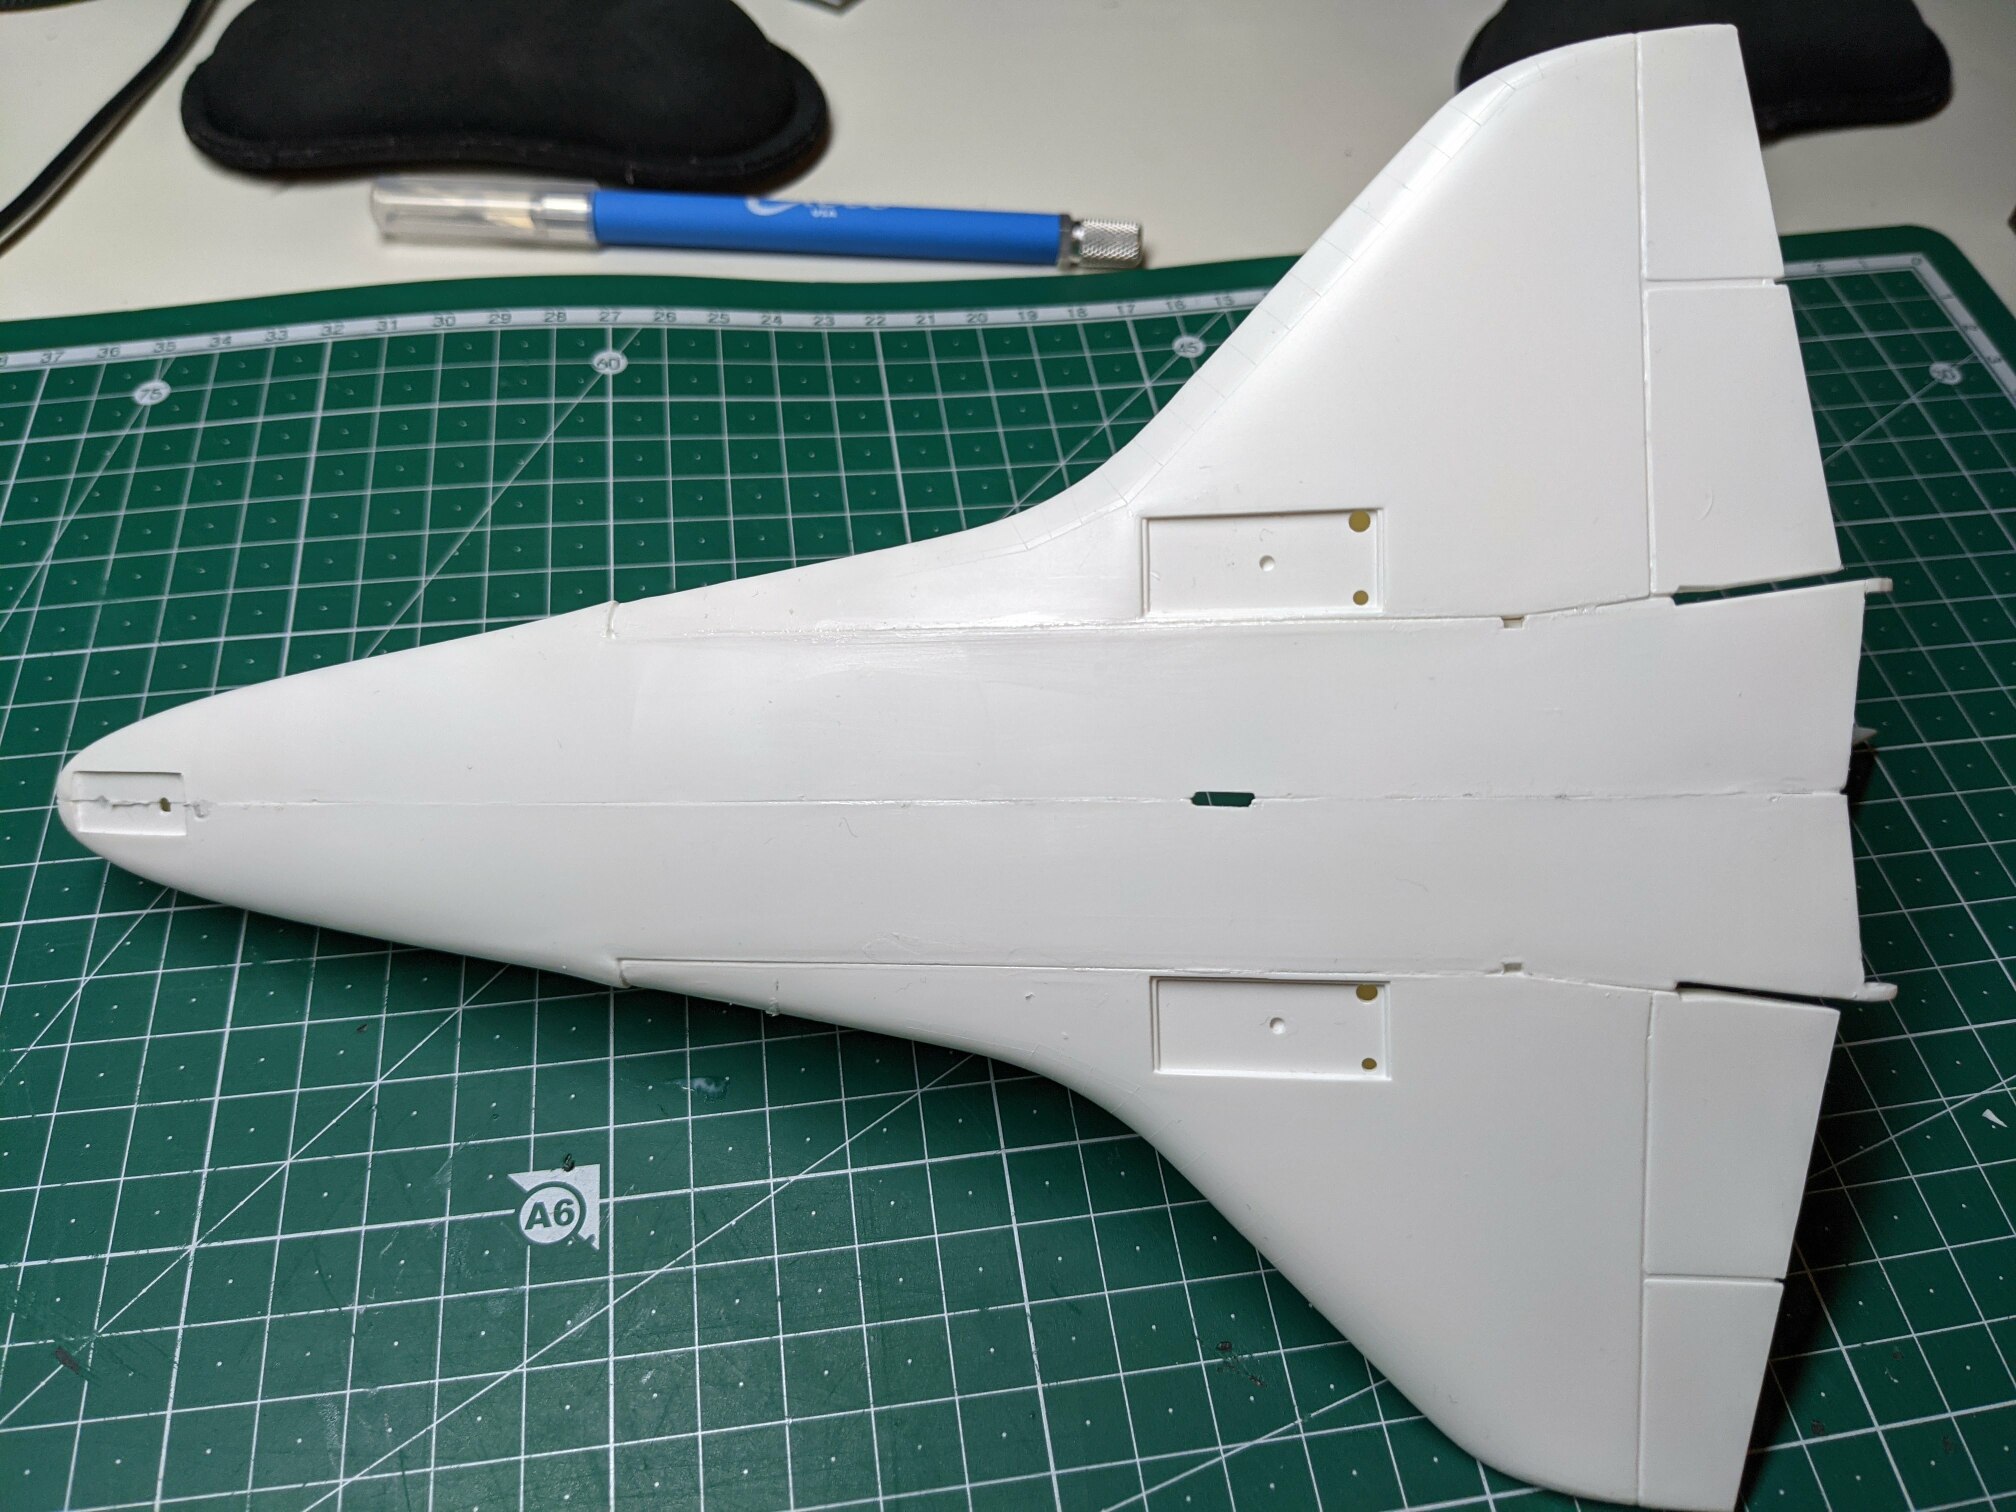
The next was painting grey strips on wings. Those required masking, another first for me! The top of the wing was easy thanks to a thin embossed line I could use as a guide for most of the masking. The bottom was harder since there was no line (or maybe I accidentally sanded it away).

Next, I airbrushed part of the wing in white colour (doesn’t really look like white, but it is Revell white). There were several designs in the paint guide depending on which Shuttle and which time period one would choose. I am not that invested in accuracy and to be honest, I don’t really trust Revell in providing the correct information. So I improvised based on the options in the guide.

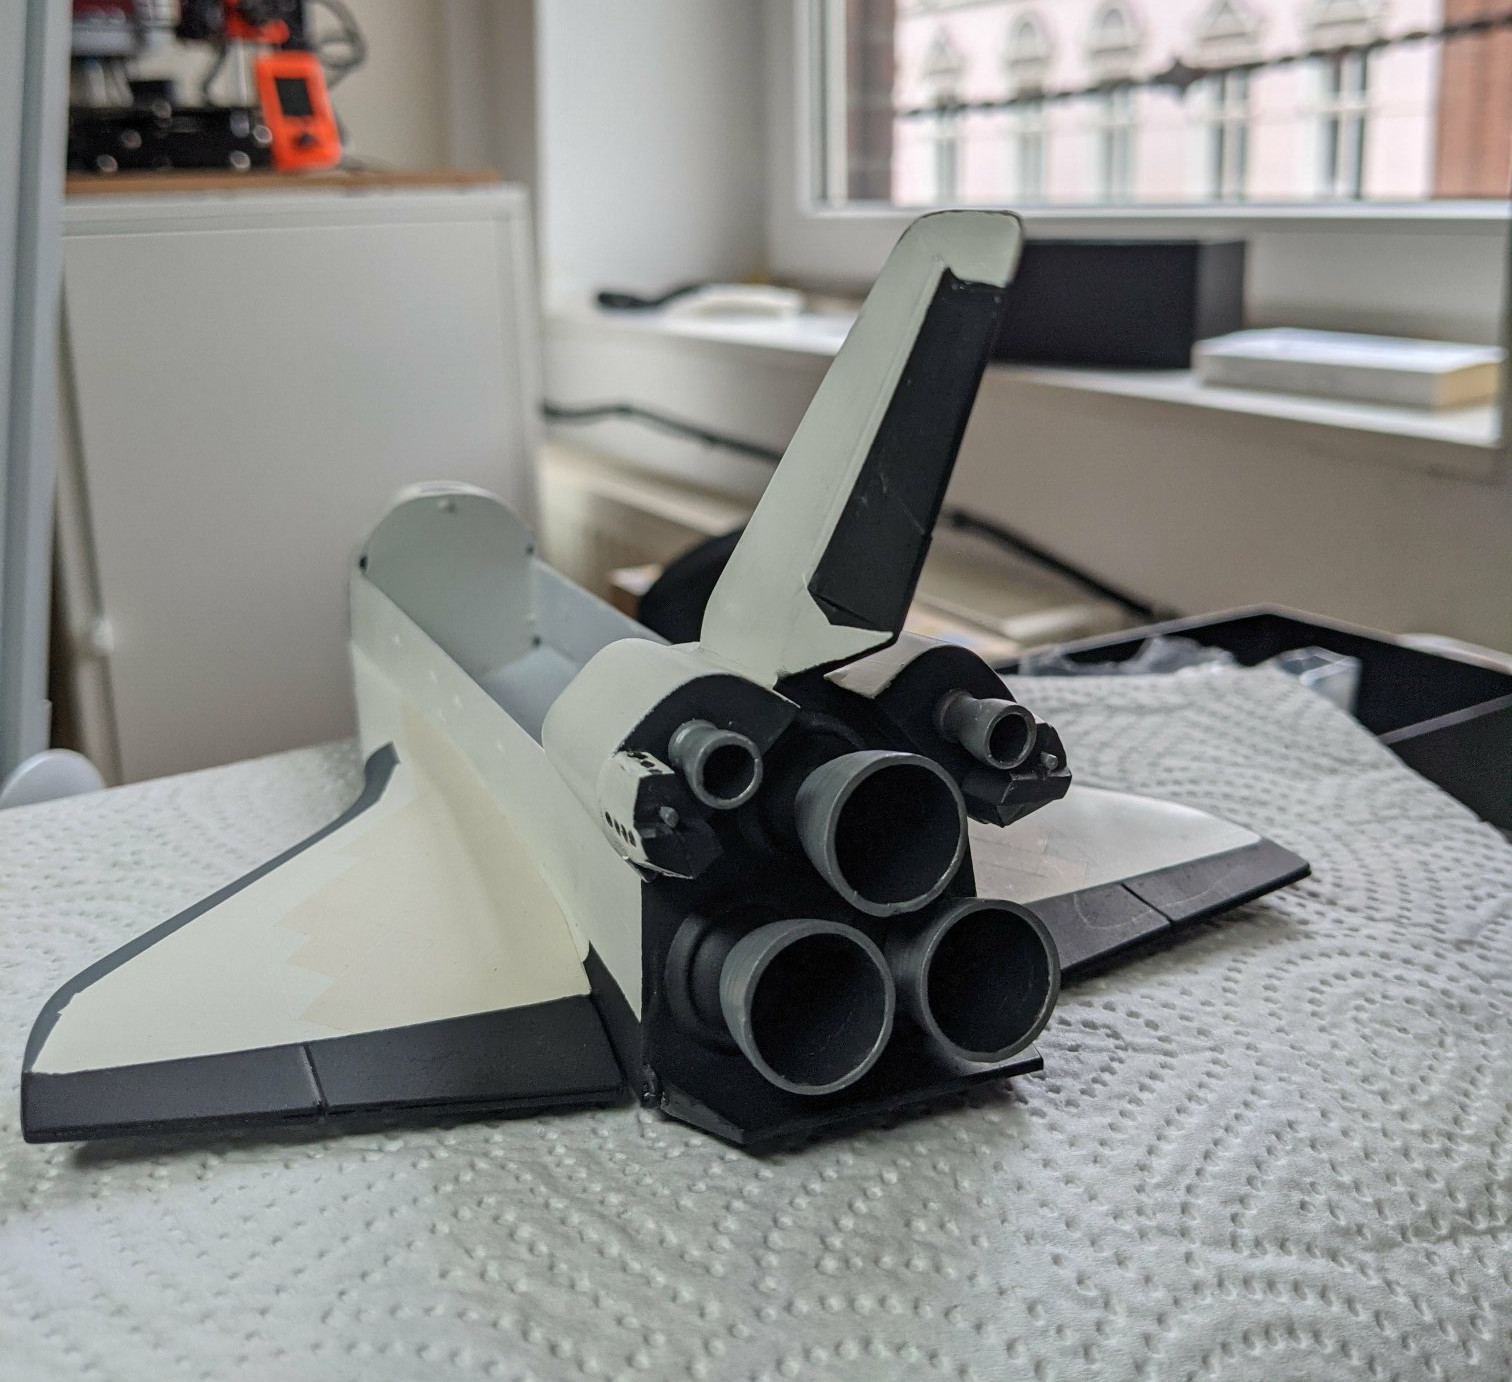
The last airbrush job was anthracite colour on the bottom and some black around nose cone and in the back. The tricky part was to mask everything well. There were no embossed lines to help with the nose cone and accurate masking was required since some water-slide decals should be applied to those places later. I spent some time transferring the decals on pieces of parchment paper and trying to figure out where exactly should the lines be.


My masking wasn’t perfect in any step but I would say good enough for my first airbrush painting attempt. Sadly, I peeled off the paint and primer in few places when removing the masking tape.


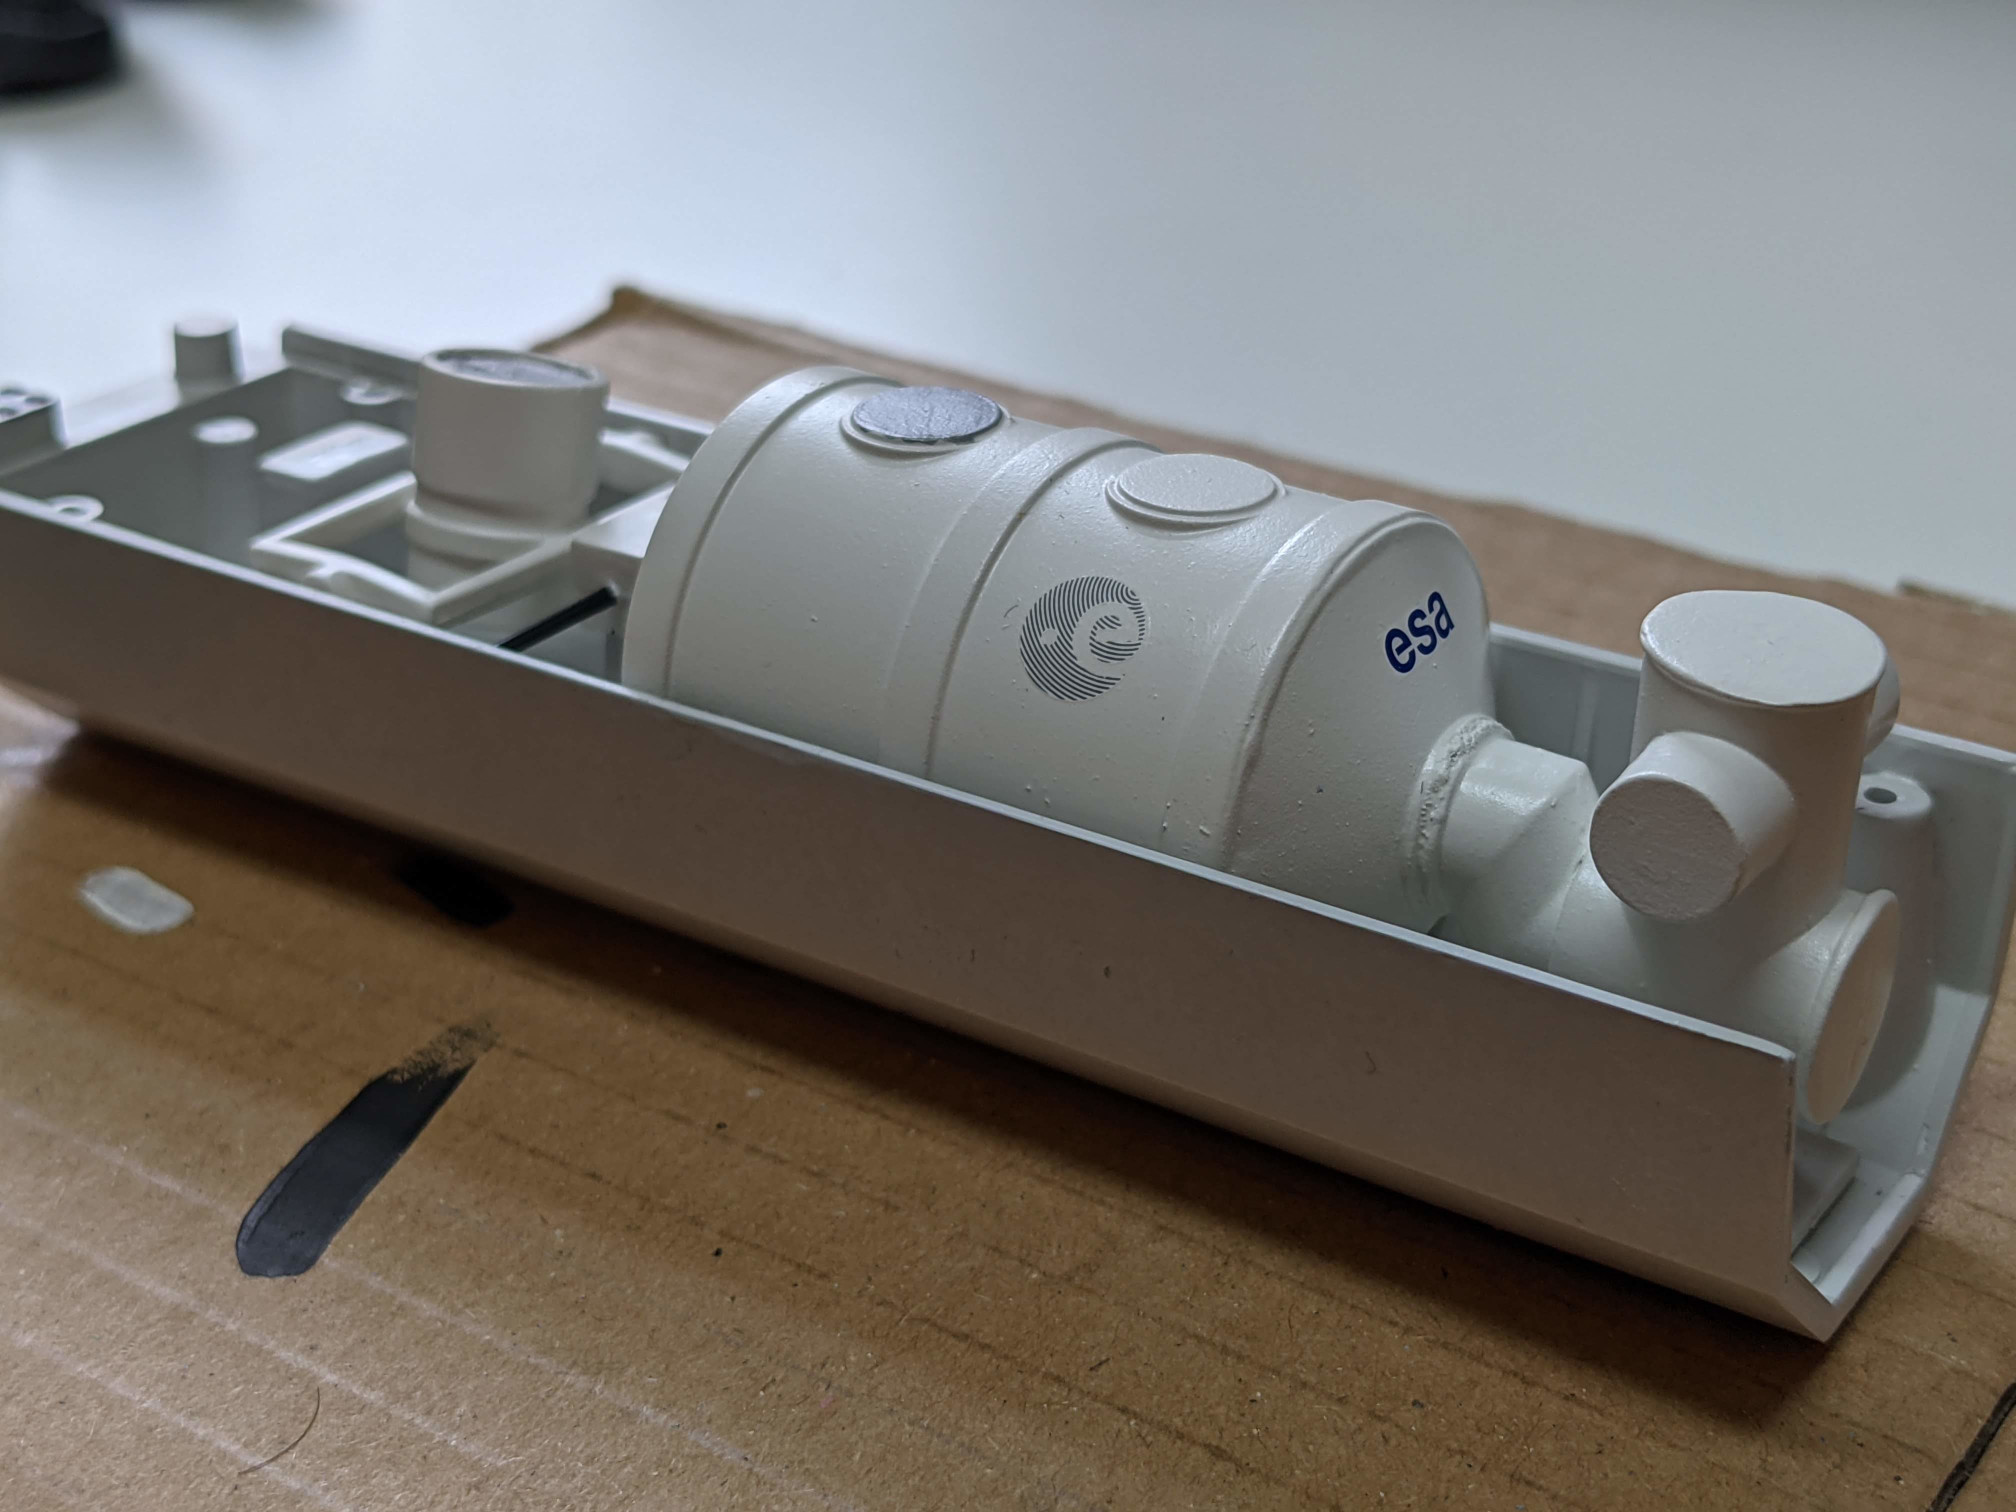
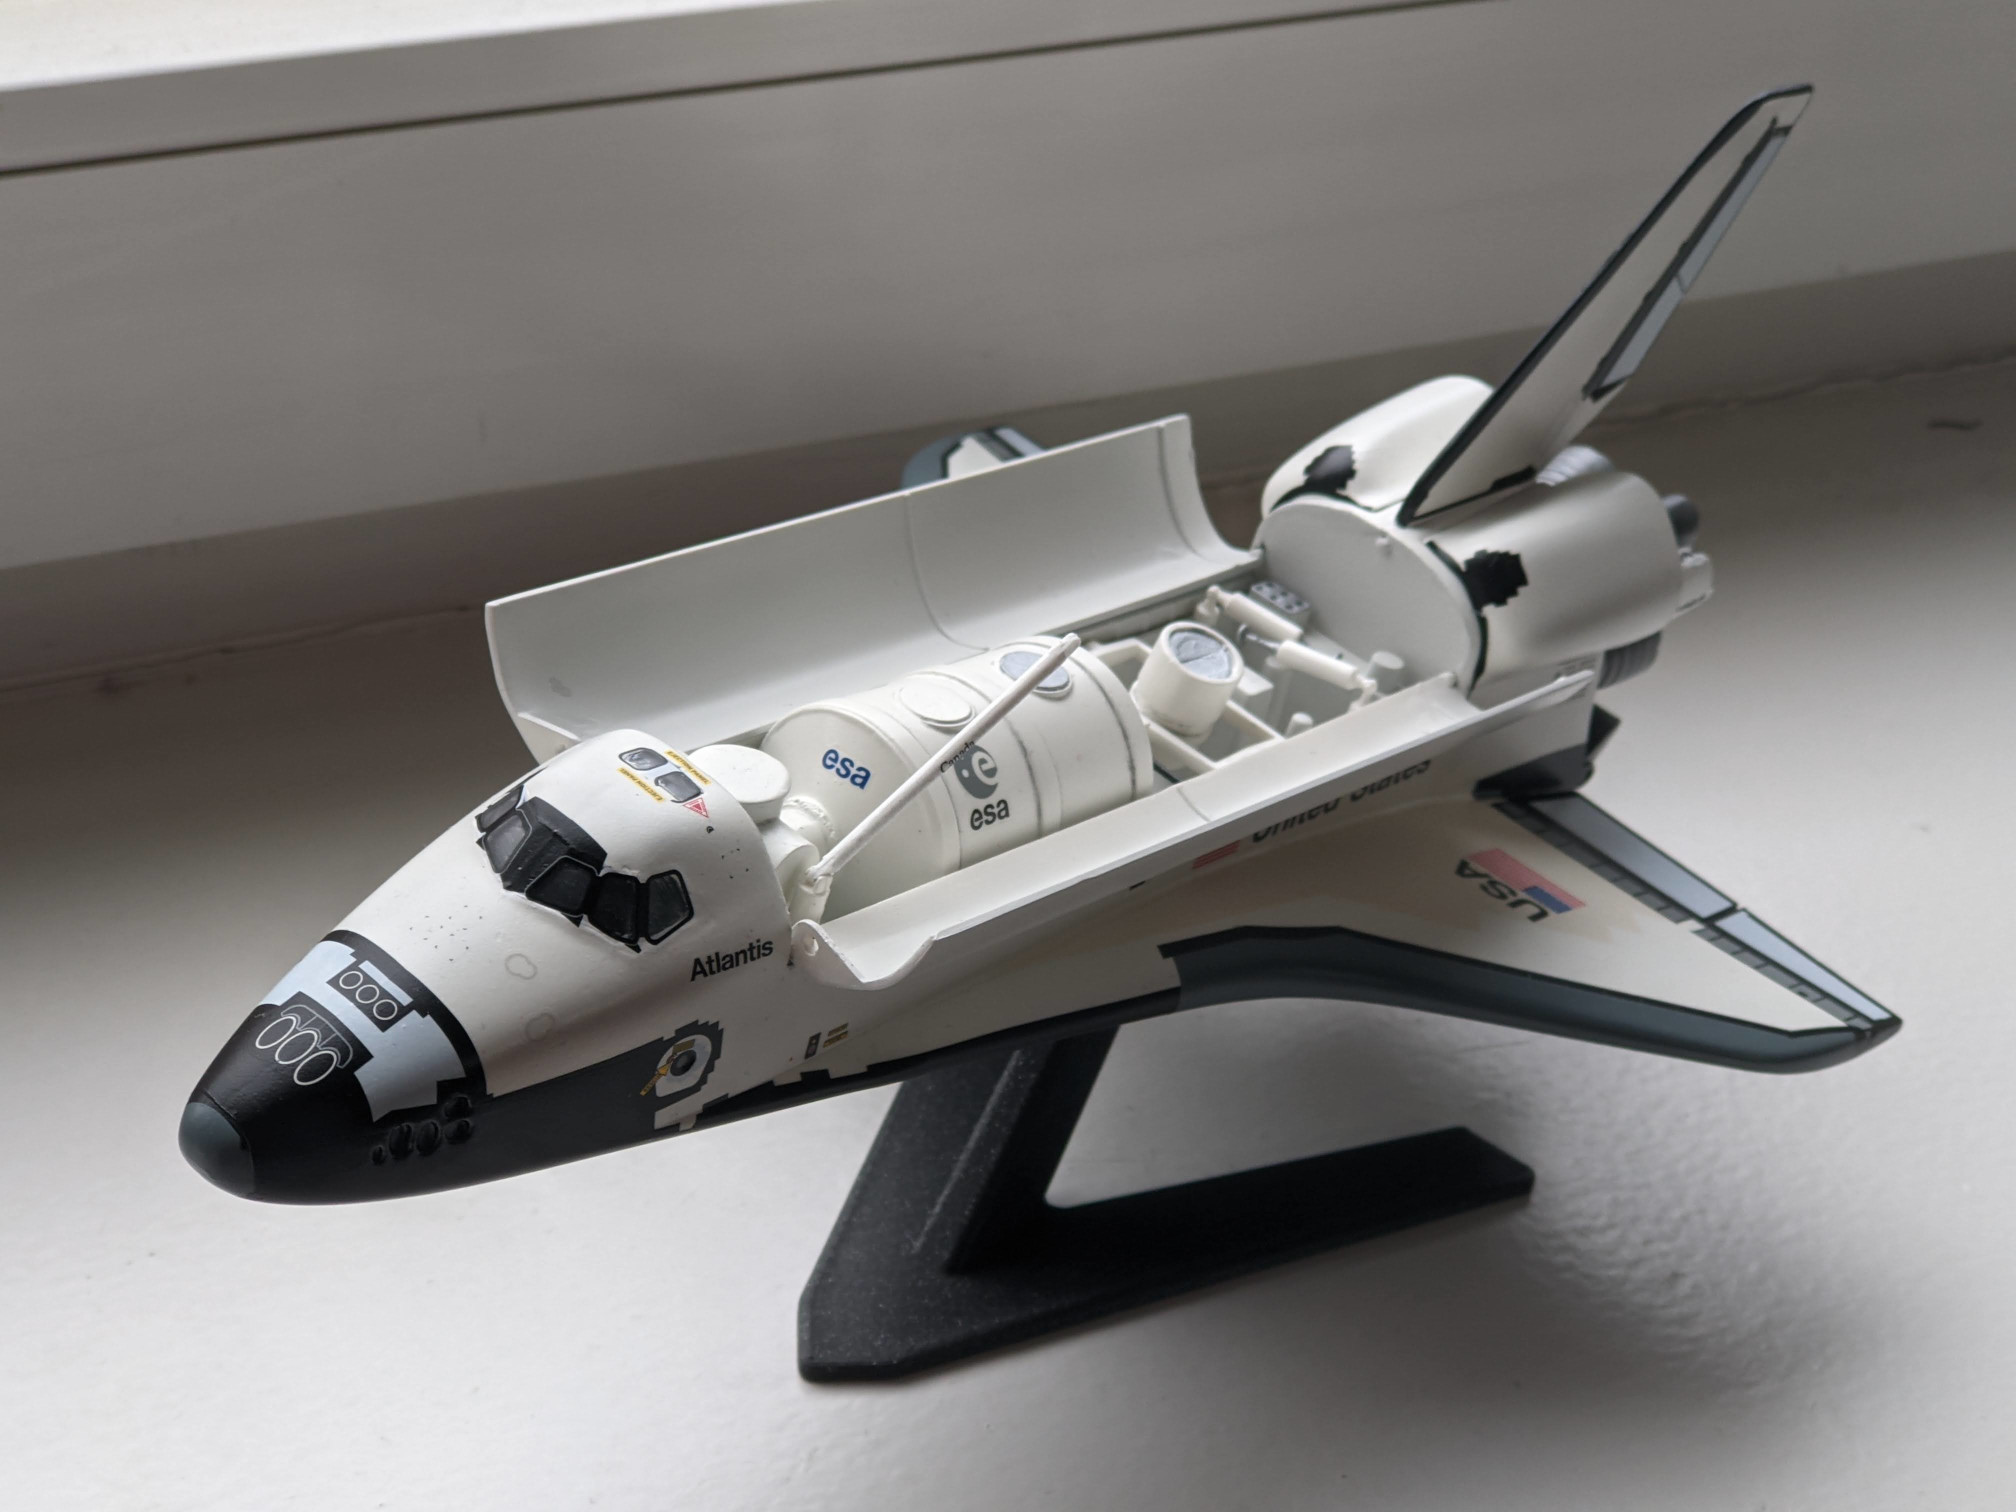
The payload - ESA Spacelab
Part of the kit was the ESA Spacelab module and some instruments. I tried to find which mission it is supposed to represent. Revell doesn’t provide such information. I didn’t manage to find any photo of exactly this configuration. I have found only an illustration on Wikipedia which looks like a possible source of inspiration. I didn’t spend much time doing the research, though.
Nevertheless, I built it and hand-painted it according to Revell’s instructions. There was an error in the paint guide where they had a reference to an undefined colour for one of the disks at the top of the module. I used a bit of silver which seems to be good enough according to the photos.
Water-slide decals
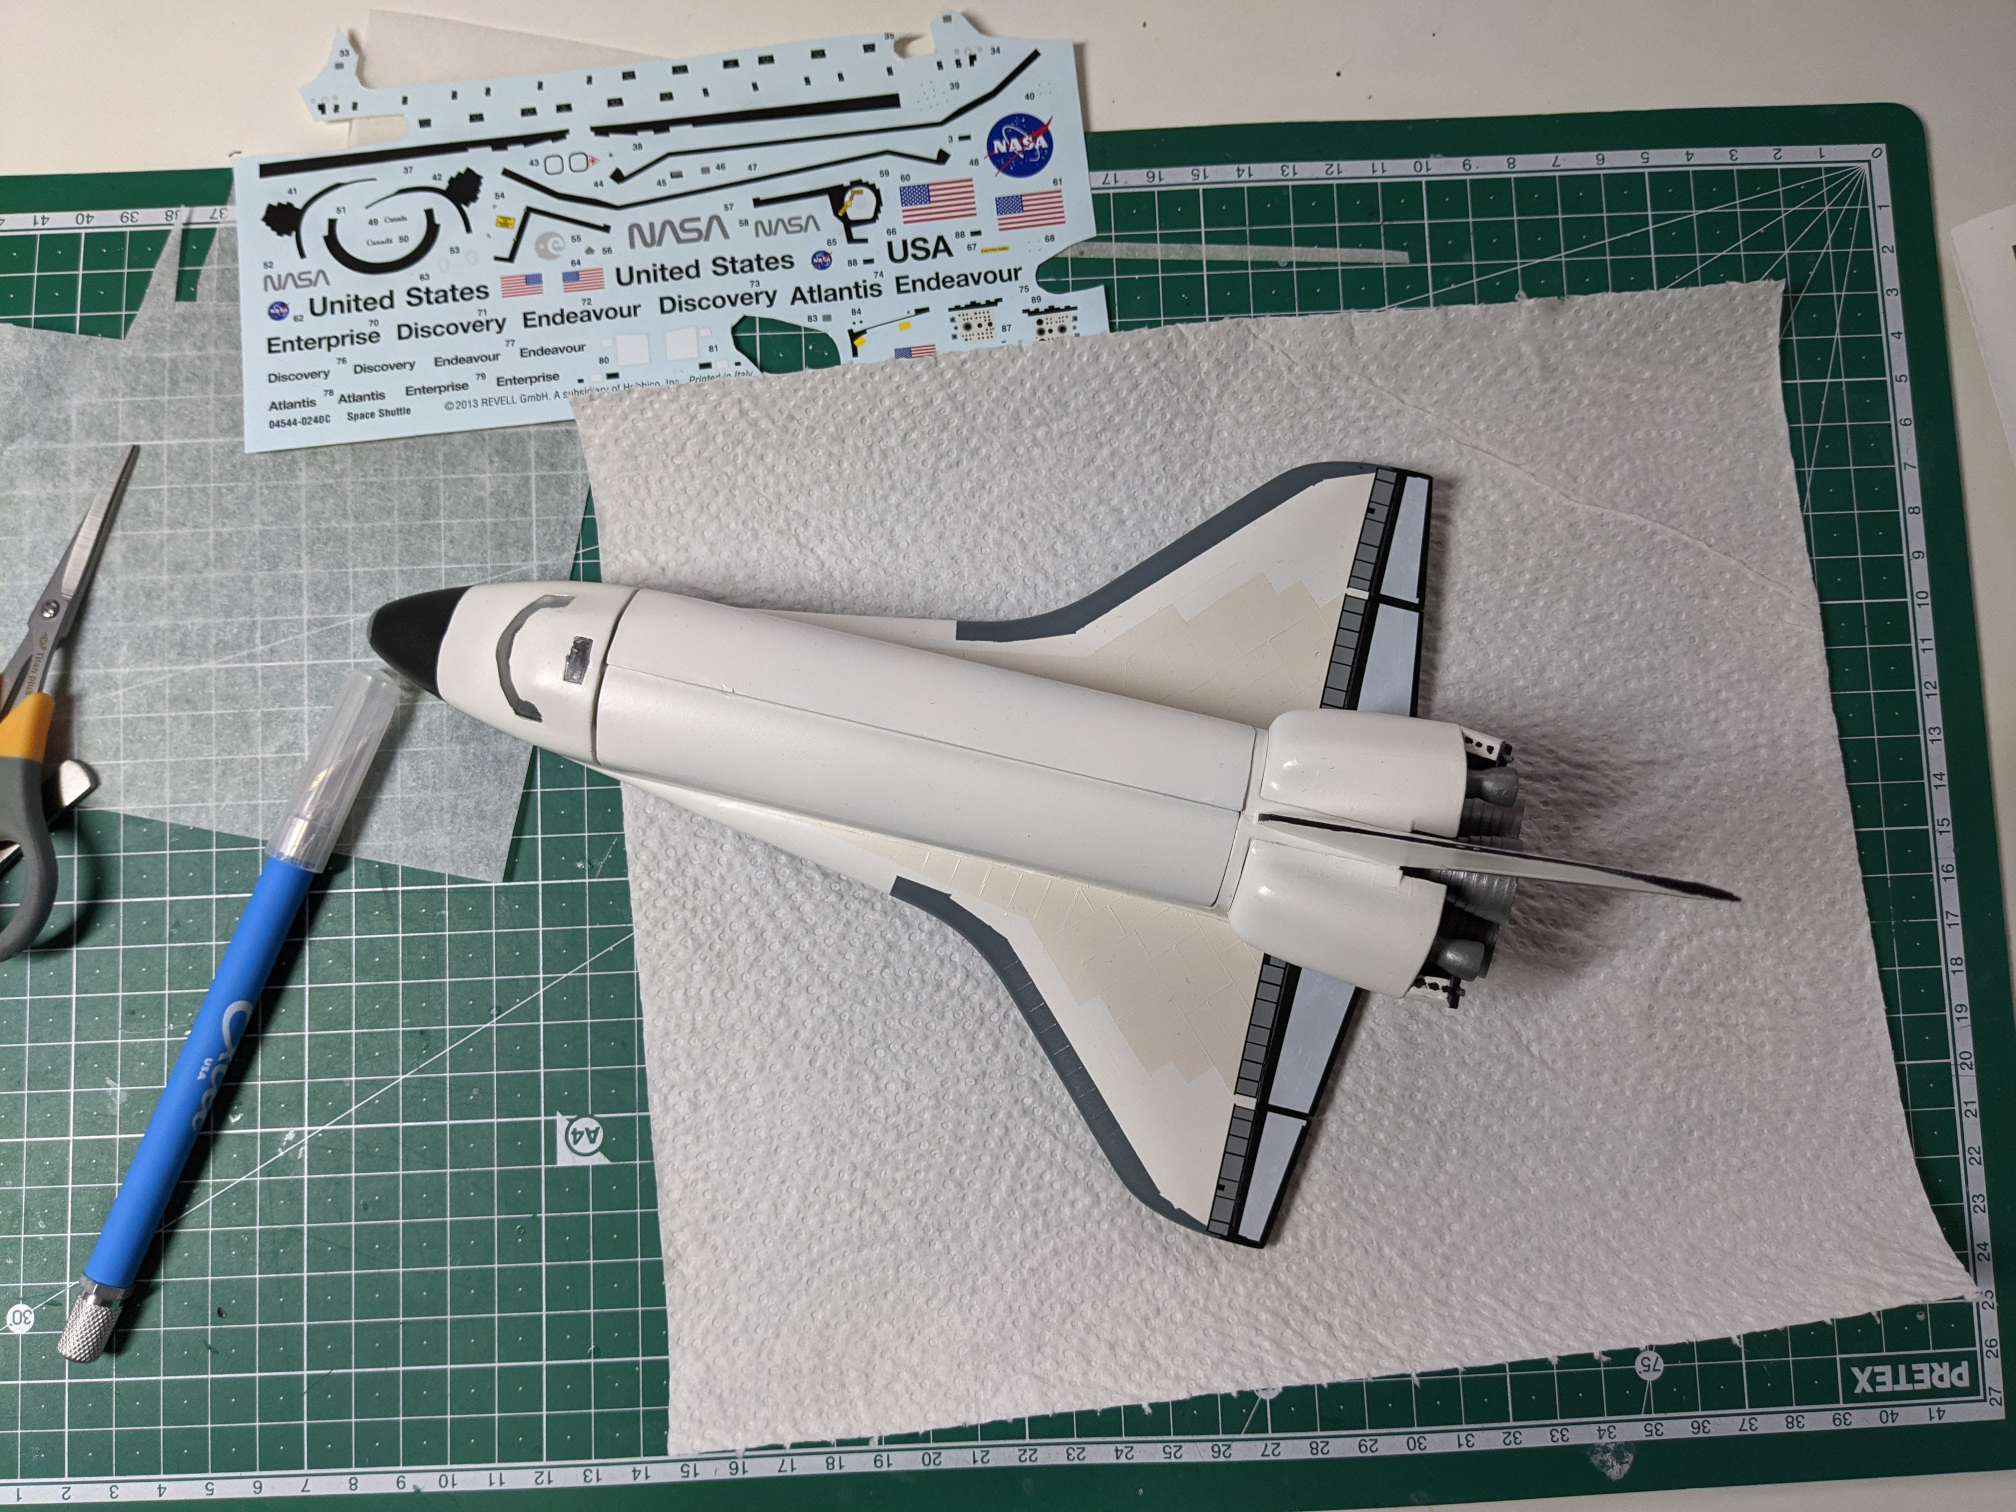
The kit has quite a lot of decals. The positive side is that several of the big ones are there to make the paint job easier. They cover boundaries between painted colours and therefore cover mistakes on the boundaries. In some places, they create a thin line that would be tricky to mask or paint by hand. The negative side is that application of big, fragile decals is a finicky job.
I have applied a clear coat upfront because I remembered it’s a suggested step before applying decals. What I didn’t know (or forgot) was that it is important to use a gloss coat. I used a flat coat. Water-slide decals were not really happy to slide on matt surface. Eventually, I managed to apply most of them while destroying only a couple. I must admit that this step involved a lot of swearing and was my least favourite. That’s British for “I hated it”.
Finished and not finished
I am quite eager to try some weathering techniques, but I didn’t really know how to weather a Shuttle. I tried to apply some homemade acrylic wash on the Spacelab hoping It could make shadows more pronounce but it didn’t behave as I wanted so I panicked and gave up.
The only missing parts now were the heat radiators which are installed on the inner part of payload area doors. Revell suggests painting them with aluminium colour. I was hoping for a nice shiny coat and even did a gloss black undercoat before I airbrushed Revell Aluminium. But the paint ended up being very matt and sandpaper-like. It looks more like grey than aluminium. I didn’t expect a mirror-like finish but I did expect a bit more shine.
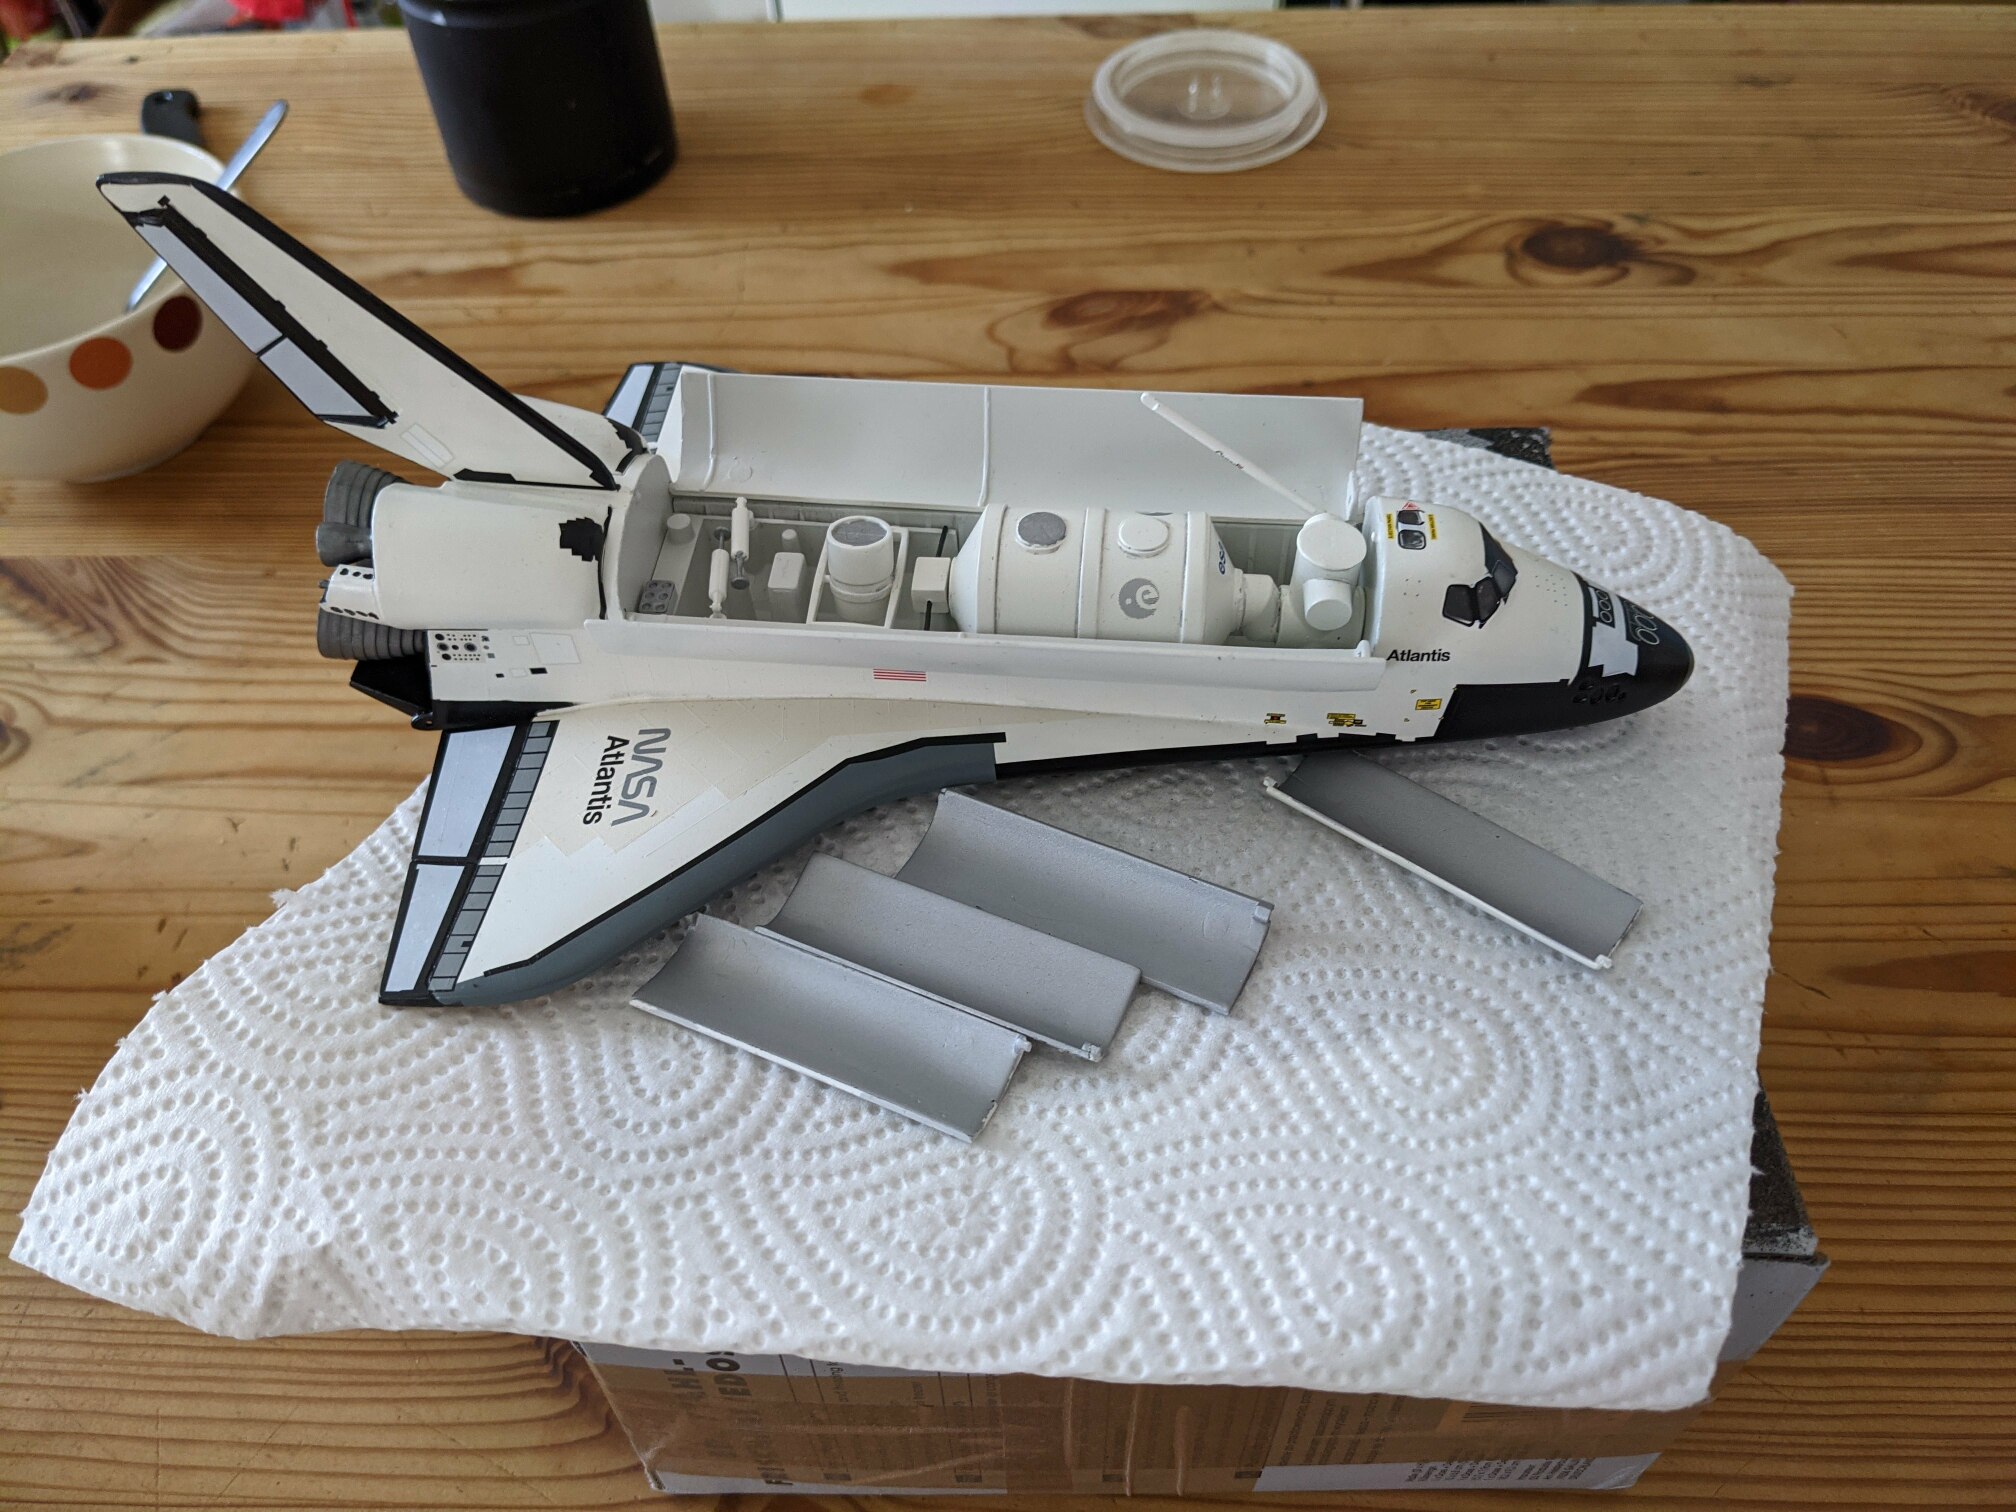
This failure demotivated me a bit and I put the model aside for some time. But I have already stripped the paint from the radiators and I’ll try to paint them again. I’ll try another paint and maybe pay more attention to thinning. And if it is not going to work for the second time, I might just cut few pieces of Aluminium foil and glue them on.
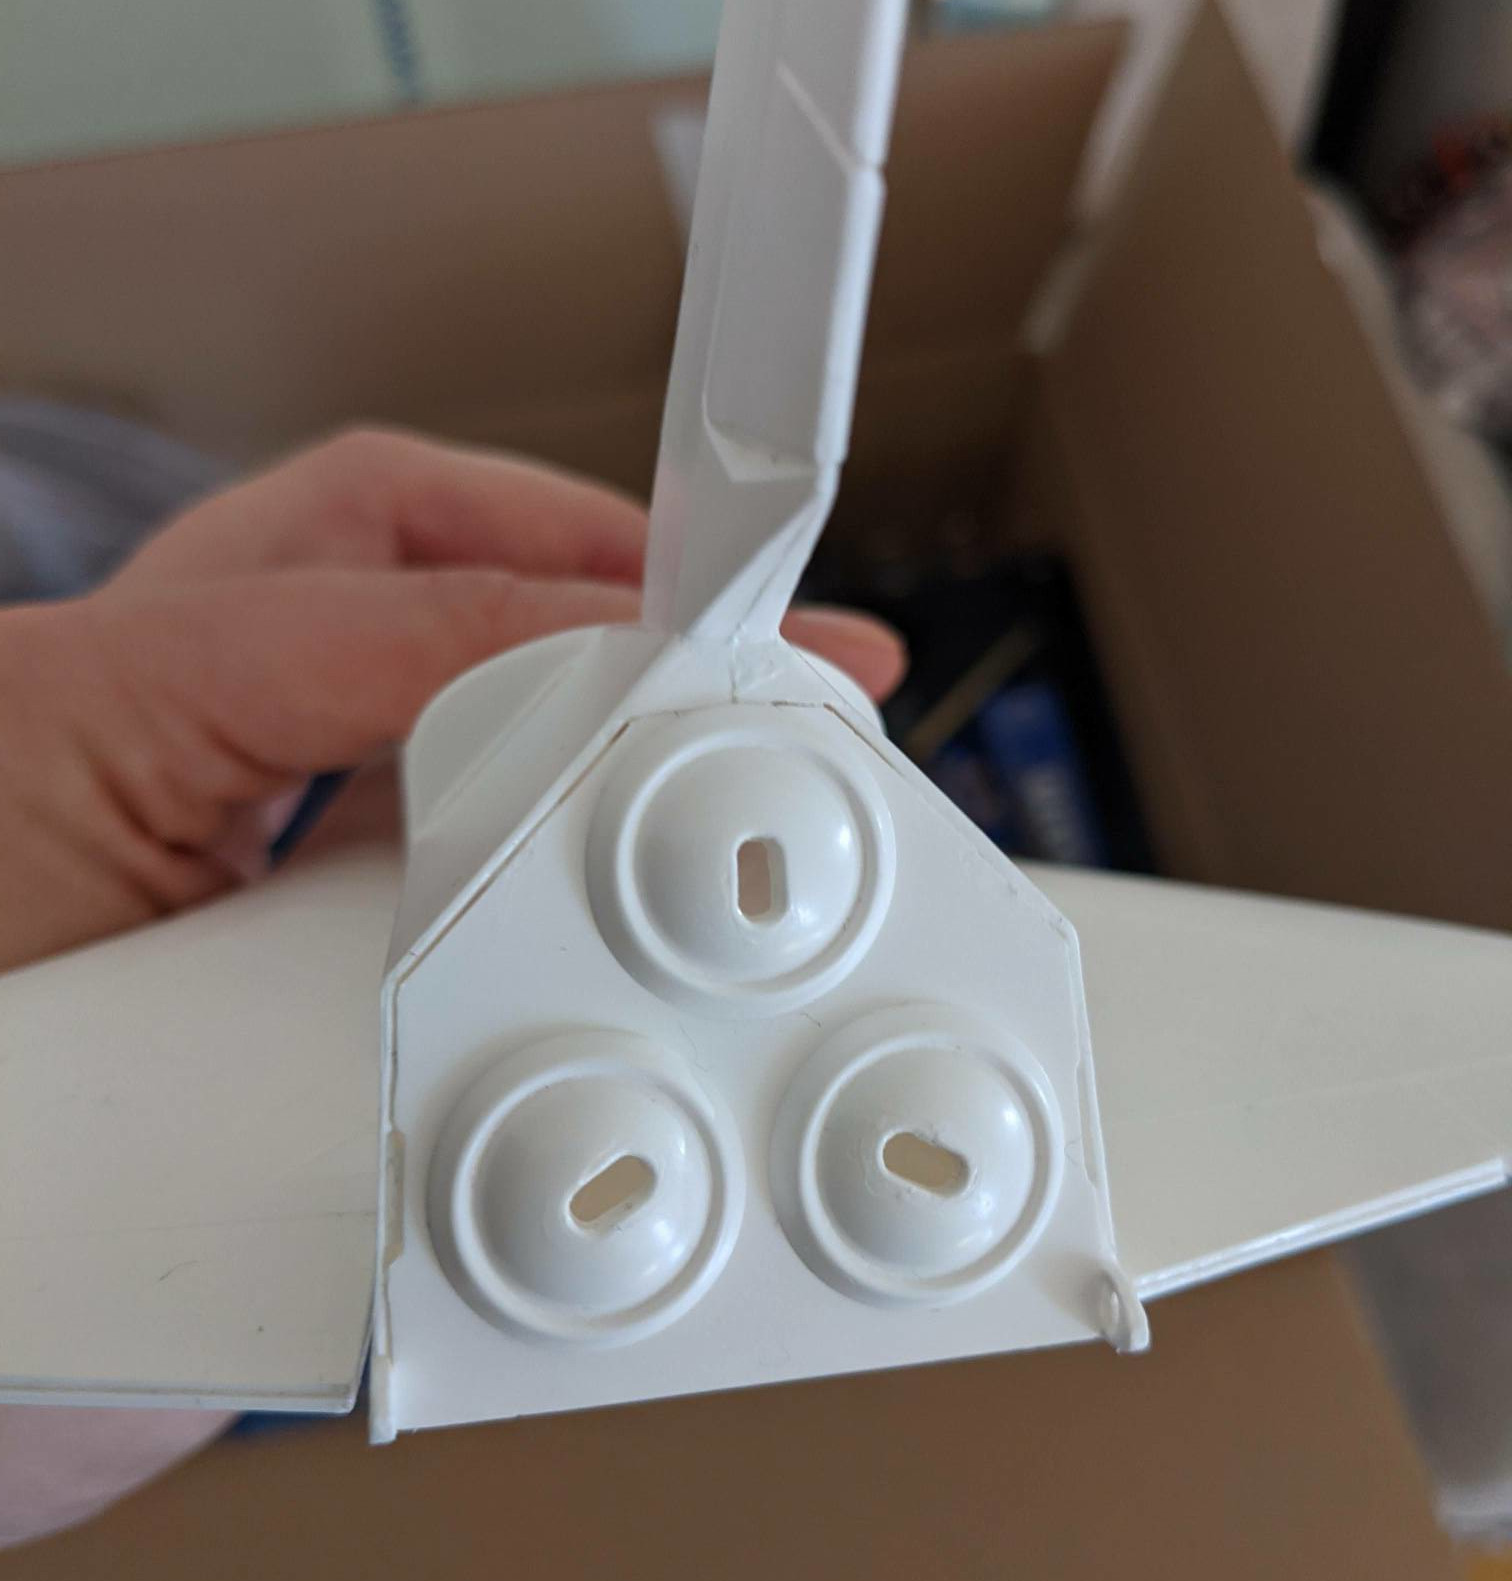
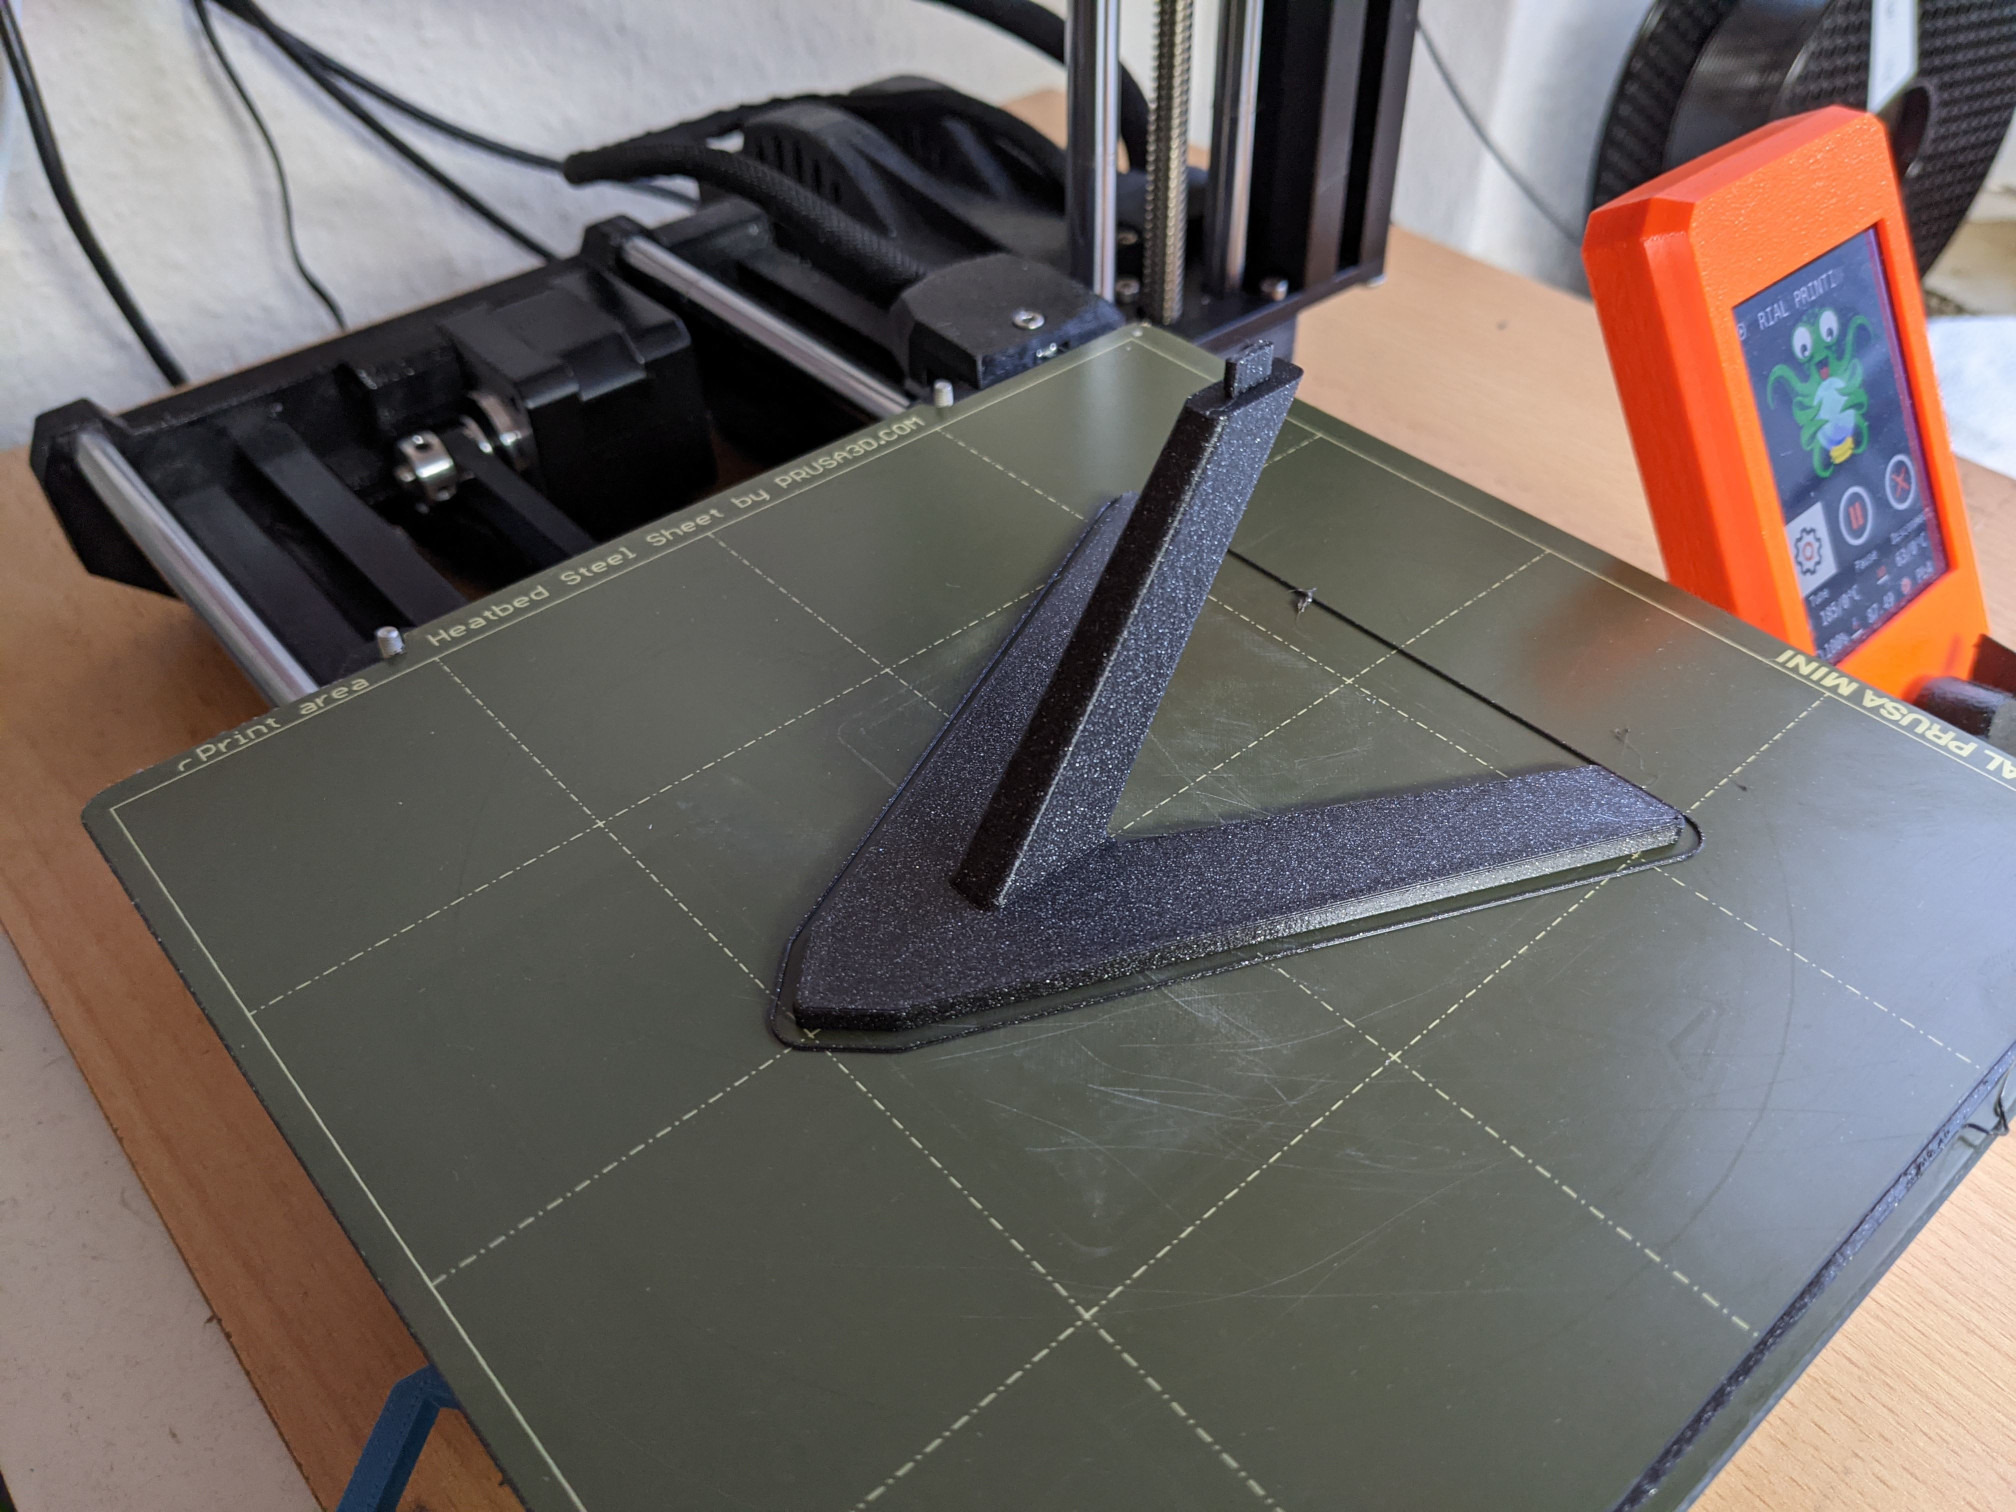
The kit included a stand from clear plastic which I found pretty awful. Easy to fix with a bit of 3D modelling and printing.
And here is a video of the final build.
So, what’s the answer?
Sorry, what was the question? Oh, if I am patient enough to enjoy the hobby!
Well, there’s certainly a learning curve to all aspects of the hobby. But I must say that I enjoyed most of the process (no, not decals) and got quite excited. Youtube videos about model making became my small obsession and I purchased more equipment. Most of the problems I encountered motivated me to figure out how to overcome them.
So… I am certainly going to build another model. I would really like to focus more on weathering and detailing and I would also like to try a well-made kit for a change. I noticed Bandai has a very good reputation regarding details and quality so I already purchased and started building a Star Wars Snowspeeder model (link to my Twitter feed).